
Trash to Treasure Spring Front Door Decor!
Sure-the calendar says spring is here- and the arrival of the robins weeks ago-should have sealed the deal.
Even the tulips and daffodils popped their heads out of the frozen ground-certain that Spring was here.
And me? Well, let’s just say I knew better.
I’ve lived in Minnesota long enough to know that Spring doesn’t come just because all the signs are there.
Spring comes when Mother Nature wants it to come…
and of course, that doesn’t happen until I place a spring decoration on my front door.
So yes, fellow Minnesotan’s, after weeks of frigid temperatures, snow, sleet, and blustery winds, our door is ready for Spring!
You are welcome for the sunny-70 degree temperatures that will arrive later this week.
As for the inspiration behind our front door decor let’s just say it’s a bit ‘out of the box’.
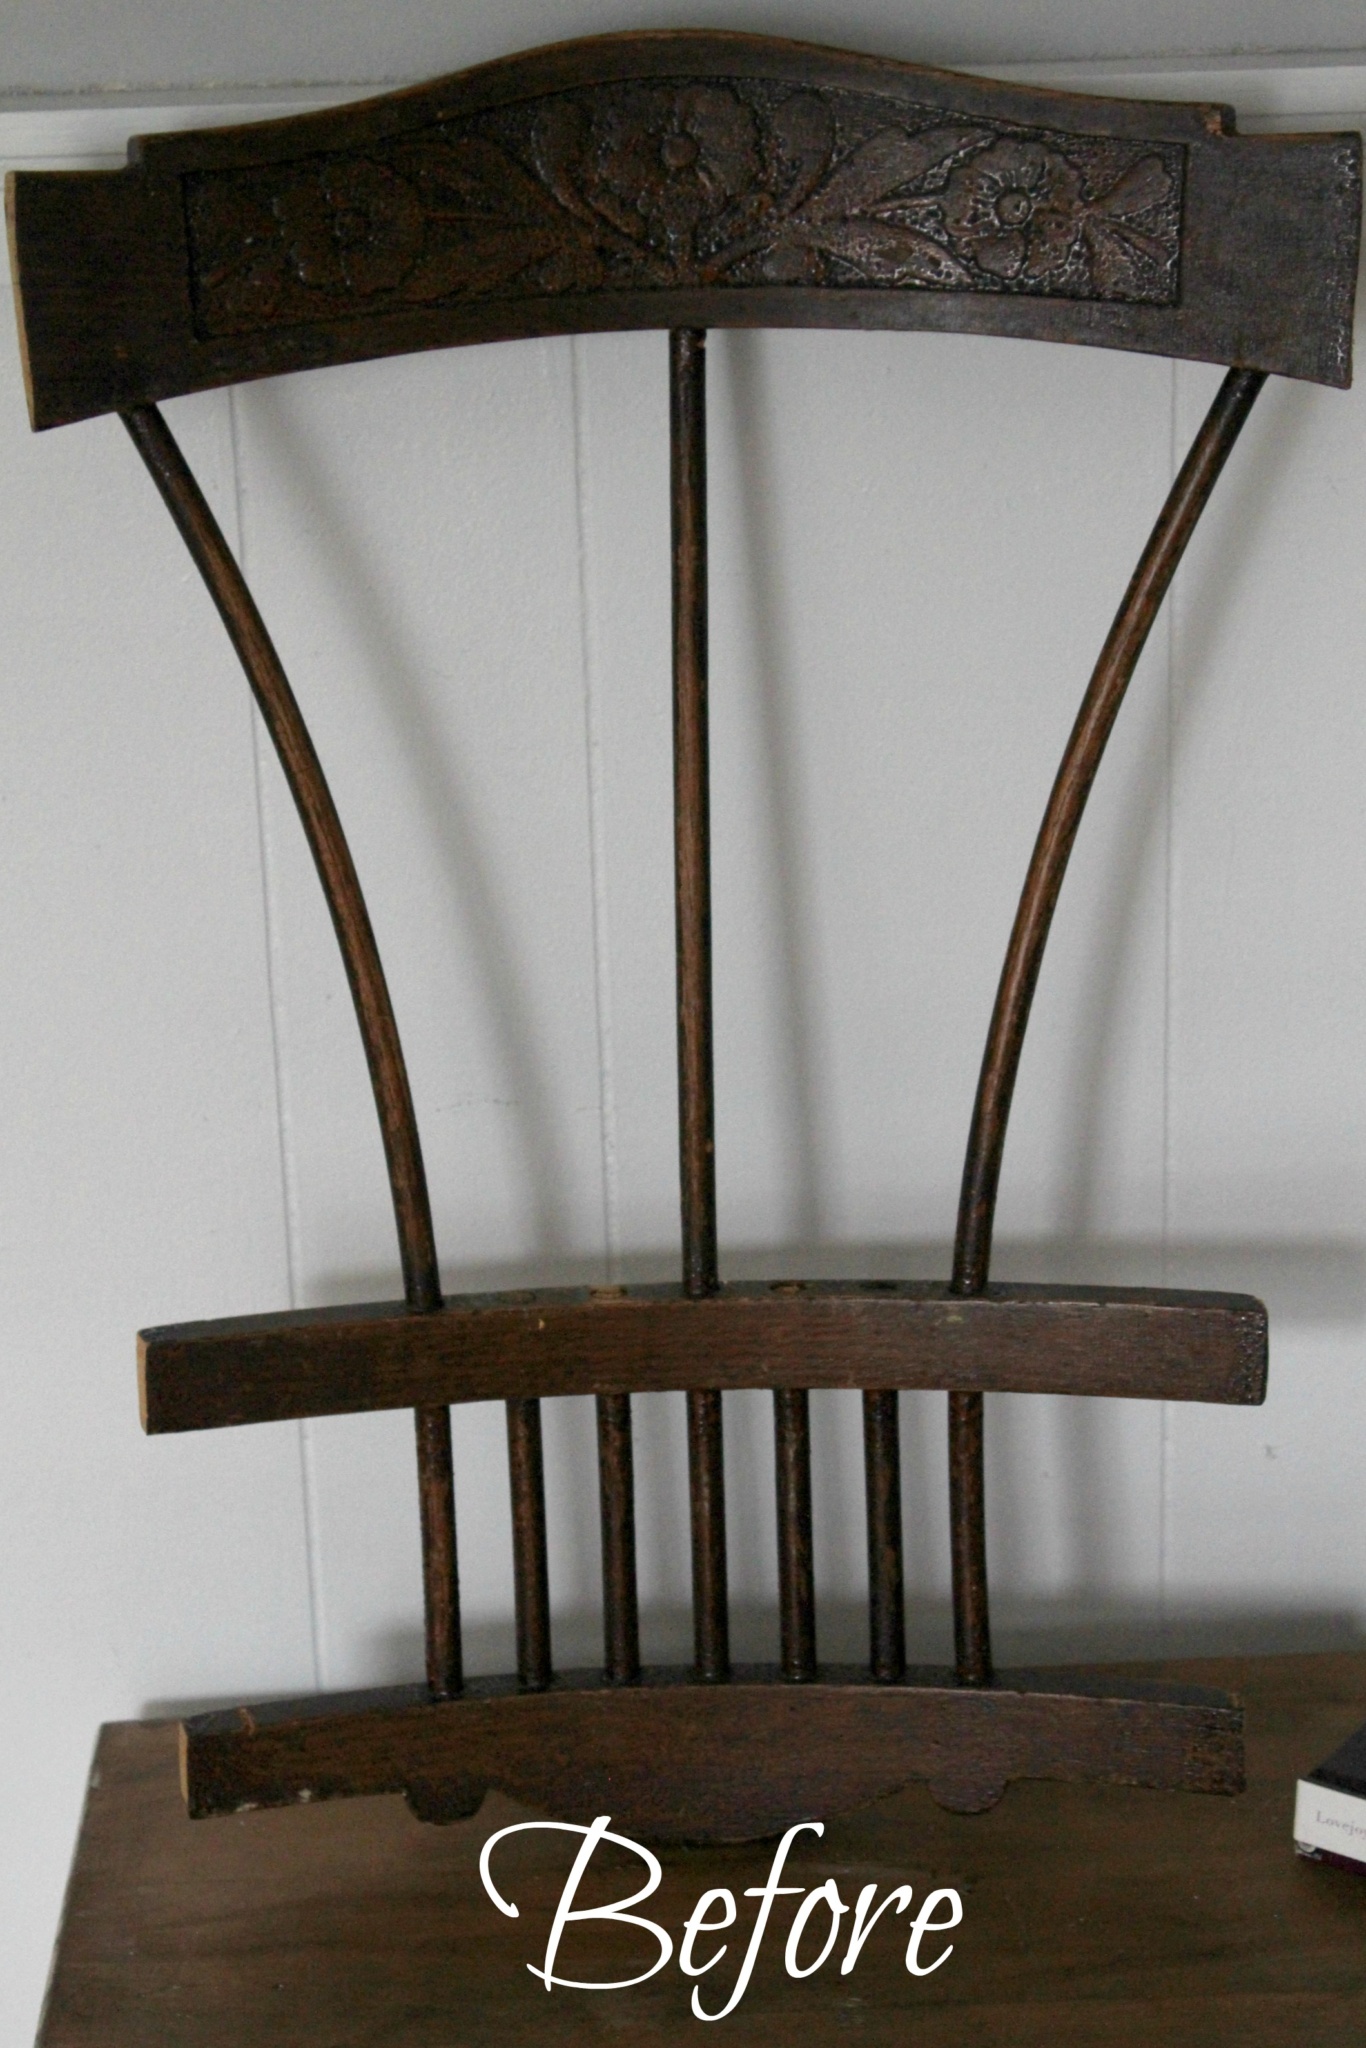
But the moment I pulled this old-broken chair back out of the trash-I KNEW exactly what I wanted to do with it!
Of course, hubby thought I was nuts!
Obviously, he didn’t see the vision in my head, but that’s okay. There have been plenty of times I haven’t seen what is in his.
Like the time he told me not to pull the wallpaper off our guest bedroom wall. Had he also told me that the vision he had in his head was that the plaster would crumble when I pulled it off-I never would have done it!
But there you have it. I still went ahead with my vision.
Here’s how to put together my trash to treasure spring front door decor!
(Affiliate links are provided for your convenience. You can find our full disclosure here.)
Materials needed:
Back of chair (duh)
Fabric * I used a kitchen towel I purchased at the Dollar Store for $1
small bucket *I bought mine at Target in the $1 section
Faux or fresh flowers (your choice) * I already had the daisies in my stash
Floral foam
Paint for chair-(your choice of color) *I used Waverly chalk paint in Crystal and Apple Blossom acrylic paint-Kiwi
Epoxy glue
S-Hook
Picture frame
Paint for a picture frame (your choice of color)*I used Patio Paint-Summer Sky Blue
(2) screws- 1/2″x 1/8″
Screwdriver
Picture hangers
Sandpaper
Once I had all the material gathered at my work station (IE-dining room table)-I started putting my masterpiece together.
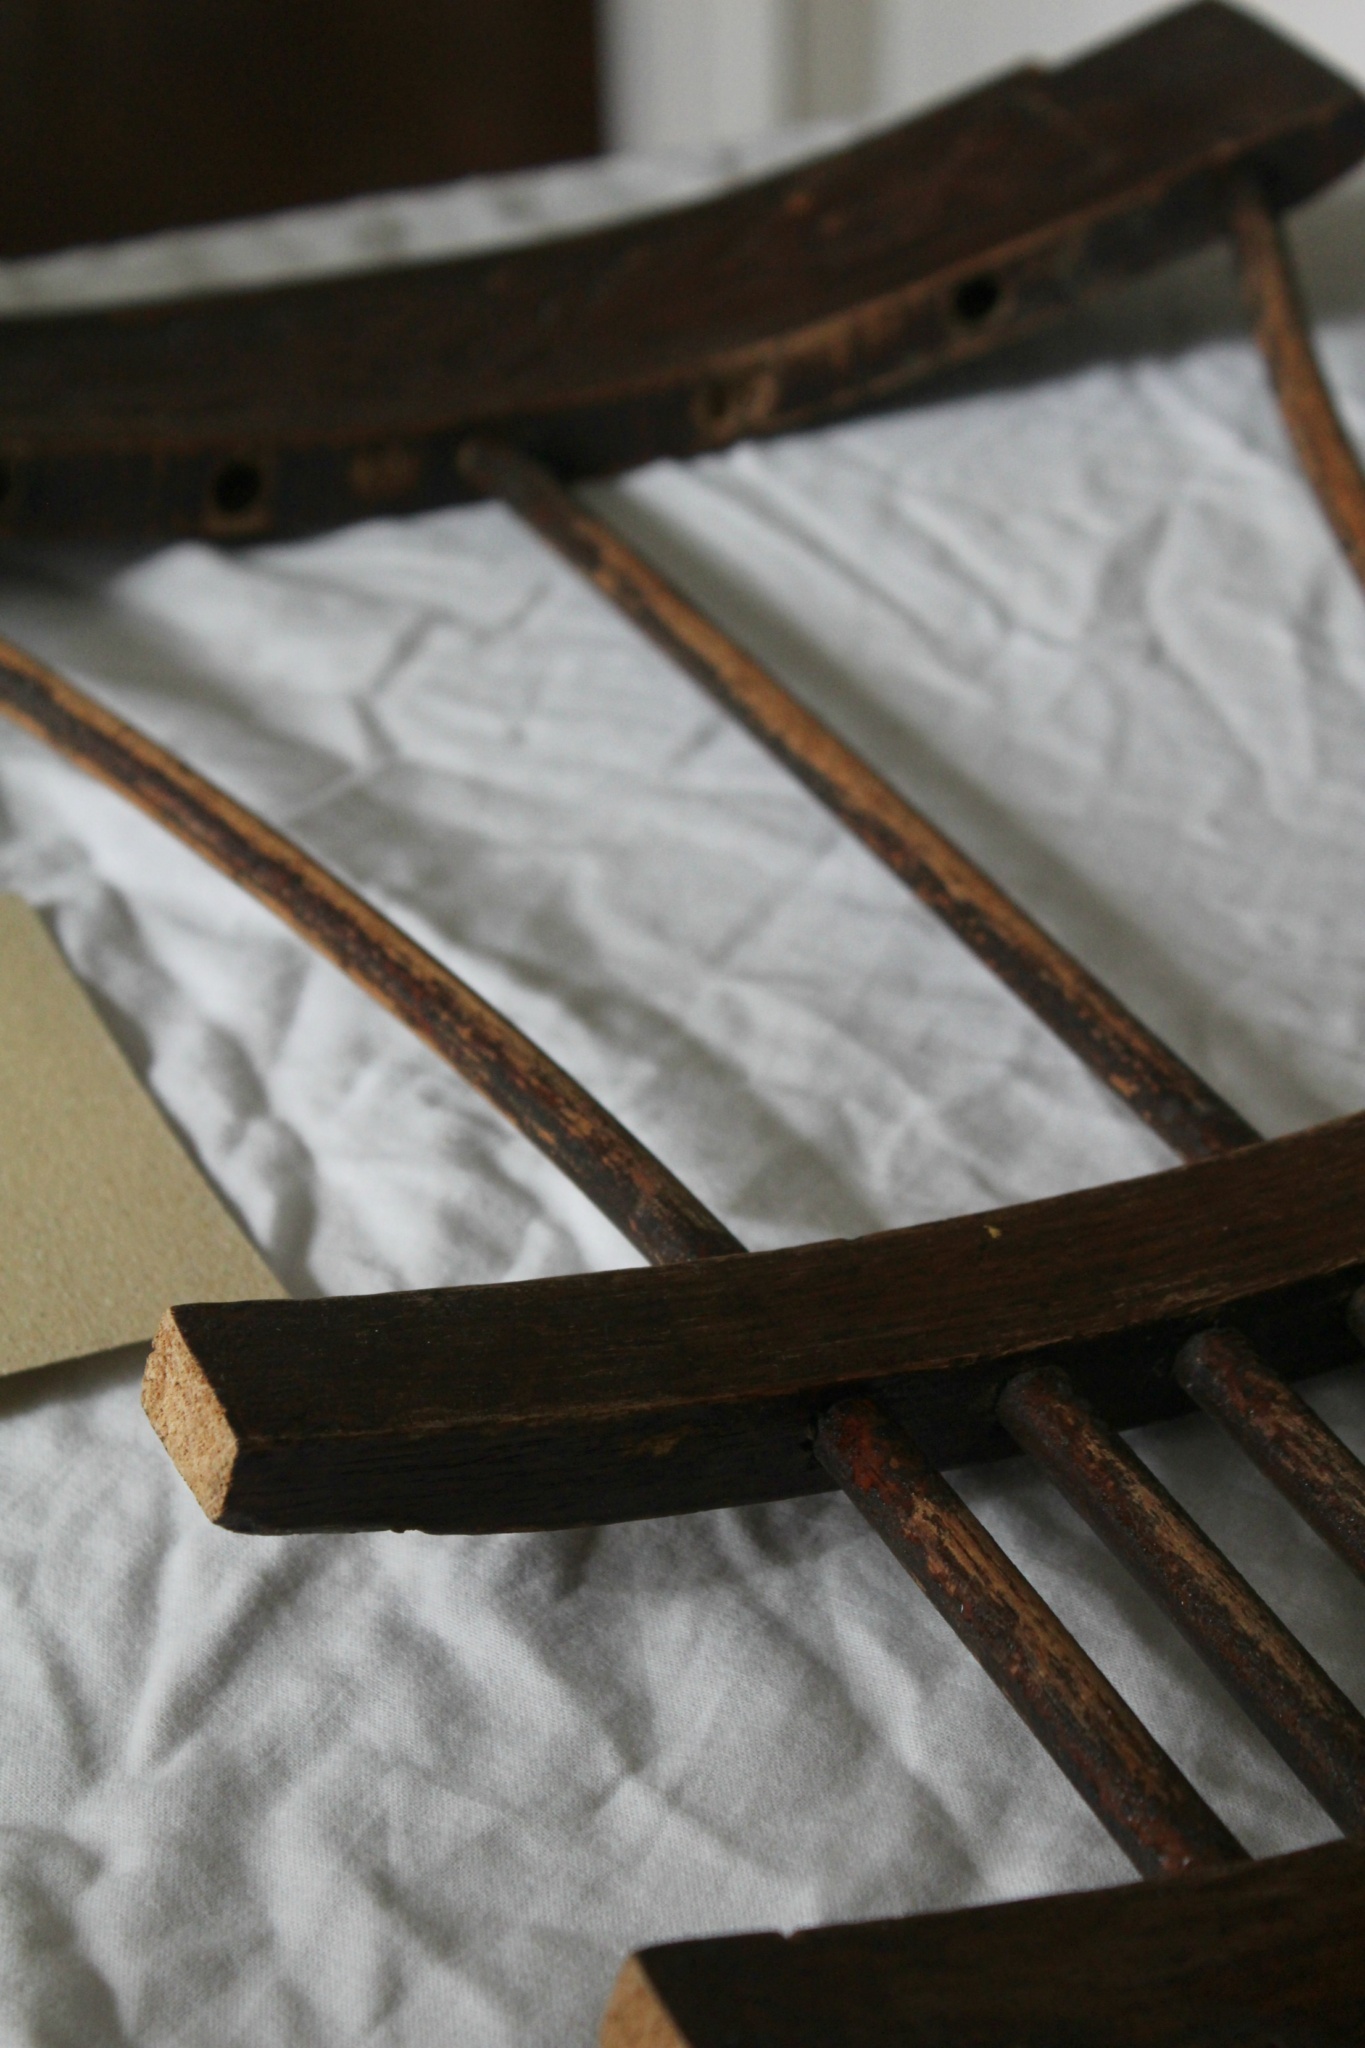
Step One: Sand down the chair back. This took a little longer than I expected, because the top of the chair had a layer of varnish. Since I didn’t want to deal with stripping it-I just used 150 grit sandpaper to start-and finished with 220 grit. I then wiped the chair down with a cloth to remove all the dust!
Now it was ready for paint!
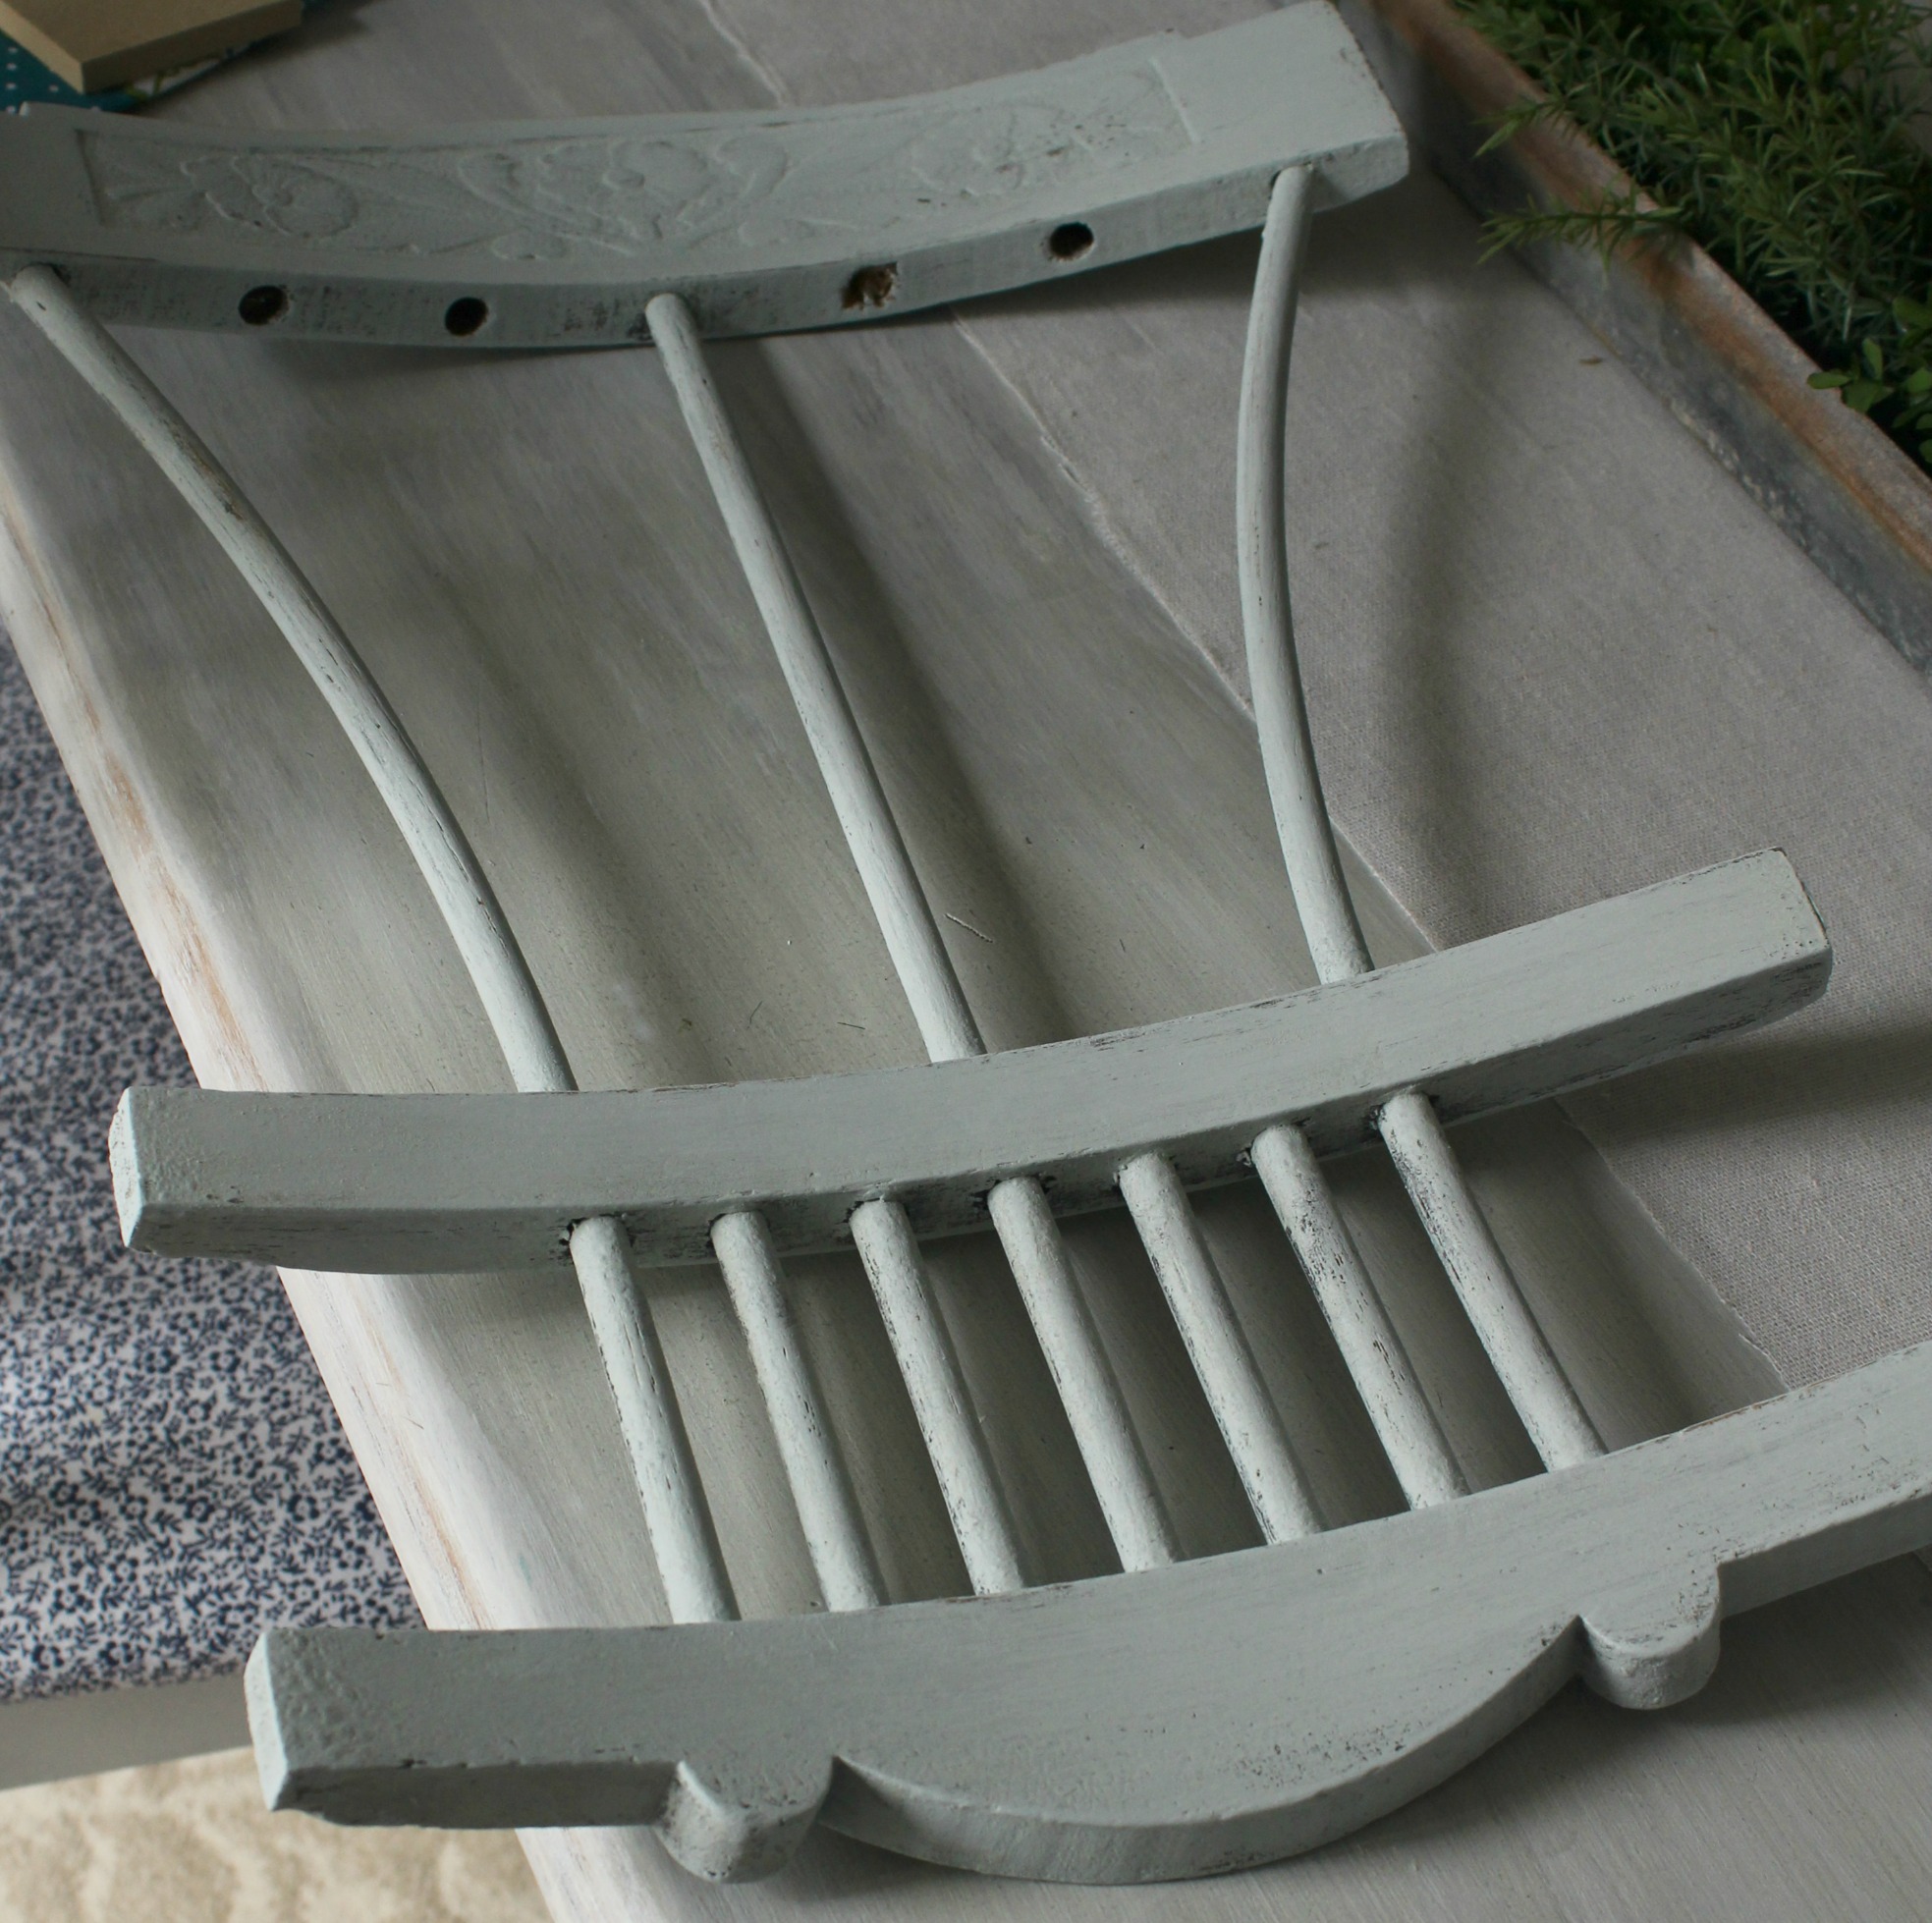
Step Two: I dry brushed a coat of the chalk paint (crystal) on the entire chair, and allowed it to dry for about 15 minutes. Then I applied another light coat and allowed it to dry for another 30 minutes.
Meanwhile, I got a little crafty! (WHO ME?)
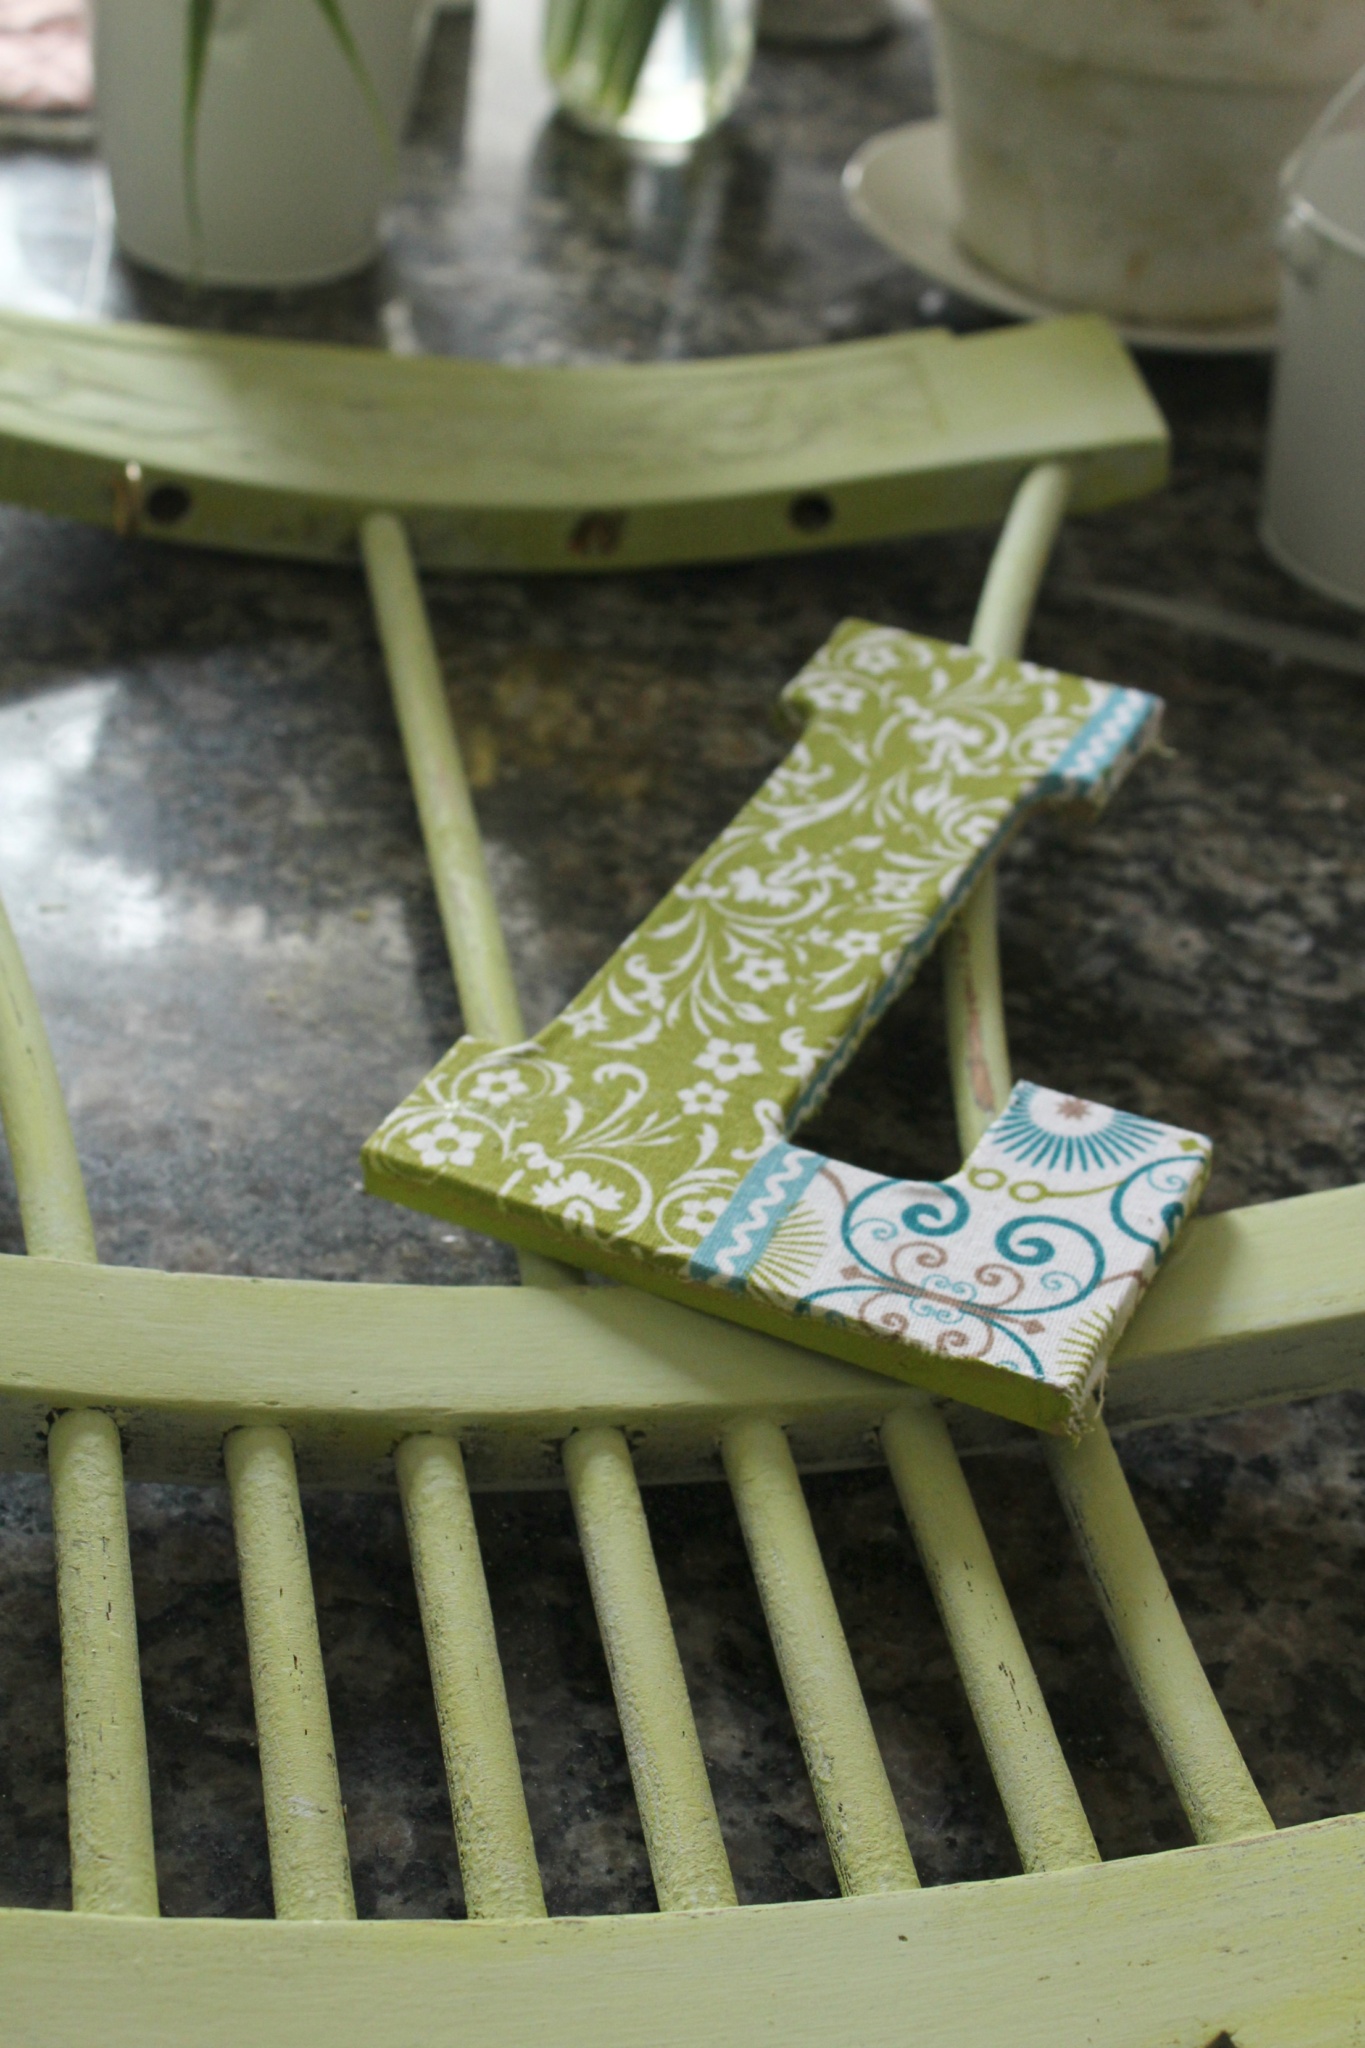
I wanted to add a little something ‘personal’ to the chair-so I chose the letter L (the first letter in our last name). But instead of painting it-I decided to use this pretty towel that I found at the dollar store.

As you can see I got so involved in covering the letter-I forgot to take photos of how I did it. But here’s the jest of it.
Step Three: Lay your fabric face down, and place the letter down on top. (Since this fabric had three different designs, I laid mine down on the one I liked most.) Using a pen (or fabric marker), trace around your letter. **I added on an extra inch so I could wrap around the letter.
Cut out your letter from the fabric.
Give your wooden letter a good coat of glue. (I used a glue stick since it was all I had on hand, but you could use hot glue).
Place the fabric letter on top of the wood letter with the print side up. ***To avoid lumps and bumps in the material-I used a credit card and with pressure, swiped it from one end of the letter to the other.
Turn the letter over and place a layer of glue on the outer edge. Begin folding over the excess fabric as you go. **Depending on your letter, you may have to cut a slit in corners so the fabric will fold.

Now if you’re like me(not so crafty)-you may cut your material wrong-and not have enough excess to cover all sides of your letter!
Never fear-paint works wonders-especially if said paint matches the material you are using!! YIPPEE!
Which leads me to Step Four-Applying top coat of paint. After I had lightly sanded the first two coats of chalk paint-I wiped the chair to remove dust, and dry brushed a coat of Kiwi onto the chair. Here is where things got a bit…IFFY. You know how a paint color looks on the paint chip. You absolutely LOVE it-until you put it on the wall. Well, that’s exactly what happened after I applied the first coat of Kiwi.
Sorry folks-but it kind of looked like pea soup.
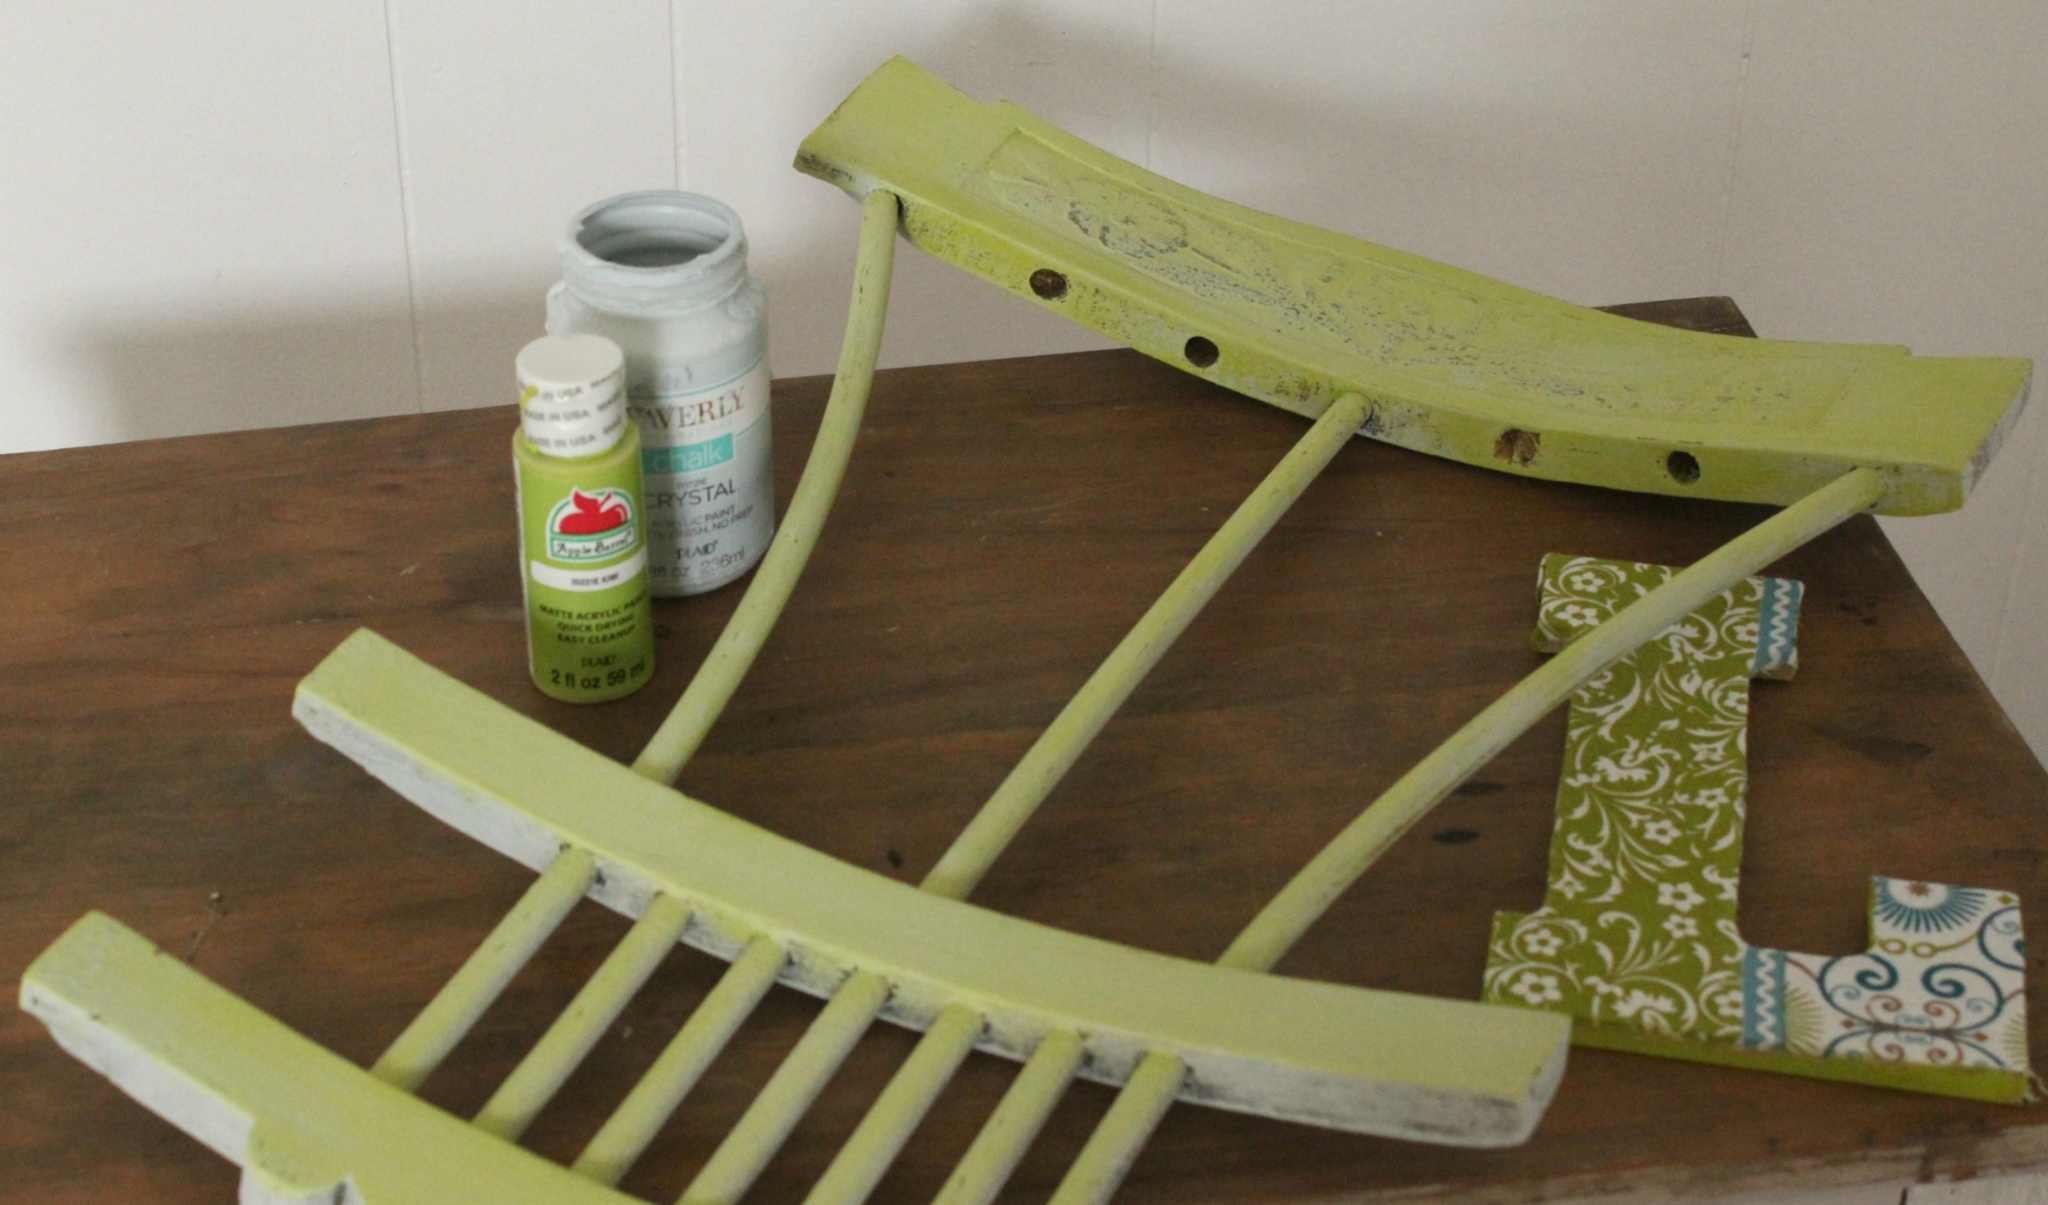
So I sanded it down one more time-and than lightly dry brushed another coat of the Crystal paint-in hopes that it would tone down the Kiwi. After I let it dry for another 30 minutes or so it seemed to work, so I was off to Step Five- Glue the letter down on your chair back.
I used Epoxy glue for this. I have to tell you this stuff has an AMAZING holding powers-so just be sure your letter is EXACTLY where you want it because it won’t come off easy! (trust me on this!) I allowed the glue to dry for about 2 hours just to be sure it held tightly, before I went onto the next step.
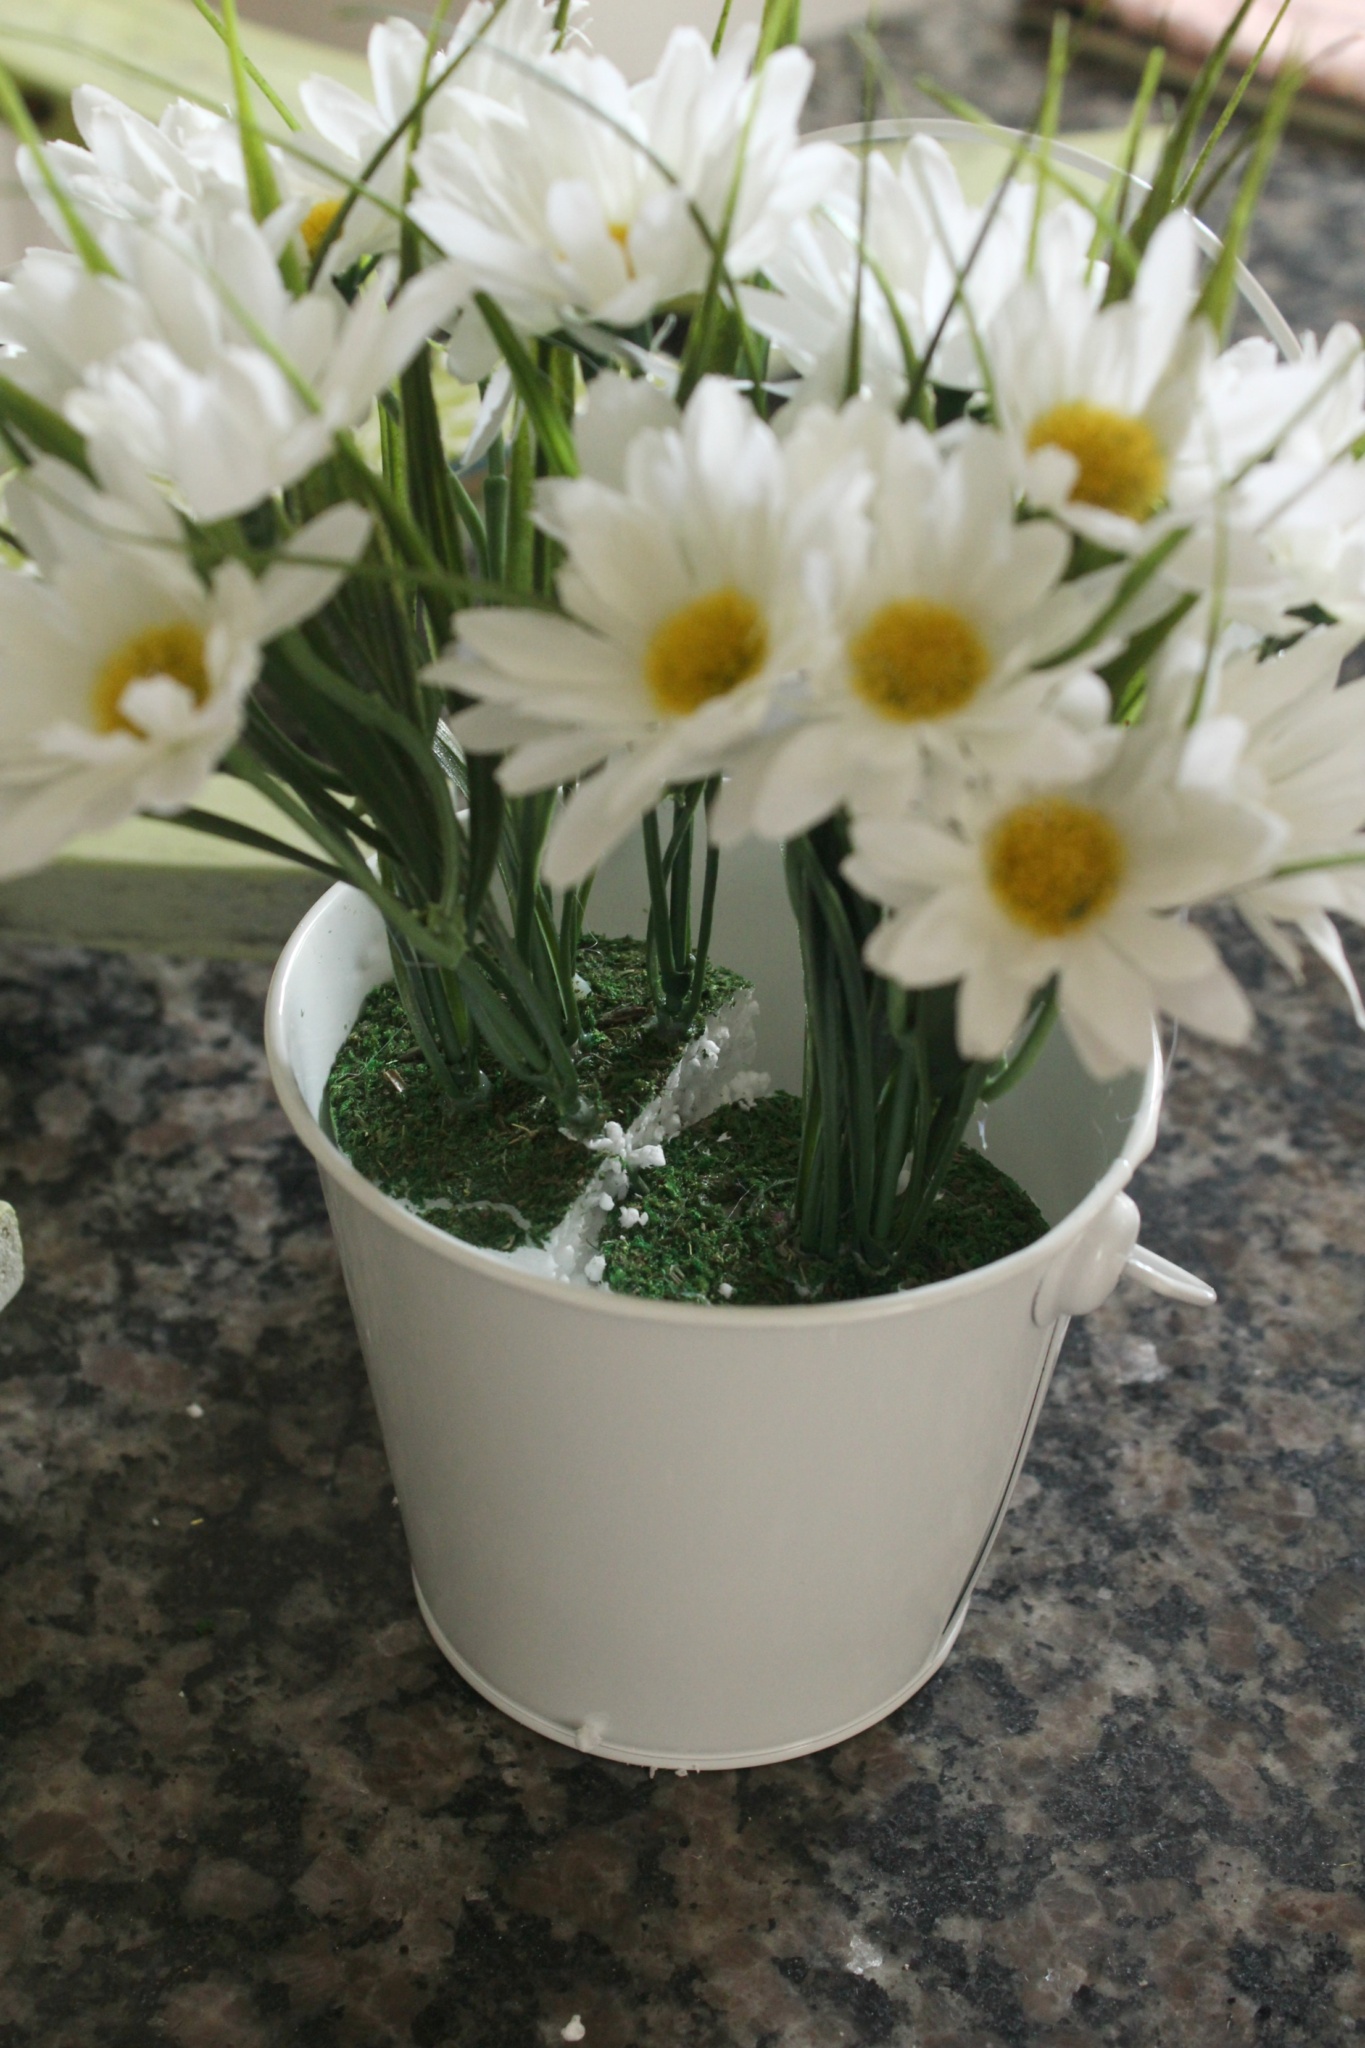
Step Six-securing flowers in bucket. I simply cut the foam to fit inside the bucket-and stuck the daisies into the foam. At this point I wasn’t sure how the bucket was going to hang on the chair-so I covered the foam with moss just in case.
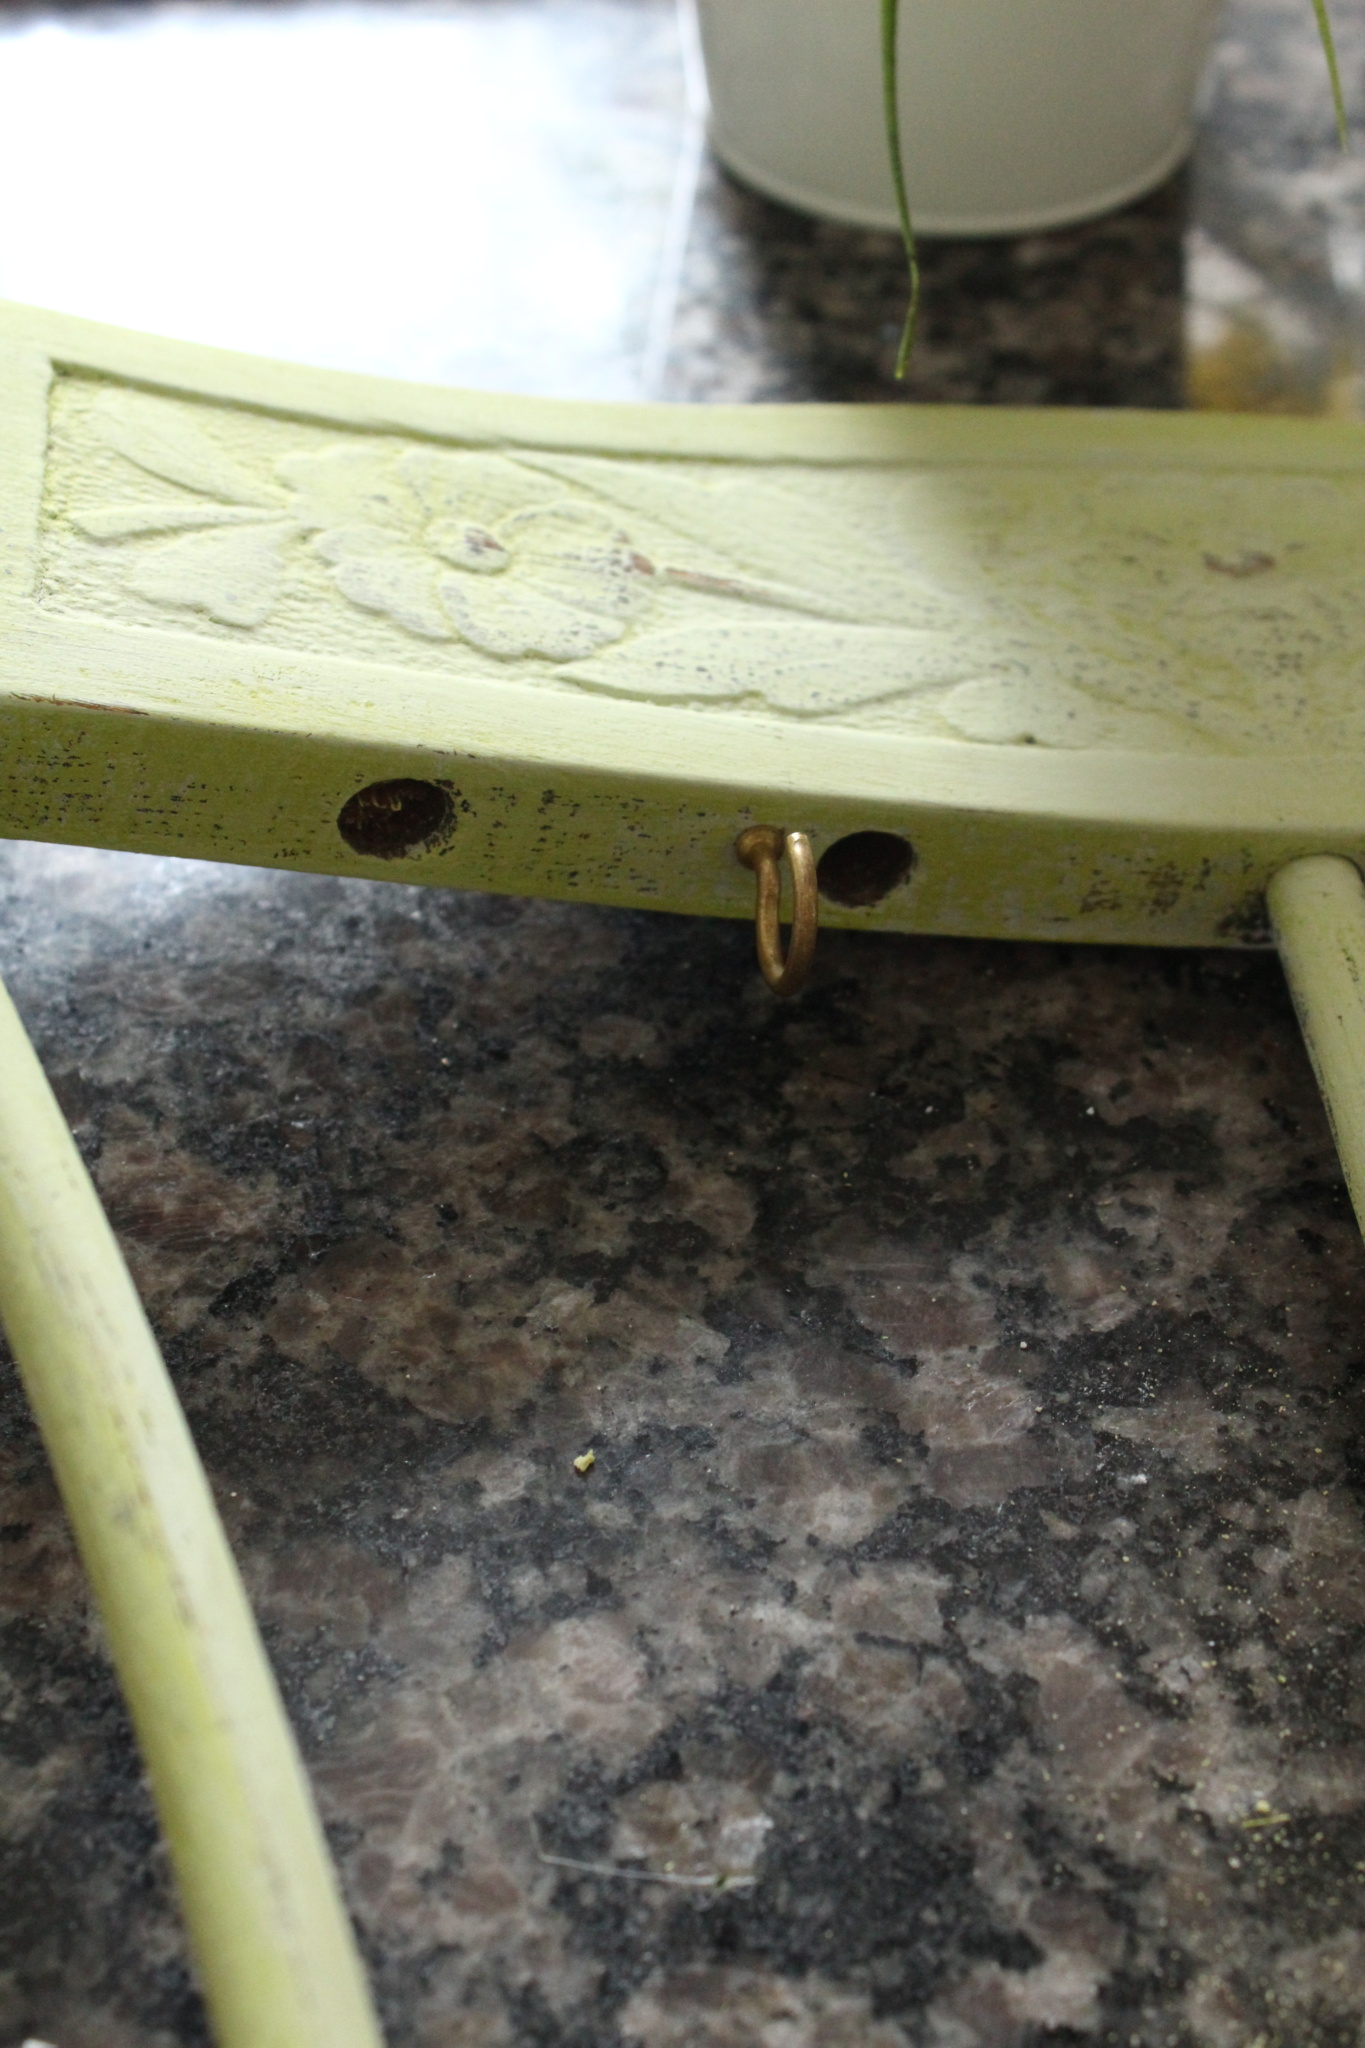
.Then I decided to use a hook to hang the bucket. That way I’ll be able to change out the flowers any time I want.
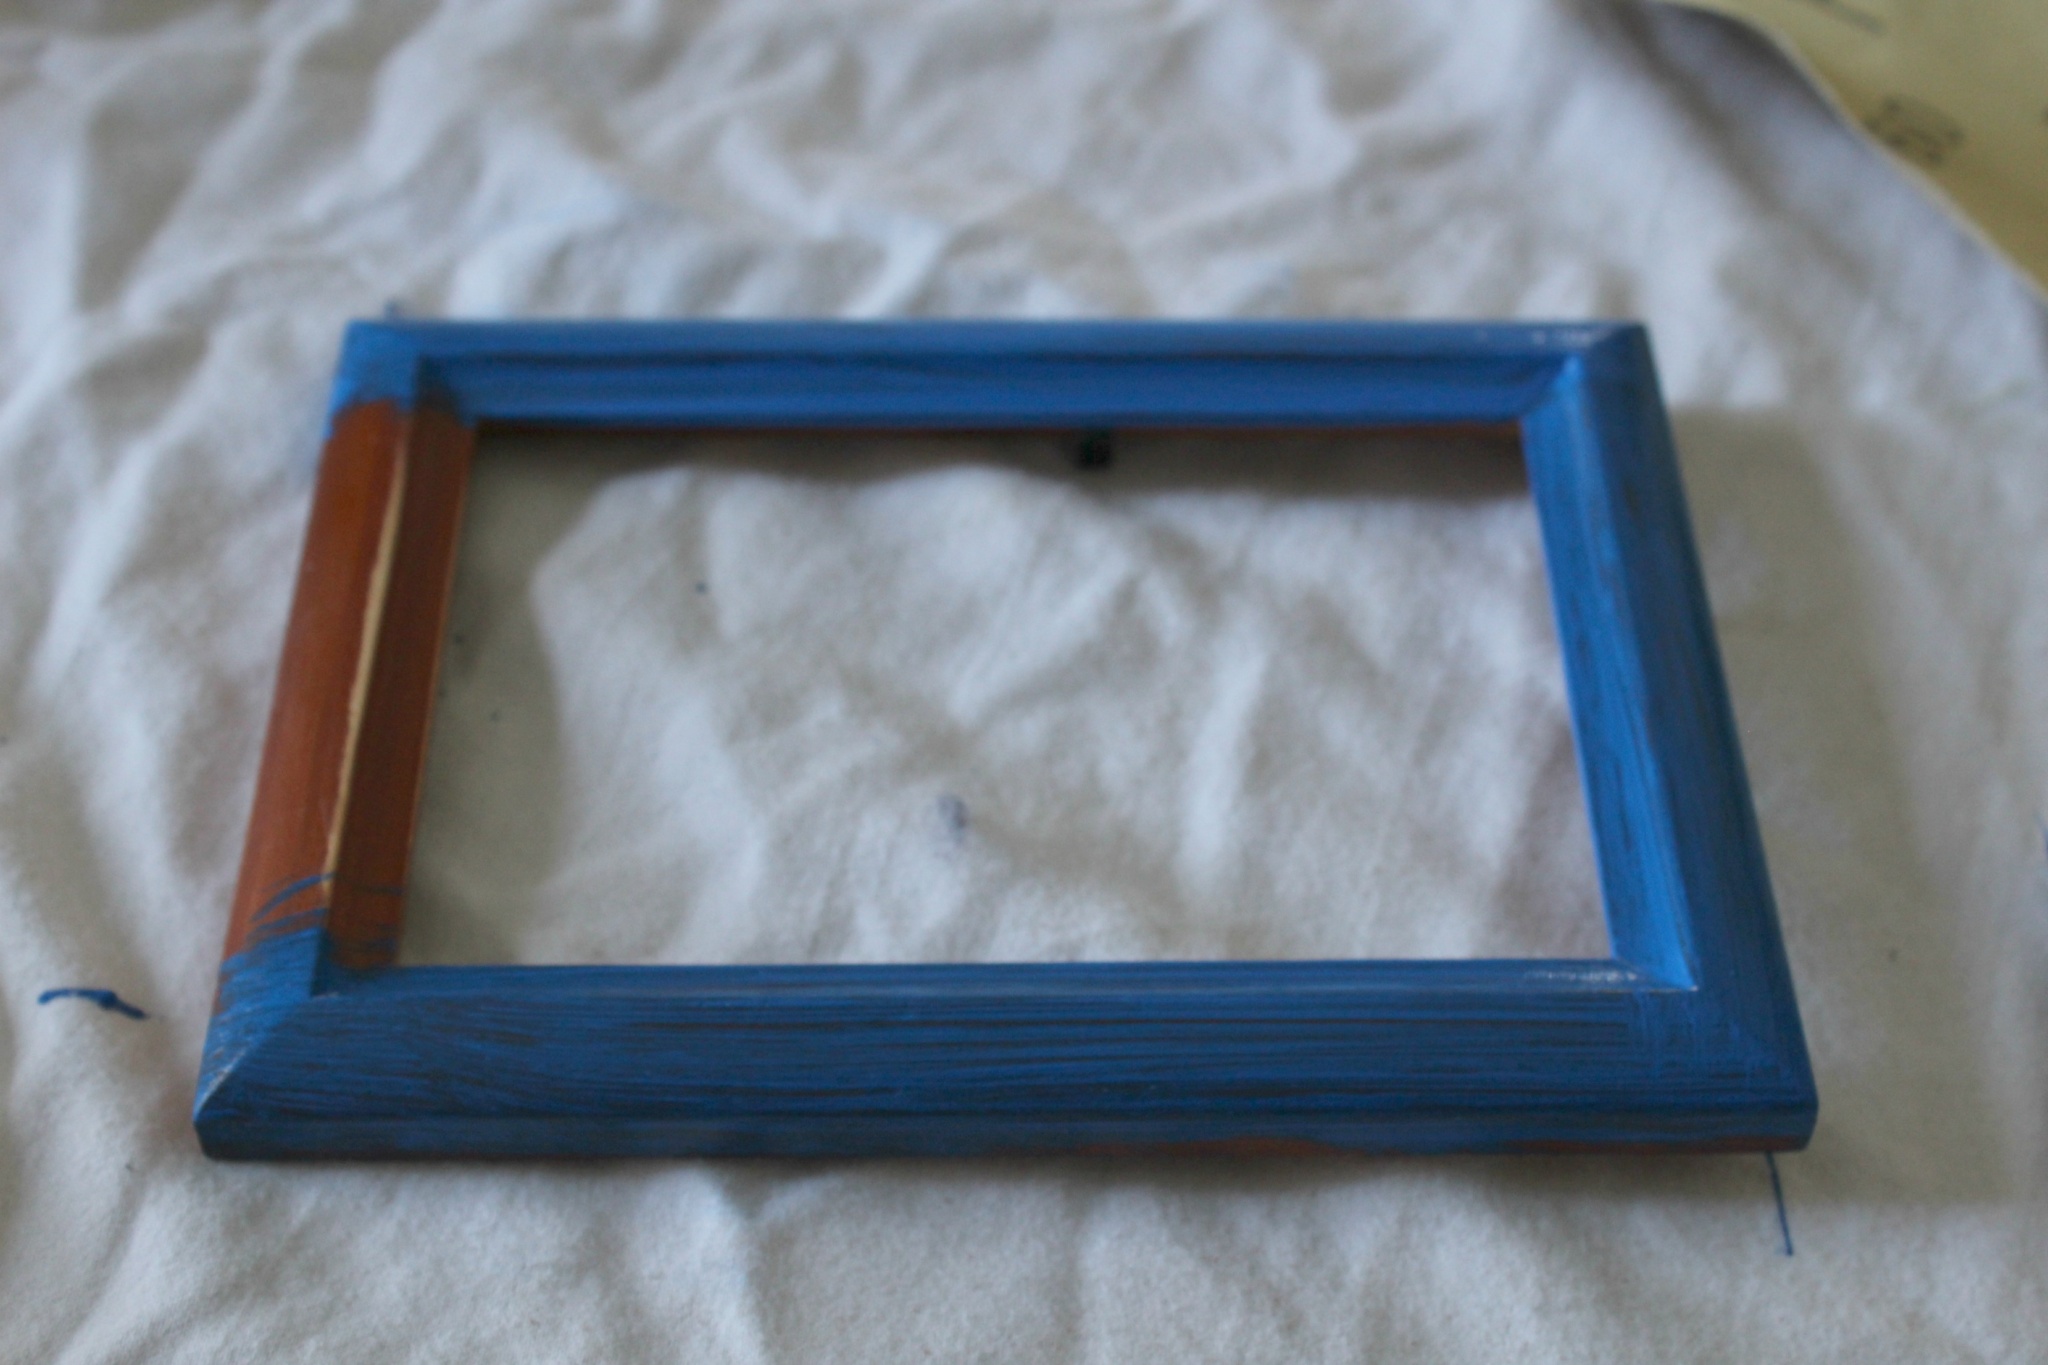
Next, I found an old frame I wasn’t using and it was off to Step Seven-painting the frame-and giving the glass insert a coat of chalkboard paint! Once the paint dried-I assembled my new chalkboard and glued it onto the chair with epoxy glue. After it dried for 2 hours it was time to hang my Trash to Treasure Spring decoration on the front door.
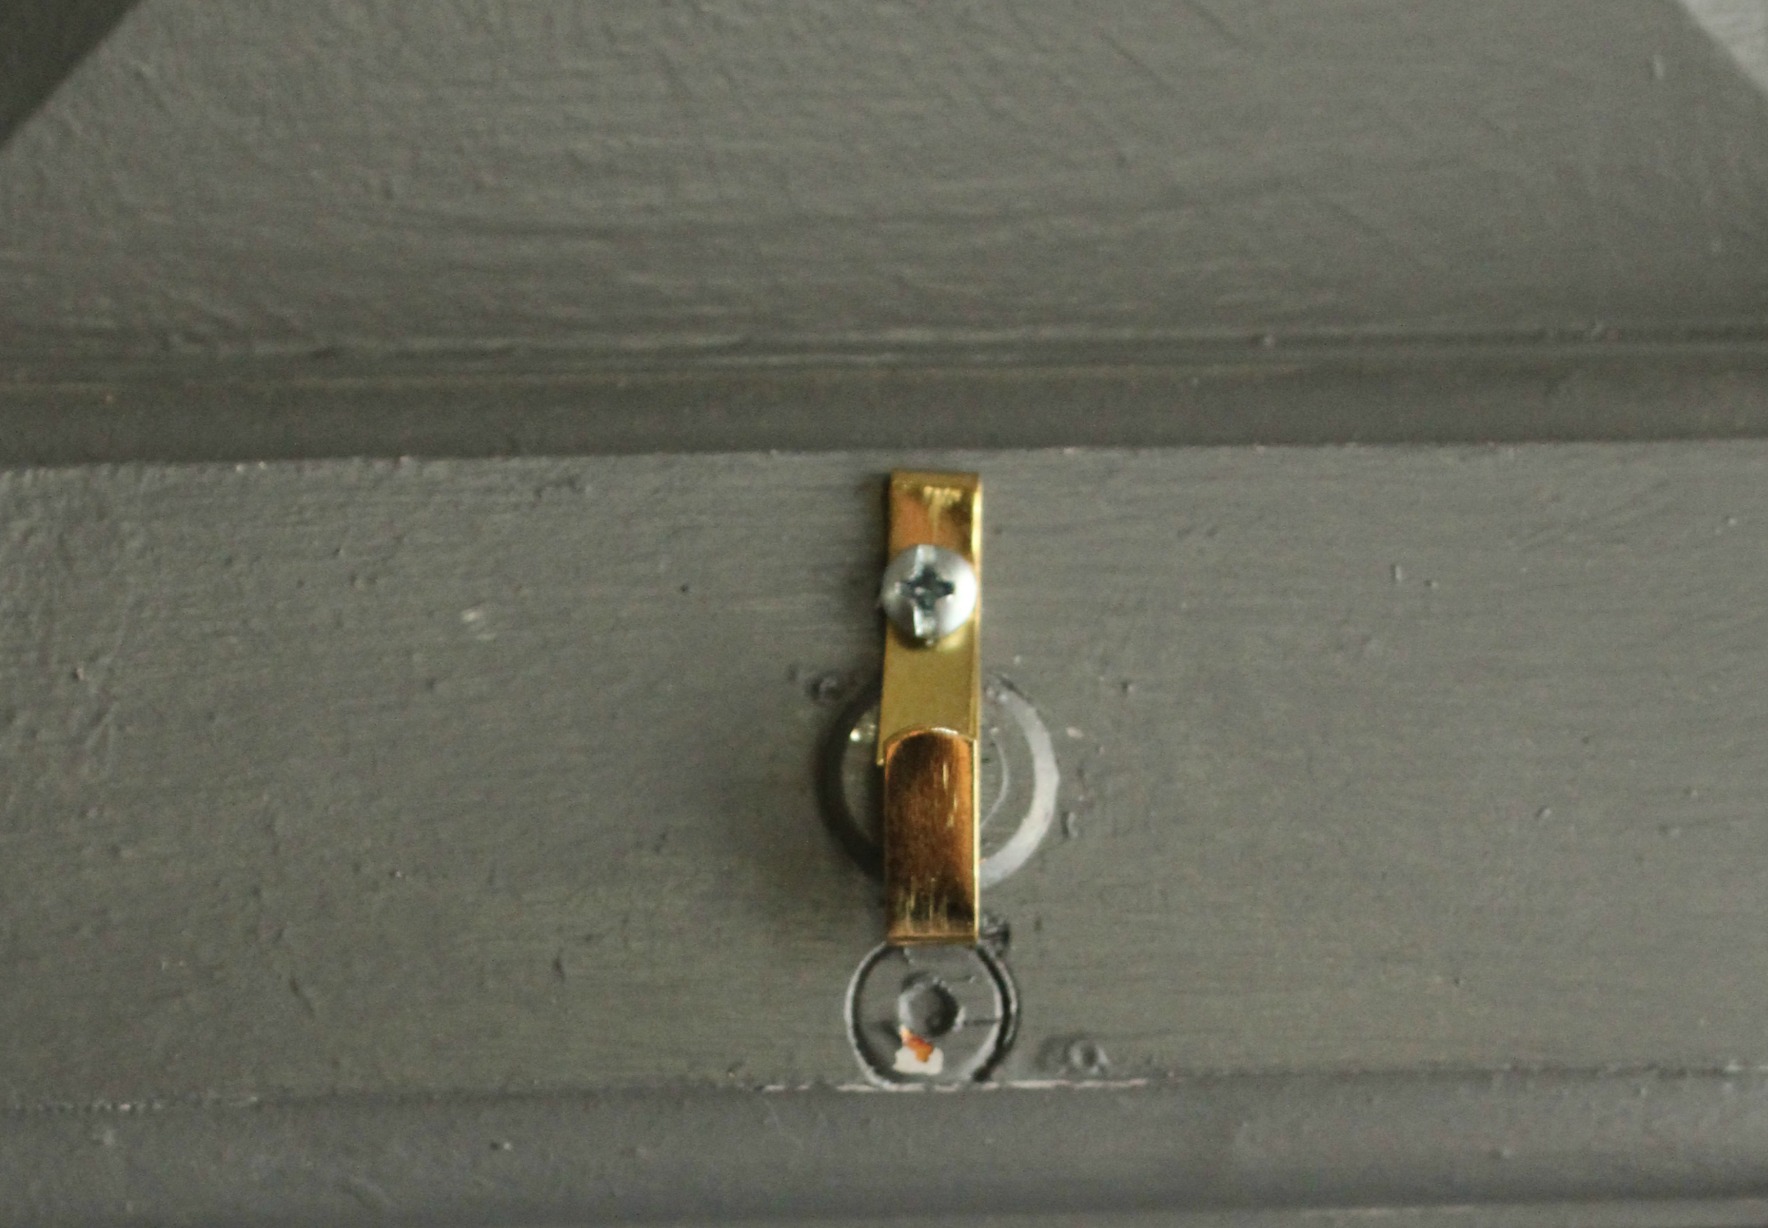
Only that posed a bit of a problem. I needed to find a way to secure the chair to the door, so that 1-it wouldn’t fall off-and 2-it wouldn’t bang against our newly painted door (last fall), every time we opened or shut it!
Once again, hubby came to the rescue! He used two picture hangers (one at the top of the chair and one at the bottom), and instead of using the tiny nails that came with the hangers, he used two screws to secure them.
That chair isn’t going anywhere folks!!!
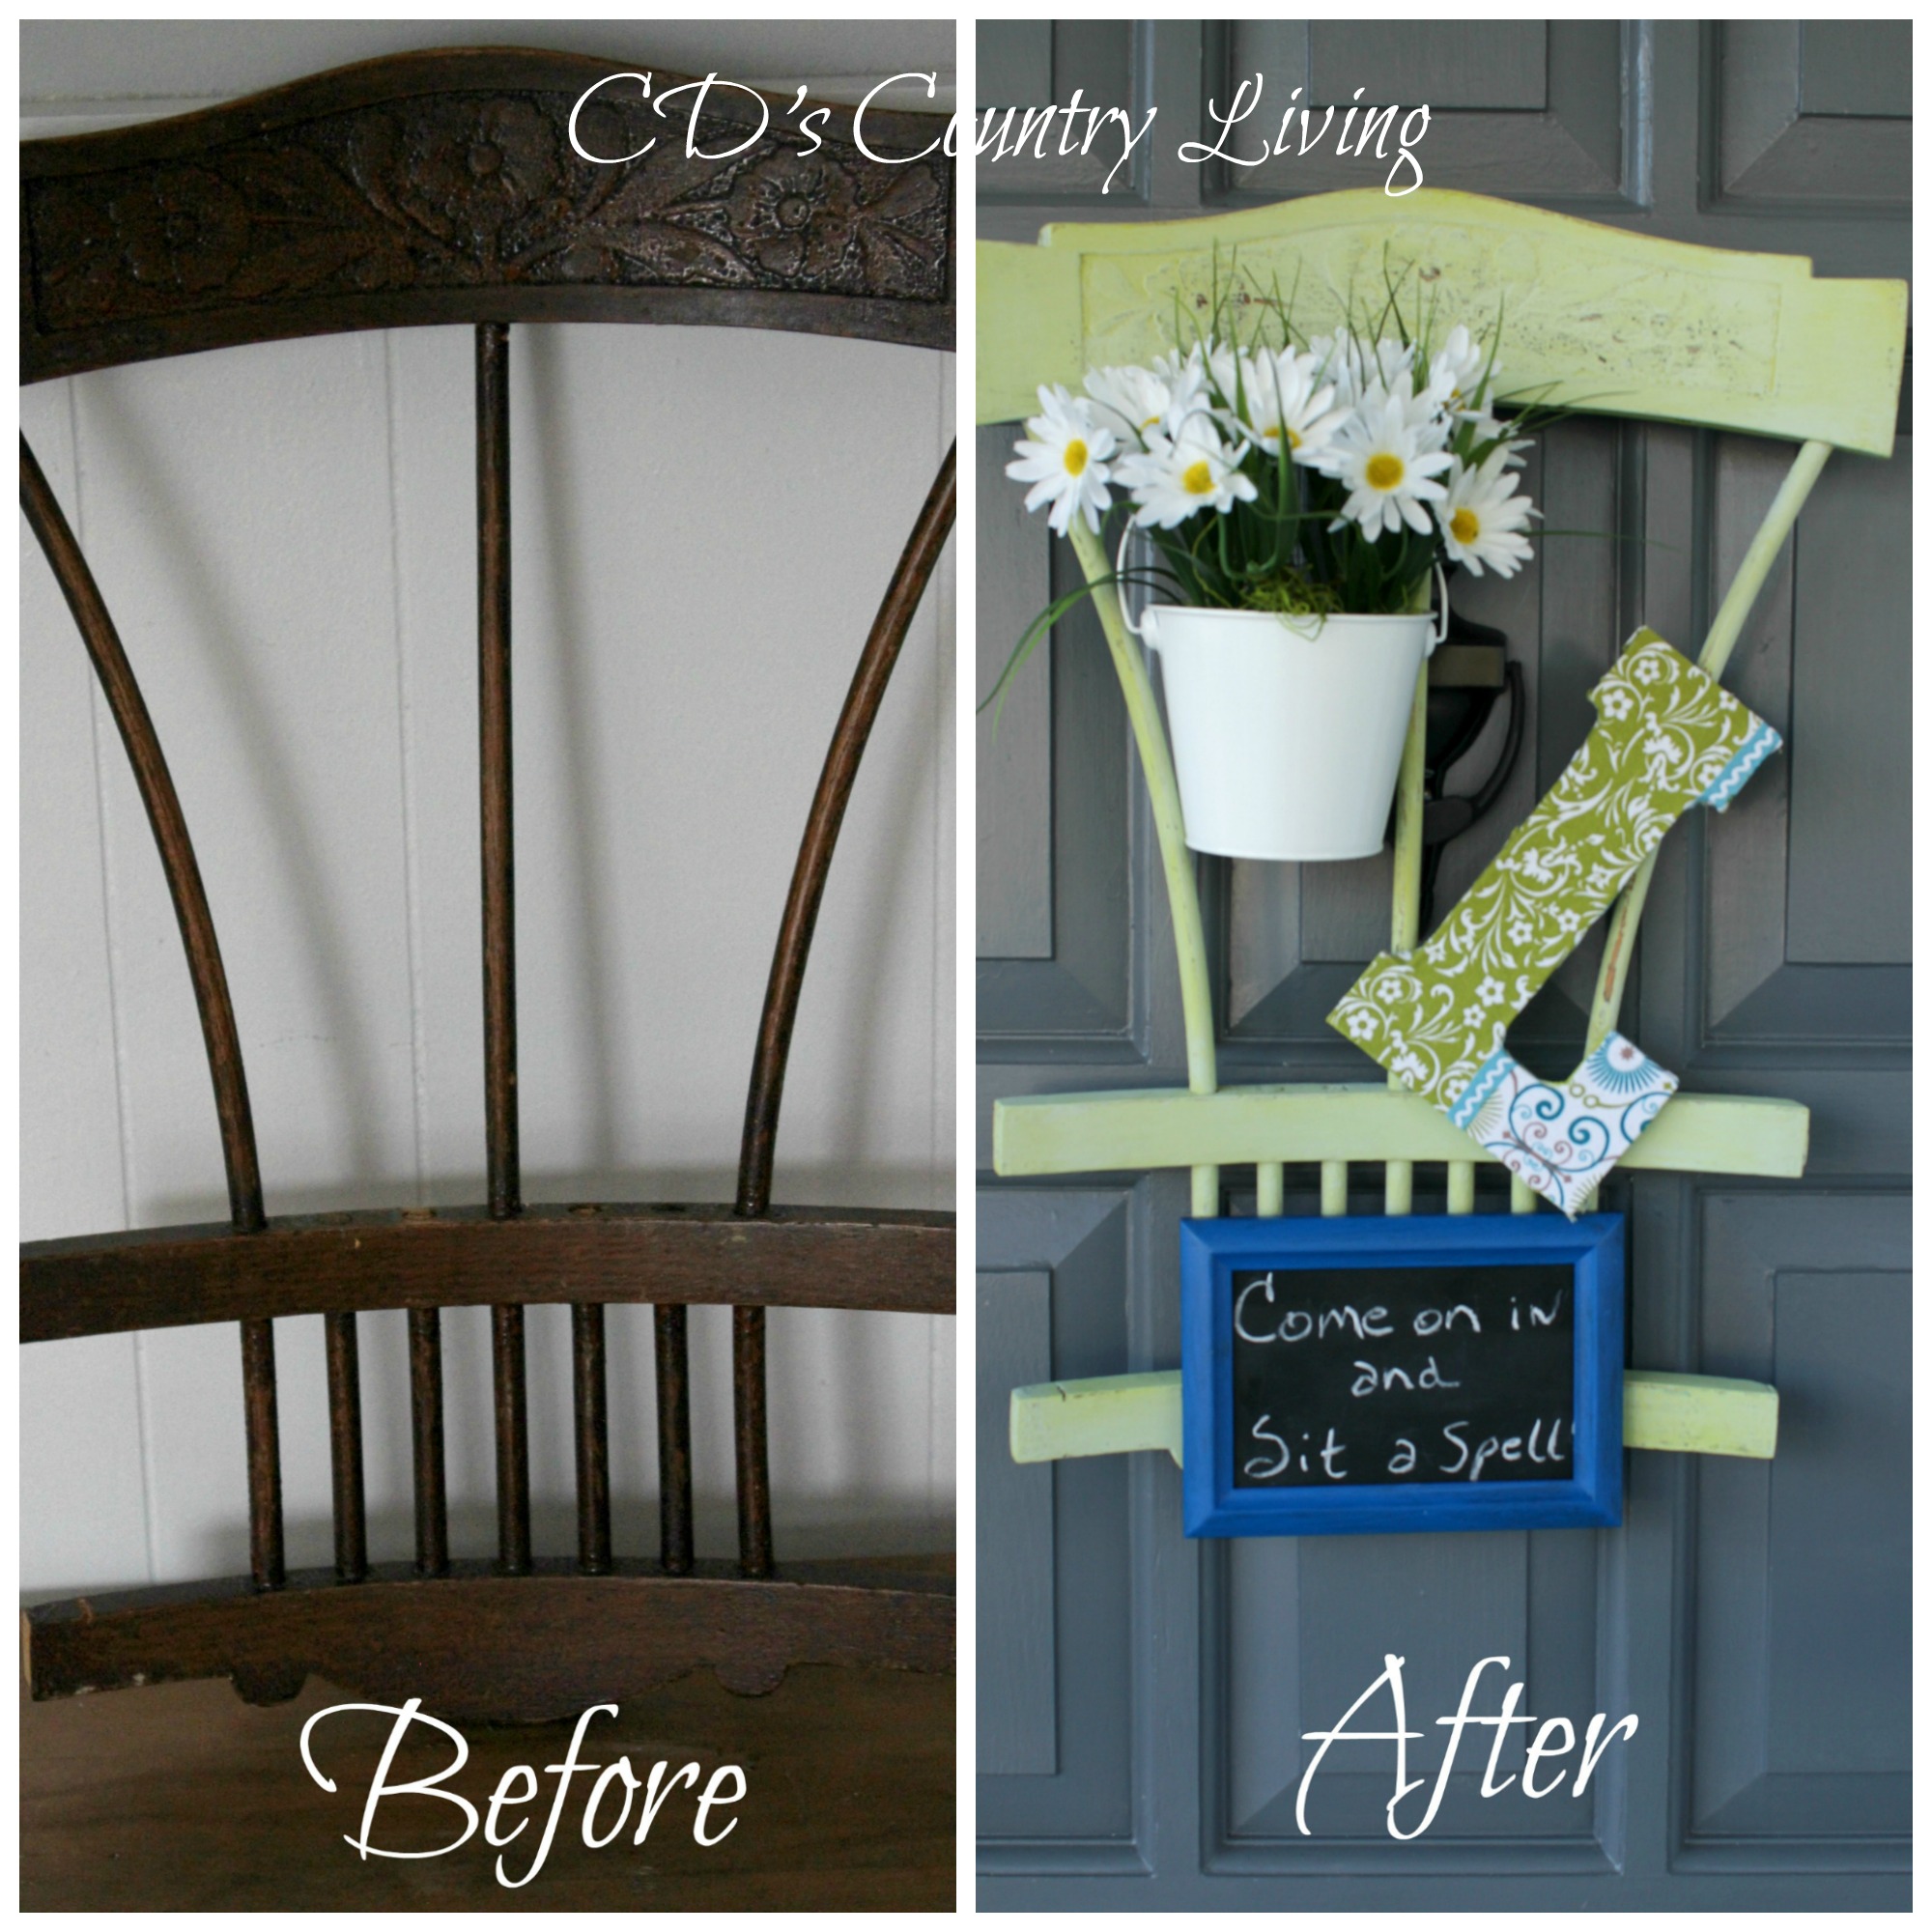
What do you think of my Trash to Treasure Spring Front Door Decor?
All I can say is-goodbye winter-and HELLO, Spring!
Have a great Tuesday ya’ all!
Blessings and hugs,

I’ll be sharing at these amazing parties-so stop on by for some inspiration!
Wow Us Wendesdays // DYI BY DESIGN // Fluster Creative Muster // Work It Wednesday // Creative Ways Share Your Style // Wonderful Wednesday Party // Worthwhile Wednesdays // Moonlight & Mason Jars The Wednesday Roundup // Wake Up Wednesday // Whimsy Wednesday // Pin Worthy Wednesday The Wednesday Showcase // The Creative Circle
Treasure Hunt Thursday // Grace At Home // The Creative Exchange // Share Your Cup Thursday Inspiration 2 // Weekend Re-Treat // Home & Garden Thursday // Thursday Favorite Things //Brag-Worthy Thursday The Handmade Hangout // The Idea Box // Creativity Unleashed // Create-Share-Inspire // Your Inspired Design DIY Like A Boss // The DIY Collective // Making Broken Beautiful // Vintage Charm Party // Inspiration Thursday
DIY Projects & Recipe Party
Feathered Nest Friday // Simple & Sweet Fridays // Show & Tell Friday // Home Sweet Home // Craft Frenzy Friday Diy-Vintage-Chic // The Creative Collection // Friday Feature Linky Party // Friday Flash Blog // Link Party PALOOZA Be Inspired // Sharing With Domestic Superhero // Friday Finds Link // Shabbilicious Friday // Five Star Frugal The Inspiration Gallery // Best Of The Weekend // Pinbellish Party // Pretty Pintastic Party // The Creative Circle
I love this – and the color choice is perfect. You really nailed this project what a great DIY – PInning this! Spring has definitely sprung here and yesterday we had one of those crazy out of no where rain that turns into hail shower. Just glad those freezing temps are in the past.
Thank you so much, Carole!! It’s such a relief to finally have something on our very empty-front door!! I just heard on the news about bad weather in your area! I sure hope you didn’t have any damage to your lovely farm!!! Thanks for stopping by!!
Oh my goodness this is too cute! And I love that fabric. If I had a nickel for every time my hubby didn’t catch the vision in my head… Well let’s just say I could buy a LOT of craft supplies with those nickels.
CD this is absolutely beautiful! Love it ♥
Sinea
Aw..thank you so much, Sinea! I’m so glad you like it! That means a ton! Have a blessed rest of your week!
LOL, Meredith-me too! Thank you so much for stopping by! Have a great rest of your week!
This is adorable, I love the colors! Thank you for sharing it on the Creative Muster. We loved it so much that we’re pinning it to our Creative Muster Favorites board. I hope that we’ll be seeing more of your great ideas.
That’s so unique, it’s awesome. 🙂
Thank you so much! It is definitely out of the box front door decor for sure!
Oh my goodness, Robin! Thank you so much! I’m glad you liked it-and big hugs for sharing! I will definitely be stopping by more often!
Your unique Spring Front Door hanger caught my eye at the Thursday Favorite Things party. Very clever and pretty CD! Pinning to share ☺
Oh my goodness, Marie!! You are so sweet! Thank you so much for stopping by and sharing! 🙂 Have a blessed weekend!
Super cute! I need something new on my front door…you are inspiring me to think outside the box!
Thank you, Val!! This project was so much fun because I just went with my vision, and thankfully it all turned out just as I wanted! Go for it!
Omg. I really love this! The colour is great <3
What a fun transformation.
Thanks for sharing with SYC.
Thank you so much, Melanie! I think cobalt blue and lime green have become my favorite colors for this year’s spring decor!! Love the combination!
Thank you so much, Carol!
Ohhh I love this project. I love the paint color you choose , what a neat piece!!!! Happy Spring Christine!!! MUAHHHH
Thank you, Christine!!! Happy Spring to you too!!