
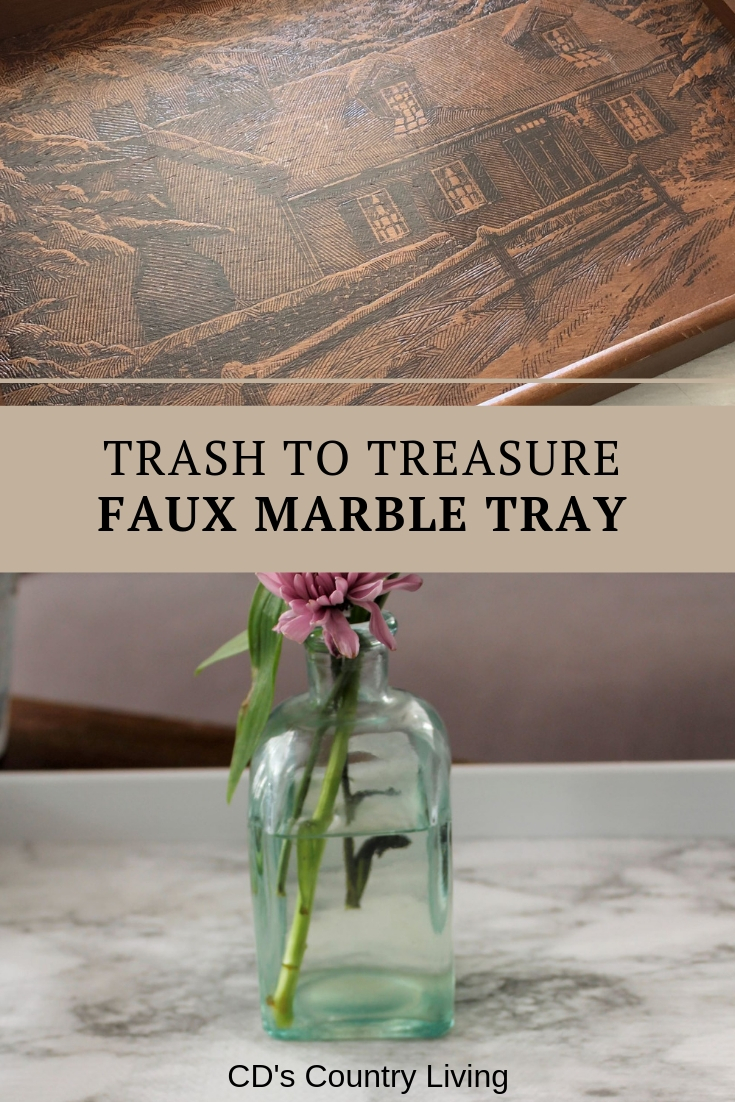
Trash to Treasure Faux Marble Tray
How to upcycle an outdated thrift store find into a functional and pretty coffee table tray.
I’ve been looking for an affordable but pretty tray for my living room coffee table ever since we completed that rooms remodel.
That was two years ago!
I know. I’m kind of picky.
The tray I really liked had a marble inlay. I thought besides being a gorgeous coffee table tray I could also use it for staging some of my food photography.
But marble inlaid trays don’t come cheap.
And I’m…frugal. 🙂
So I put off buying a tray until maybe one went on sale. And then I forgot.
Until the other day when I was at a local thrift store and I found this tray.
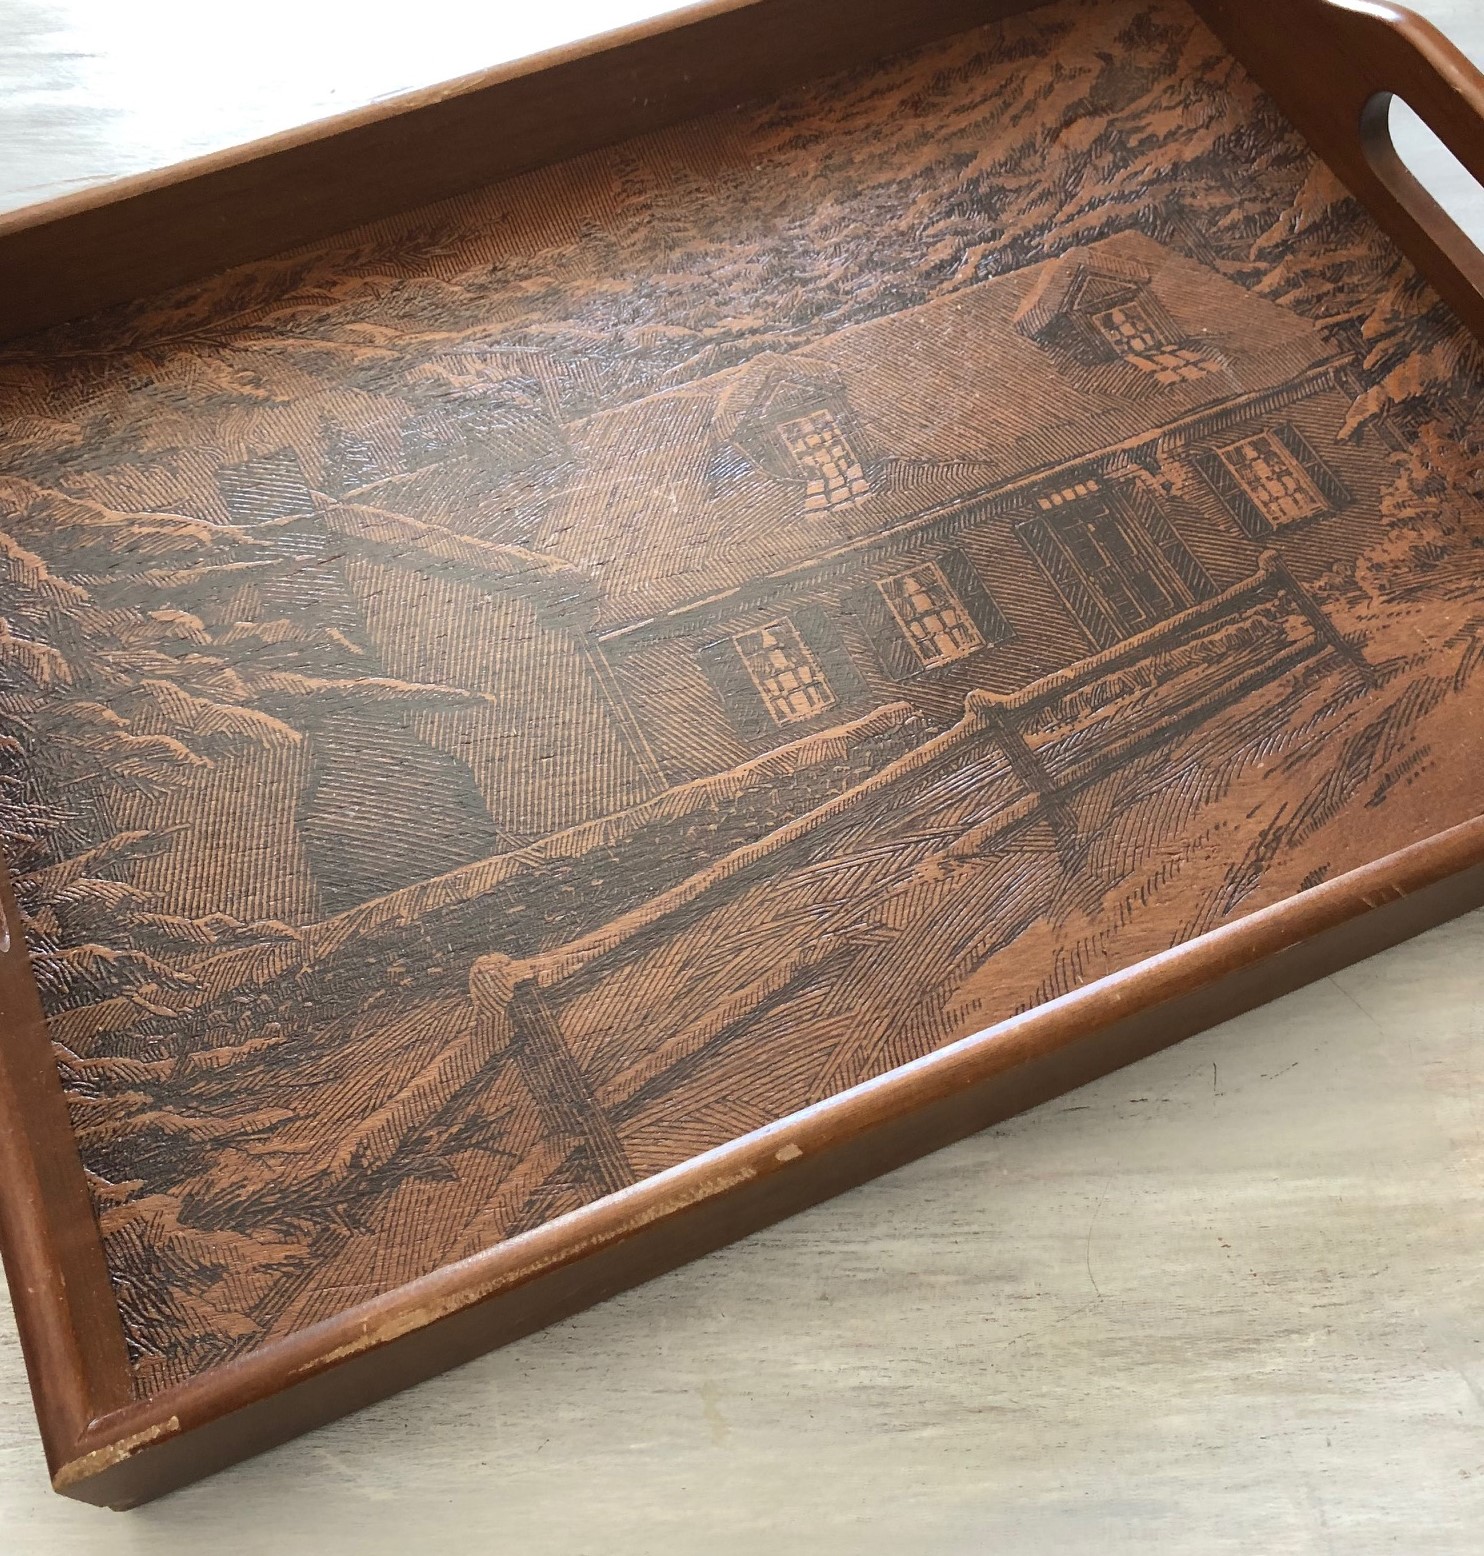
Not exactly my dream tray, but it did have potential. Unfortunately, that cozy wintery scene would have to go.
As would the scratched and chipped wood.
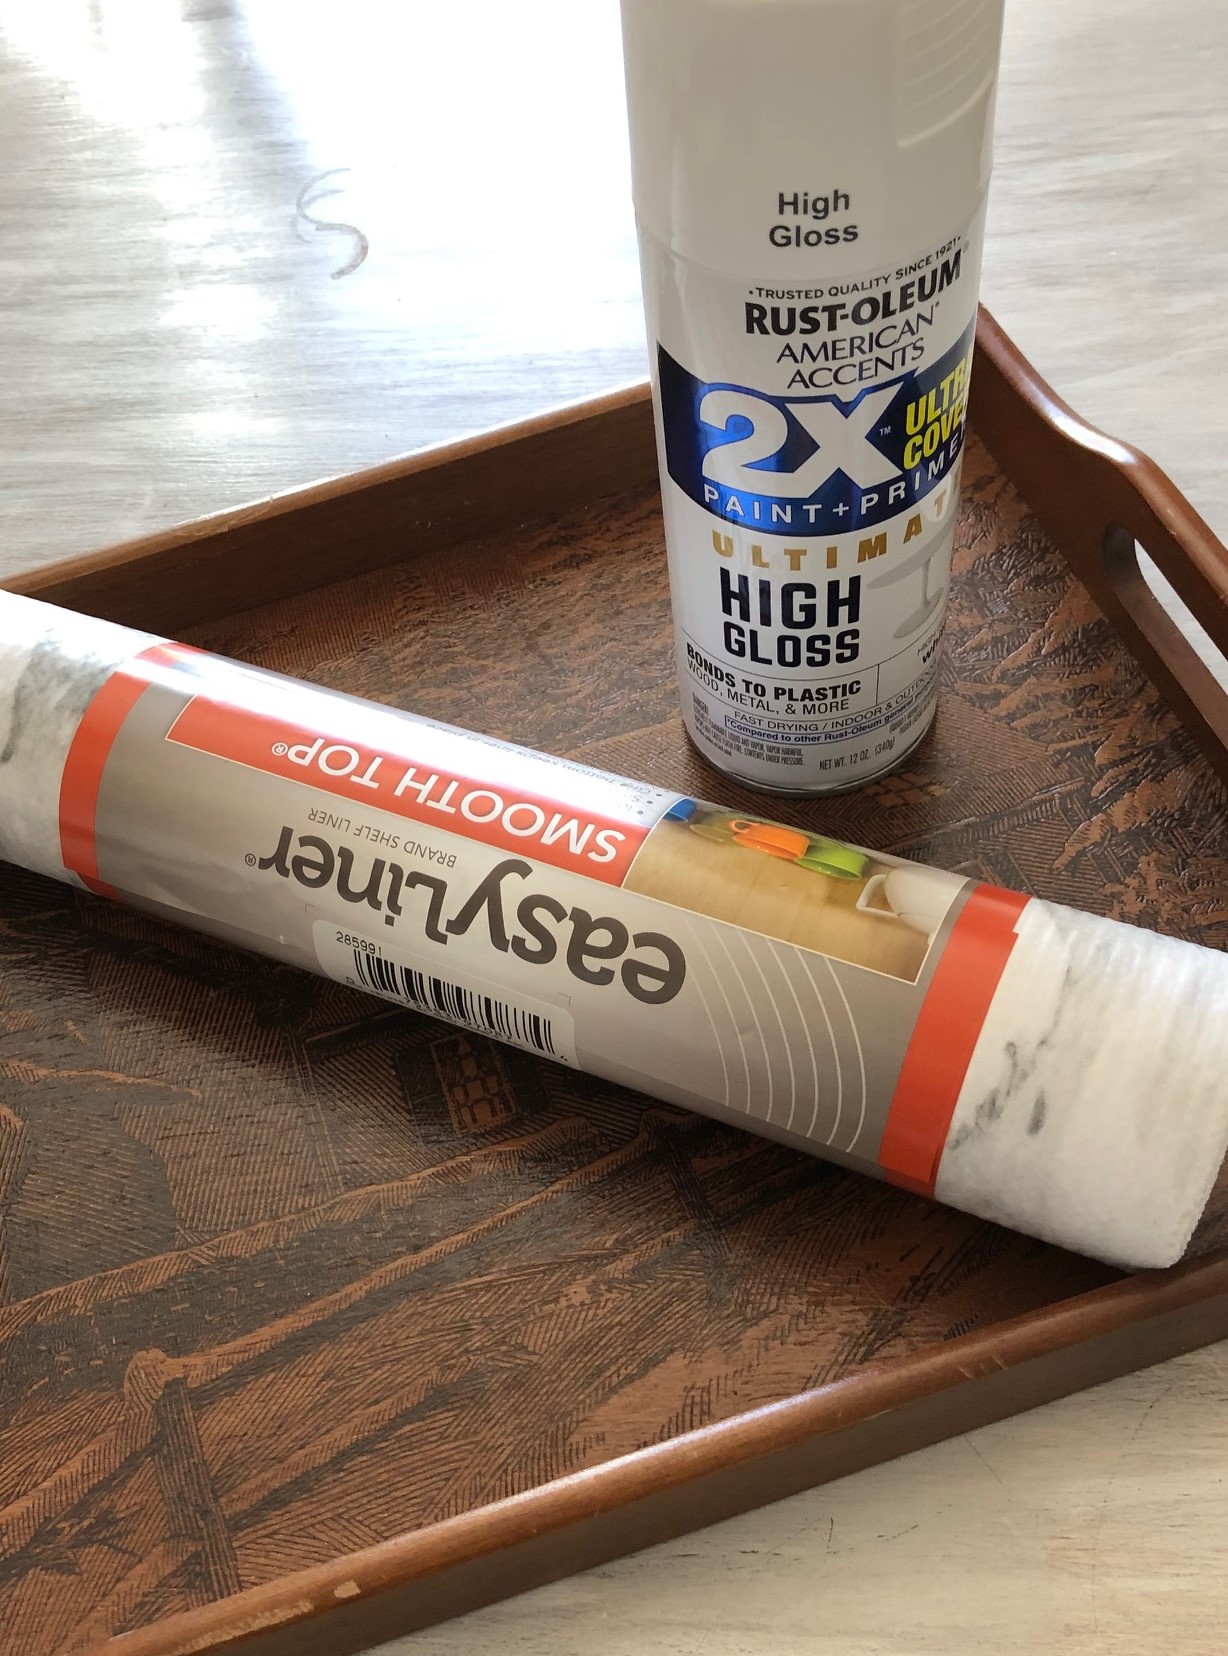
I chose white paint to cover the wood (high gloss for a more modern look) and though marble looking contact paper was the obvious choice for the interior, I decided on this liner instead.
It has a bit more texture than what I wanted, but overall I think for my purposes it’s the best solution. That way when I tire of the marble look (and I will) I can just pull out the liner and be left with a plain white tray, or replace it with another style of liner.
(Affiliate links are available for your convenience. All products were used and recommended for this project. You can find my full disclosure here.)
Full list of Materials needed:
Marble Looking Shelf/Drawer Liner (non-adhesive) I purchased mine at Walmart-Easyliner
Scissors
Sandpaper -60 grit
Measuring Tape
Pen/Pencil
Here’s what I did!
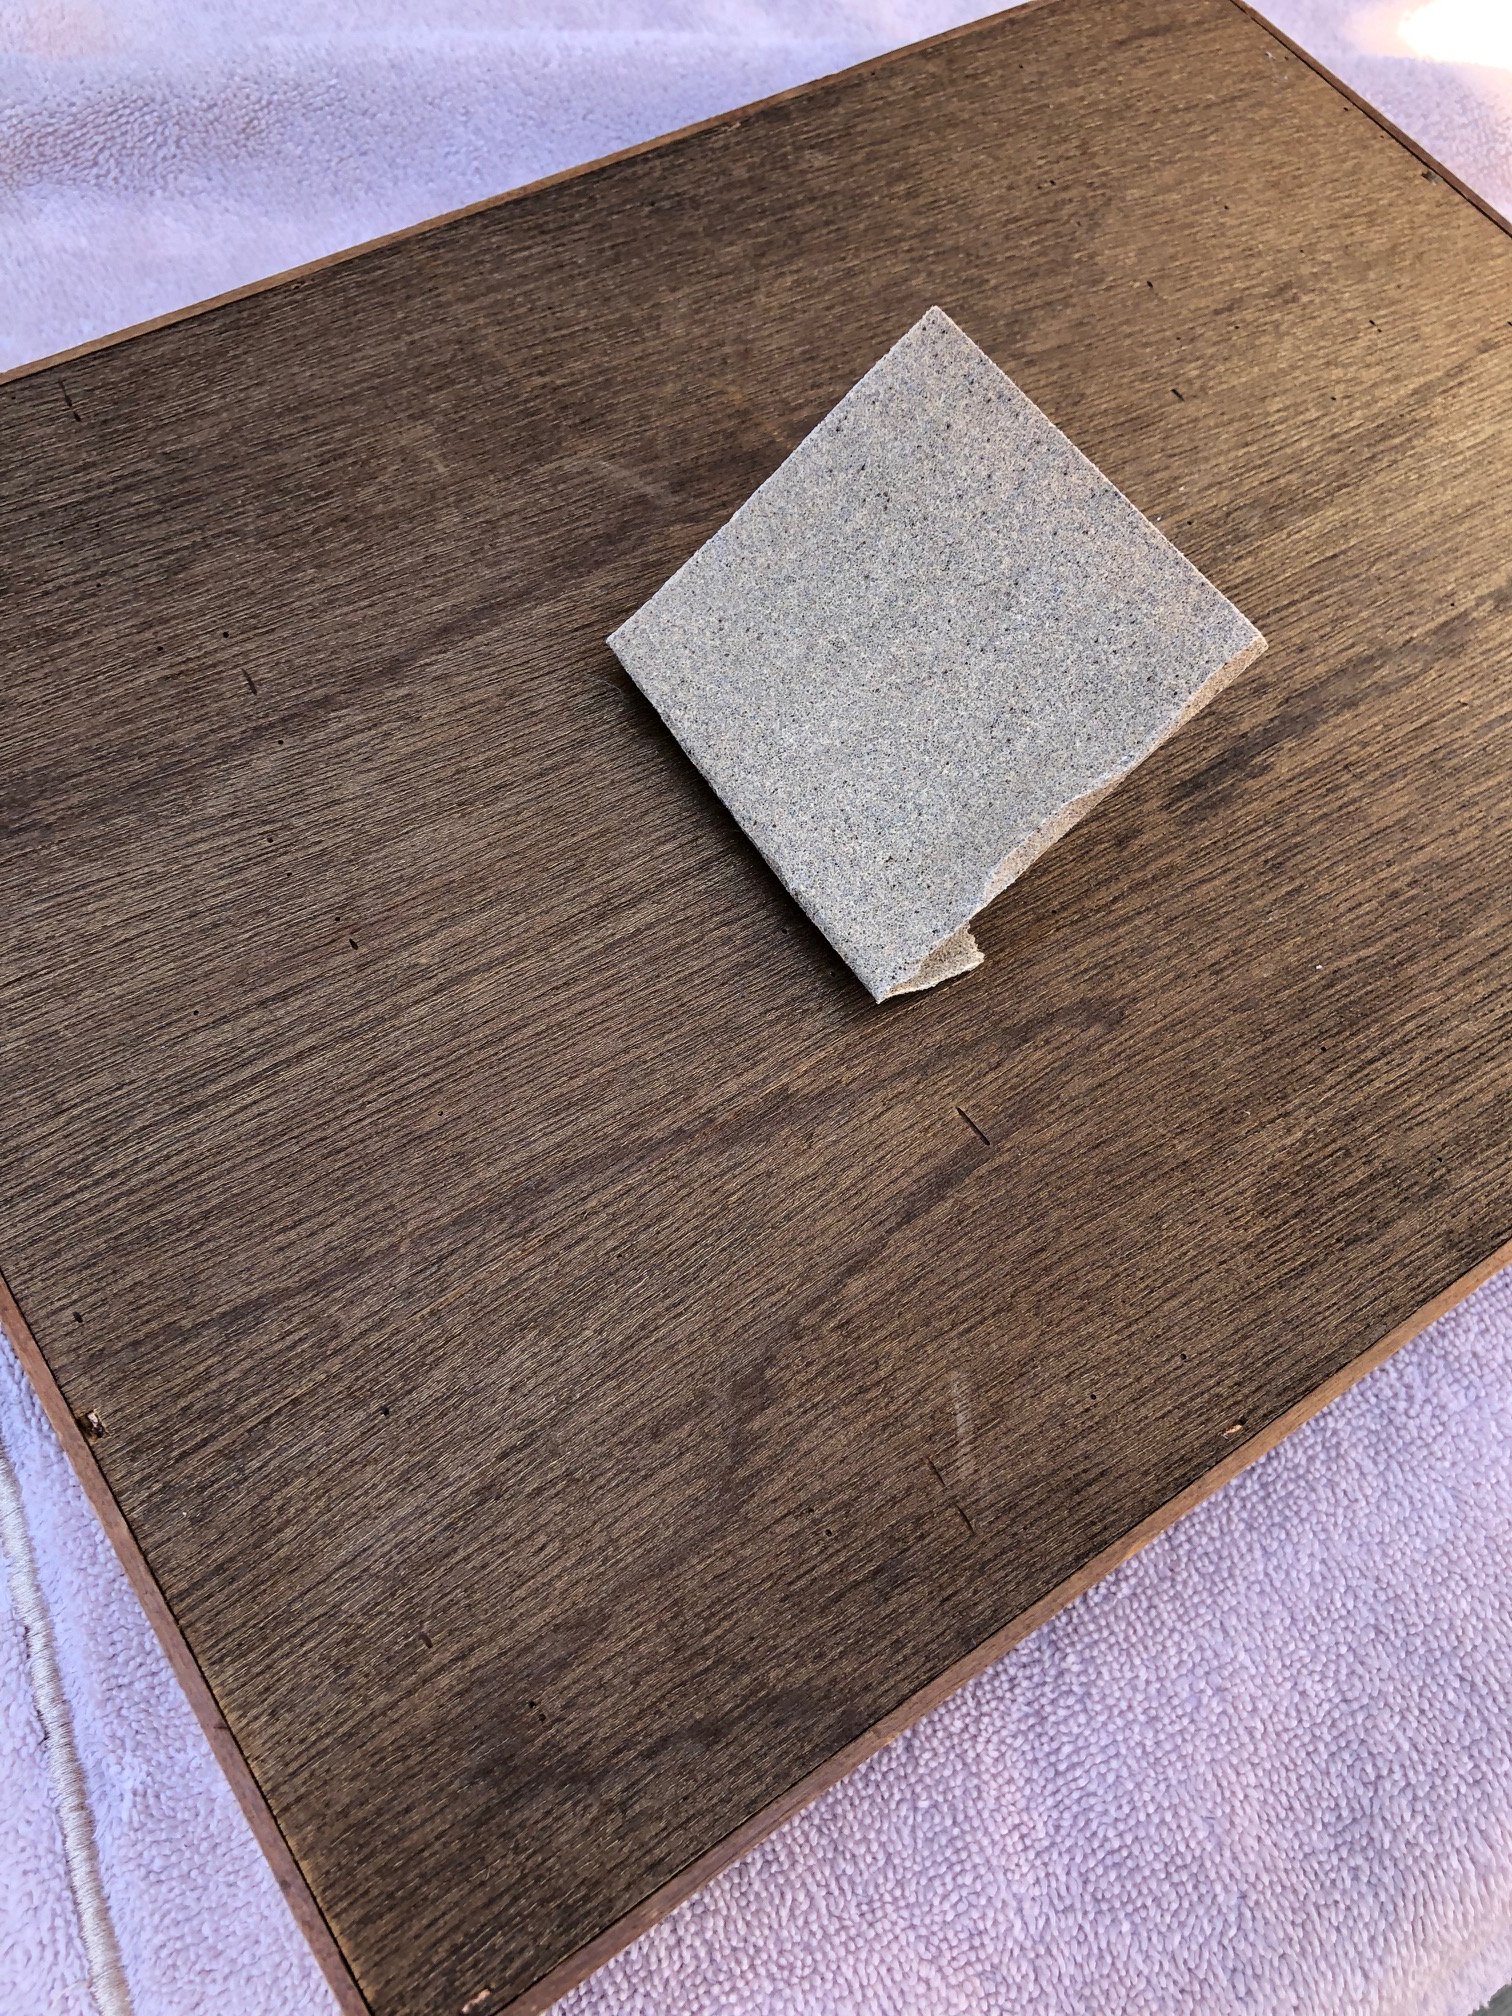
Step One-
Sand the entire tray. Since all of the scratches and dings were surface level (not too deep) I didn’t have to fill any in with wood filler. (Thank goodness!)
Step Two- Paint the entire tray. My tray took 3 light coats with dry time between 1st and 2nd coat – 2 hours, then 24 hours between the 2nd and 3rd coats.
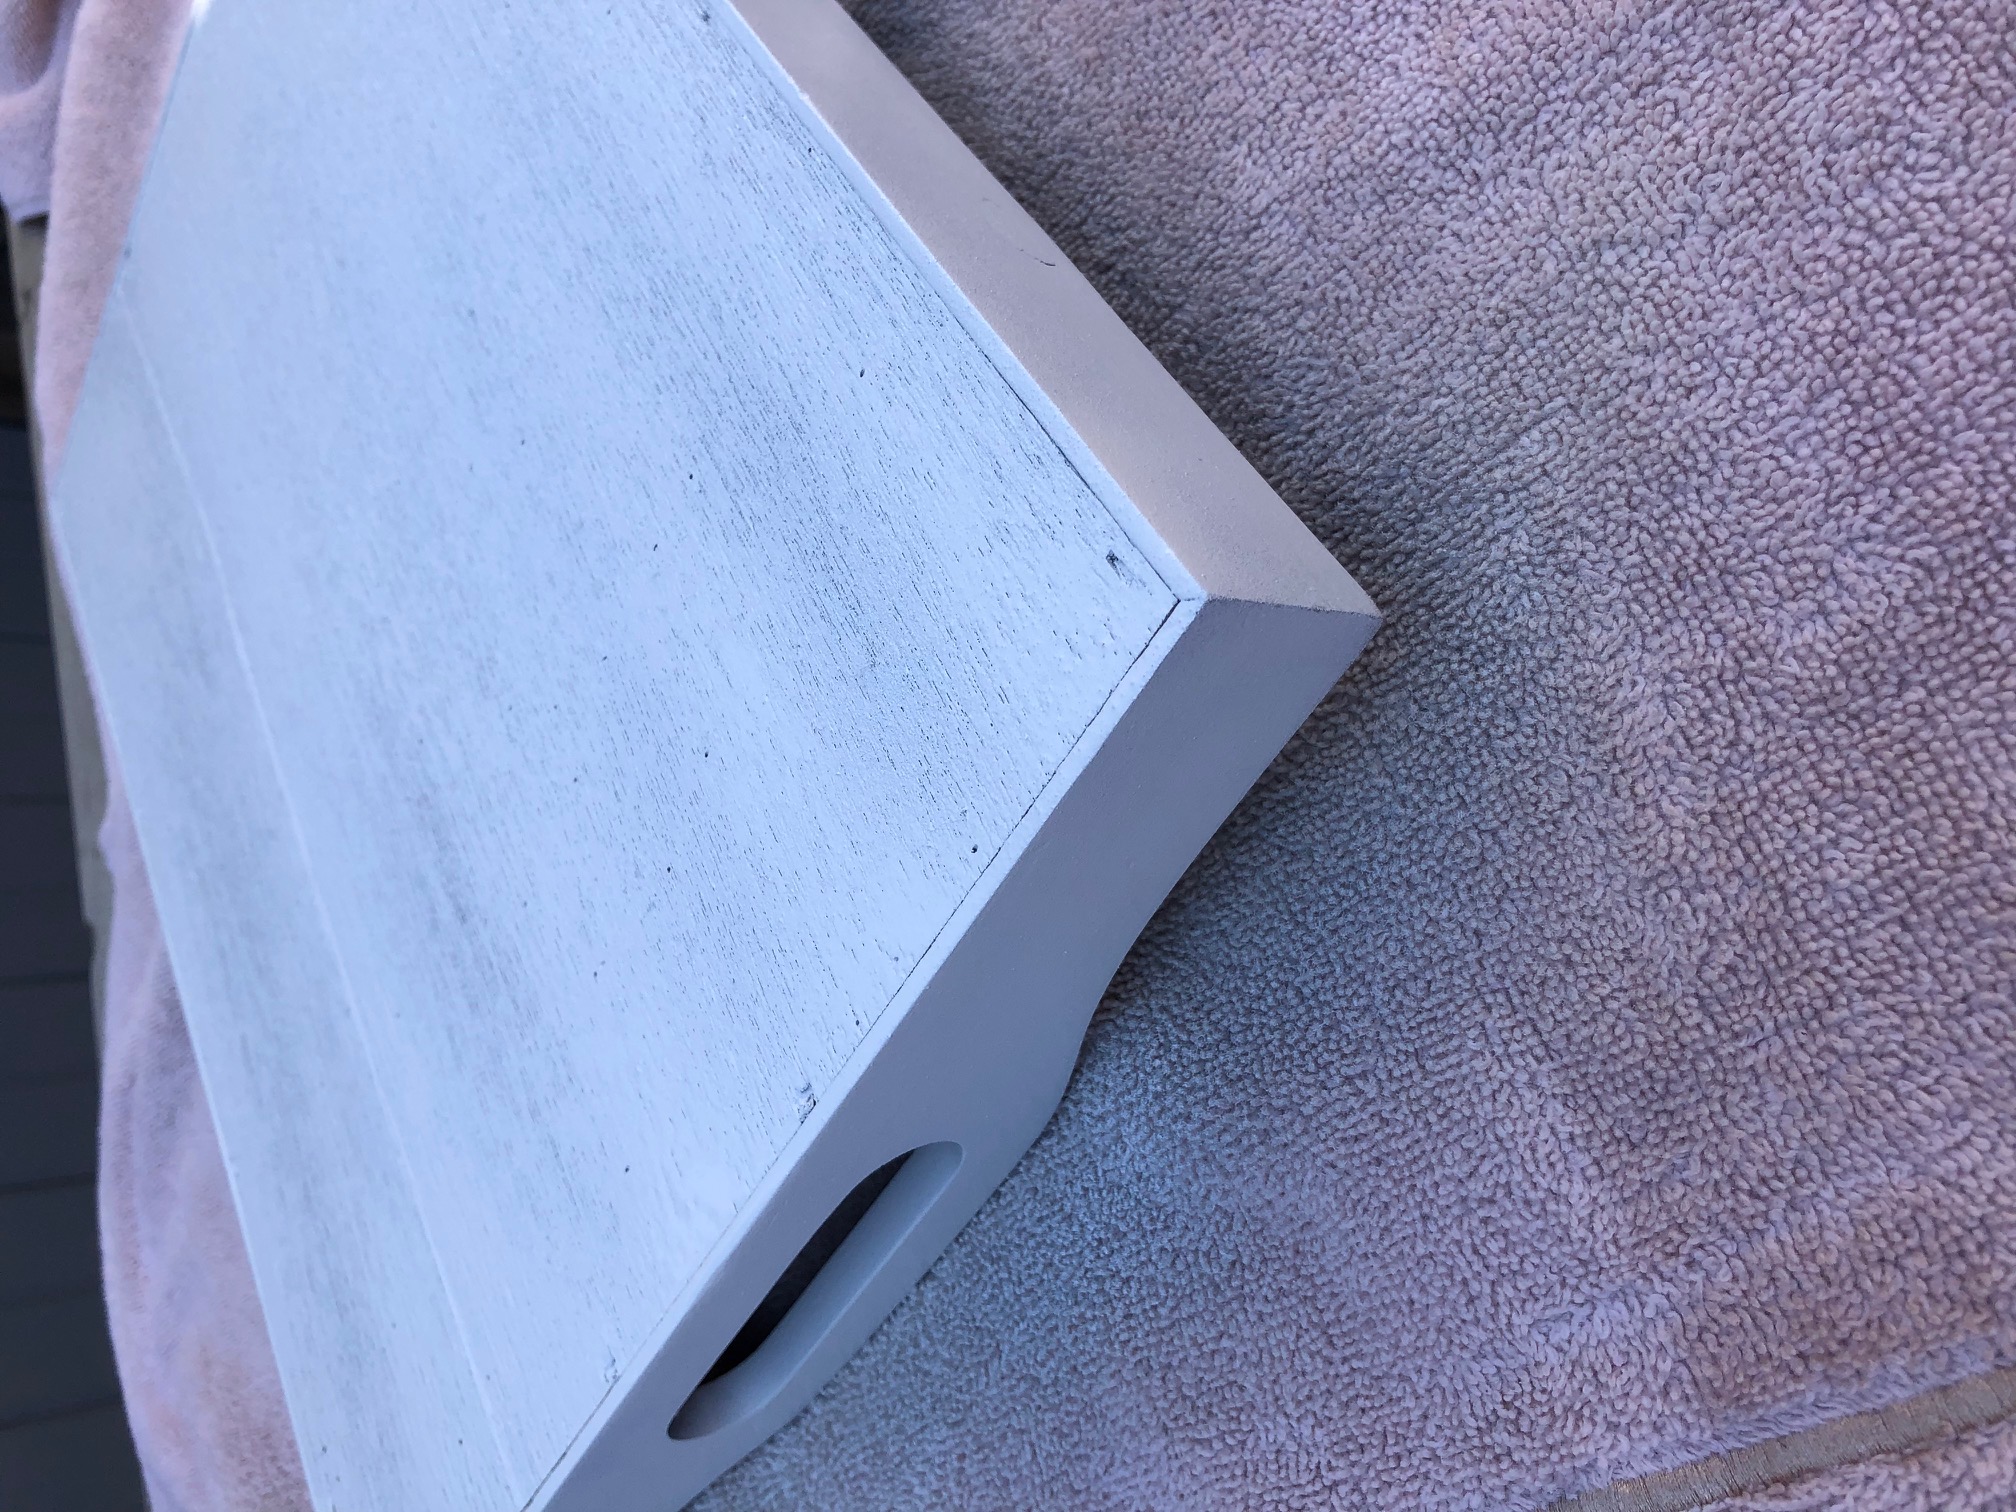
Once the tray was completely dry (24 hours after 3rd coat)
Step Three: Measure and cut the liner to fit inside the tray. **TIP I’m not the most even scissor cutter in the world so I adjusted for that by making my insert piece a bit larger than needed and then used a Xacto knife to cut the excess once I laid it inside the tray.

Step Four- Lay the liner into the tray. If you’ve measured perfectly the liner will fit snuggly so you shouldn’t have to worry about it slipping out of place.
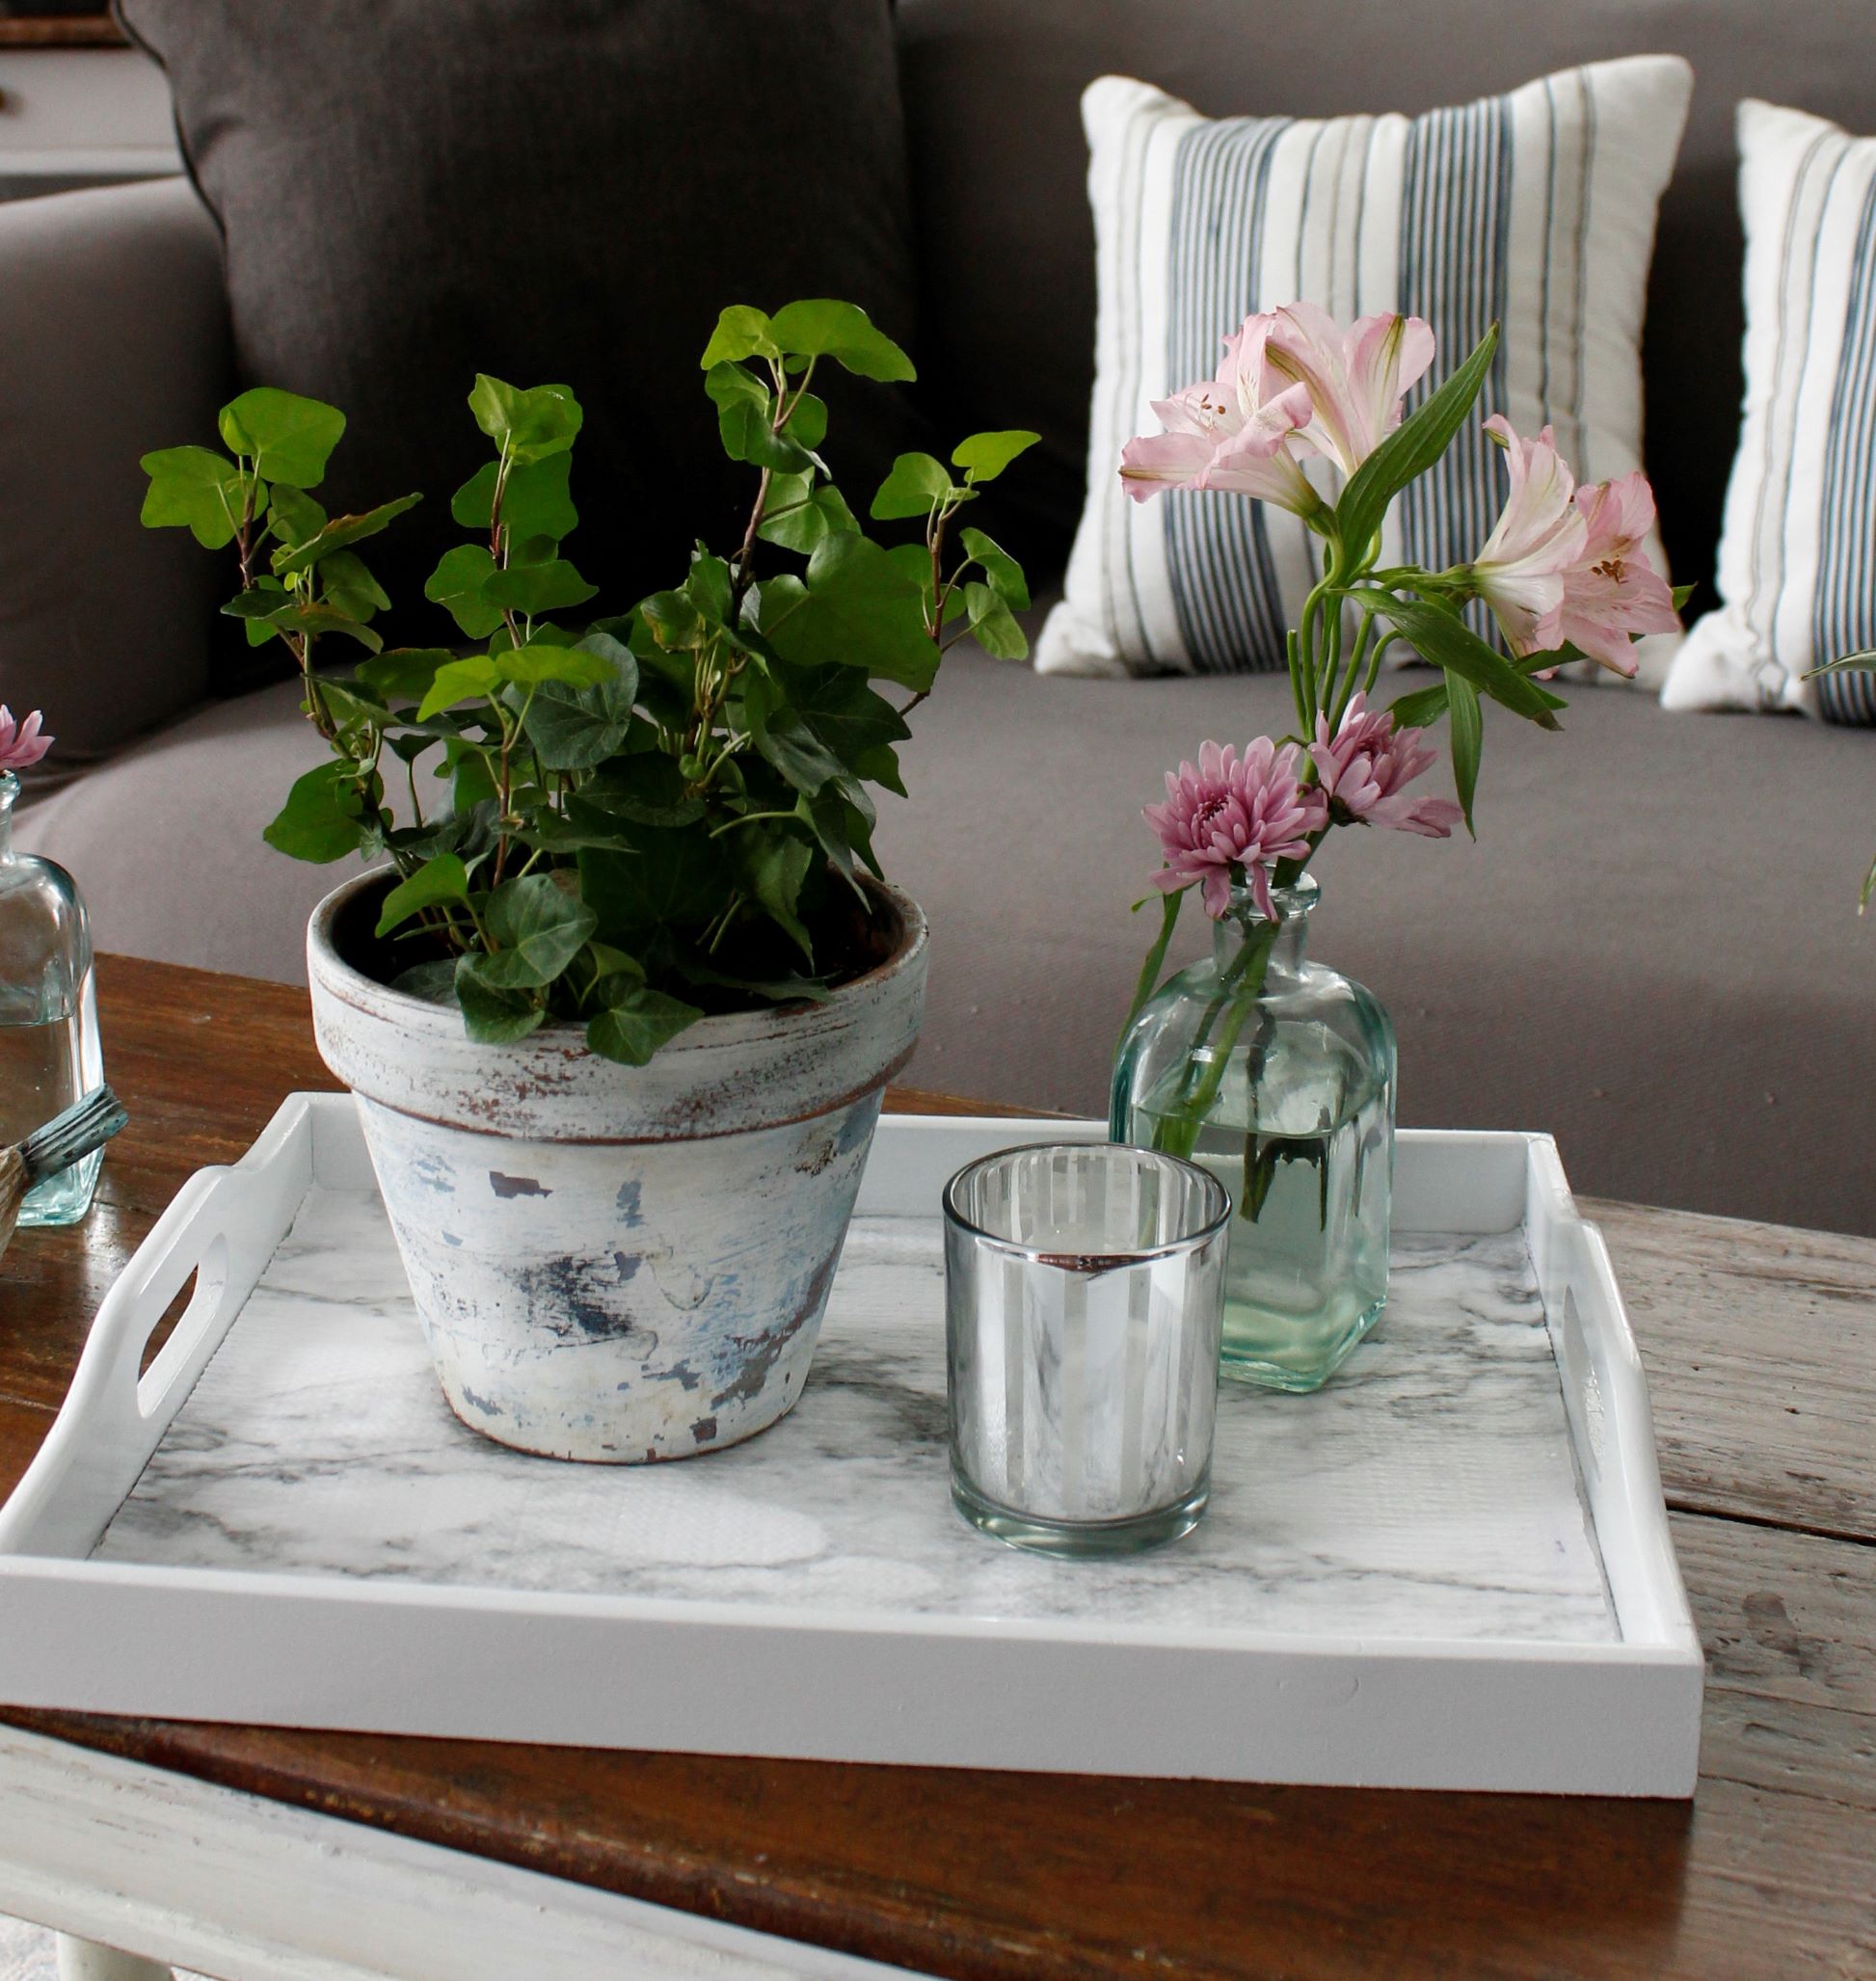
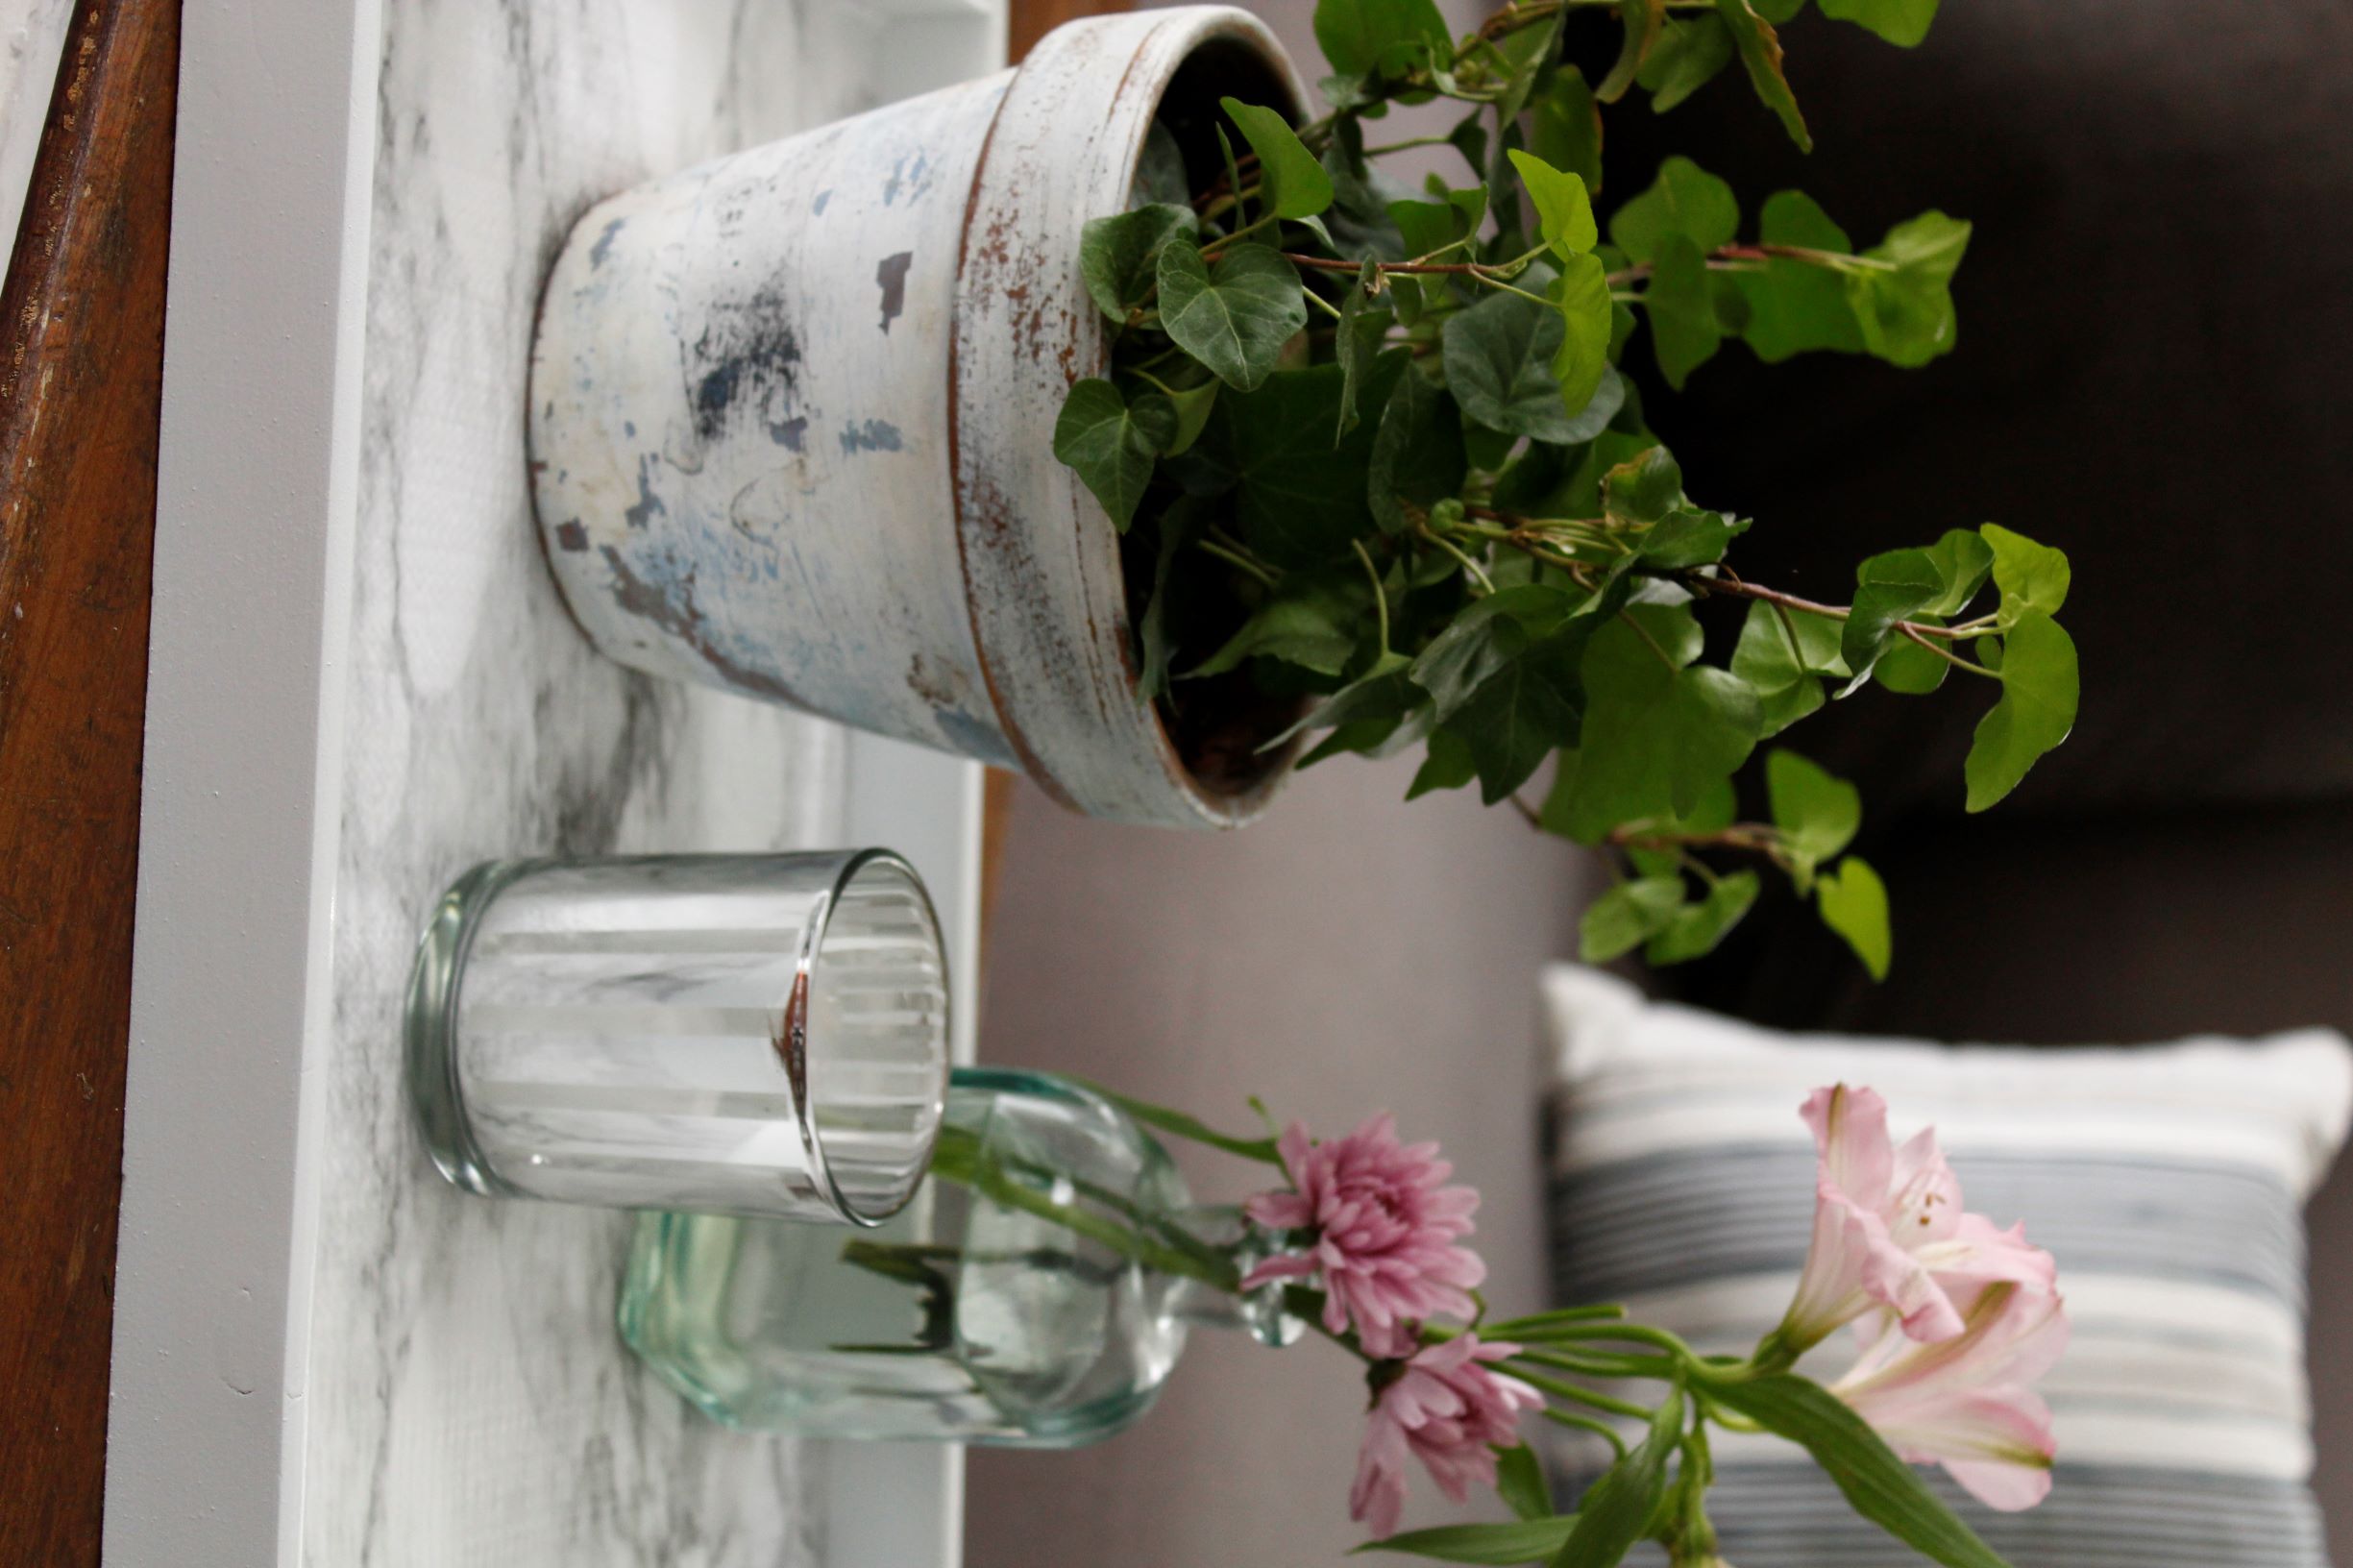
I love that this tray is SUPER versatile and I can change it out whenever I want.
The breakdown for the cost of this Trash to Treasure project is:
Tray-1.50
Liner-4.99 (Great thing is I can use the leftover for my kitchen cabinet drawers!)
Spray Paint-free (had it in paint supply closet)
So for just under $7.00 I have a brand new coffee table tray!
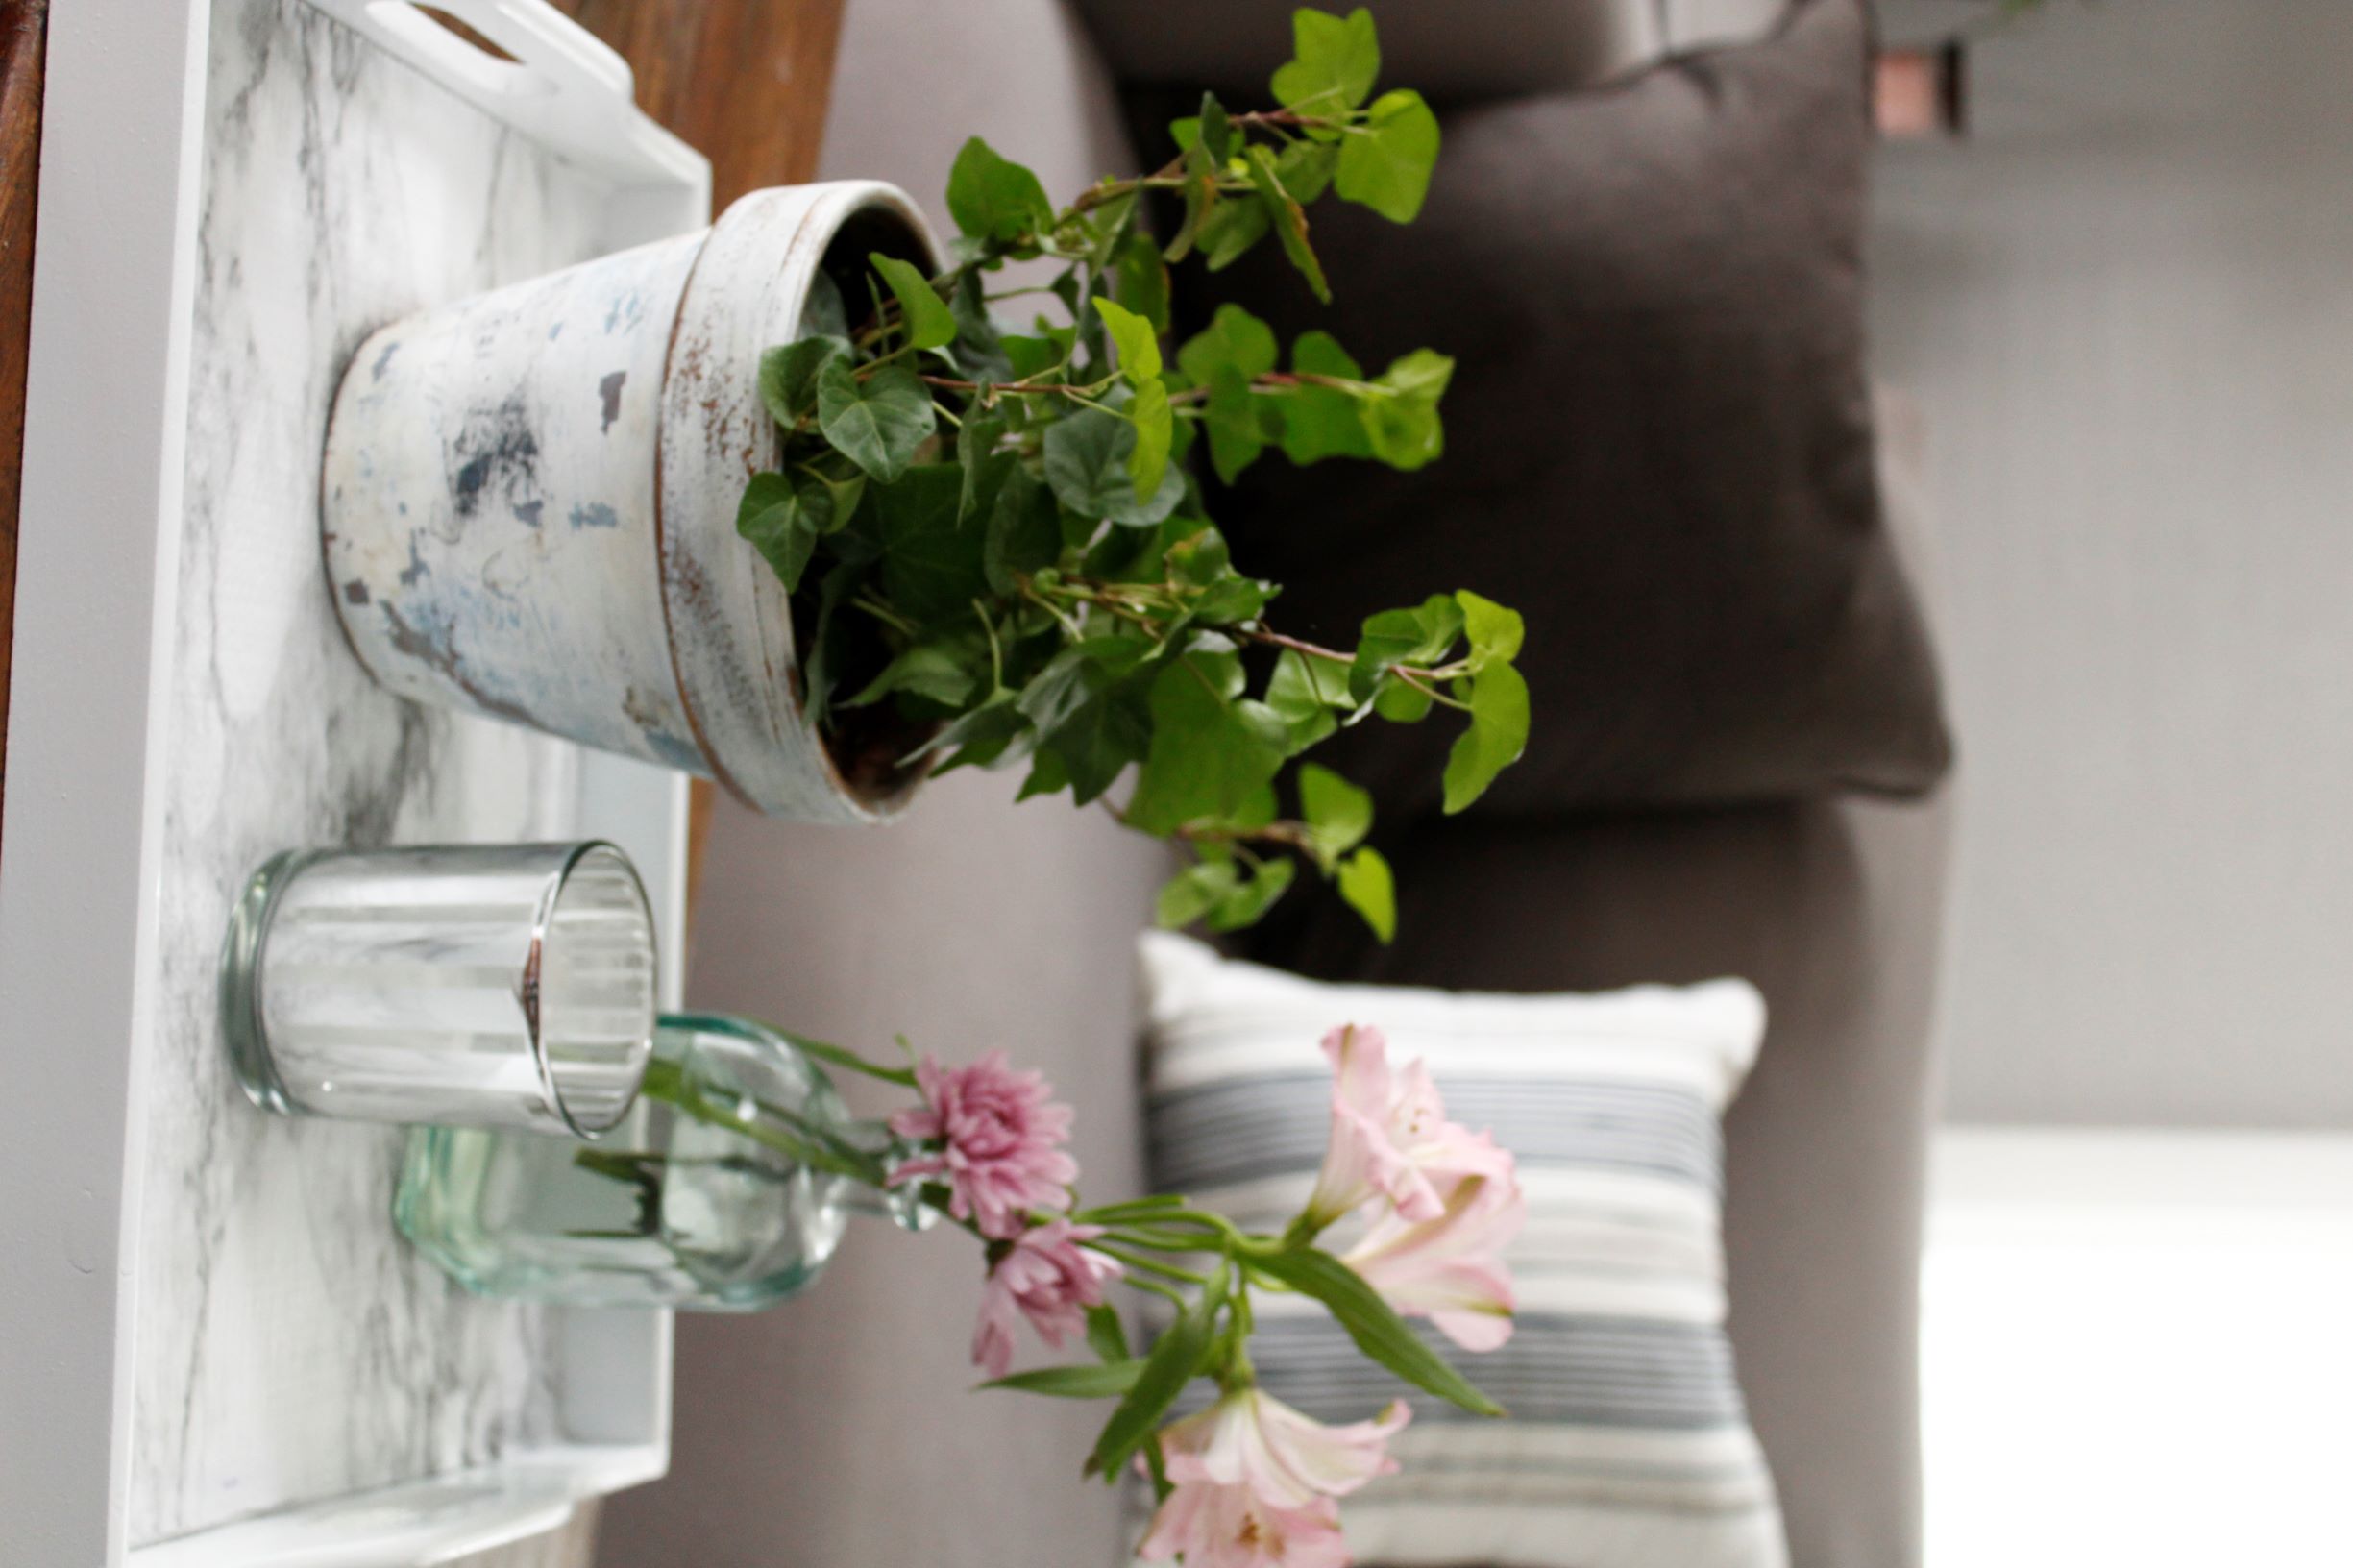
I can use it to display pretty vignettes, serve coffee, and yes, I can even use it as a prop for staging some of my food photos.
Now that’s what I call functional!

I hope you enjoyed my latest trash to treasure-faux marble tray.
I’m off to a few yard sales (can you believe it!!!) to look for inspiration for wall art in my office. Then it’s time to get some yard work done!
Thank you so much for stopping by!


[cn-social-icon selected_icons=”1,2,3″]
I’m frugal too – Love how you transformed that tray it’s perfect! That clay pot is pretty spiffy as well. Hope your weekend is great!
Thank you so much, Carole! It was fun and super easy! My kind of project! I ‘antiqued’ that clay pot and others years ago before it was ‘in’ to do so. I love that aged look. It just feels like home to me. Have a great weekend!