
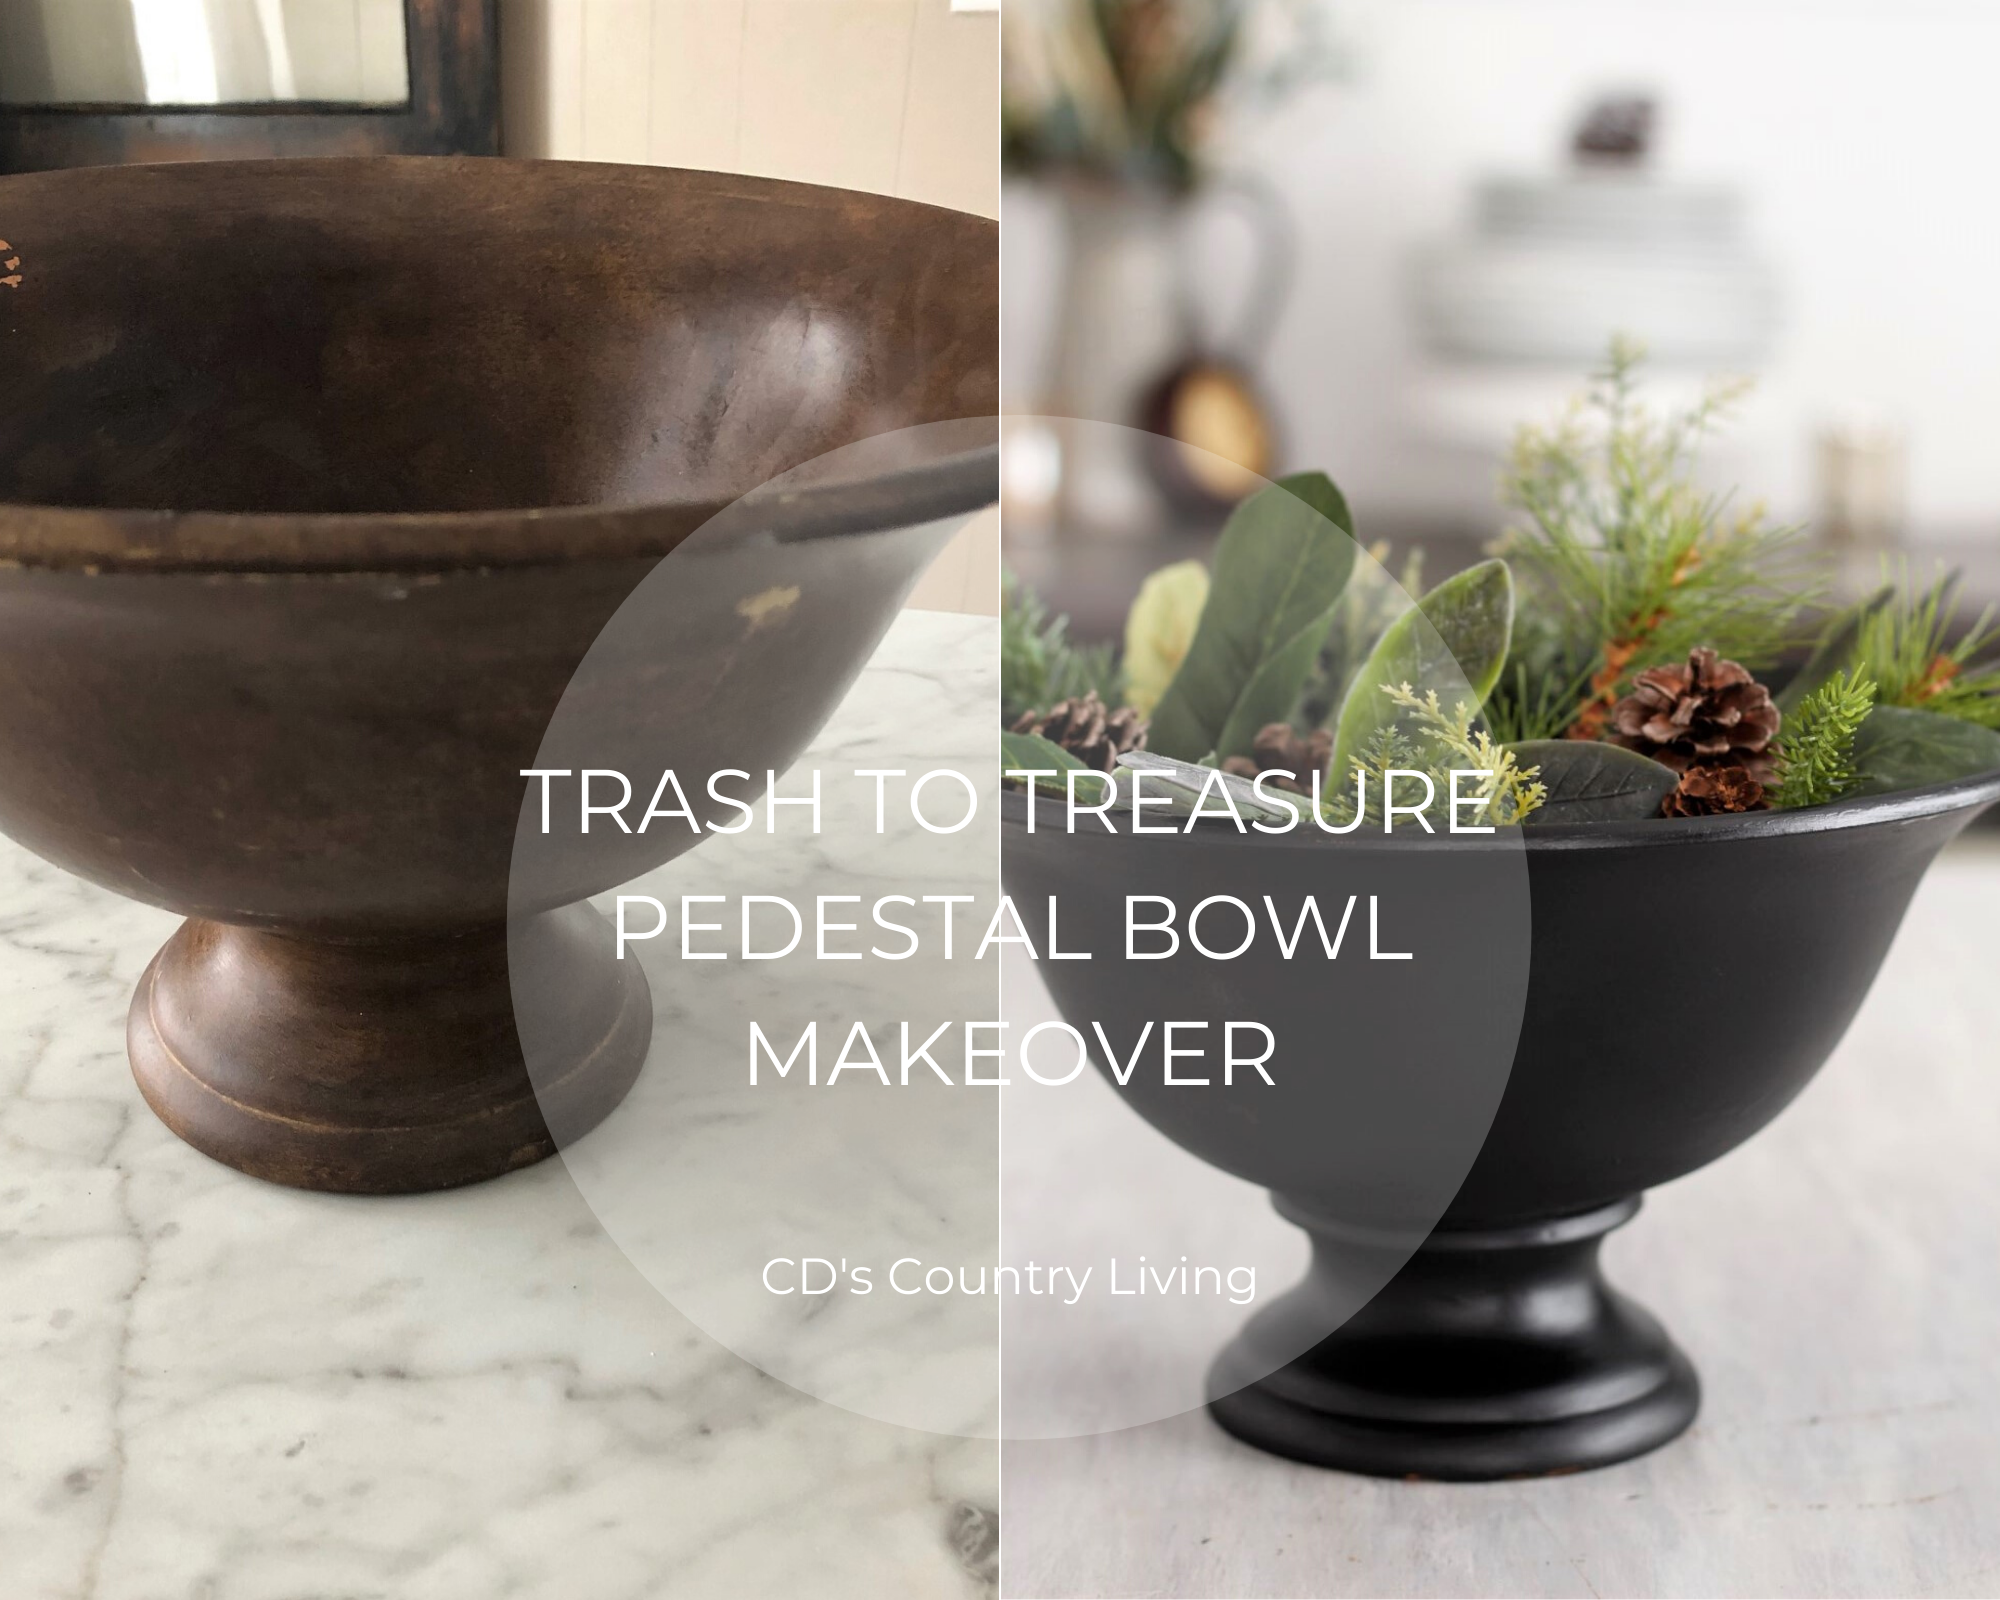
Trash to Treasure- A Pedestal Bowl Makeover!
Create a new and modern looking pedestal bowl from a thrift store find!
You all know I LOVE finding a good but maybe not so good looking bargain and turning them into useable, functional and yes, pretty items we can use in our home.
Today’s post involves all of those same criteria but sometimes it’s not just about the bargain or the creativity that gets me excited.
Sometimes it’s all about the simplicity of a project that makes my heart skip a beat!
And yet, oftentimes I do projects like today’s and never post about them because frankly, I think they are TOO simple.
But lately, I’m starting to think SIMPLE has gotten a bad rap.
I mean what’s wrong with simple?
And hello! Who doesn’t want a little more ‘simple’ in their lives?
I know I do.
So that’s what today’s project is about. SIMPLICITY!
And one very SIMPLE DIY project.
Here’s where this simple project began.
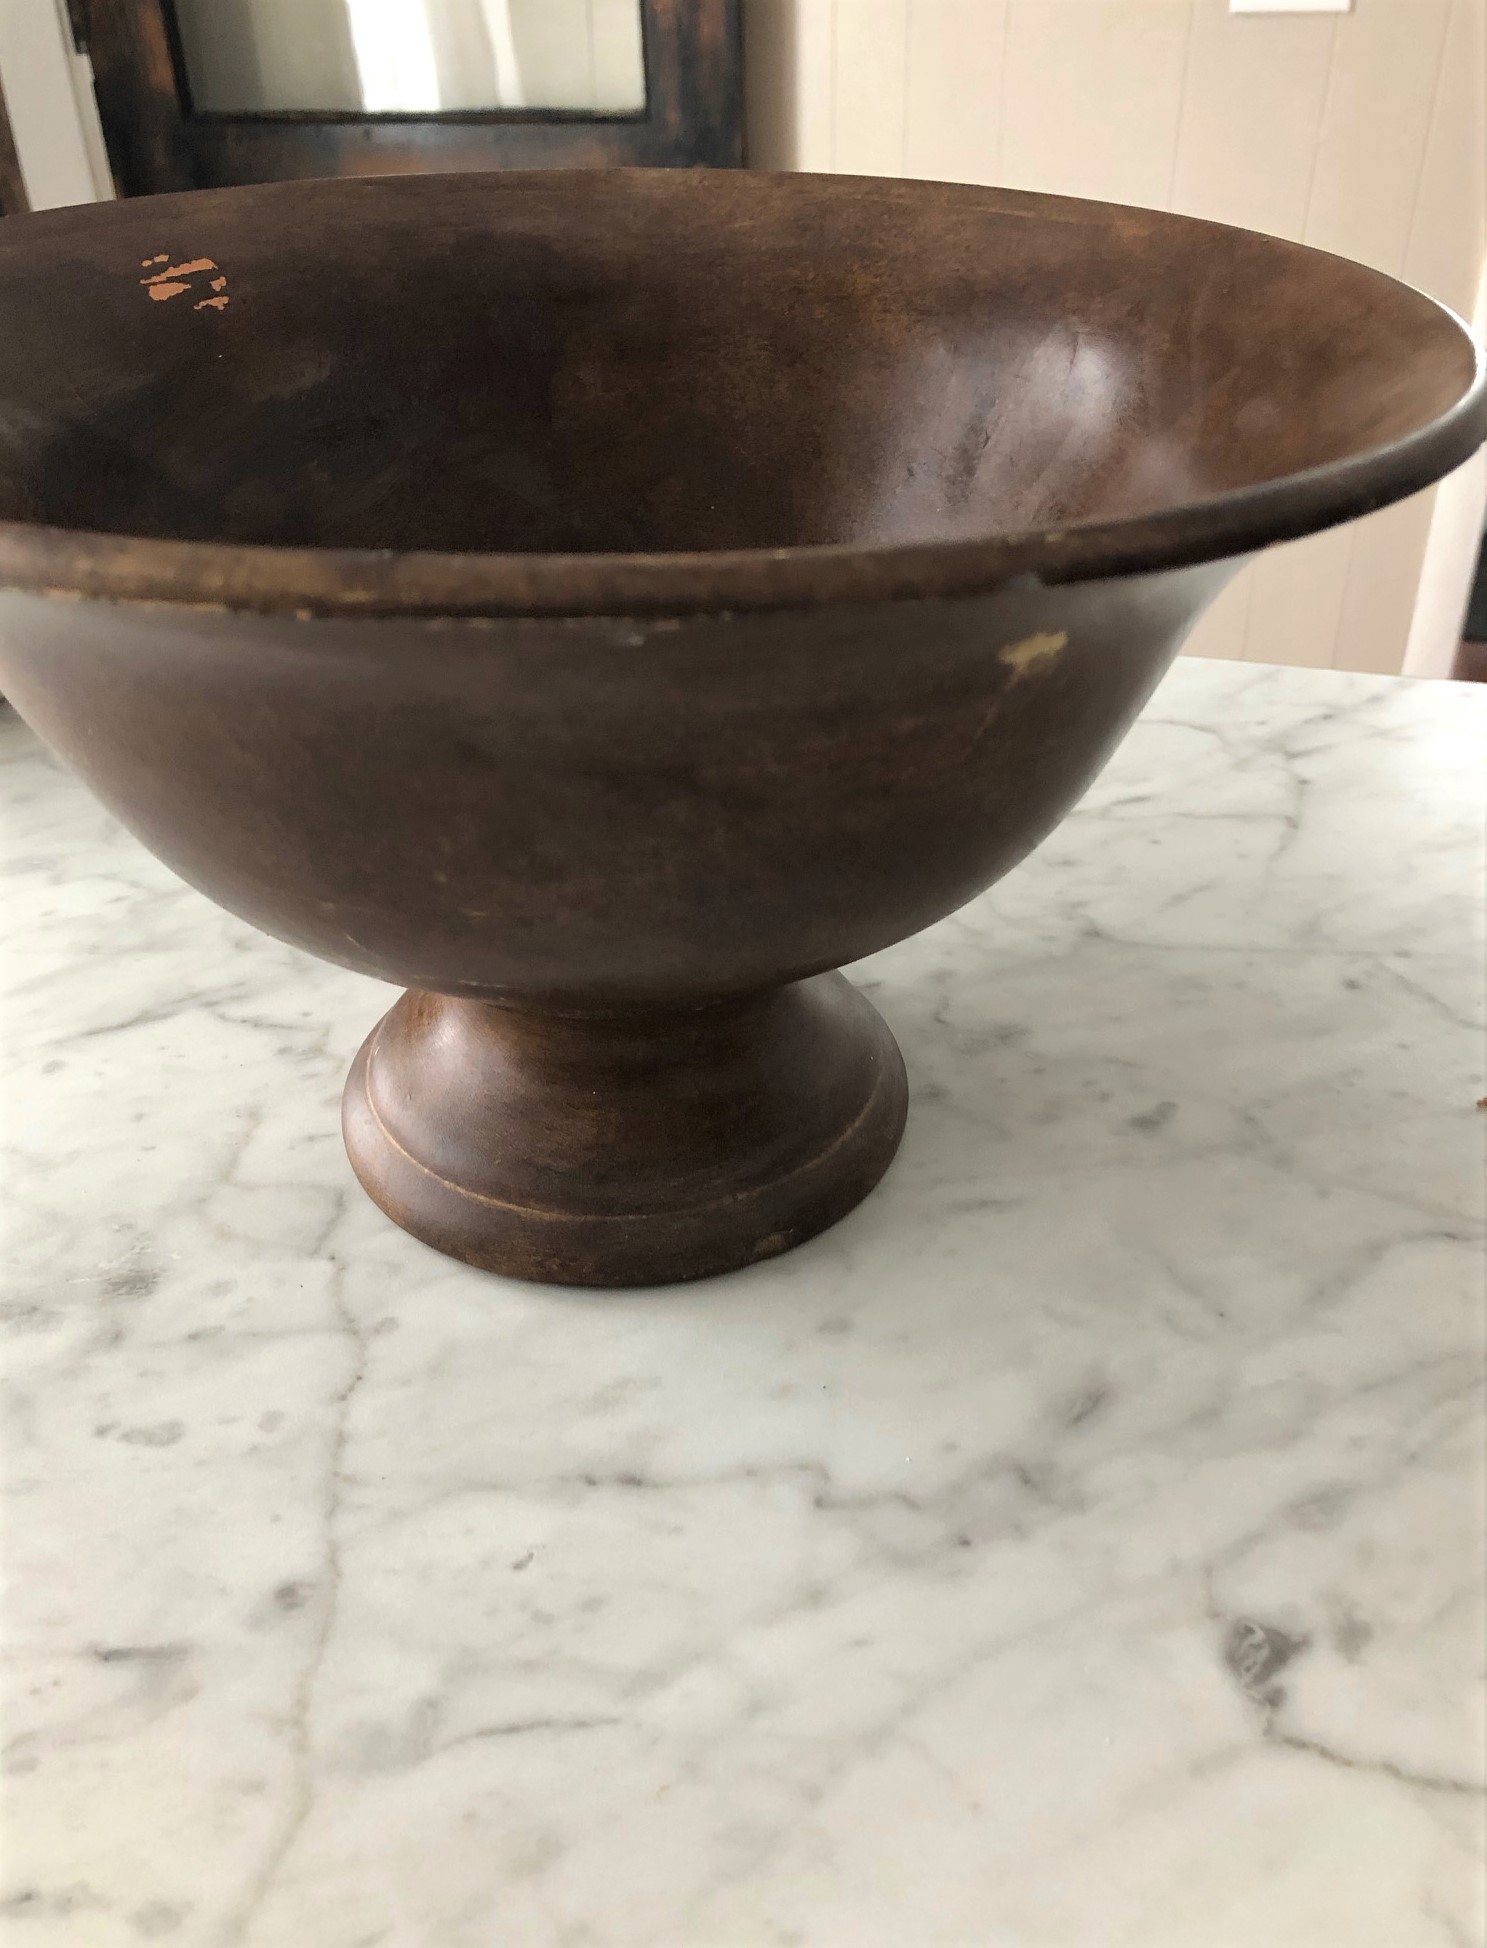
I bought this pedestal bowl Y-E-A-R-S ago at a yard sale. It was in great shape then, so I brought it home, cleaned it up and used it on and off to display everything from fruit to moss balls. Until one day I noticed it was starting to look worn (and not in a good way). There were several chips on both the inside and outside of the bowl. I should have just thrown it out but at the time I just didn’t have the heart to do it, so I put it on a shelf in the basement and told myself, “Someday you’ll find a purpose for it.”
Well, that day came a week ago when I was down in the basement looking for winter decor for my dining room. There it sat all worn and chippy and suddenly I had an AH ha moment. All that pedestal bowl needed was a makeover!

And whatever better way to get a facelift than with my favorite chalk paint!! (Can you tell by all the fingerprints around the lid that I use it often!) There is a reason for that! This stuff is truly magical friends!
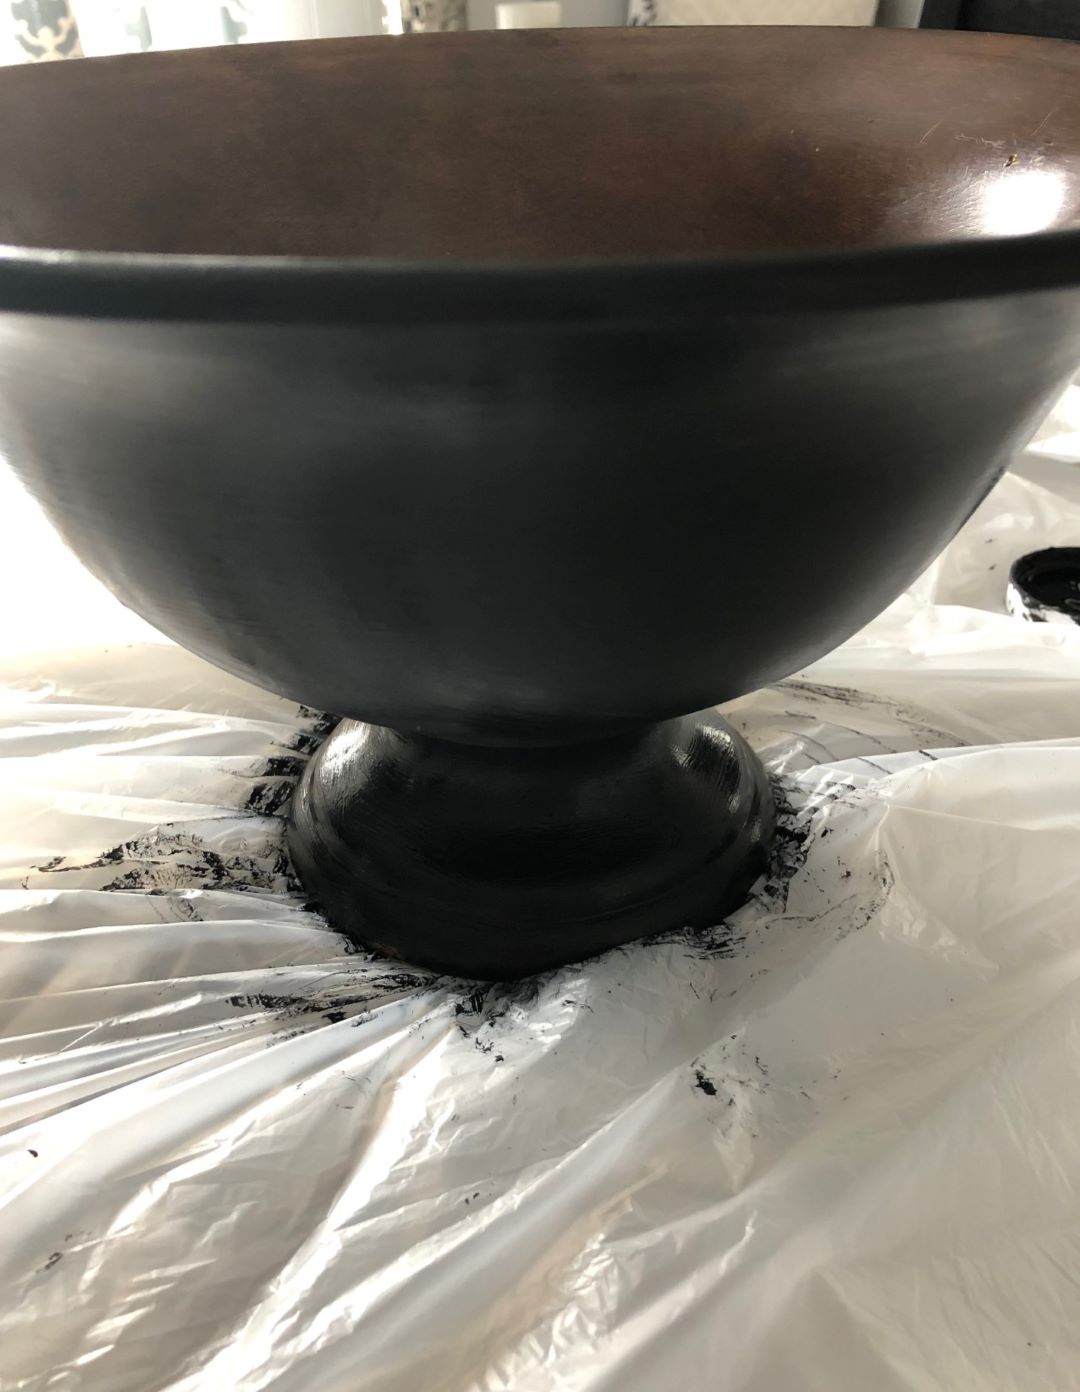
Because it goes on so easily and smoothly and dries(still wet in the above photo) in a crisp modern-looking matte finish. For this project, all it took was two light coats, with a drying time of about 1 hour in between. No sanding. No prepping.
No nothing but a simple paint job.
(Affiliate Links are provided for your convenience. You can find our full disclosure policy here!)
![]()
Since I plan to use this pedestal bowl often, I wanted to protect it from any additional chipping and scratches. I also wanted to give the ‘chalky’ finish a boost so I gave the bowl two coats of Protective Enamel Clear Spray.
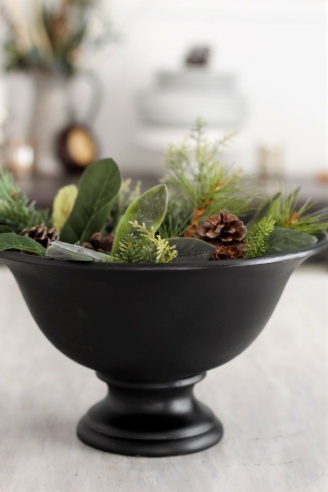
When dry the enamel spray leaves a beautiful satin finish and a pedestal bowl that looks brand new!
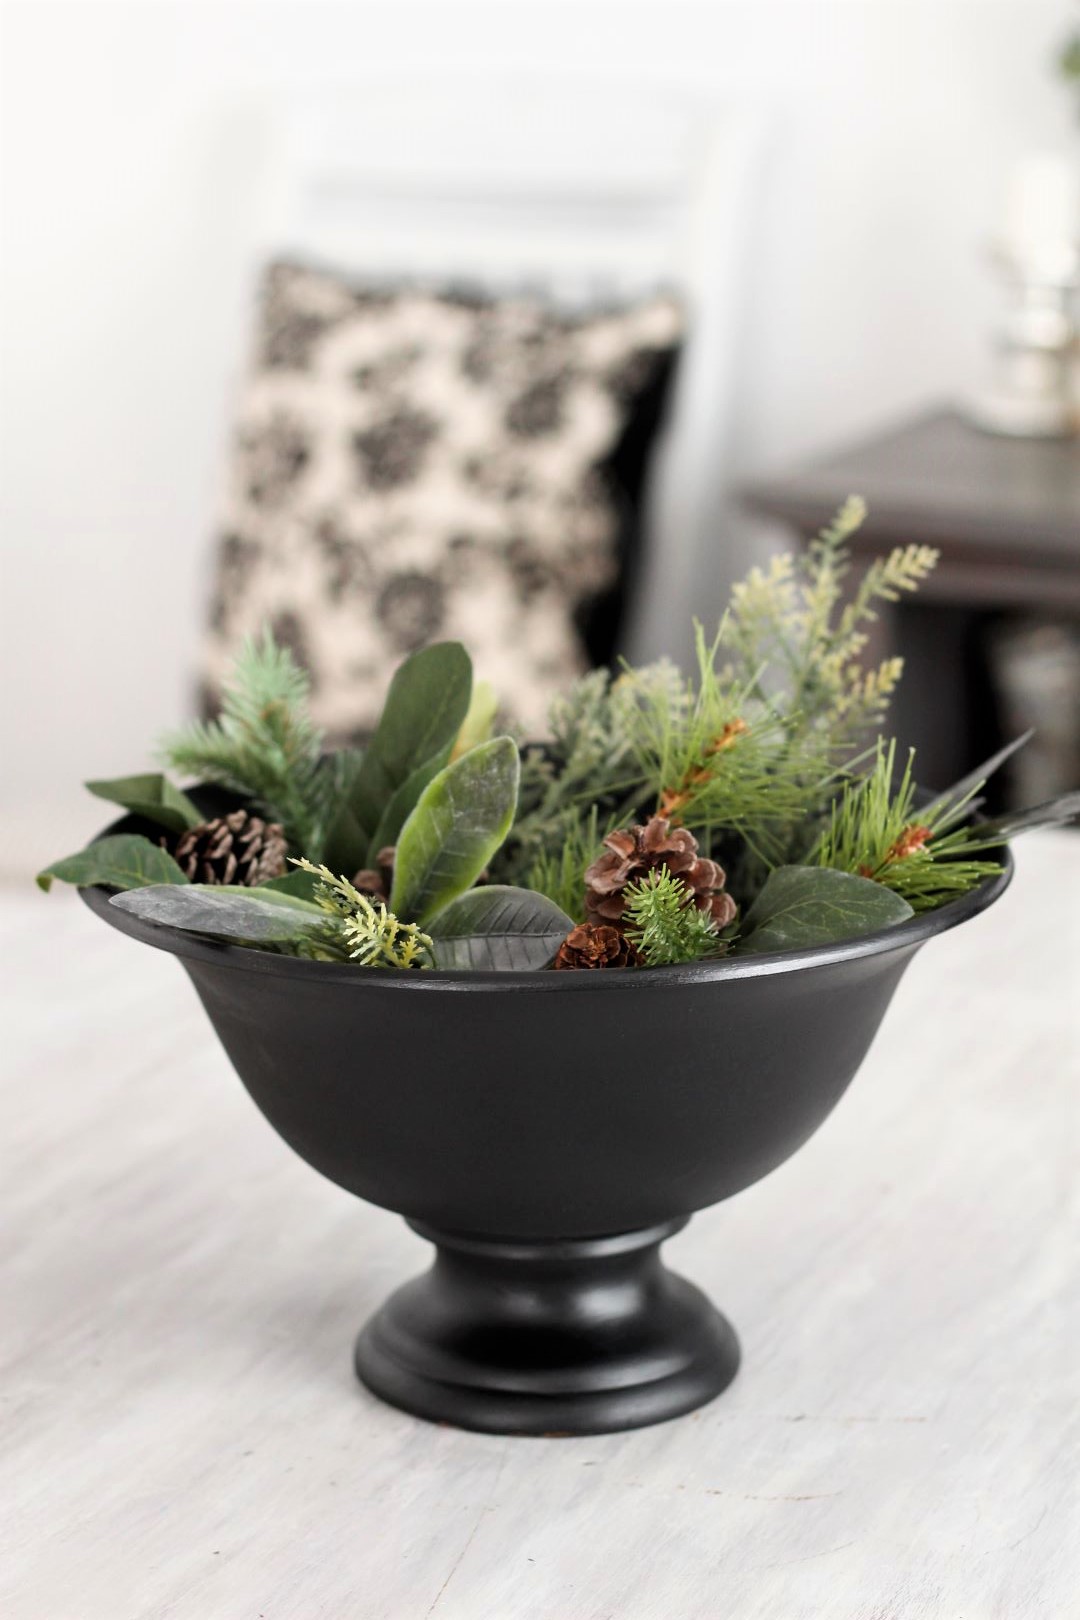
After I finished decluttering our kitchen, I’ve been busy doing the same thing in our dining room. I thought the pedestal bowl would make a perfect “SIMPLE” centerpiece for our table. All I did was fill it with some faux winter branches, magnolia leaves, and pine cones.
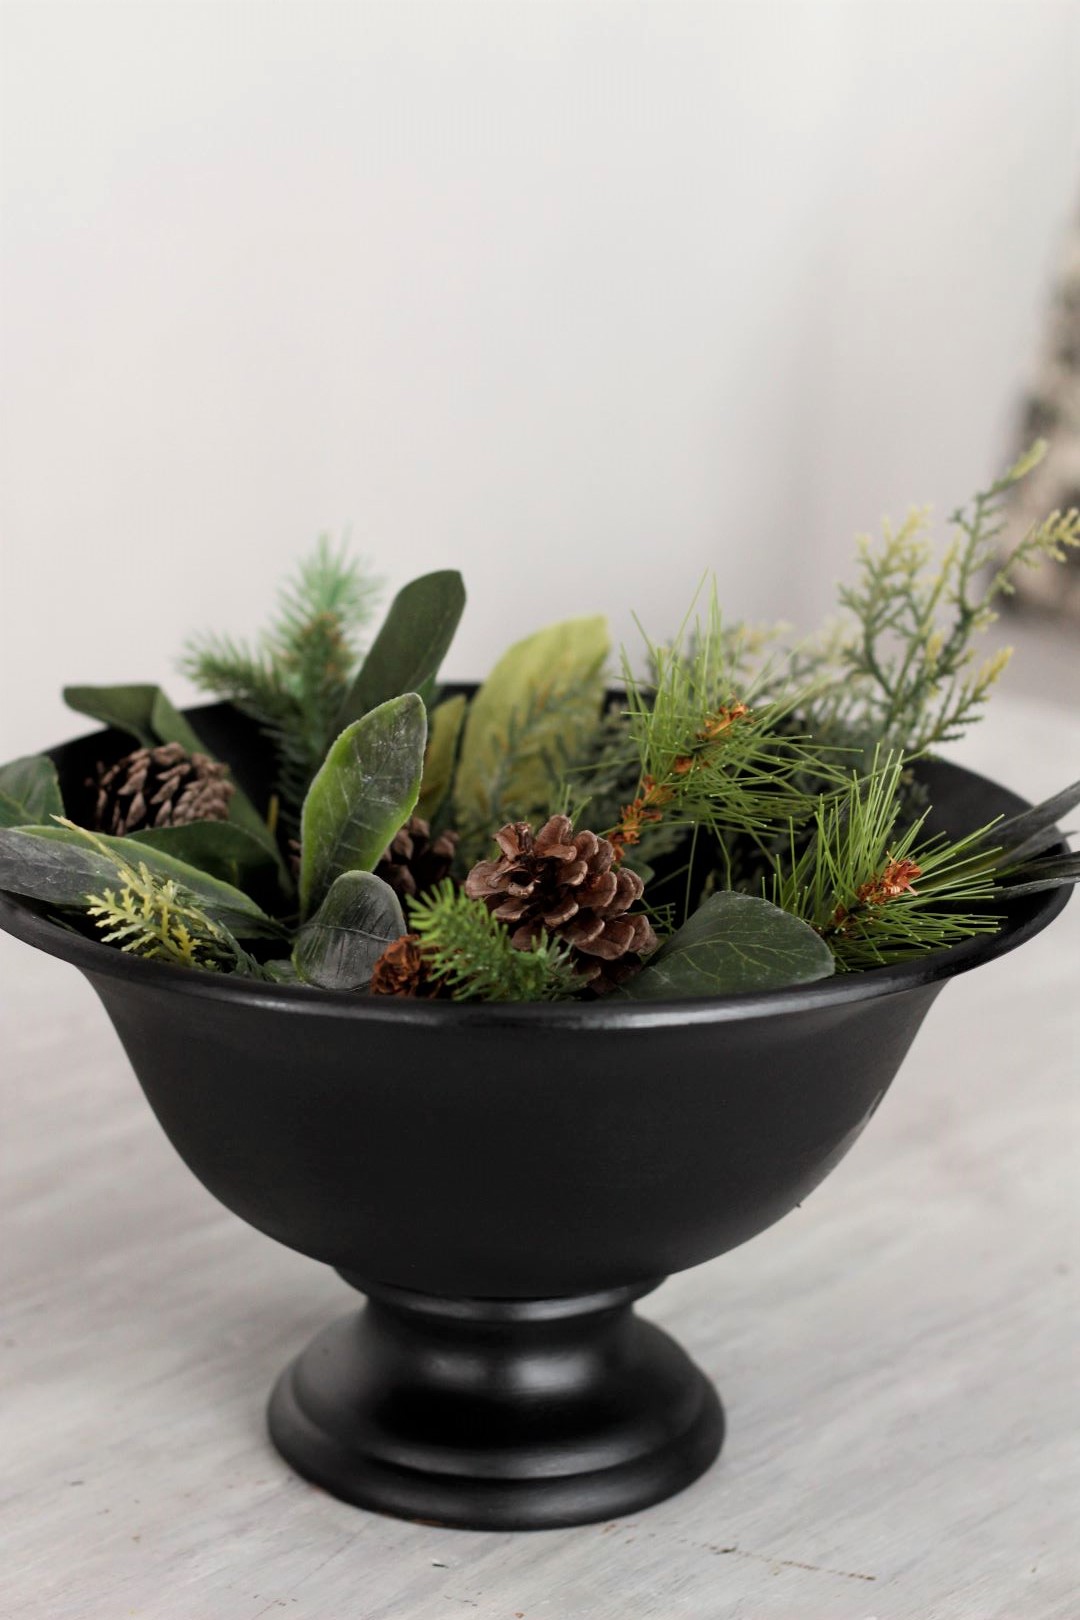
This simple arrangement should take us through the remainder of the winter months and then I can change it out in the spring!
So there you have it!
DIY doesn’t have to be complicated. Involve tools or take a lot of time. And of course, it doesn’t have to cost an arm and leg either.
Look around your home. I bet you have some old vases, wooden boxes, plastic baskets, or even a metal tray laying around? Why not give them a new life and purpose with a couple of coats of paint!
choosing a paint color
I’m totally into what I call the ‘moody’ colors right now for some reason. Blues, Black, and even dark green. I’m not alone because many decor stores and magazines are showing off the latest color trends right now and those are at the top of the list. But white is still and always will be classic, and many pastel colors are coming back, like the pinks, and corals of yesterday. Of course, the options are limitless and it’s all about what really works for you and your home!
I hope today’s post, Trash to Treasure A Pedestal Bowl Makeover inspires you to think simple when it comes to DIY and decorating your home!
More Trash to Treasures you may enjoy!
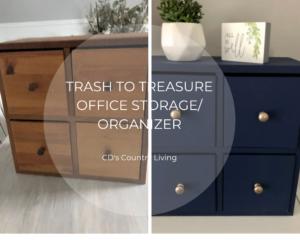
Don’t forget to check out all of our DIY’ projects here!
Thanks so much for stopping by!

Keep in touch!
[cn-social-icon selected_icons=”1,2,3″]

Hello Christine,
This is great and I’m all about simple. I agree it’s overlooked but honestly I function better in a simple environment and that goes for home decor as well. Love this project, it’s now a beautiful piece that would even make a neat fruit bowl. I’m currently looking for a crock. Something that I can use for a vase when I don’t have it stuffed with mail. Hope you have a great weekend friend. -Carole
Hi Christine,
I totally enjoy getting my hands on big project. After I have finished one I’m ready for a simple project. There’s something to be said for simple. When a piece needs to reinvented paint hoes a long way to them pretty and useable.
Paint is as DIY dream almost magic.
Cindy
I LOVE big projects too, Cindy, but as you said, when I’m done with one, I’m ready for all things simple!!! Paint IS truly magical!! I’m always so amazed at how it can transform something so quickly and easily!! Have a great weekend!!
Thank you so much, Carole! I’m so looking forward to downsizing and continuing this path of simplicity. I totally get what you mean now about functioning so mucn better in a simpler environment. Good luck with your crock searching. They can be hard to find but are truly one of a kind treasures!! Have a fabulous weekend. Hugs!
I just love how this turned out! It looks so expensive!
Great idea!
Thank you so much!!
Thank you so much, Michelle! I LOVE what a little paint can do!! 🙂
I love the look of this bowl even before you painted it. The look after you gave it a new coat of paint looks so amazing. I love the greenery you placed it in. Don’t you just love a good thrift store fine? I love it!
Thank you so much, Terrie! Yes, I DO so love a good thrift store find! And I loved this project because frankly, it was SO easy!! We all need a little ‘simple’ now and again, right?!
Original! You can plant beautiful succulents there. I think it looked harmonious.
That’s a wonderful idea, Anna! Thank you!!
It occurs to me that one could find a simple non-pedestaled bowl, then find a very small bowl that has the same sized bottom, flip the little bowl upside down, and glue the bases together, then do the nice looking thing you did.
That’s an awesome idea, Johanne!! Thank you!!
Love it! Nothing better then to see projects that are doable for all. Looks like it just walked out of Pottery Barn.
what material is the bowl? wood or ceramic?
It is ceramic, Kathryn! Thank you for your question and stopping by! I hope you enjoyed the project!
Oh my goodness, Liz, THANK YOU! You made my day! I’m so glad you enjoyed the project!