
Since hubby and I first started our living room makeover-we’ve been asked by several of our friends why it took so long for us to FINALLY do it!
That’s a VERY good question.
After all, the living room is one of the main room’s in our house, where everyone congregates when they come for a visit.
So why in the world would we wait so long to strip down the nasty wallpaper and tear down the hideous drop down ceiling that has plagued us since we moved in?
Since moving into this 100+ year old home we have learned three certainties whenever we start any major home improvement project.
- Whatever time frame we initially ‘think’ the project will take-is usually doubled, if not tripled.
- Plan A never happens!
- Our budget will be blown before we even get started!
This couldn’t be more true with our living room makeover.
It has indeed been quite a challenge.
First-was removing the layers and layers of wallpaper. You can read about how we did that here.
But the real challenge was trying to keep the integrity of our 100+ year old home-by keeping the plaster walls in tact, if at possible.
After a thorough inspection, hubby and I both agreed it was possible, but we had two MAJOR issues and they would take a lot of work, time and patience to resolve.
The first issue were the holes in the plaster.
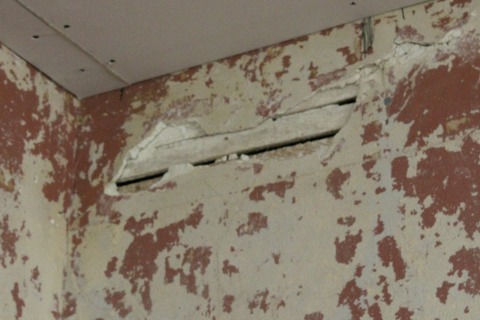
This was one of the larger holes. Not pretty, right? But according to hubby-not impossible to fix.
**This post contains affiliate links for your convenience. Please seem my disclosure for more information.
Drywall compound, screen, and taping knife will become your best friends for this kind of MAJOR project.
The first step to repairing a hole this size is to make sure you remove all the loose plaster surrounding the area. Then clean the area thoroughly.
Next-cut your screen to size so it fits securely over the hole.
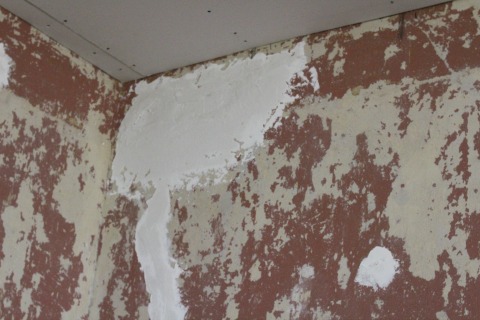
Once the screen is adhered to the wall, begin spreading a thin layer of dry wall compound over the screen-making sure to ‘feather’ it as you go. When the entire hole is covered, allow compound to dry completely. (I let it dry overnight.)
You will need to sand the first layer of drywall-before applying a second coat. Once sanded down, use a damp sponge to remove any dust.

This hole required 4 layer of joint compound, but as you can see-it was well worth the time and effort it took to repair!
Believe it or not-the next wall issue we had was worse than the holes!
One of the walls in our living was compromised, because the plaster had actually broken away from the lath. The first sign this had occurred was the wall appeared sunken. The second sign was the wall felt spongy when we pressed down on it.
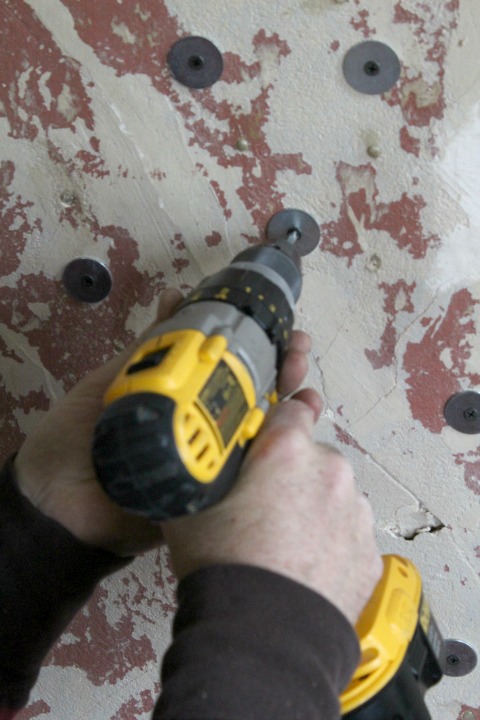
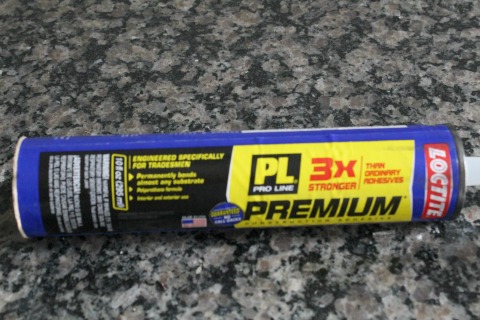
For this project we needed 1 1/2″ Fender Washers, dry walls screws (#8-2″), and a drill with a 1/4″ concrete bit, adhesive glue.
Step one: Determine how large the area is.
Step Two-Drill holes into the wall-(every four inches)
Step Three-Fill holes with adhesive glue.
Step Four-Screw the fender washers in between the drilled holes.
Step Five- Allow the adhesive glue to dry for at least 48 hours.
**During the drying process, the glue will begin to seep out of the holes. This is fine. You will just need to sand down the hardened pieces when dry.
Once dry-gently press down on the wall. Wall should be firm to the touch. If so, remove washers and sand down wall, removing any remaining glue.
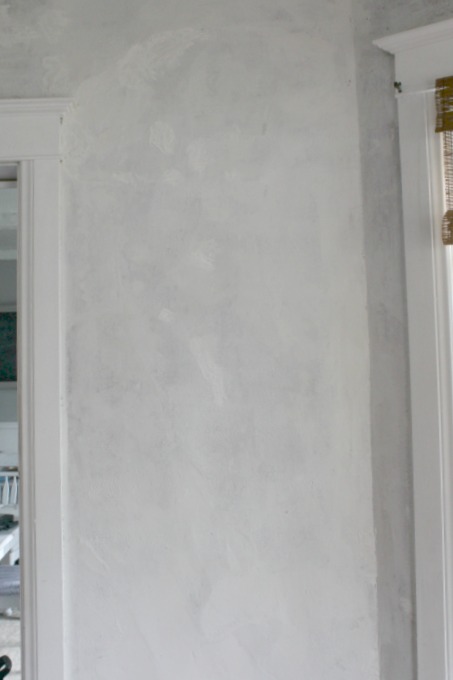
Once again, the time and effort was well worth it, and now you would never know that this wall was about to collapse!!
The walls have since been primed and painted-and our next step is to finish the ceiling!
I’ll be sharing that process next week!
Wishing you all an AMAZING Friday-and a blessed weekend!
Blessings and hugs,

omg, I do not envy you guys. That looks labor intensive…LOL. Looking forward to the outcome!
Plan A never happens for me either, lol. 😀
Guys, this is a seriously tough project. Securing plaster on drywall is not as easy as plastering brick/cement walls (like we have in Greece).
You did a great job and I don’t even wanna think about ALL THE SANDING (ohmegosh) that took place.
Really good job, I’d be wary to even start such a project.
It was, Christine, but SO worth it to keep the integrity of our old home! Now that it’s complete, I can’t wait to get down to my favorite part…DECORATING!!! 🙂
I so admire your tenacious character! That looks like a lot of work, but it sounds like you guys really know how to tackle it and I can’t wait to see how it turns out. Looking forward to the next post! 🙂
Aw..Thank you so much, Karen!! Yes, the living room project has turned out to be a bit more than we planned (doesn’t it always)! But I still think it’s important to keep the integrity of our old home if at all possible. I can’t wait to finally get to the ‘pretty’ part of this makeover!!