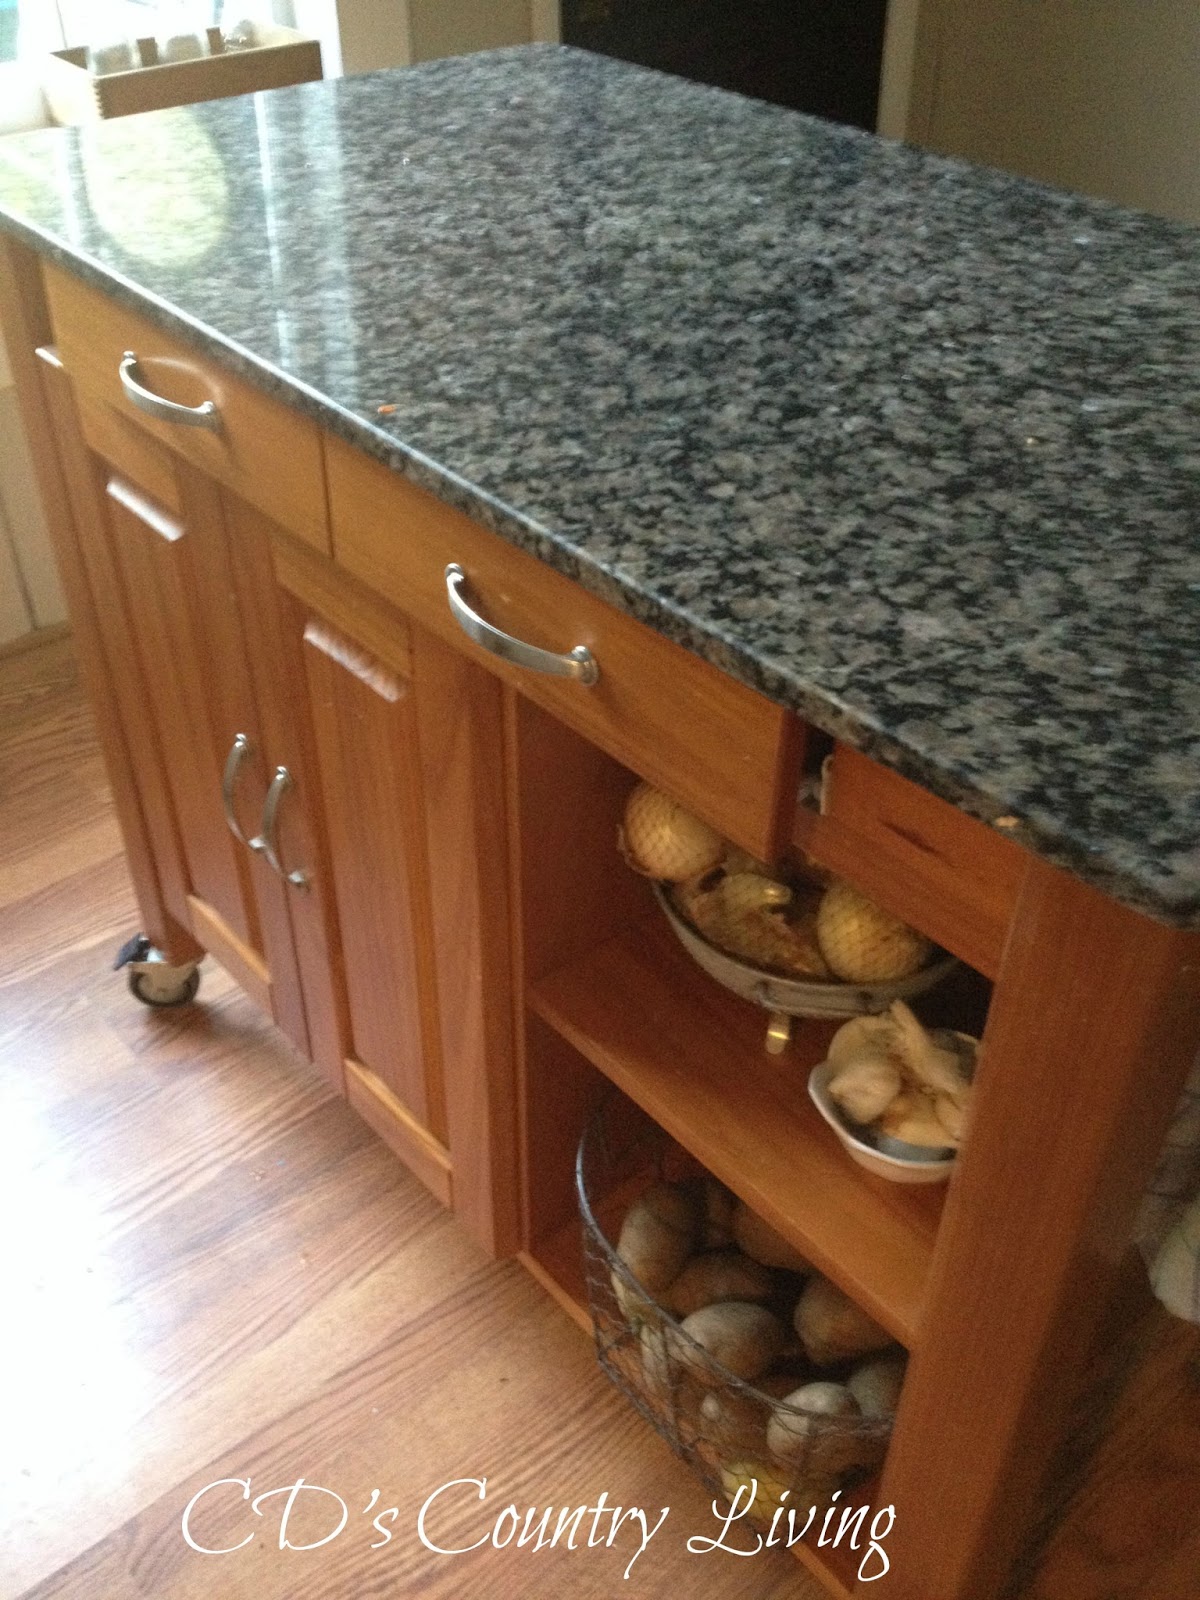
Our kitchen currently has VERY little counter space, so an island is a definite MUST HAVE! I purchased this
builder grade island when I first moved into our home-and it has been a lifesaver ever since!
I do all of my cooking and baking here-and I often use it to serve food buffet style for family gatherings.
It also provides extra storage space for items I use on a daily basis-and up until recently-I loved
the fact that it had caster wheels, which offered mobility if need be. But, that all changed when we tore down
the drop ceiling in the kitchen, and installed pendant lights above the island.It was then that I decided we needed something
more…permanent, unfortunately, our budget didn’t include a new island.
So..what’s a girl to do? Well, she gets out her tools and paint brush, of course!
Tearing apart the island was pretty simple-after all-I put it together, right? Of course-I did need some help lifting the very HEAVY granitetop off. (Thanks hubby!) Once that was done-I gave everything a light sanding-and started painting!
For this project-I chose Rust-Oleum Chalk Paint in Aged Gray.It was the first time I’ve used this product-and I really
LOVED the consistency and how it covered.
It took a total of 3 coats-and then I allowed it to dry overnight, before giving it two coats of wax. Then it was time to change out the caster wheels to something more permanent. Although hubby wasn’t too keen on removing the casters-he did
have very specific instructions if I wanted to replace them. The ‘feet’ could be no wider than the legs for it to work.
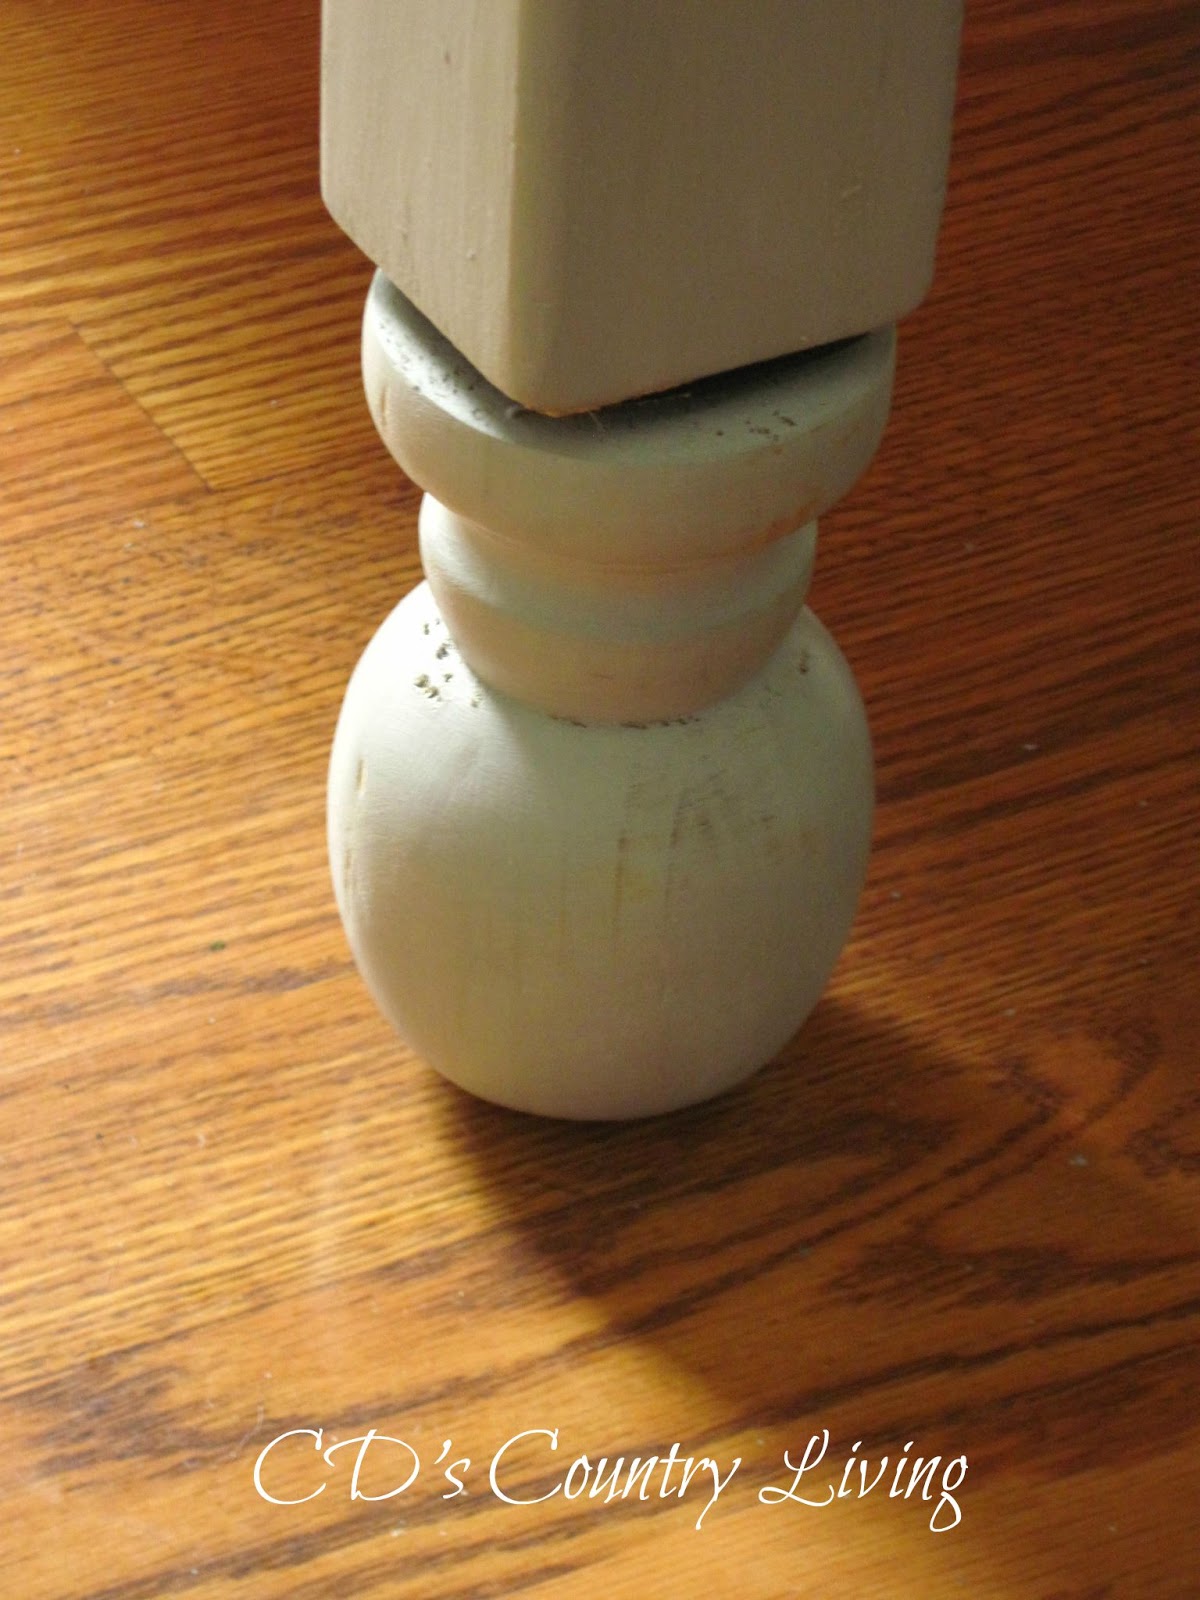
That was easy enough-right? Wrong! I went to three stores in search of 3″ feet and couldn’t
find any! I was just about to give up and order them on line-when I passed by the decking material isle in Home Depot!
These finials for deck posts were the perfect size-and they were only $4 a piece! SCORE!
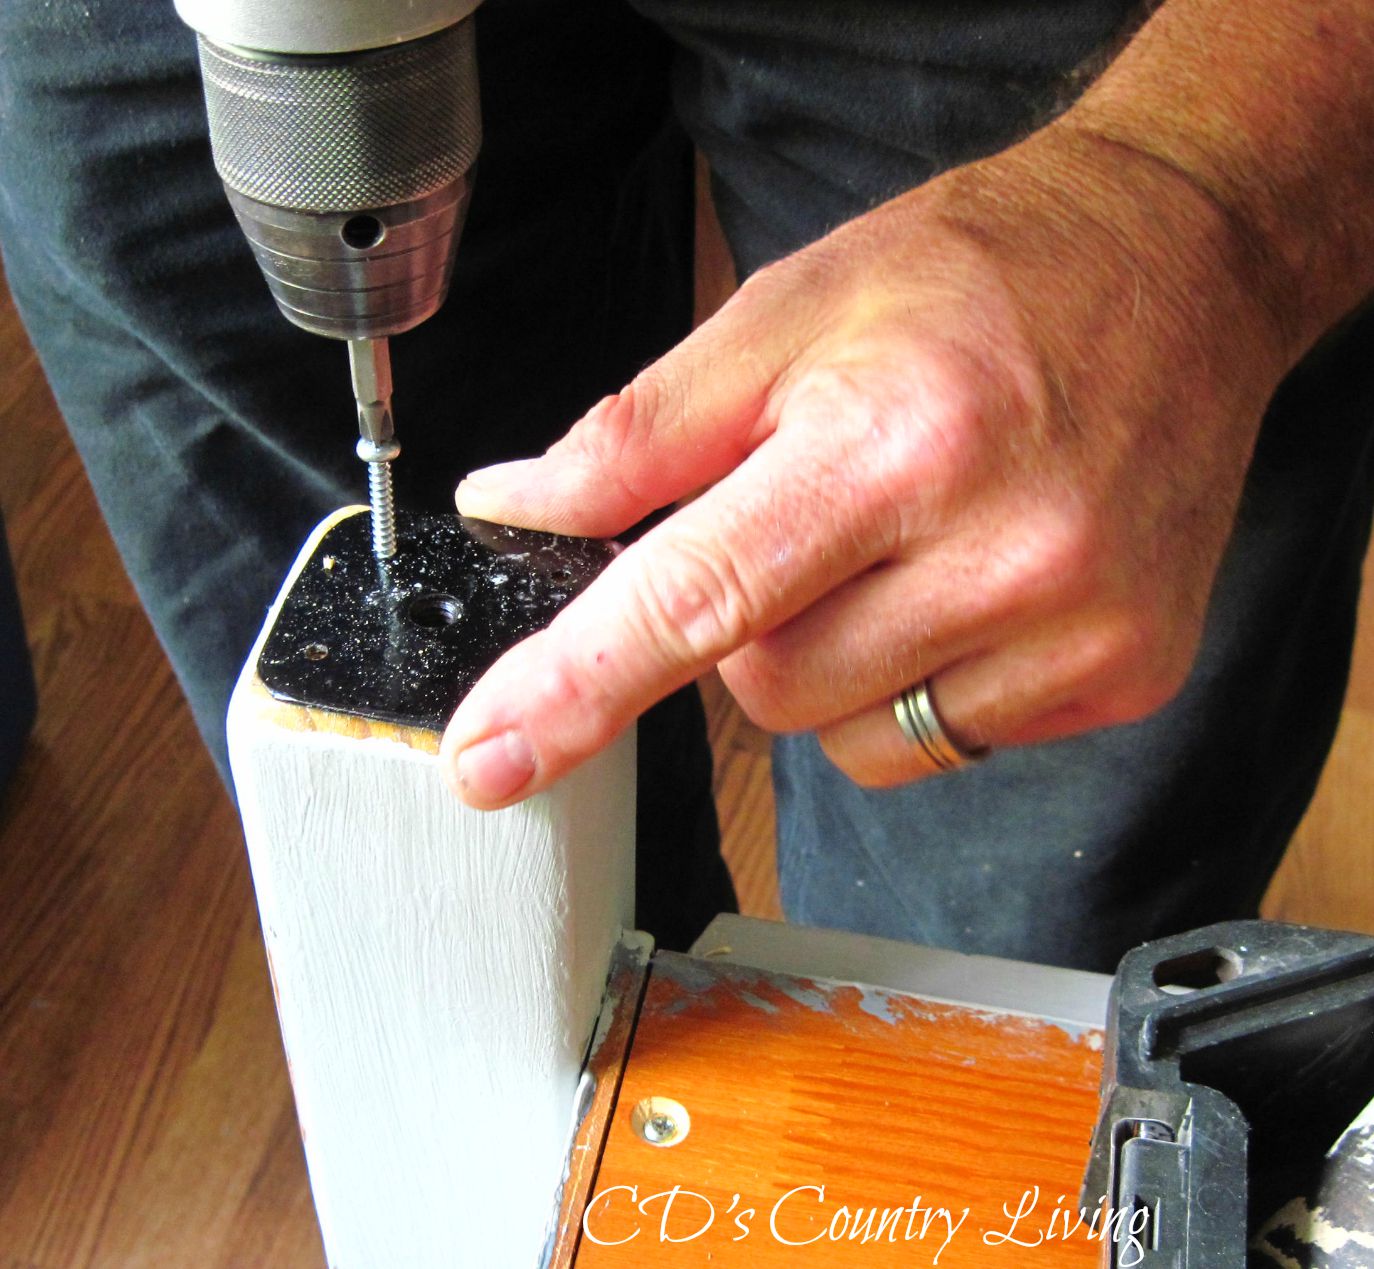
I was feeling pretty smart for finding a solution, until I got home and hubby advised that the ends were to thin
to screw into the hole at the base of the leg!
Our local hardware store didn’t have the plates we needed to fix the problem-so hubby took matters into his own
hand and created 4 of them out of some metal he had in the garage! (Thanks again, hubby!)
So are you ready to see the updated and permanent version of our kitchen island?
Okay…here it is!!
Isn’t she pretty?
I made one final “adjustment” to the island-after it was all put back together.
There use to be a knife block on this side of the island-but since I never used it-I took it off!
I was going to fill in the holes-and then I tried to hang this cute basket-and the handles
fit perfectly! It was meant to be, I tell ya-and now I have a place for seasonings!
There is also plenty of space for my baking supplies too!
And look at those pretty feet! A perfect match!
And the best part is-the feet raised the island a bit-so now I no longer
have to bend over it! LOVE that-AND the fact that the island
is much more stable. (Don’t get me started on all the many times
it moved while I was preparing a dish-even though the casters were locked!)
It wasn’t easy- but I decided to take my daughter, Mel’s, advice this time- and not do too much distressing
on this piece. If you look closely-you can see a bit around the doors
and the drawer-but I kept it minimal.
It truly is awesome what a little paint and new feet can do!
No more builder grade island here!

I’d love to hear what you think about our kitchen island makeover! Would you have done
anything different? Maybe left the casters on for mobility, or painted it a different color? Let me know your thoughts in the comments!
I’ll be sharing at these amazing parties this week-so stop on over and be inspired!
Blessings and hugs,


That's a great transformation! The paint colour you chose works great with the granite, and the new feet are perfect 🙂 You never know what you'll find at the hardware store that will solve your DIY dilemmas 🙂
I love it. I too am making some slow changes around the house for things to work better. I love your grey, the perfect choice. xxx….
Thank you, Brooke! No matter what project there is to do-it always seems to take more time than expected. Right? Oh well, it keeps us busy! As for the color-I was leaning towards something darker-but I'm really happy I chose the Aged Gray. I think it compliments the granite well. Have a great week!
it looks great this way, i love the color. goes with the top even better!
b
Thank you! I totally agree on the color! I'm so glad I chose it-instead of going darker like I originally planned!
Lovely! I am getting so anxious to paint our kitchen cabinets, but I just can't bring myself to do it yet. I love all these fresh white kitchens I see…including your's. It's so pretty! And, chalk paint! I NEED to try it out. Nice work, and thanks for sharing.
I know exactly what you mean about painting kitchen cabinets! I waited seven years before we finally did ours last summer, because I was scared to death they wouldn't turn out! Even though it was a long and tedious chore-I am SO glad we did! They really brightened up our kitchen! If you do decide to paint yours, I'd love to see photo's! Thank you so much for stopping by and sharing the love! 🙂
A lot of work , but looks nice.
Thank you, Deb! Yes, there was definitely a bit of work involved, but it was worth it!!!
What a lovely difference! Love chalk paint — I took the plunge and painted some furniture with it, and it's so easy. Your kitchen looks very inviting!
Thank you, Joanne! I'm totally addicted to chalk paint! LOL!
I absolutely love this! Pinned and tweeted. Thank you so much for bringing such a masterpiece to our party. I hope to see you tonight at 7 pm. We can’t wait to party with you! Lou Lou Girls
Thank you so much for sharing, Kimberly! I'll definitely be over for a visit! I LOVE all the inspiration at your party!
Really love it! The color is perfection!! Thanks for sharing with SYC.
hugs,
Jann
C.D. – Thank you for sharing at the Thursday Favorite Things Blog Hop. Stop by today and check out my Tuesday Treasures where you will see your makeover featured! What a great job on this Kitchen Island. It looks fantastic and I love the feet you used on it. The color is great too!
YIPPEE!! Thank you so much, Debi! You made my day! 🙂
The color is complementing the whole look! Loved it!