
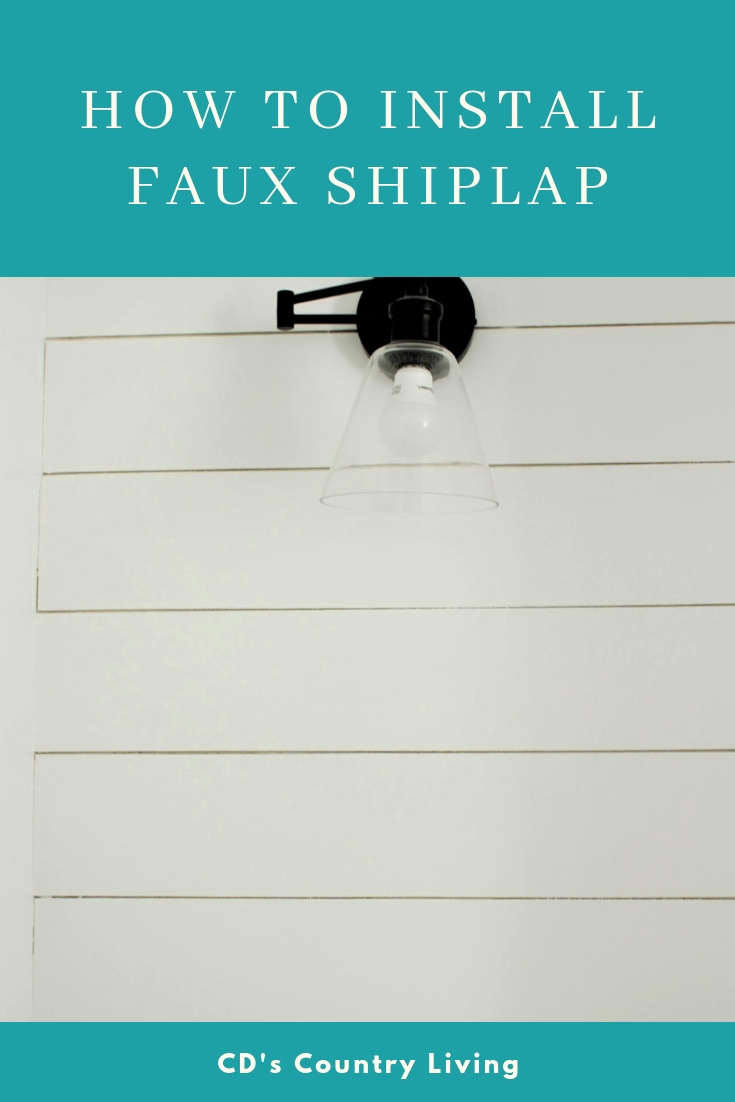
How to install a faux shiplap wall
An inexpensive way to add a little farmhouse charm to any room!
Anyone who knows me knows that I LOVE Chip and Joanna Gaines and EVERYTHING they do! Especially that shiplap they uncovered on almost every episode!
I LOVED everything about the look-but even more so the history! Can you even imagine? If only those old homes could talk!
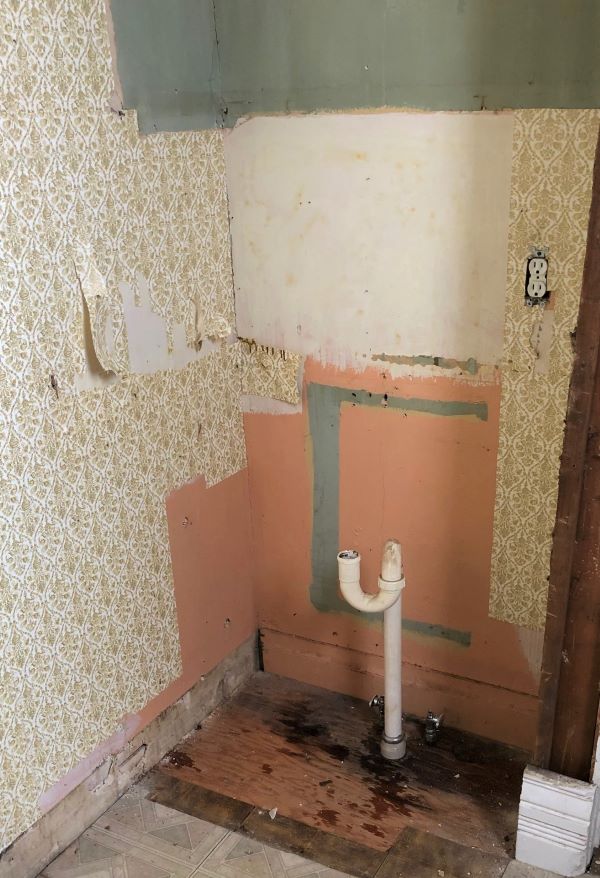
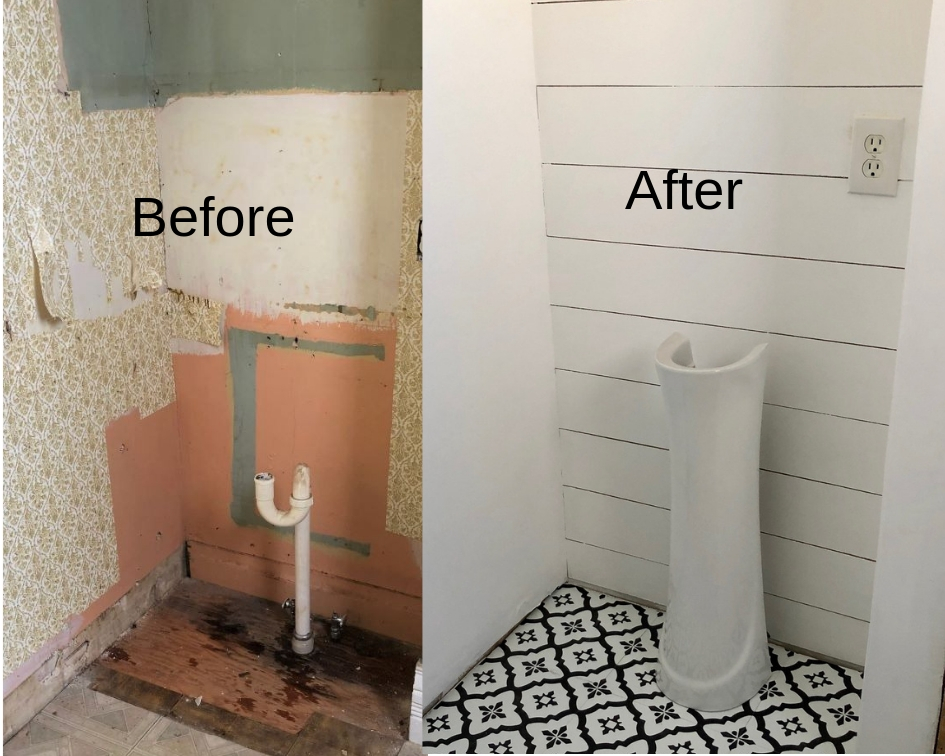
Unfortunately, this old home wasn’t saying what I wanted to hear when we gutted the entire downstairs powder room.
Nope! Instead, it screamed, “Hello, dated wallpaper and cracked plaster!”
Lovely!
Once again, if I wanted what I wanted we were going to have to improvise!
Keep in mind I’m on a budget so when I saw the price of the width and look of the shiplap I was looking for my heart just sunk!
Sure, the wall I wanted to put the shiplap on wasn’t very big, but $100 just for one wall?! That meant I would have to cut back somewhere else like fixtures and accessories and I wasn’t about to do that!
And then my husband, as he usually does, came up with a MUCH more budget-friendly solution!
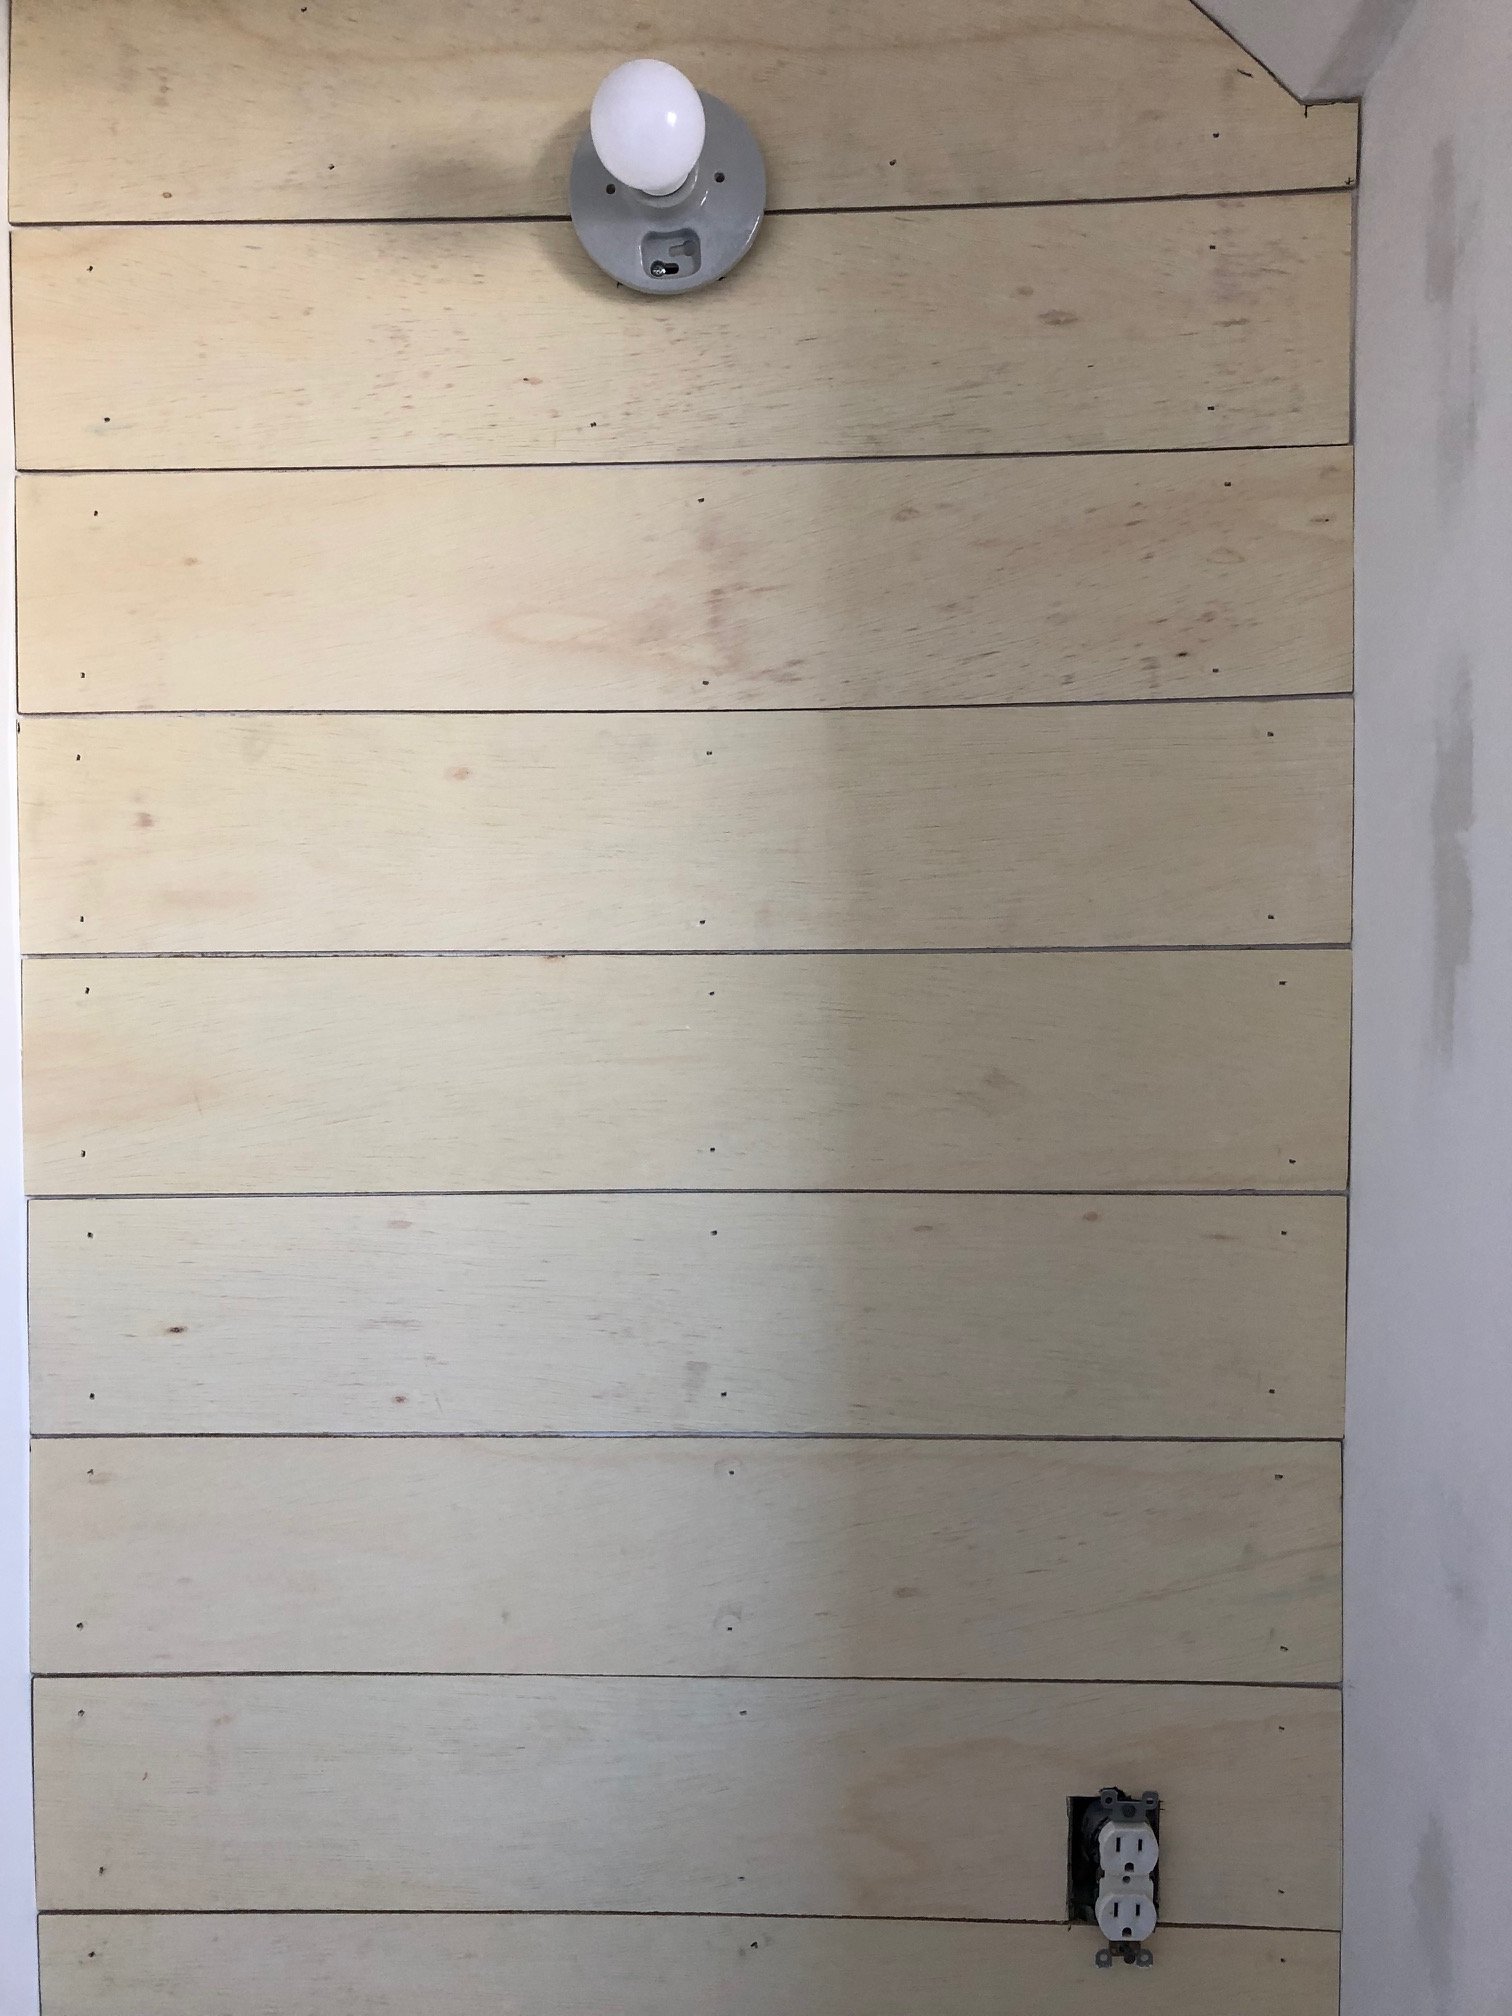
A 1/4″x4’x8′ sheet of plywood that is finished on one side.
It was the same material that we had used when I made over our media stand, and it would be perfect for this project too!
Here’s what we did!
(This post contains affiliate links for your convenience. All products are those we use and recommend. See more on our disclosure policy here.)
TOOLS/Material needed:
Measuring tape
Pencil
Skill or table saw
Level
Air nailer with 2″ nails
Paint. (We used Behr Ultra White-Satin Finish)
Minwax Polyacrylic Protective Finish
NOTE: We attached the faux shiplap to painted drywall.
Steps to install faux shiplap:
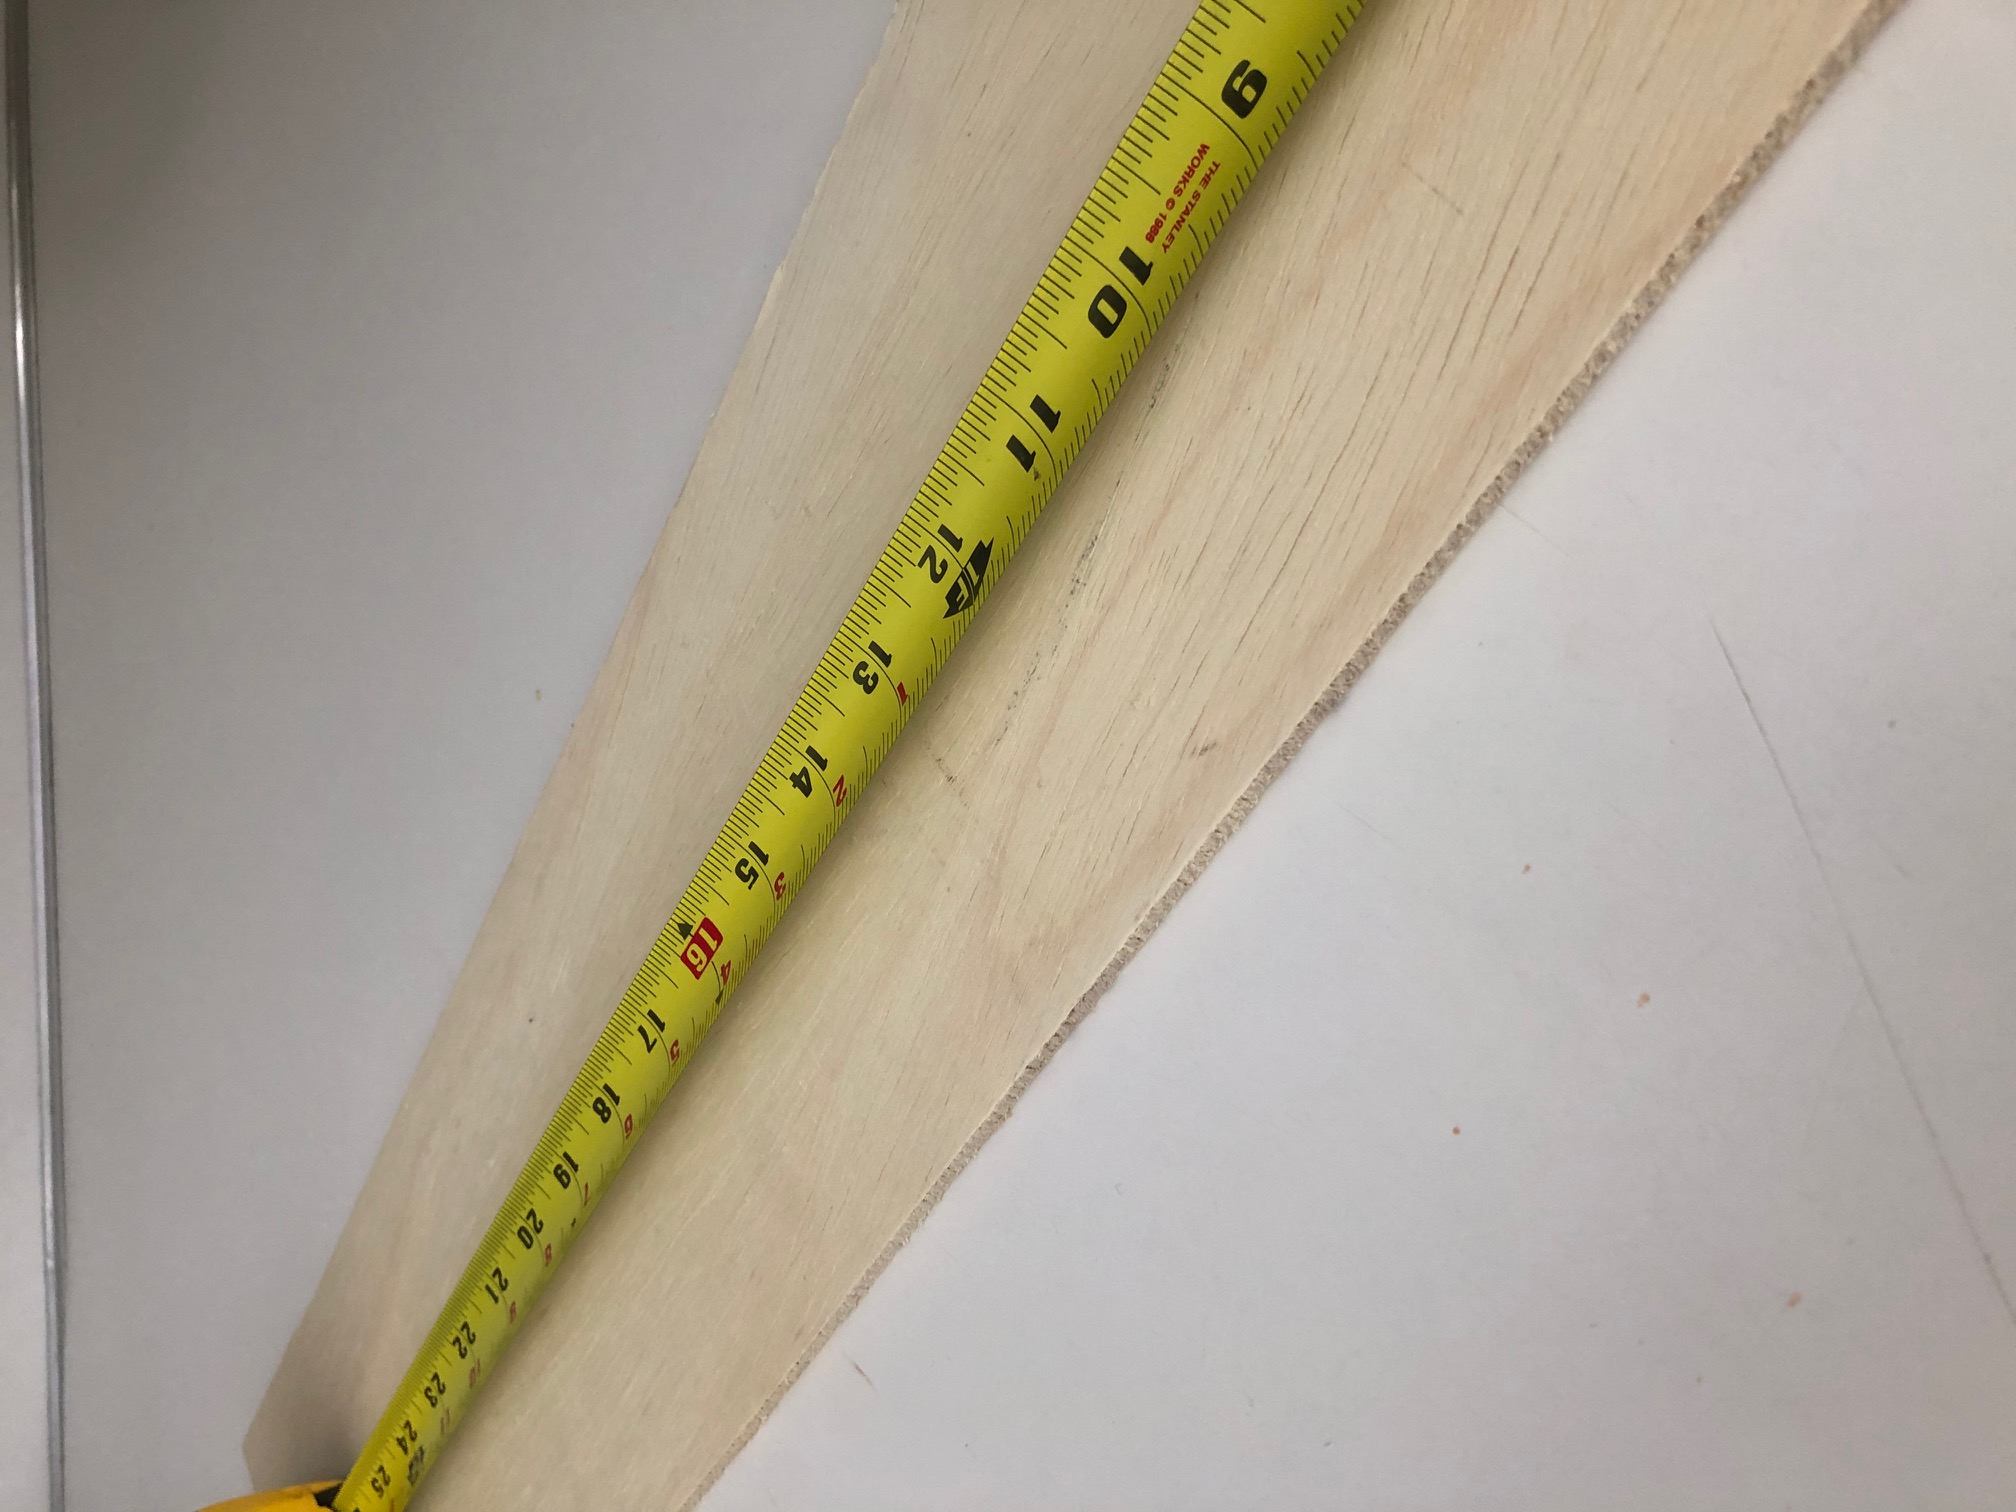
Step 1- Determine the width you want for each piece of shiplap. (We chose 6″.)
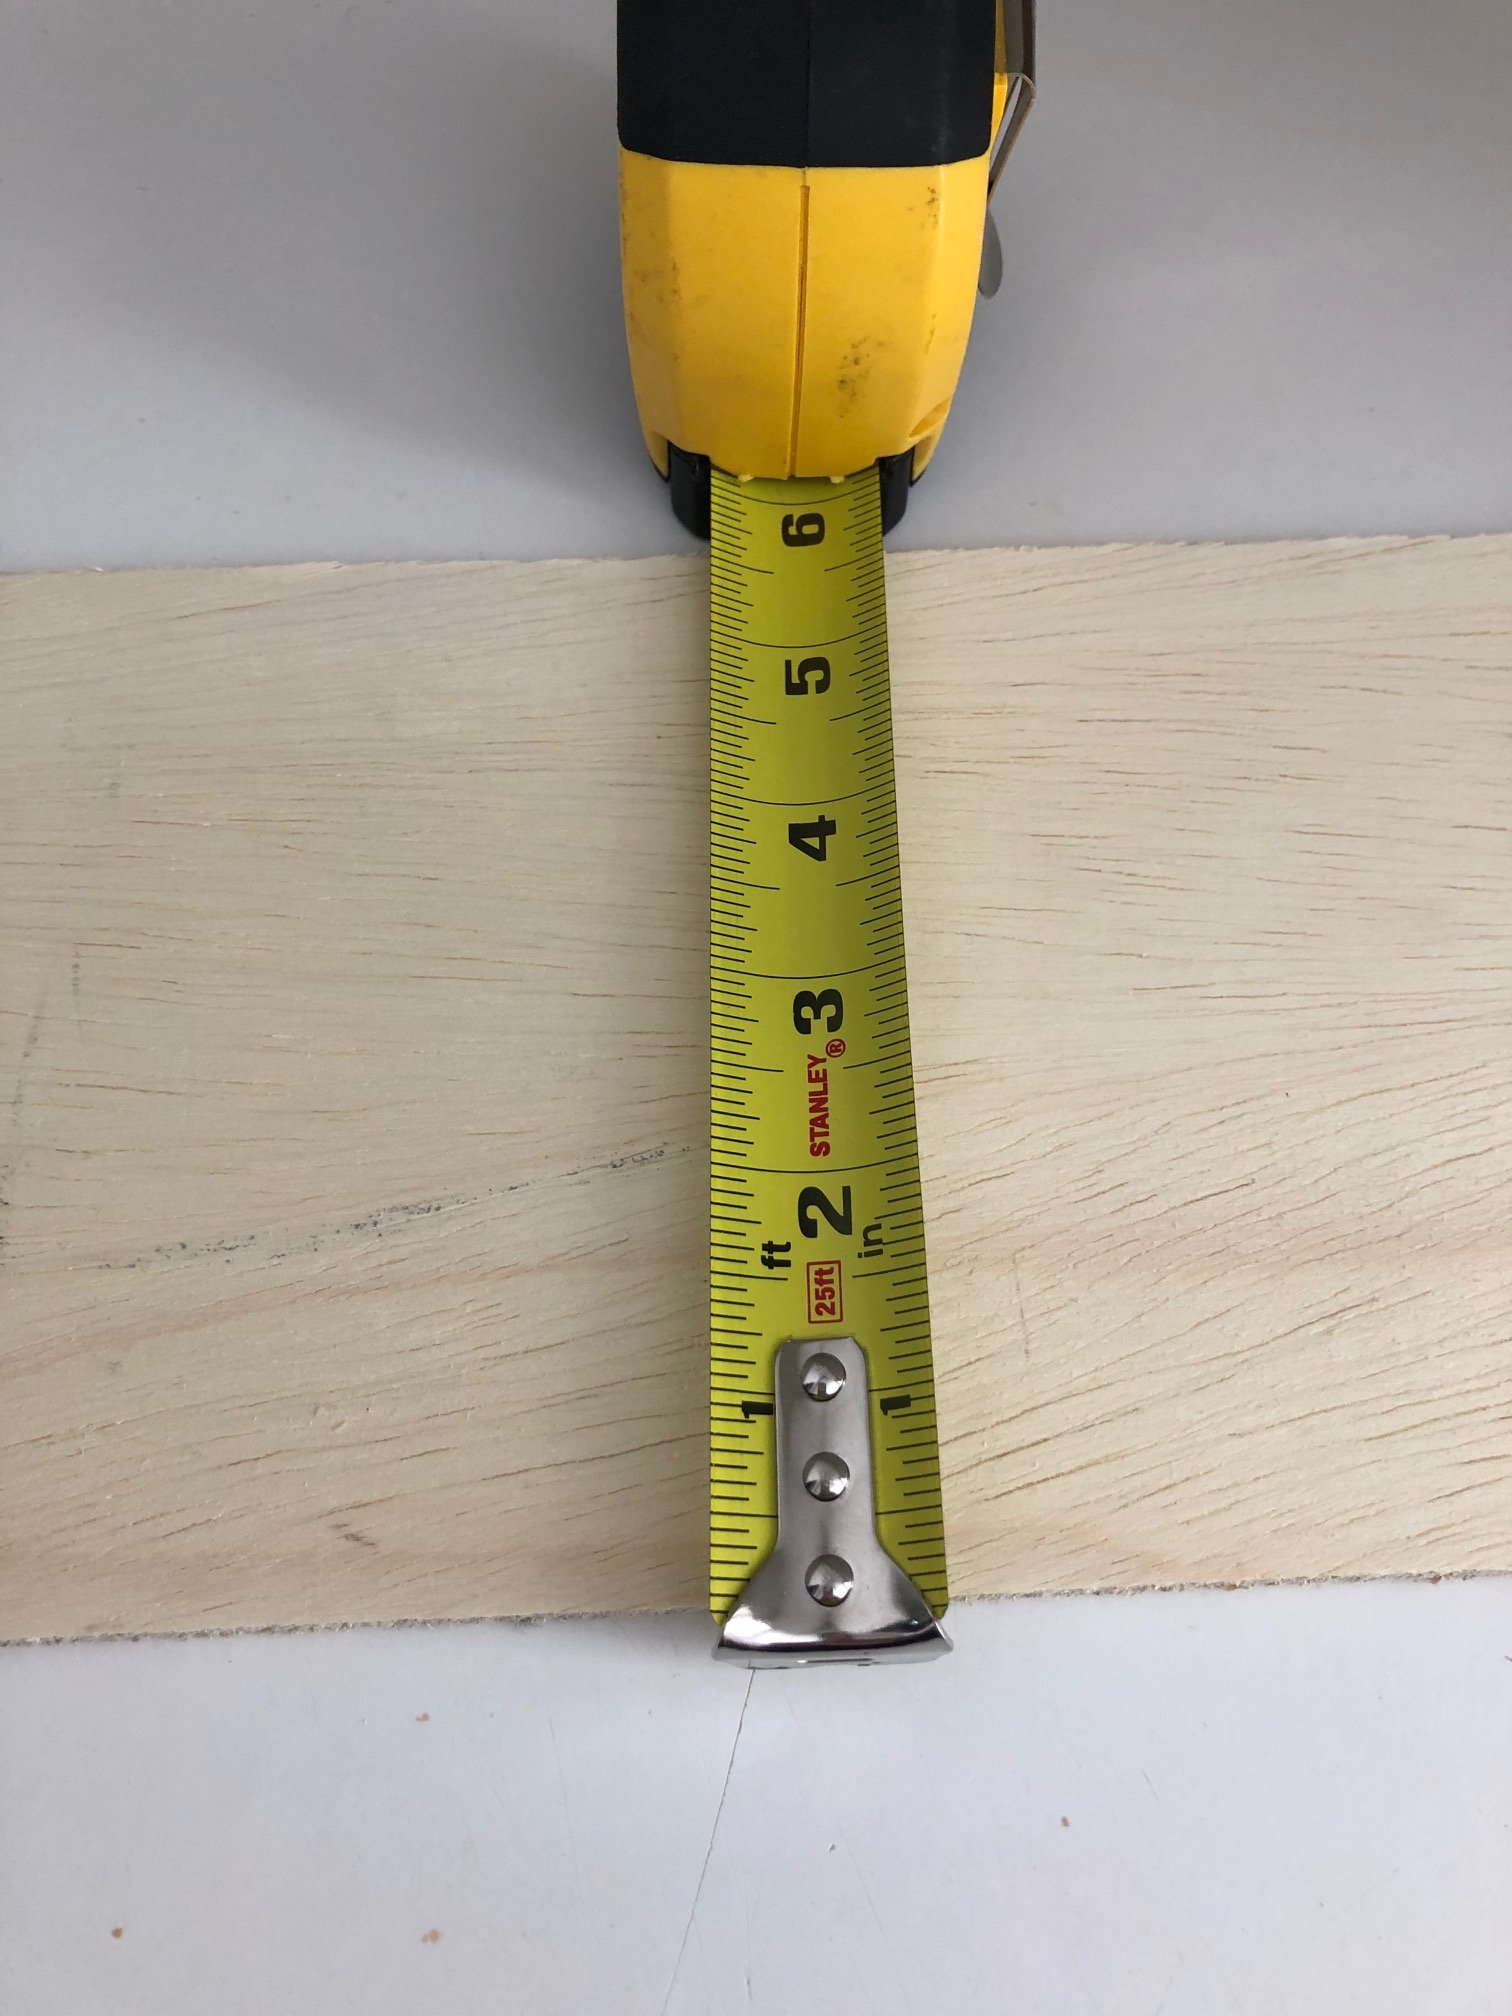
Step 2- Measure the wall and cut each piece of shiplap to fit. (To maximize the sheet of plywood we first cut each strip 6″x8′ and then re-cut each piece per these measurements.)
Step 4-Put the first piece of shiplap in place and make sure it is level. (This is probably the most important step because if this piece isn’t level, well, none of the rest will be either!)
Step 5- Nail the first piece in place.
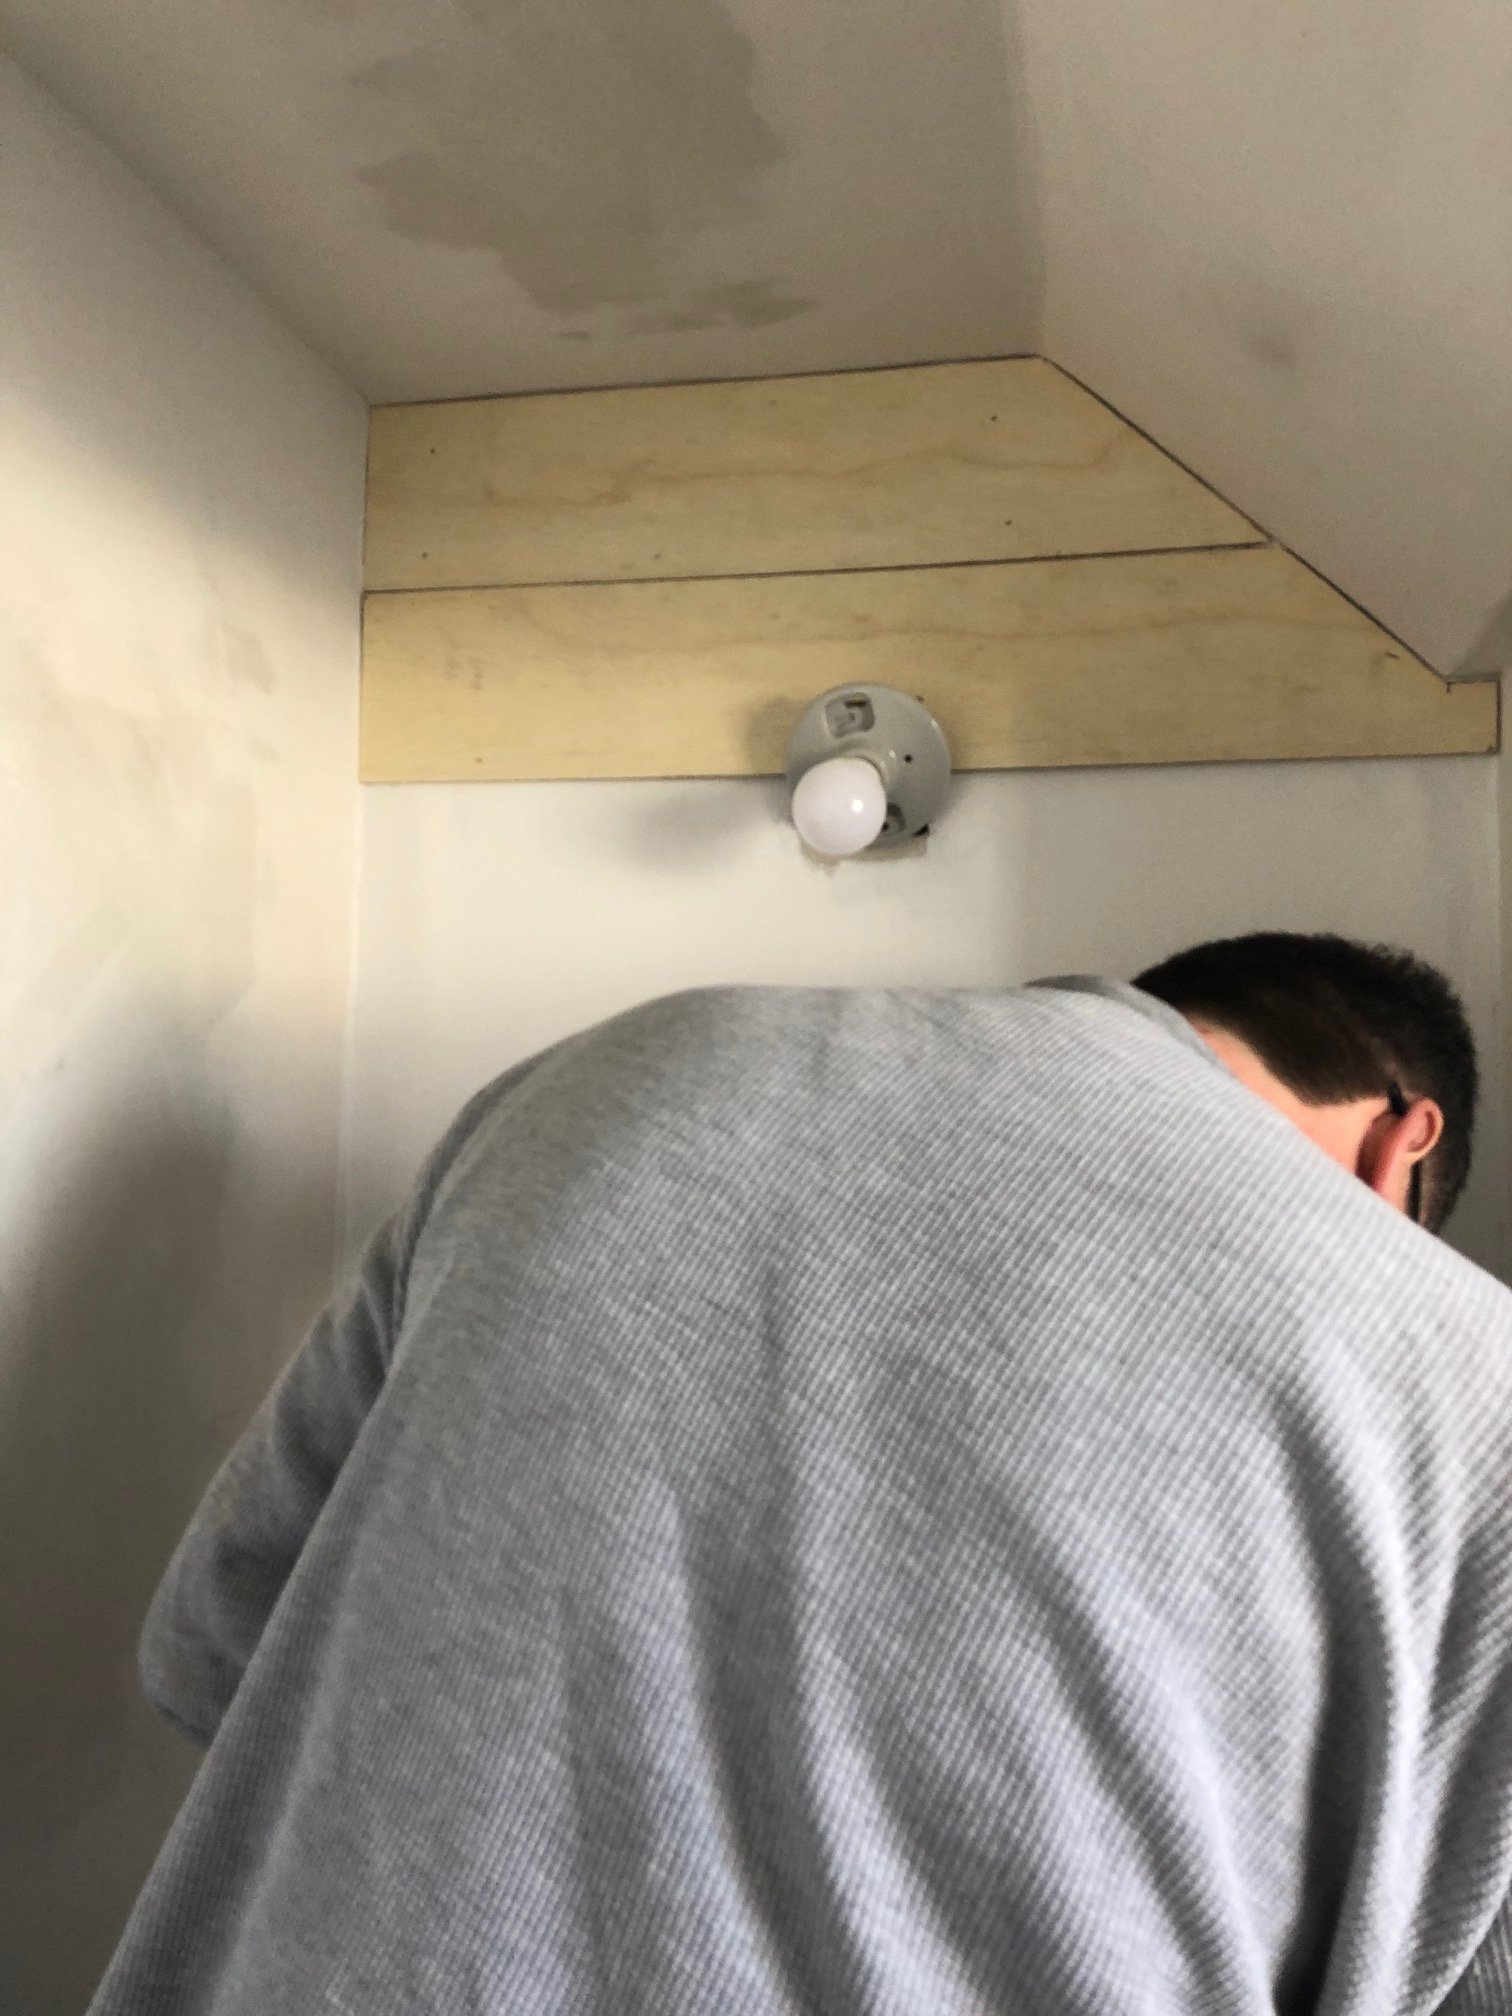
Sidenote: Hubby isn’t bending down just to get out of the way. Nope. It’s mostly because I told him his bald spot was showing! 🙂 🙂 (Gotta love him!)
Step 6- Decide how much of a gap you want in between strips. (We chose a 1/8″ gap.) You can use a tile separator or whatever you have on hand until the piece is nailed in place.
.Step 7- Continue to level each strip as you work your way down the wall.
Step 8- Paint (You could also paint the strips of plywood wood before installing.) ** You may have to do some touchups-but I wish I’d done it. Some of the paint got in between the gap and closed it up in some spots. I later had to go in with a spackling tool and scrape it out.
Step 9 – Apply polyacrylic. (We chose to add poly because of moisture in the bathroom, and because the wall is directly behind the sink.)
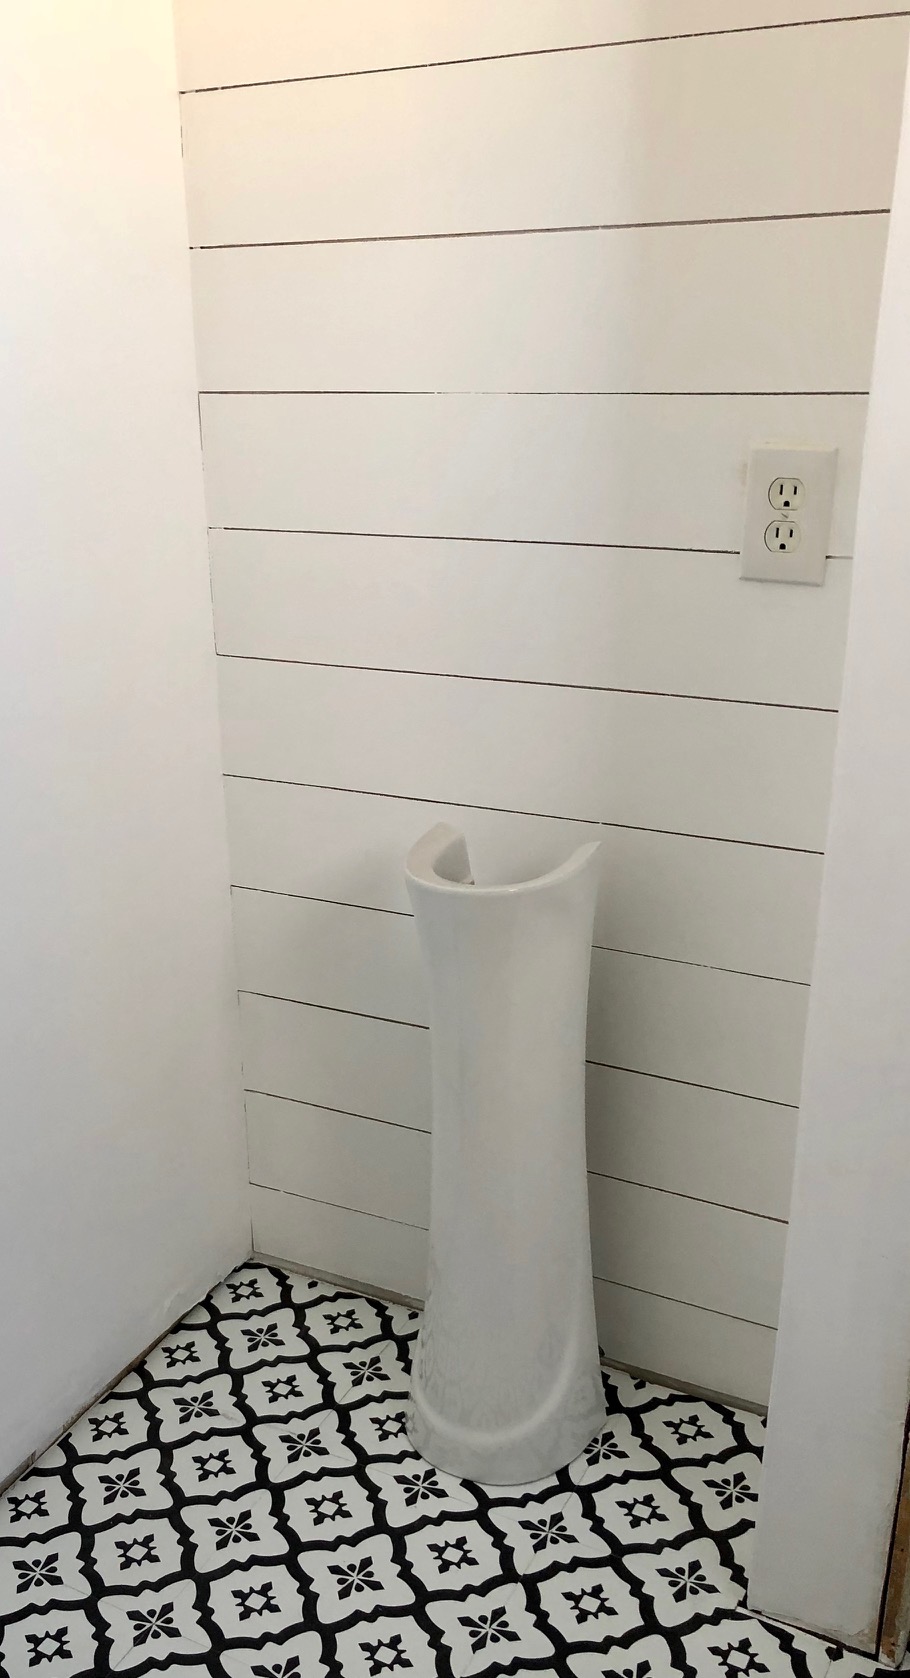
The total cost for our shiplap feature wall was $24!
And what a HUGE difference that $25 and a little labor did to change up this space!
The remodel of our powder room is almost complete and I couldn’t be happier! We just have a few more things to do-(finish installing the sink for sure!) decorate and I’ll be sharing the final reveal!!
Wishing you all a Fabulous weekend!
P.S. Prayers to all the folks who have had to deal with this latest storm! We’ve had high winds, sleet, snow, rain, and off and on power outages for 2 days! Thank goodness it’s supposed to warm up by next week!


[cn-social-icon selected_icons=”1,2,3″]
I’m just amazed at all the neat things you’re doing to this house. It looks amazing and what a great faux solution to ship lap. I kind of got burned out on the fixer upper thing because it started to be the same thing over and over. I love how you’re improving your home but still keeping the heart of it alive. Reminds me of the show, Home Town. Great tutorial as well, I pinned because who knows this idea might end up in one of our tiny houses.
Aw, thank you, Carole! That means so much to us! Although we’ve decided this isn’t our forever home we really do want it to be the best it can be! I love so many of the modern updates of today, but there are many things of days gone by that fill my heart with joy as well! This faux shiplap would be perfect in one of your tiny homes for sure! Thanks for stopping and have a great weekend!