
First of all-I am OVER the MOON excited to be teaming up
with eight AMAZINGLY creative bloggers today for
the Holiday Crate x10 project!

I’ll admit-when I was first asked to join this group of talented
ladies, I was a bit nervous. Especially since the challenge
was to turn this plain old crate into something for the
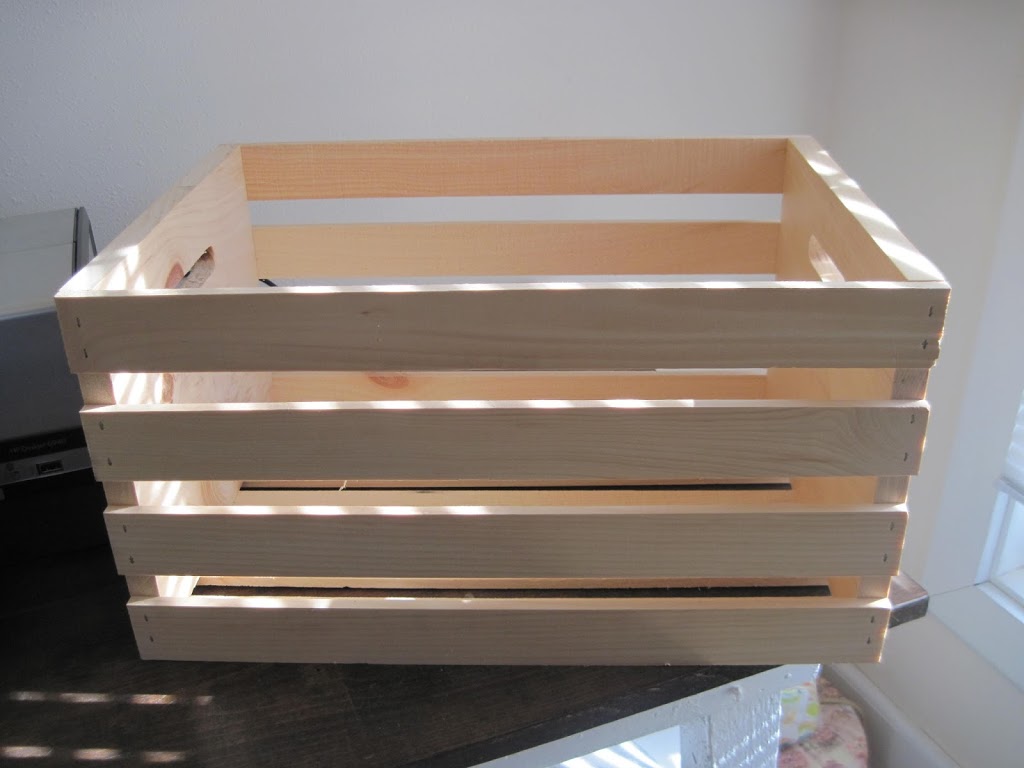
After I purchased the crate-it took a few days of ‘pondering’.
I knew I not only wanted to create something that I would actually
use during the holidays-but also something that I didn’t
already have. That’s a tall order-since I have an
entire room in the basement FILLED with Christmas decorations!
But …..there was one thing I didn’t have.
And it was something I’ve always
wanted, but I just didn’t have the budget for.
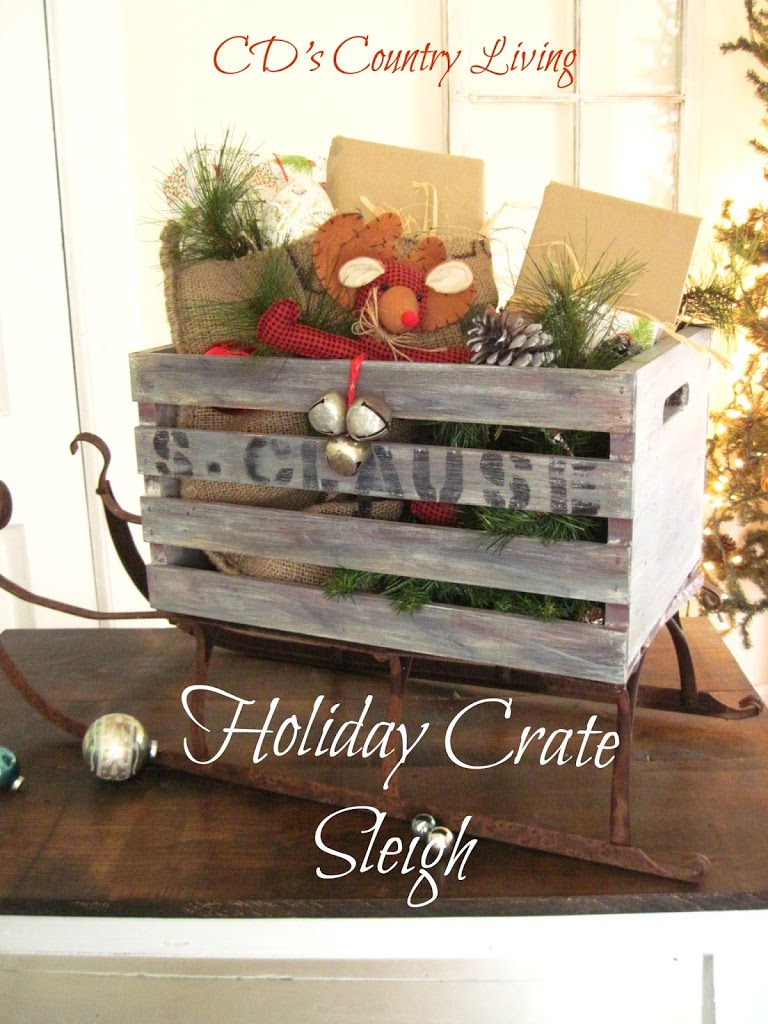
A vintage sleigh!
Once I made my mind up-it was time to come up with
a vision of how I wanted the sleigh to look.
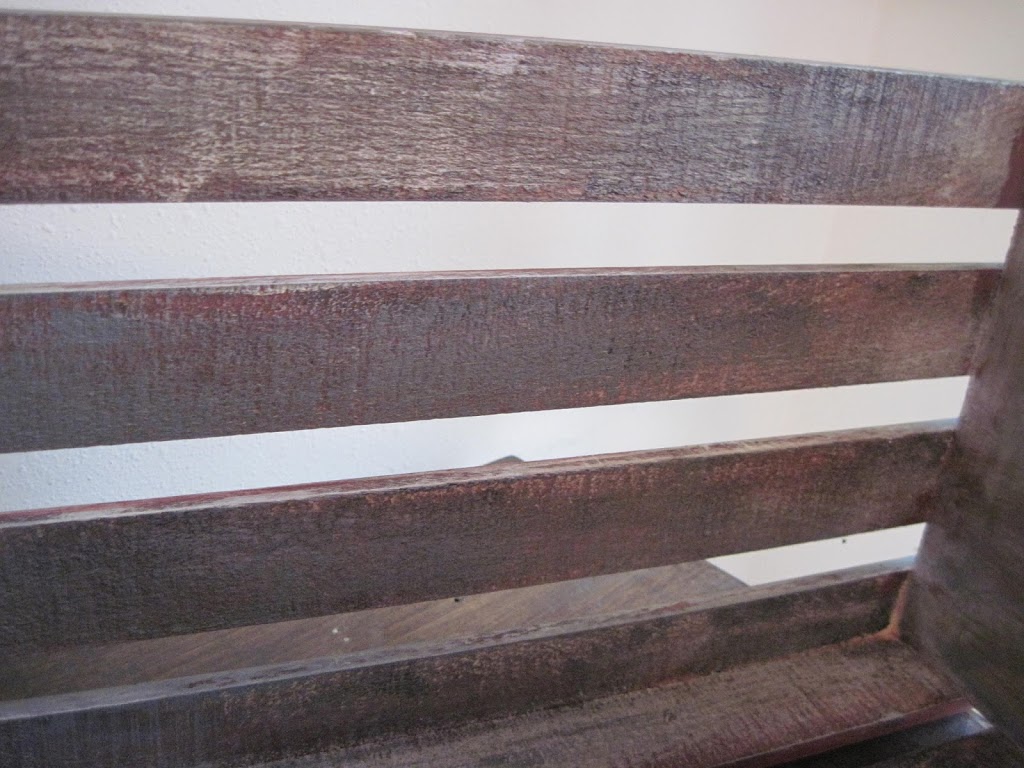
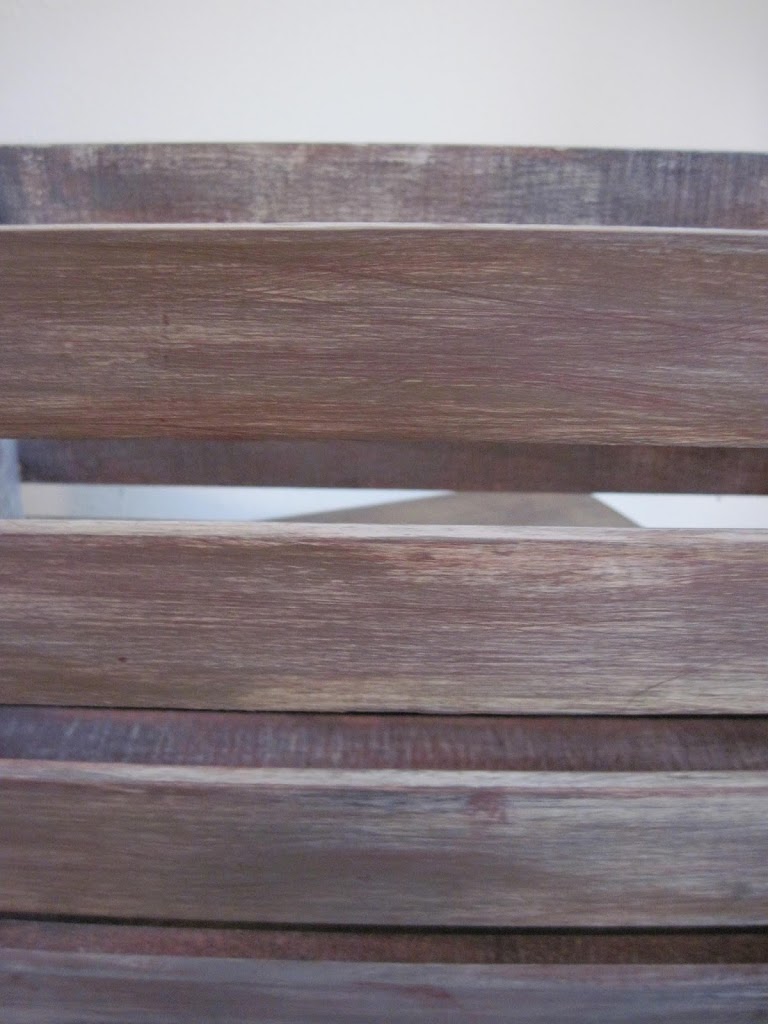
This old piece of wood from a corn crib on our farm was
my inspiration!

I love everything about this 75+ year old piece of wood. From the deep cracks-to the chippy red and gray paint!
Of course, I didn’t have 75 years to get this look-but I was definitely up
for the challenge to try and come close!
The first step in the process to make the new crate look old, was adding
a few dings. I used a screwdriver to make a few scratches in the wood- and a hammer
and nails to make a few holes.

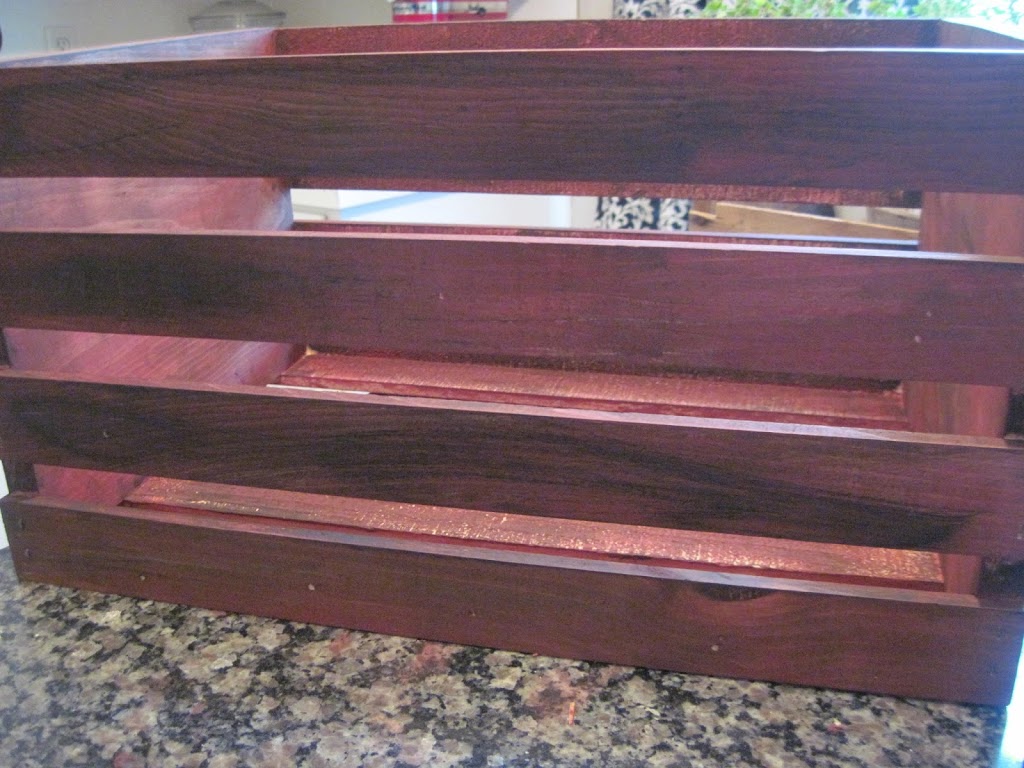
Next was a light coat of stain. I used Minwax-Ebony (leftover from our foyer
staircase).
After the stain had dried for several hours-I sanded it down.
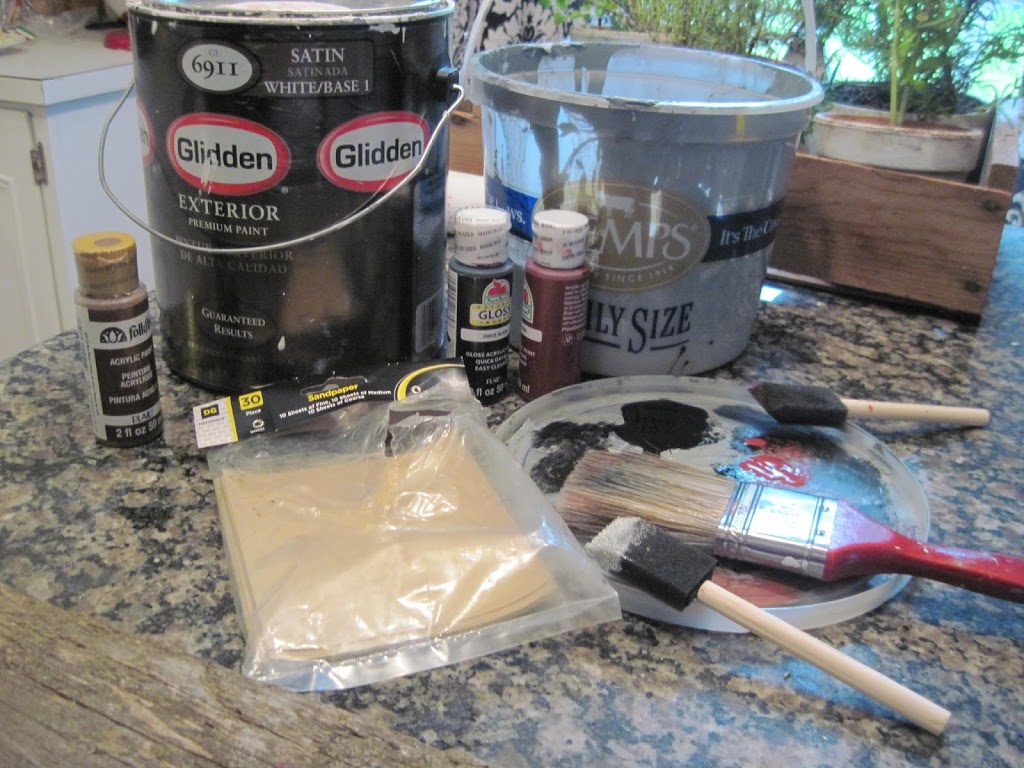
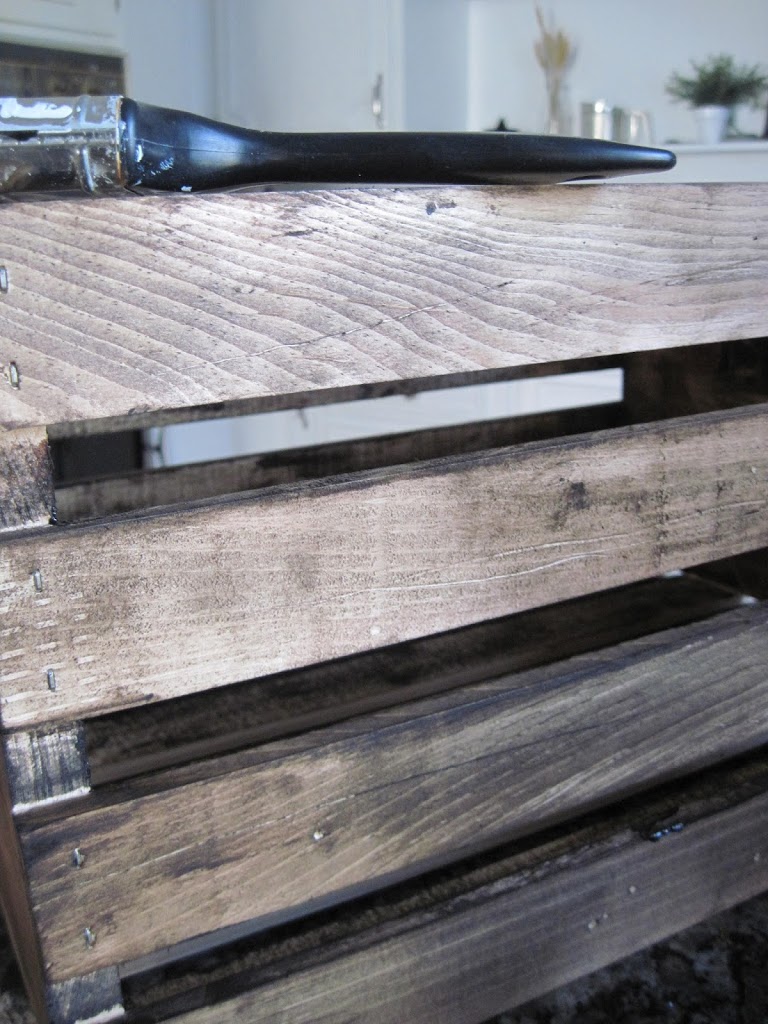
Then it was time for a paint treatment. Again-I used what I had on hand.
White-(leftover from painting house trim)
Black, brown, and red acrylic paint (leftover from signs)
Antique gray-(leftover from kitchen island)
I started by giving the entire crate a coat of red paint (barn red).
Once that dried, I sanded again, and then began the layering
process. First was the white, which I wiped on with an old cloth.
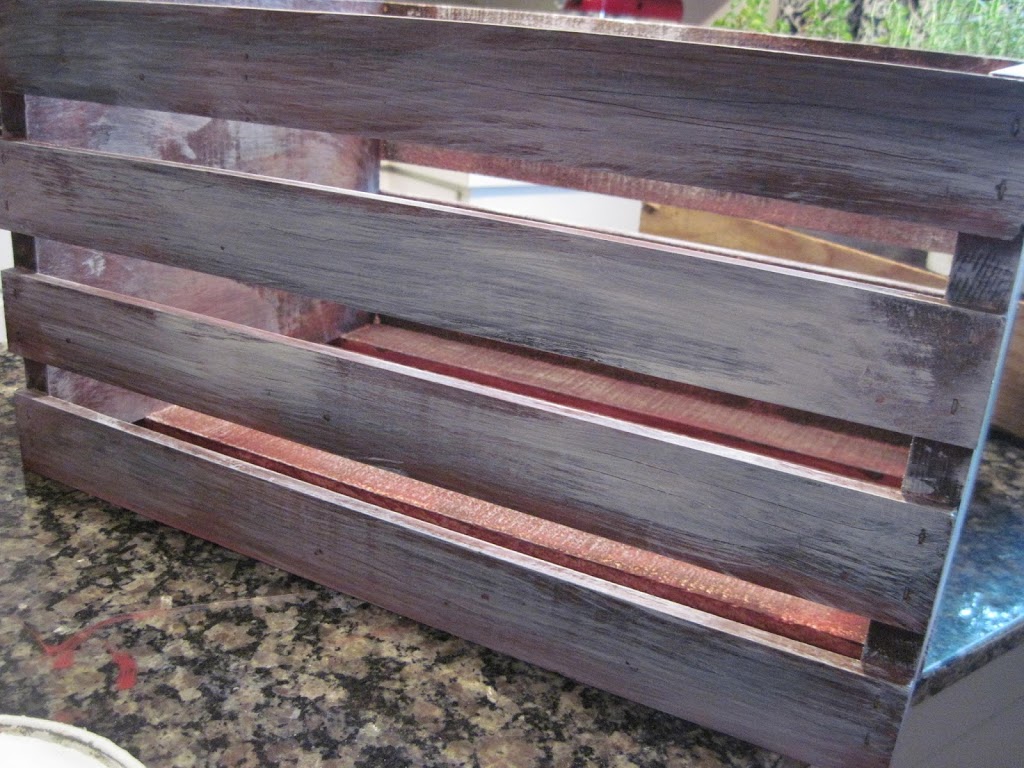
Next was a light coat of the antique gray.

Once this dried, I sanded again.

At this point the color was just a bit too light for me-so I grabbed the
brown paint- diluted it with water
And brushed it lightly over the layers.
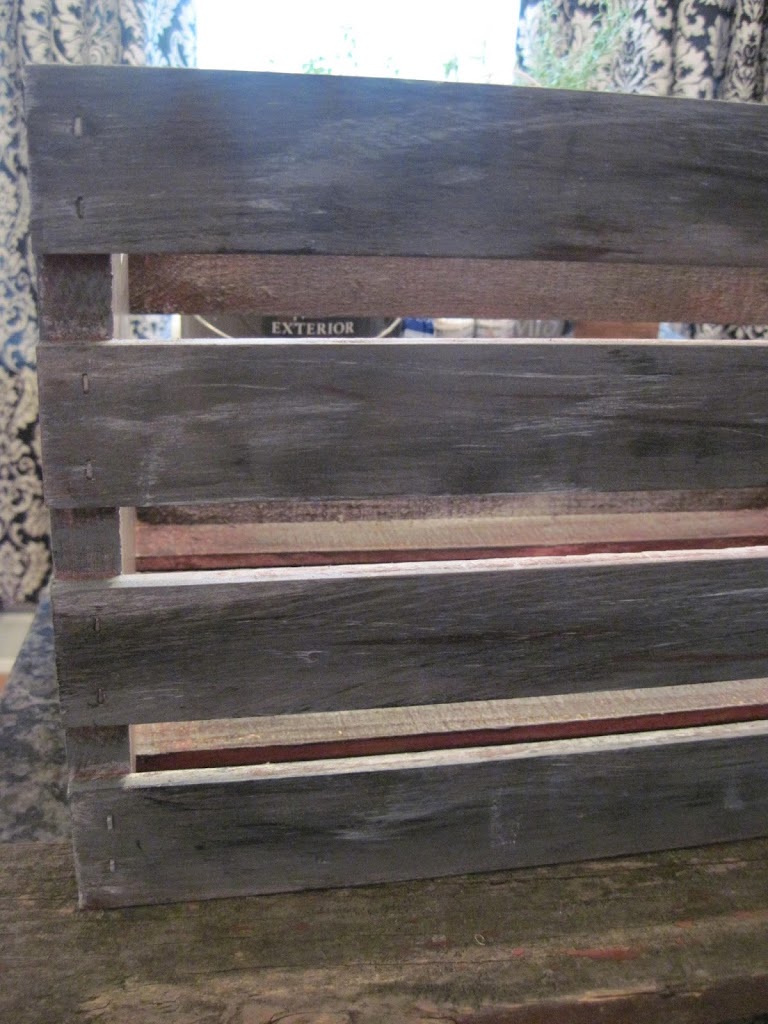
Last, but not least-I wiped on the black with an old cloth.
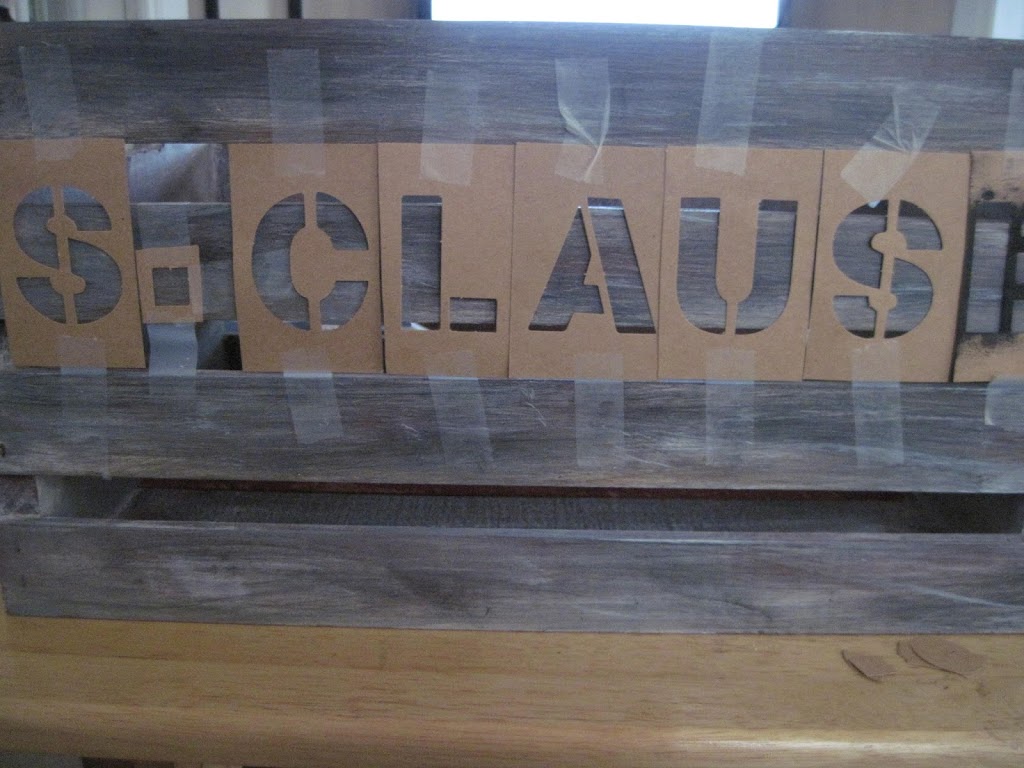
The next step was personalizing the sleigh.
Since Santa is pretty special here at our house-I thought it was only right to proudly
place his name front and center! (Please forgive the unprofessional taping! I ran out of painters
tape-so I had to use what I had on hand! Of course it was wrapping tape!)
Unfortunately, I didn’t get any photo’s of the stenciling process-but
basically I rolled on the same black paint I used on the base-
let it dry-and then sanded it down to make the lettering look
weathered.
Once the body of the sleigh was done, it was on to the runners
Initially, hubby was going to create those out of some metal he
had in the garage.
But before he could do that-we experienced a little bit of
Christmas magic when we paid a visit to a local
antique store and found these!!!
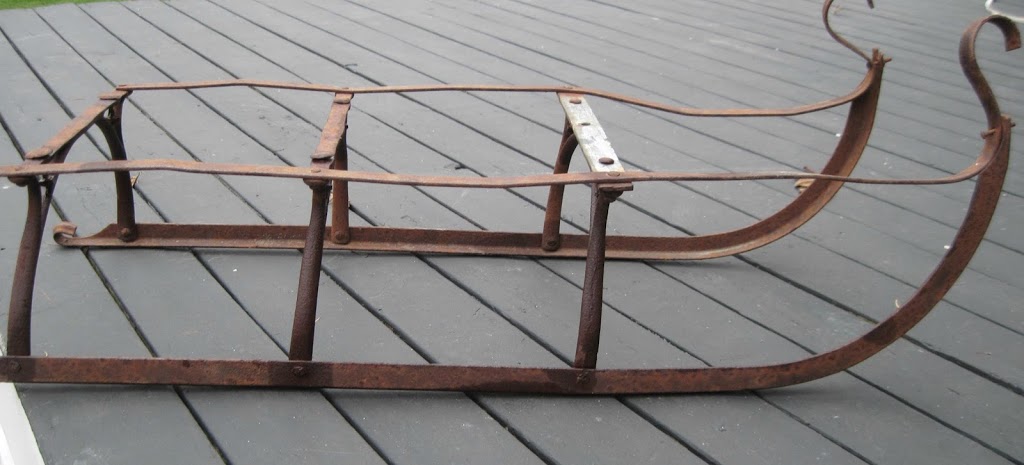
There they were sitting out in the front of the store, in all their rusty glory!
Yes indeed, hubby was just as happy I was to see these runners, (less work for him)
but even so, his part in this project wasn’t over just yet.
We still needed to find a way to attach the runners to the sleigh.
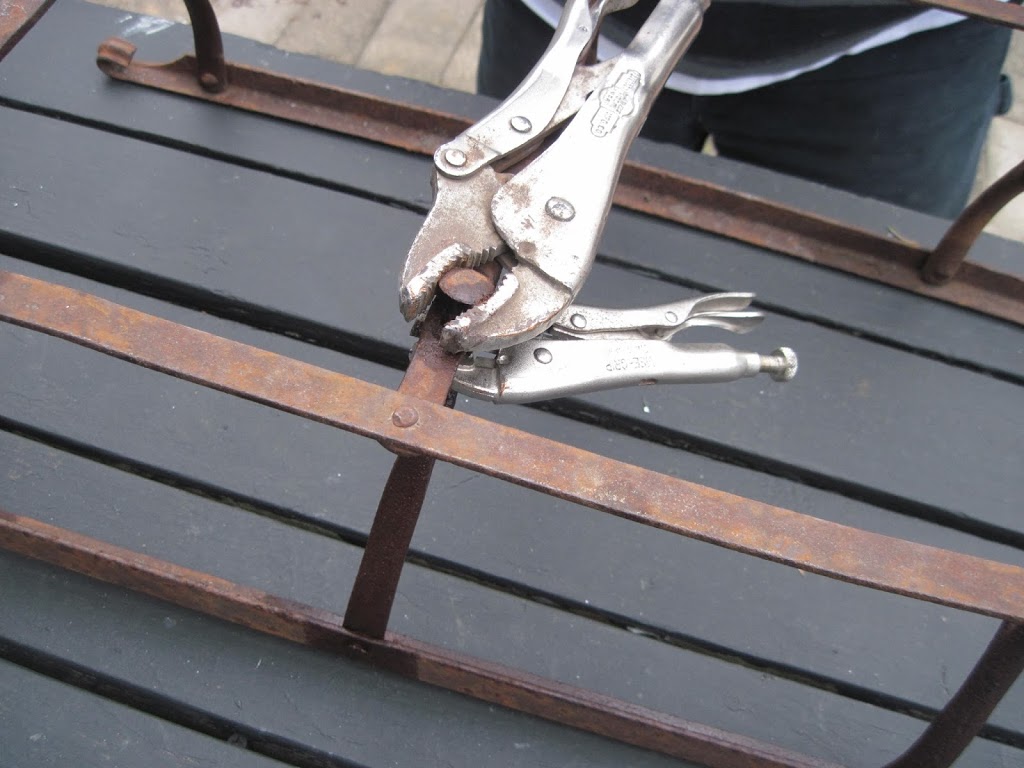
And those VERY rusty bolts needed a strong arm to loosen.
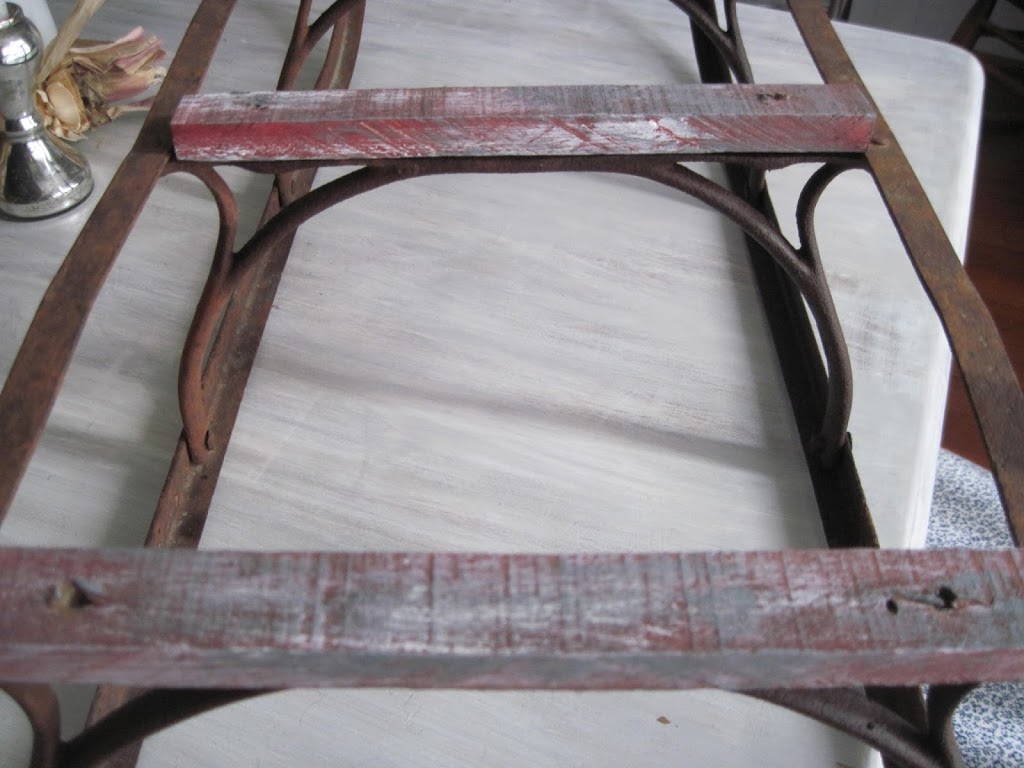
Next up- hubby cut to size, and pre-drilled three pieces of wood he found in his stash. These were
for added support and strength, as well as,
a way to attach the runners without damaging the crate.
After hubby bolted the base onto the runners-the sleigh was
back in my happy hands-and ready for decorating!

I started by filling the sleigh with greenery. I topped that with a burlap bag filled
with more greenery and pretty wrapped presents.

A few frosted pine cones, ornaments, an adorable plaid reindeer…
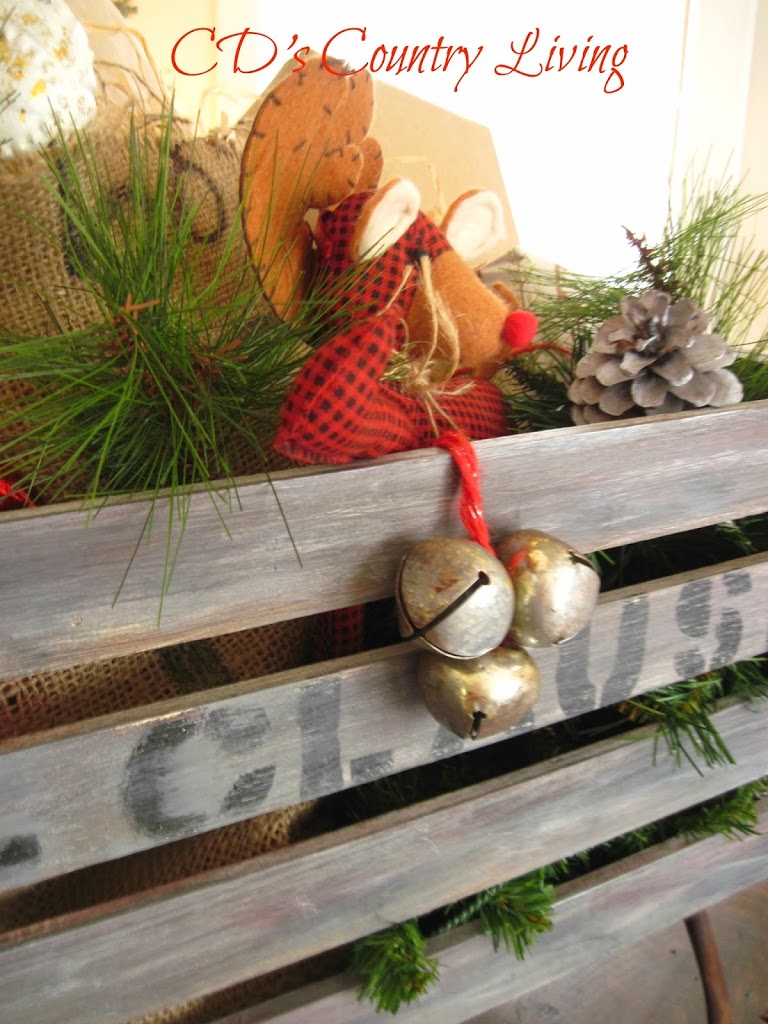
And of course-a few sleigh bells too!!

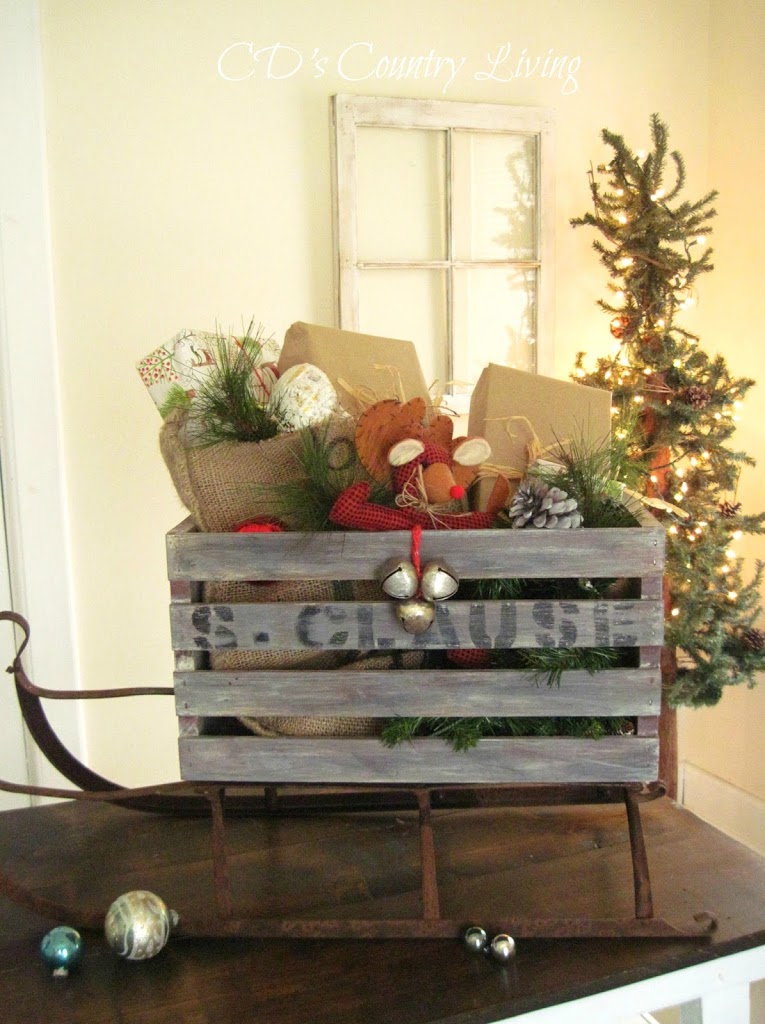
I absolutely LOVE how my vintage crate sleigh turned out, and it
will soon find a home in front of the fireplace, once
I have the mantel decorated for the holidays!
Be sure to check out the links below to see what
the other eight AMAZING bloggers did with their crate!
And your #10!
I’d love to hear what magnificent holiday
creation you would make with a crate!!!
Carole @ Garden up Green
Patti @ Garden Matter
Meredith @ The Palette Muse
Bon Bon @ Farmhouse 40
Nici @ Posed Perfection
Jami @ An Oregon Cottage
Val @ Love my DIY Home
Karen @ To Work with my Hands
Blessings and hugs,

Oh, my goodness, CD! This vintage sleigh is amazing! What a great find on the runners for the sleigh. The paint job you gave the crate is just about a perfect match to the old piece of wood you used for your inspiration. I love, love, love this project! It's been a blast getting to participate in the challenge with you and the other ladies! Have a wonderful week!
Blessings,
Nici
CD,
That is so adorable! Now I want to go get another crate and make one just like yours. Hmmm I don't know if I can find a cute sleigh like that though.. Oh well, great job. So creative people. So much fun!
You did a fabulous job, CD! I love your painting technique – it's perfect and you didn't have to wait the 75 years to get it! And to find those runners like that…amazing. I'm inspired now. 🙂
It's been a blast working with you – I hope we'll do it again.
This is so cute CD – I'm a vintage nut and love how you incorporated that rustic sleigh. Love the finish on that crate it's a perfect match. Thank you for participating this was a lot of fun. Hope you have a wonderful Christmas!
Thank you, Patti! It was so much fun to be a part of this project! You all are SO creative!
Thank you, Carole! I'm so glad you invited me! It's been a blast and I can't wait to do it again!!!
So cute, C.D. I love love love the sleigh runner underneath! I have a sleigh – I need to go get it and put it out. So inspiring…
Thank you so much, Val! Yes, you need to get your sleigh out! I've always wanted one-and now I do!!
Love the addition of the sleigh. Your crate turned out so nice!
Thank you, Jennifer! I need to get my mantel done now, so I can place it next to the fireplace!
I was nervous too! And honestly, I'm so glad I didn't see any of the other amazing projects first, or I would have locked myself in a closet and turned off my computer. 🙂 This sleigh is amazing, and I can see how much work you put into it. I can't believe you found that antique sleigh. So glad to be a part of such a talented group!
Thank you, Meredith! I totally agree! You ladies are super talented, and I LOVE each and every creative idea you came up with!
What a cute idea……love this entire look with the sled and crate. Great job!
Your too sweet, Bon Bon! I LOVE how your crate turned out too! The project was a blast, and I hope to work with you all again soon!!!
Wow. Wow. I cannot believe you found the runners just like that AND your paint job is perfection AND it's filled so adorably. I love it – great job!!
I tell ya, Jami, finding those runners was definitely a bit of Christmas magic!! Thank you so much for your sweet comment and for stopping by!!!