
Half bath Final Reveal
Remodeling an outdated half bath with a modern farmhouse style on a budget!
It’s been a long time coming but I can finally say that our downstairs half bath is DONE!
Can I get a YAHOO!!
Whew! I gotta tell you, folks! This remodel really kicked our butts!
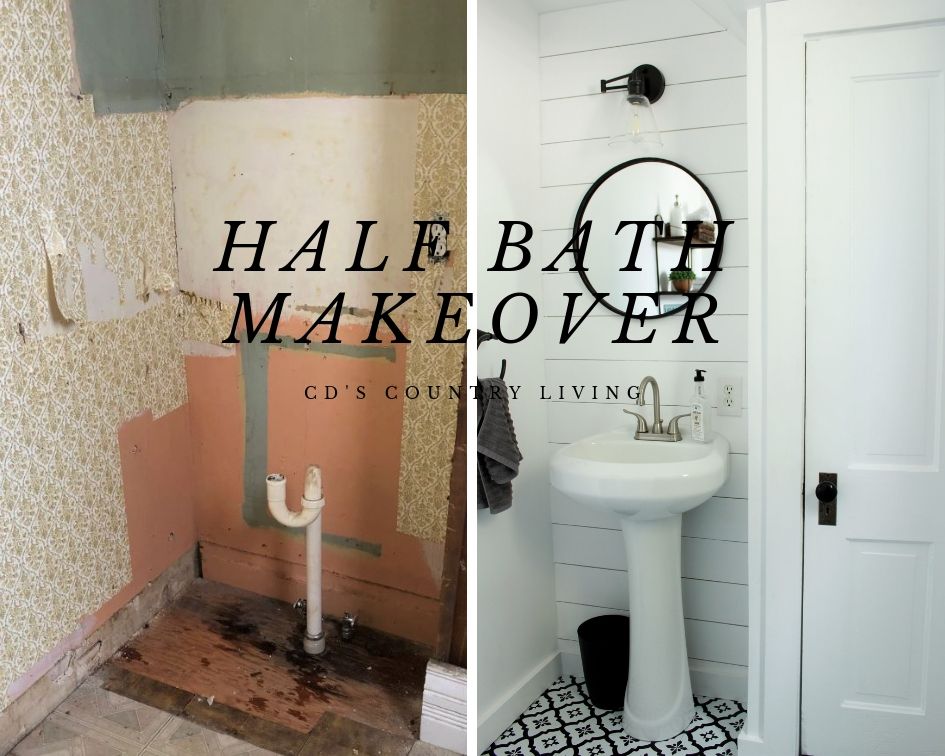
But before I get to that, let me show you what this half bath looked like when we started.
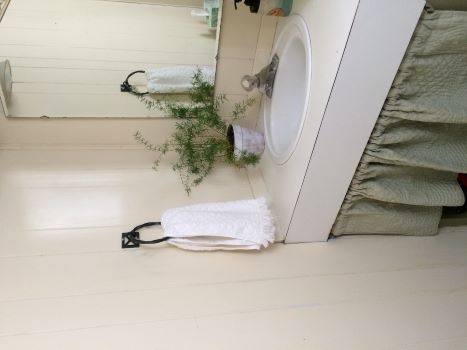
Functional-yes. Pretty-Um no! We lived with it because there were other rooms in this house that needed work more than this one.
Once we decided to do the room there was no going back. This was a complete demo!!
(This post contains some affiliate links for your convenience. These are the products we used and recommend. You can find our full disclosure here.)
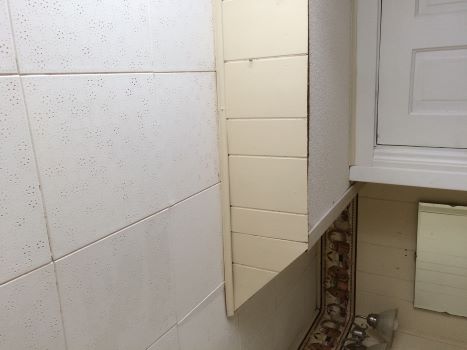
The first to go was that ugly drop-down ceiling and bump out. It made absolutely no sense to either of us and we couldn’t wait for it to be gone!
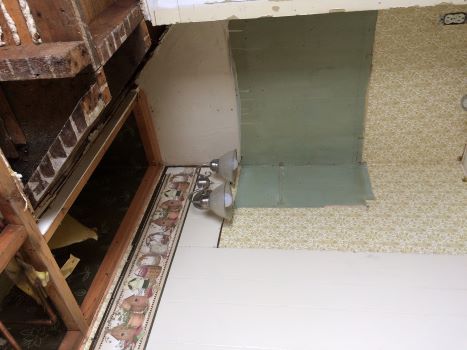
Next came the paneling-along with that not so pretty and very much outdated wallpaper border.
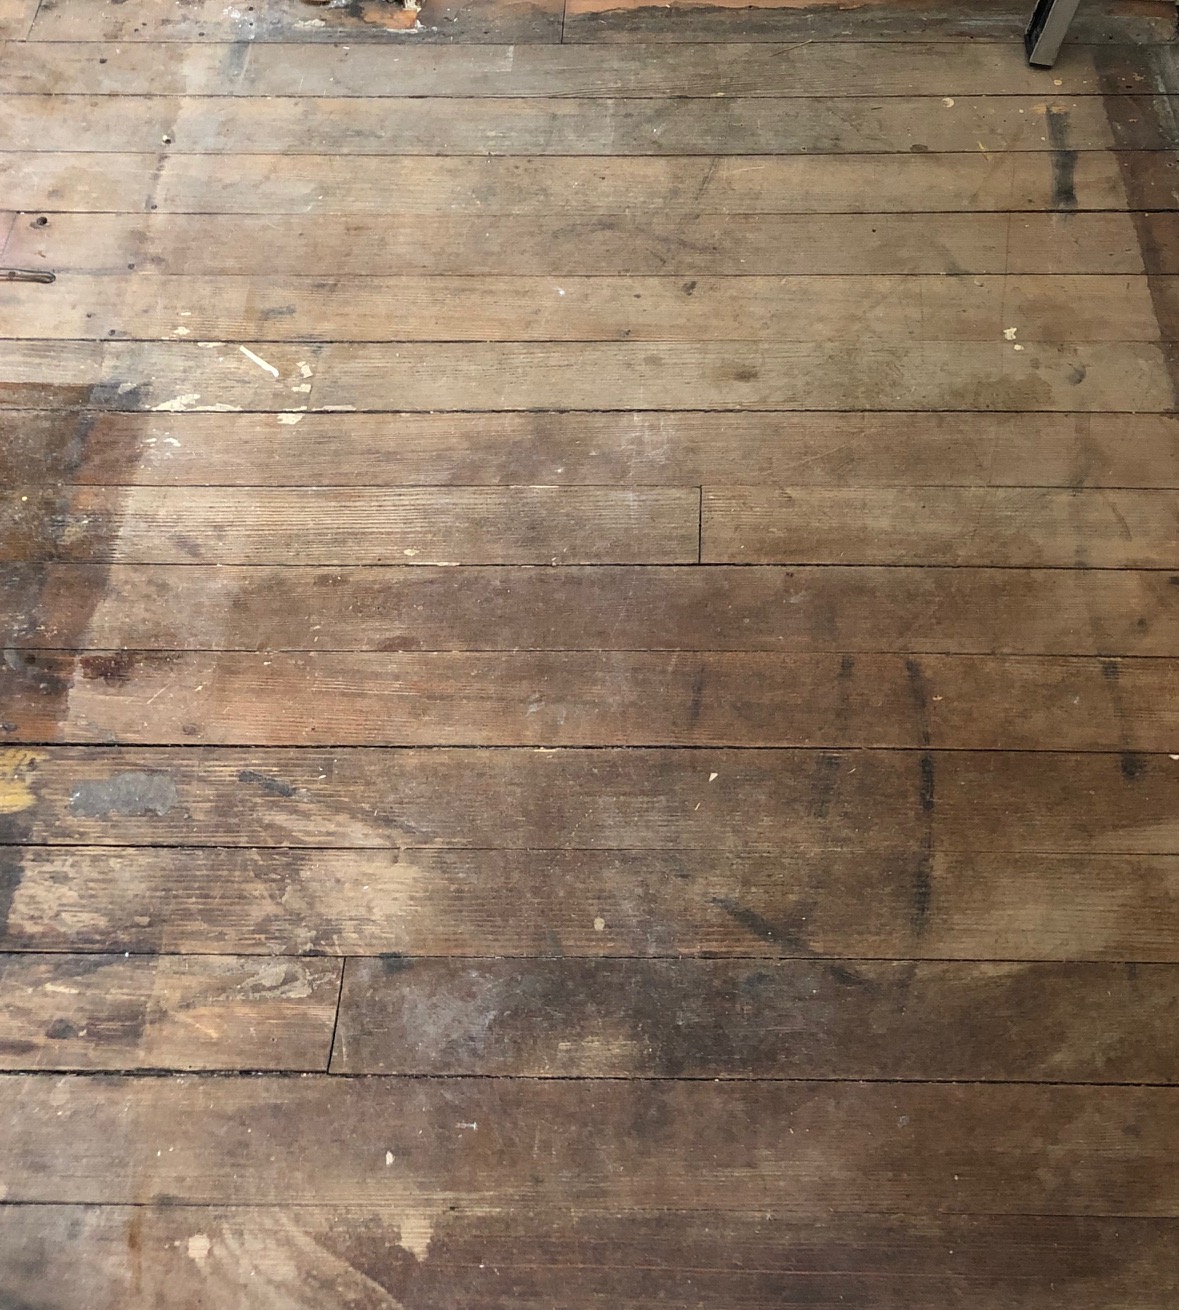
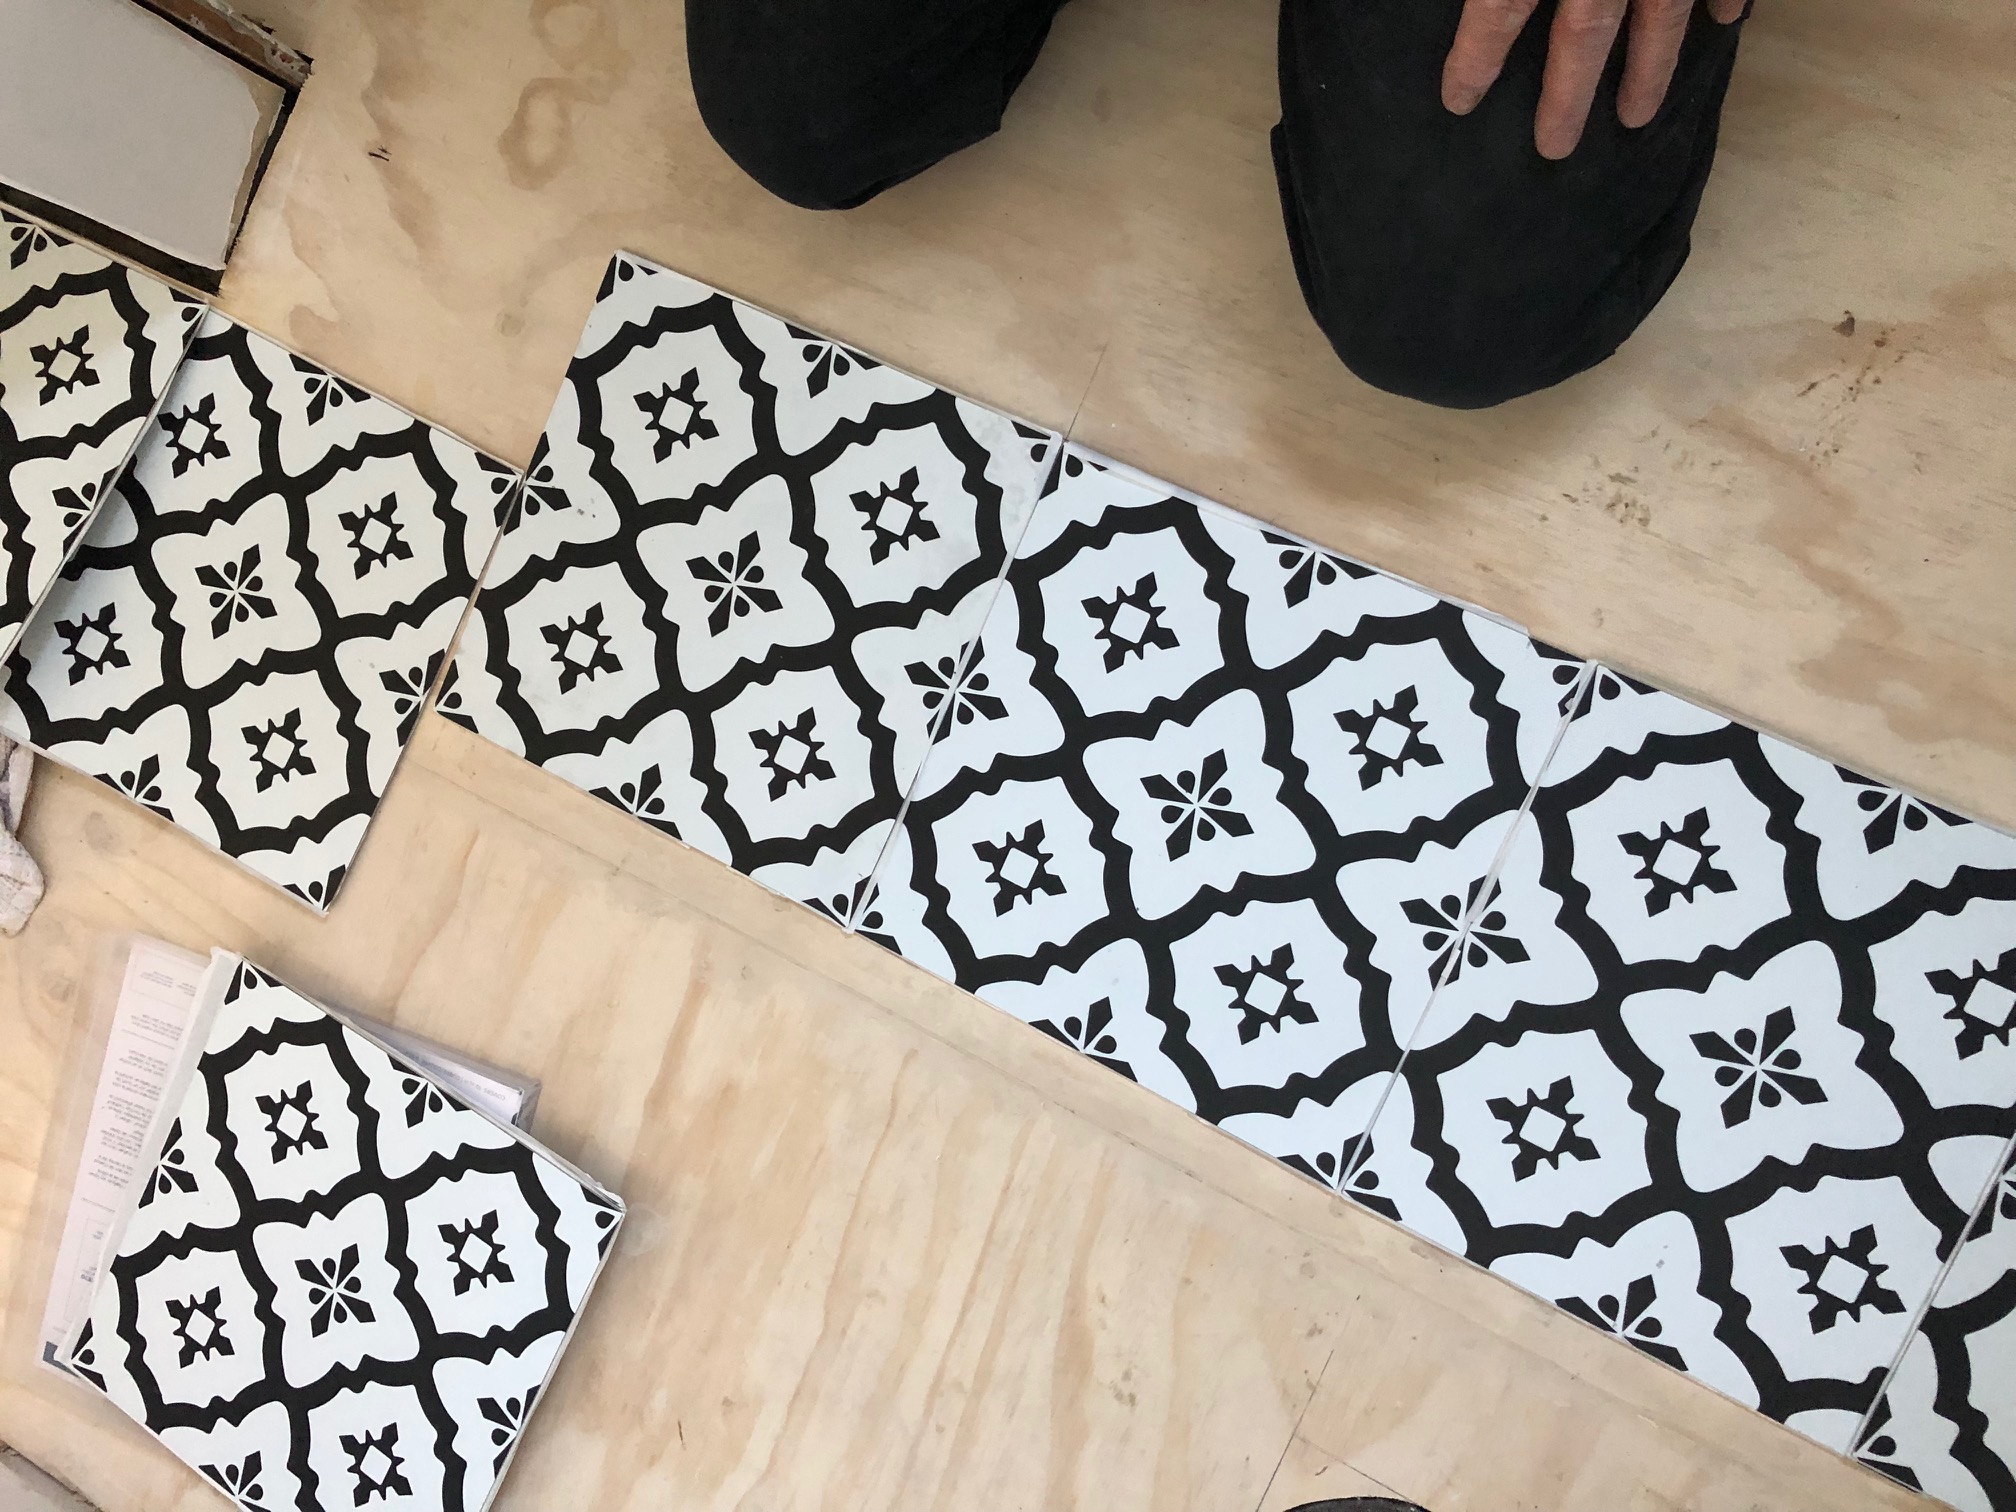
And last, but certainly not least-the three layers of linoleum flooring. Everything was going pretty good until this point and then we found our first big issue. The floor was not only in pretty bad shape but it was also sagging in several spots. I won’t go into all that in this post but you can check out what we did to fix it and get our full tutorial on installing vinyl tile flooring here.
After the floor was complete there was some minor electrical re-wiring and then we could install the drywall.
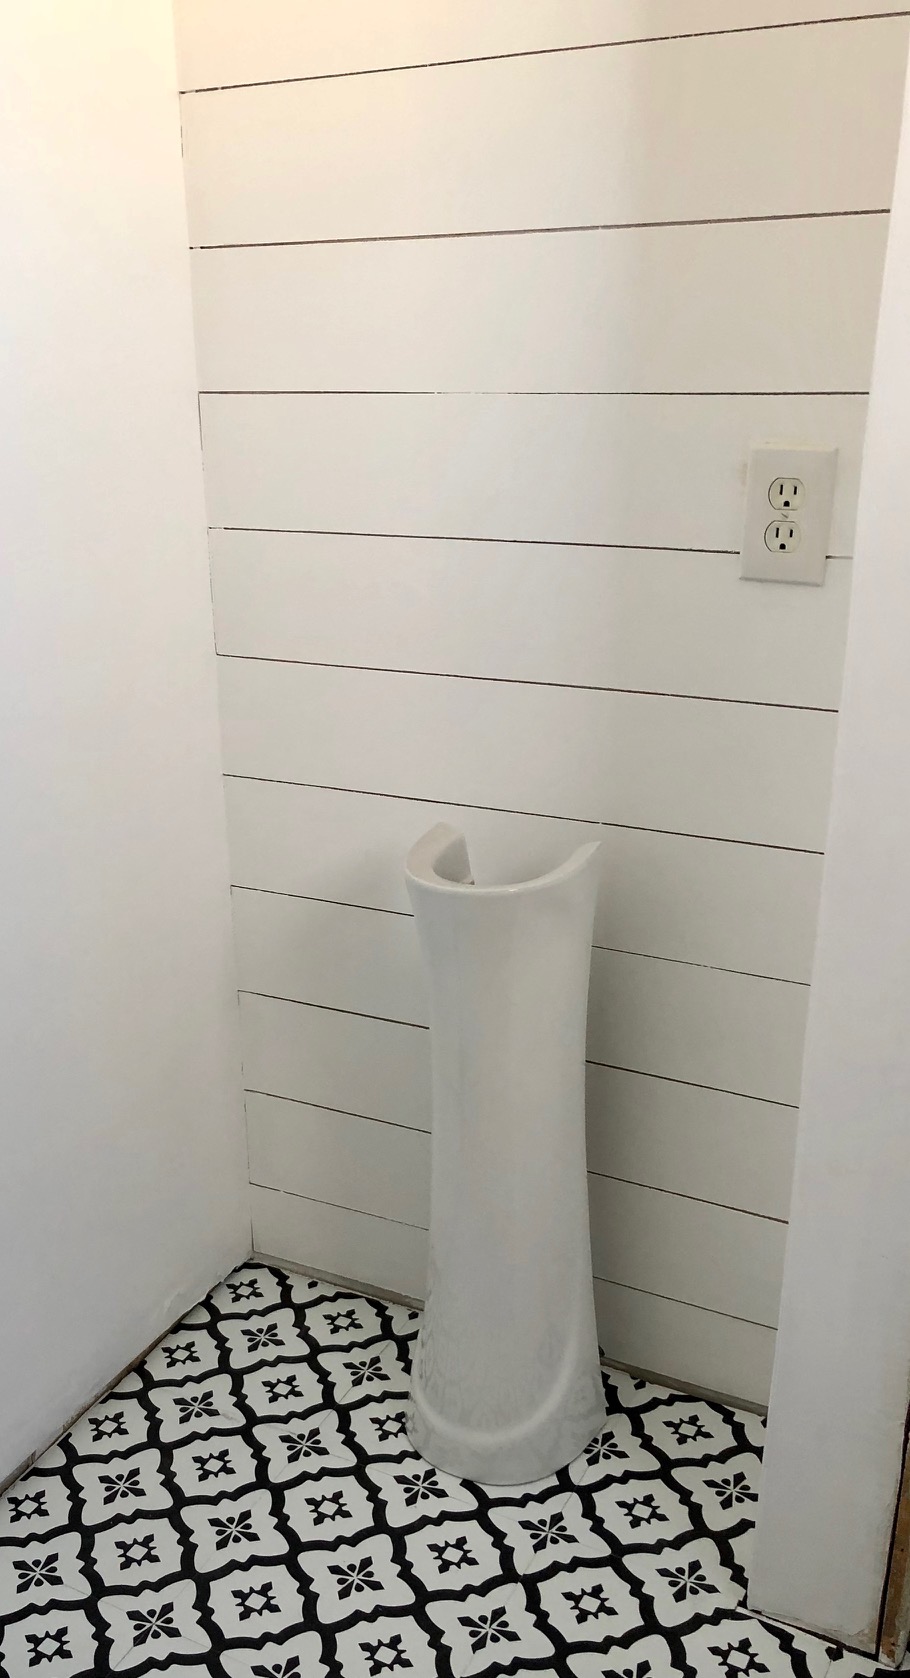
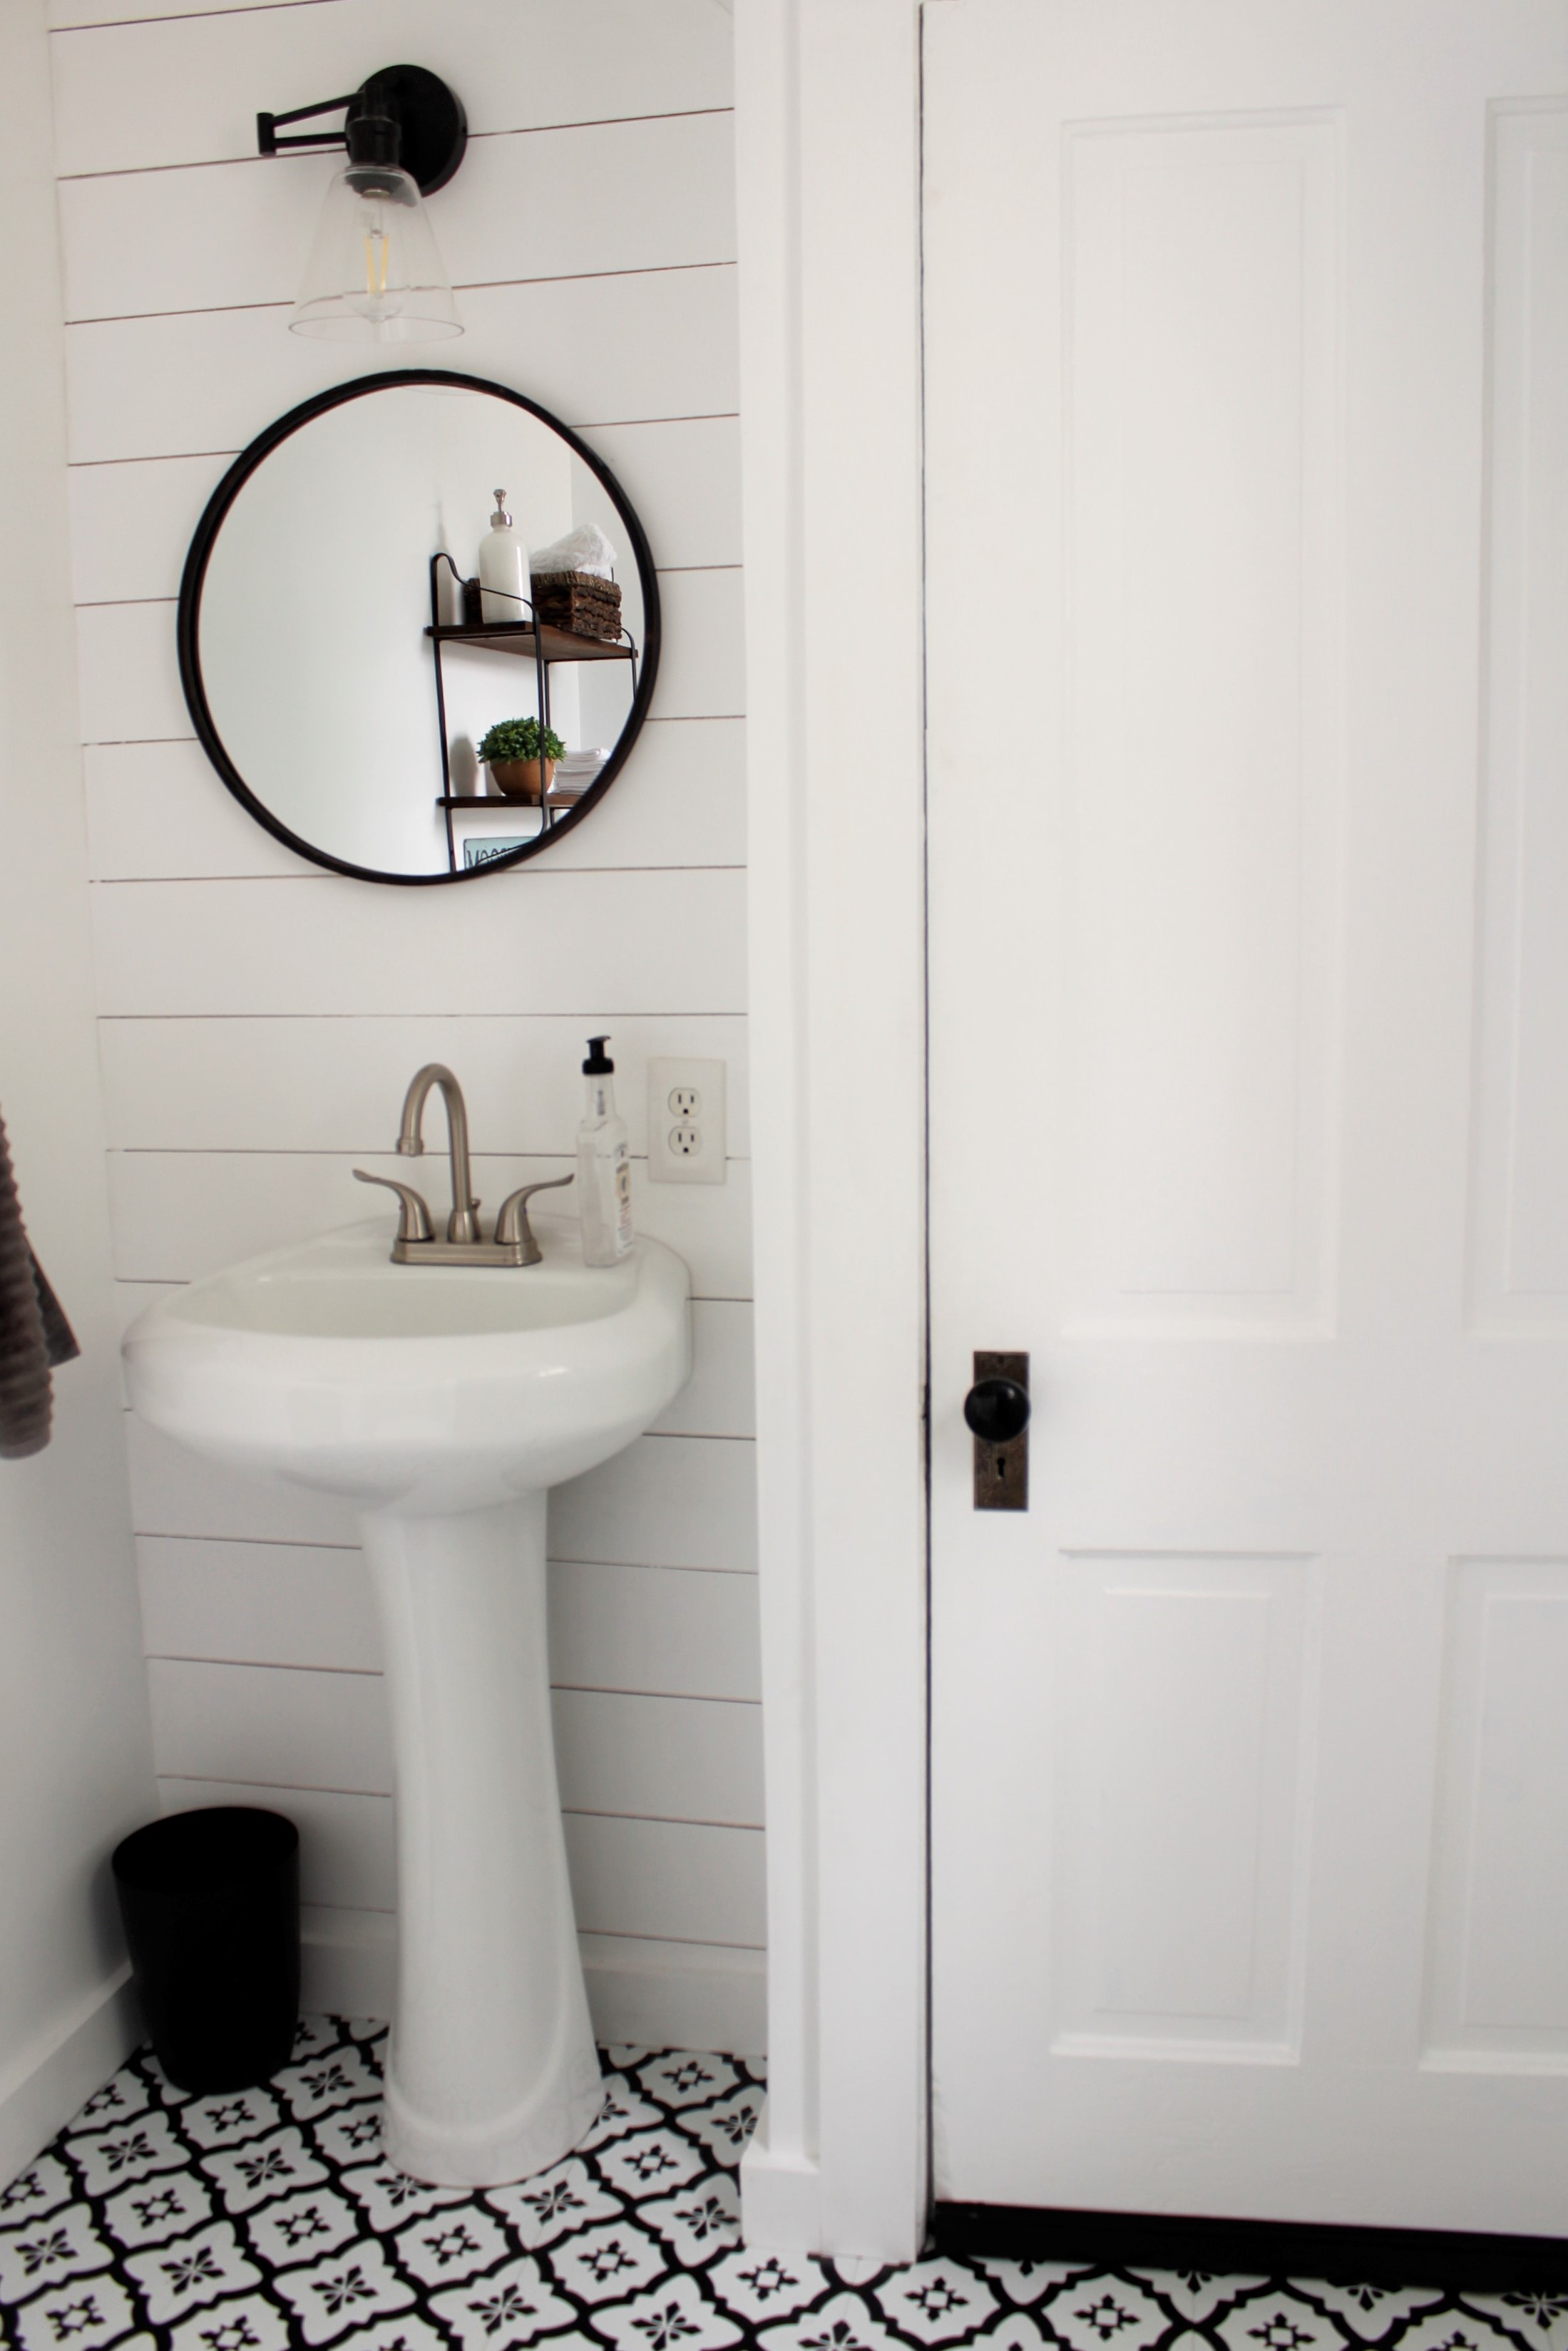
We also chose to install a faux shiplap wall behind the sink. You can find that full tutorial here!
Speaking of the sink. It was given to us by our kids as motivation to start this project several years prior. Unfortunately, it didn’t fit where the old sink had been so it required moving some plumbing and cutting a bit into that pretty floor before we could install it!
The last and final construction detail was to install brand new baseboard trim and trim around the doors and one window. We used 1×4 pine for this. It was simply, measure-cut to size and nail in place each piece.
Once that was done I grabbed my paintbrush and primed all of the walls, ceiling, and trim. I gave everything two coats of primer.
I allowed the primer to dry overnight and then I gave everything two coats of Behr Ultra White paint in a Satin finish.
Choosing to paint the entire space a clean fresh white was an easy decision. I wanted to brighten things up and it definitely did that! It also meant I had a clean, neutral slate to decorate with.
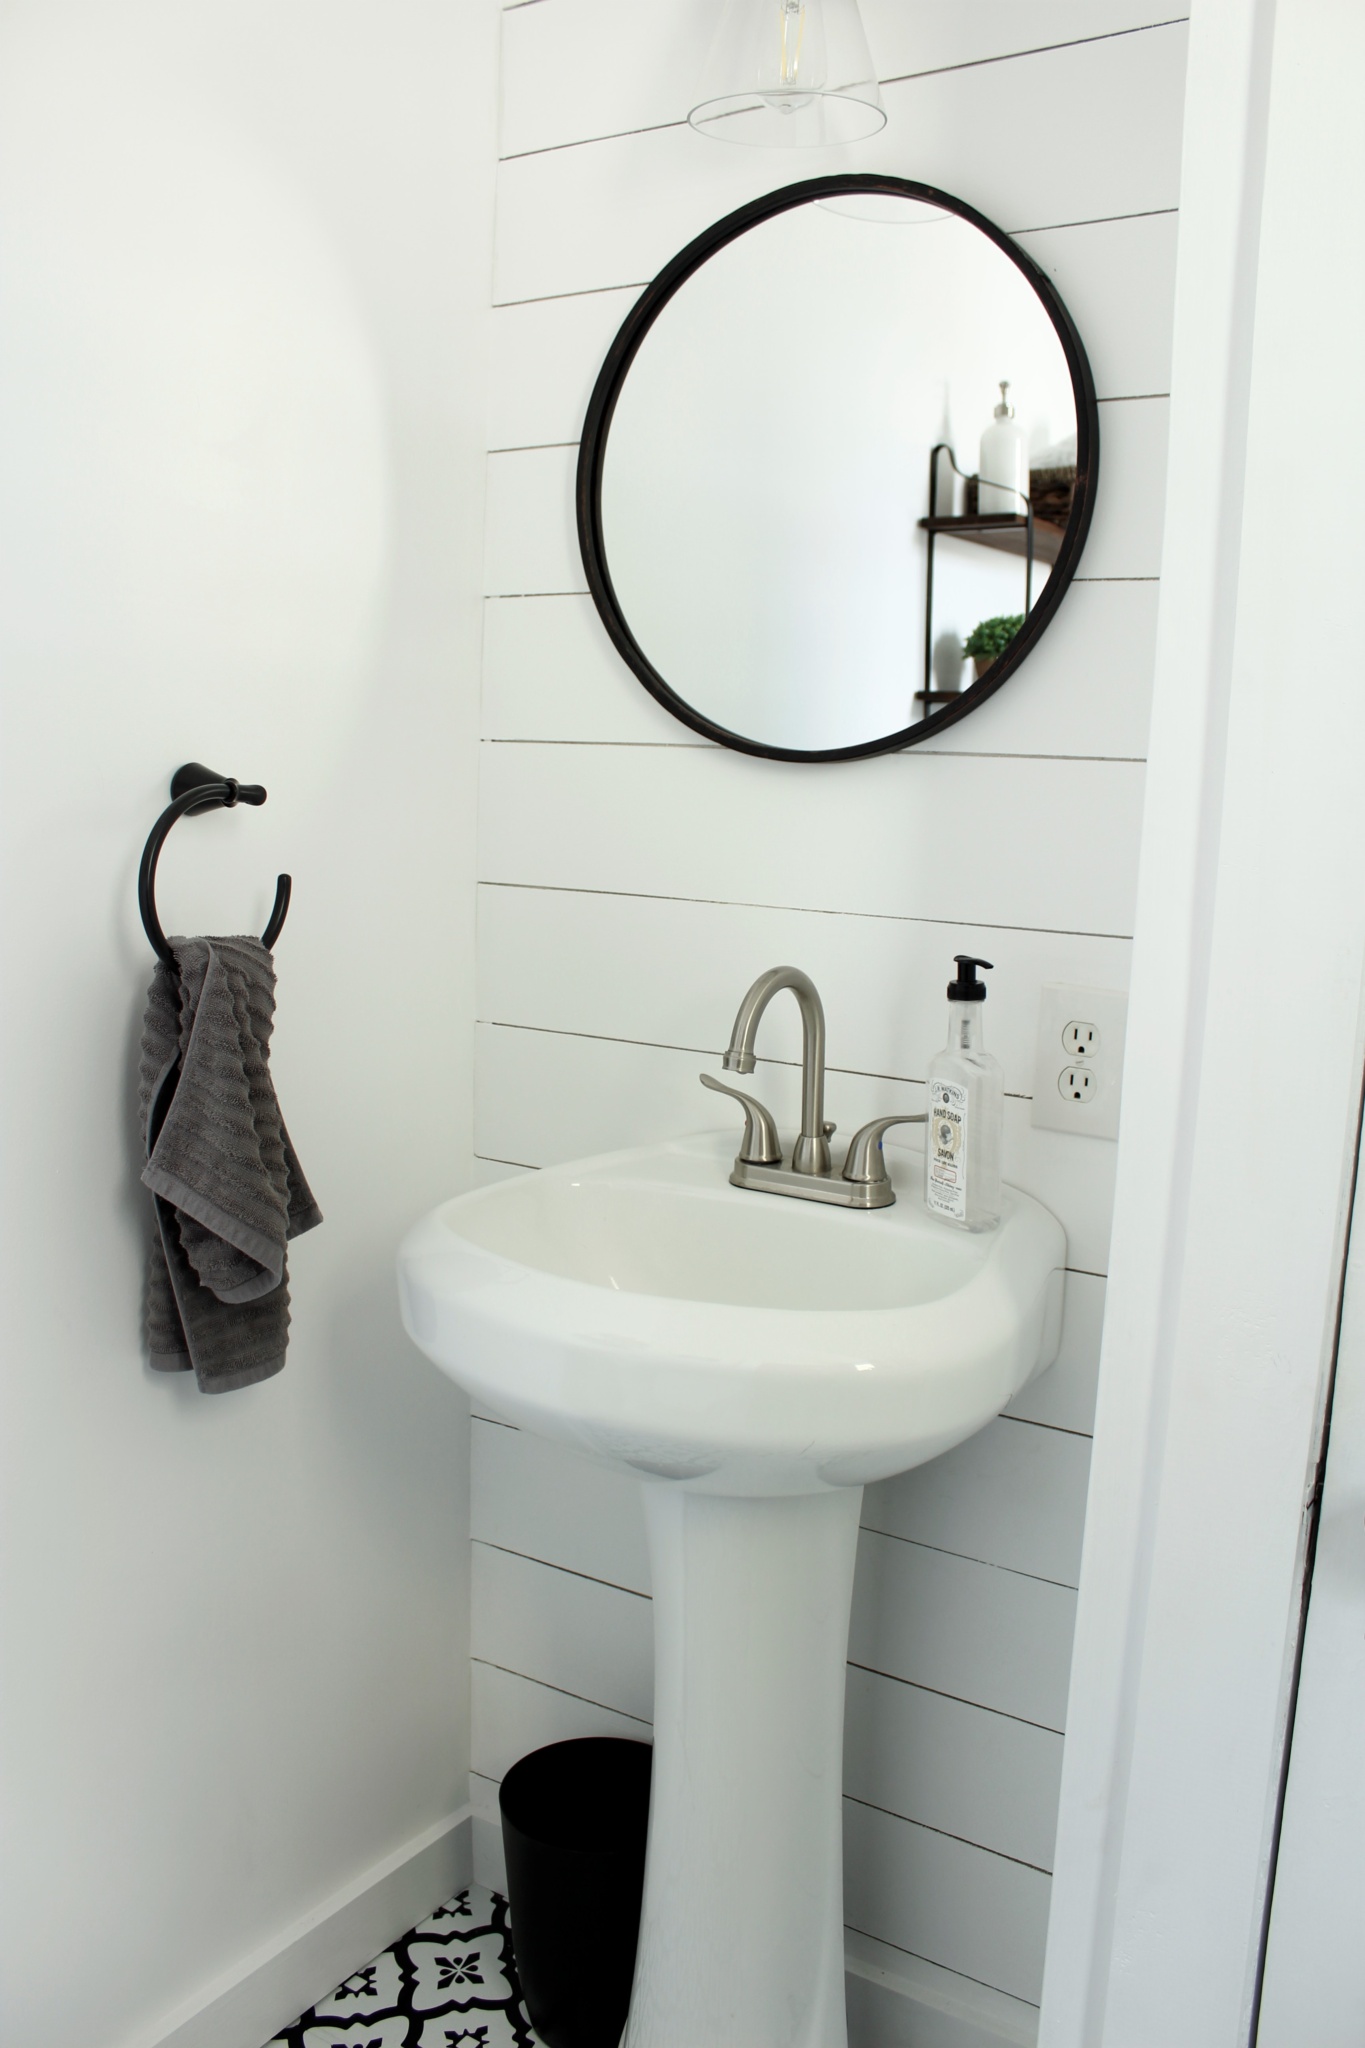
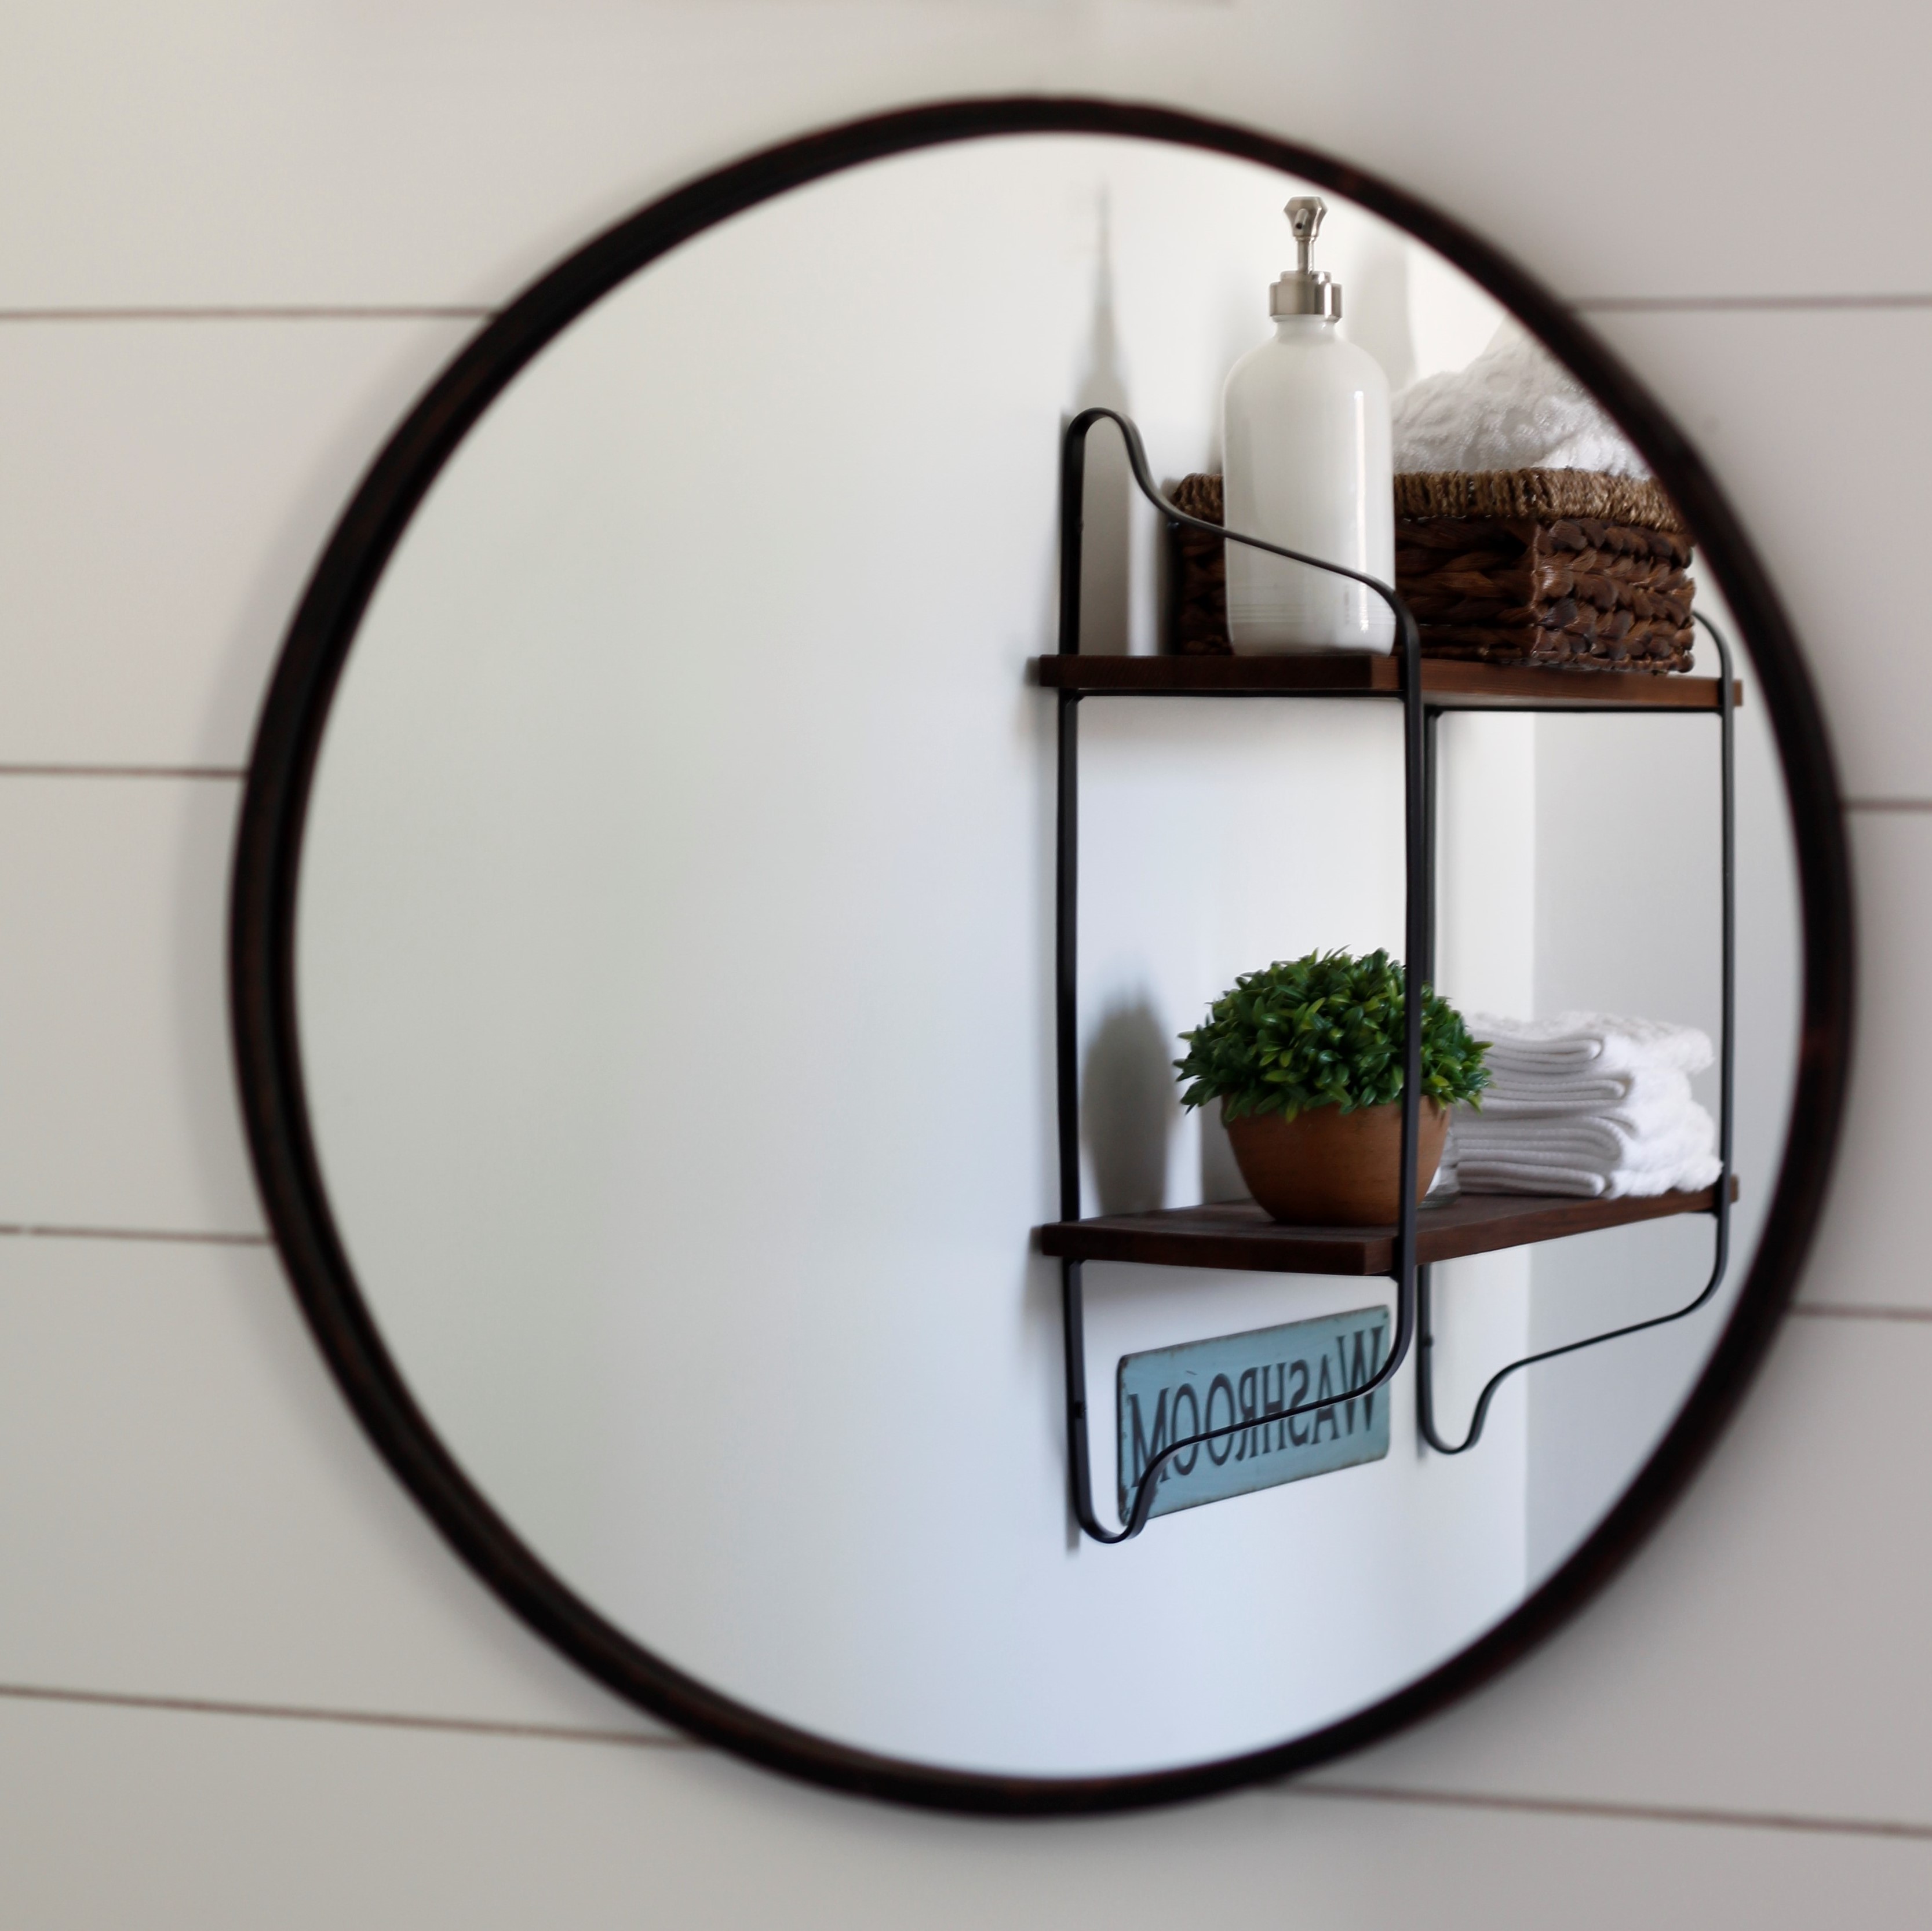
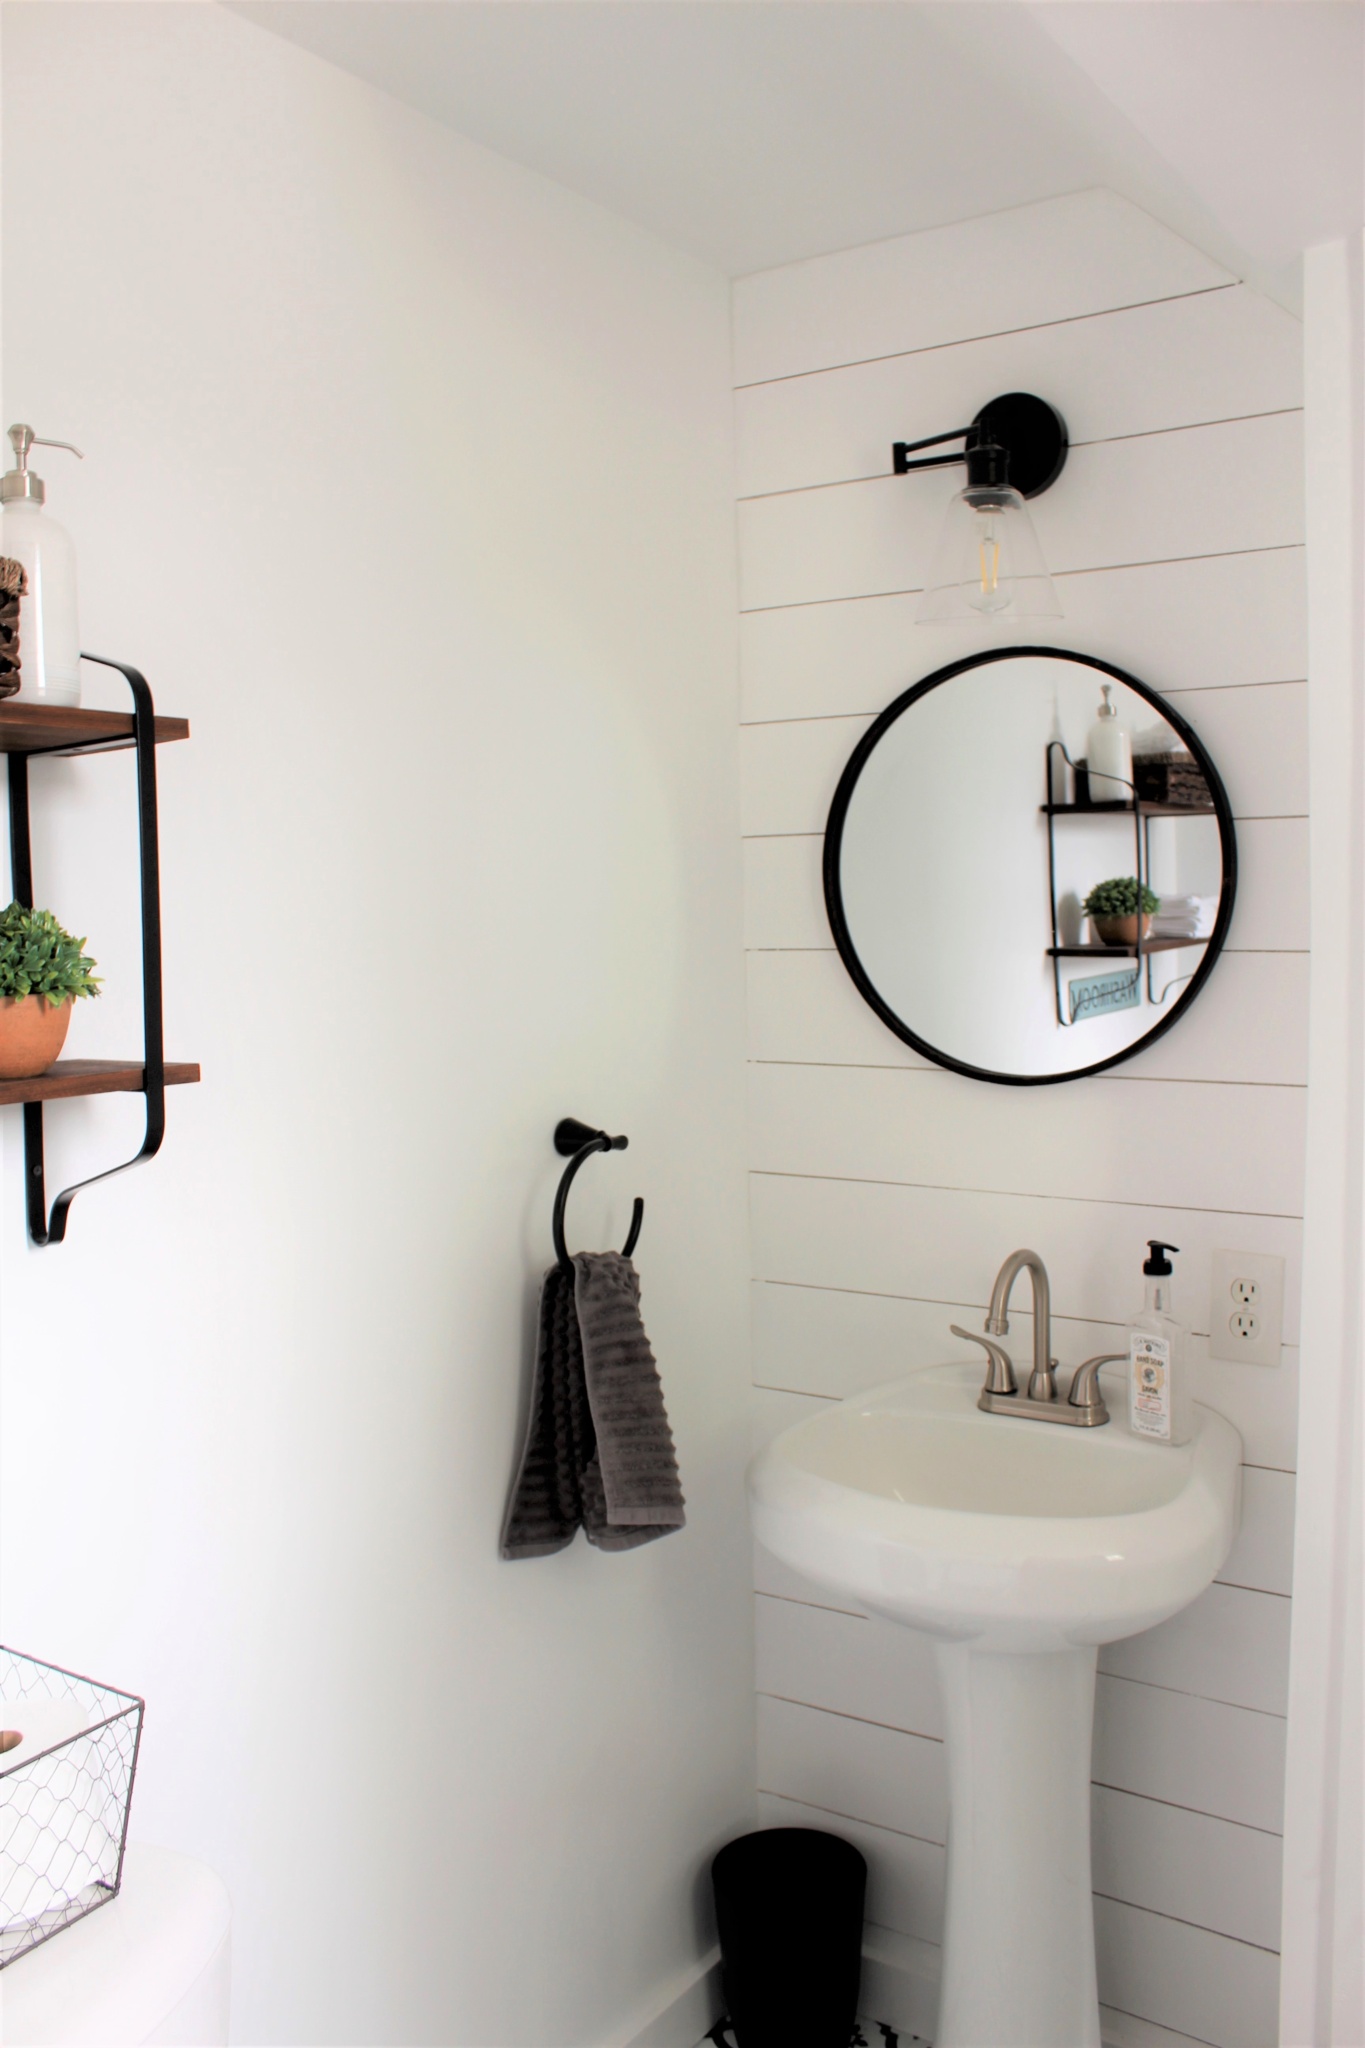
Since my dream bathroom had a round-shaped mirror that’s what I began my search for. Unfortunately, the cost of a round mirror in the size we needed was double that of a square. I’m talking $150 or more! Unless of course, I wanted one made out of plastic or hung by a rope, which I didn’t. I also didn’t have the budget for the spendier mirrors either.
I had almost given up on a round mirror and then I came across this one online. It was the perfect size I needed but again, it also hung from a rope.
After taking a closer look I realized the piece where the rope connected to the mirror was on the backside and it was big enough that my handyman of a husband could shave off each piece quite nicely with his Dremel tool. So I bought it and that’s exactly what he did. After the hooks were removed I simply touched up the bare spots with some bronze paint. Super easy fix and the mirror only cost $24.99 with free shipping! This little corner also received a new light fixture and towel rack-both in a bronze finish.
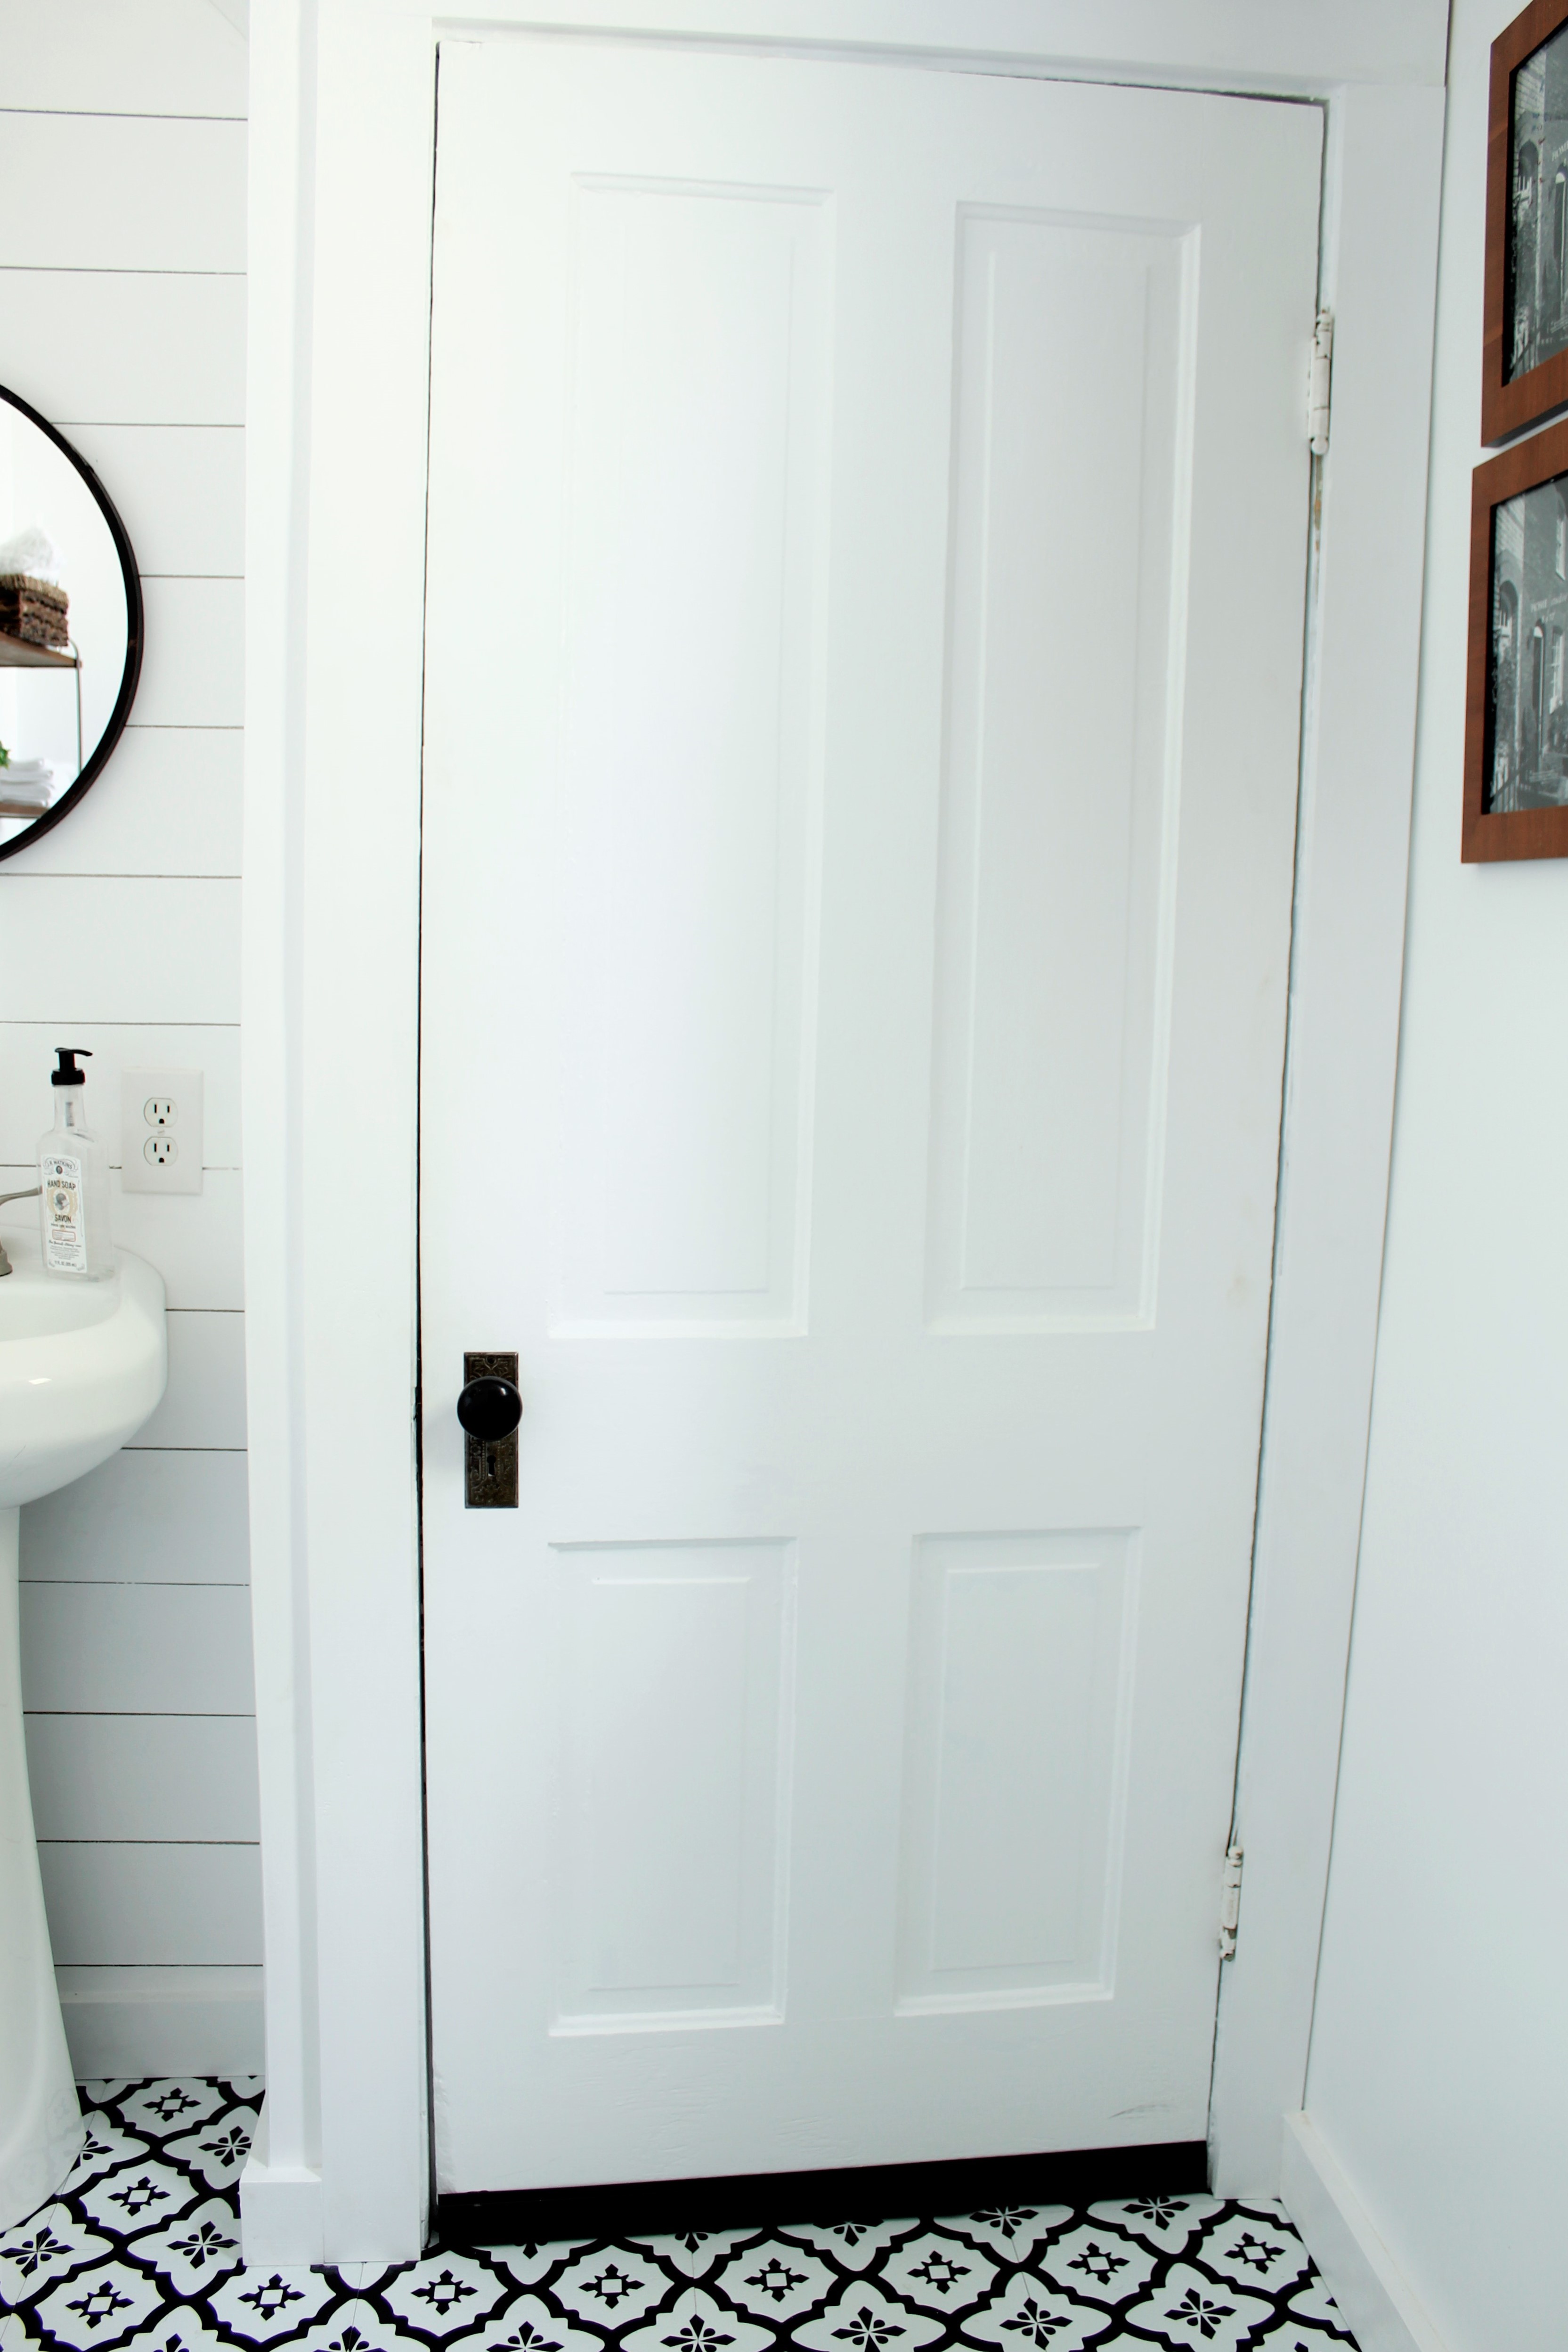
The door which leads to the basement also received a makeover. First, Michael sanded it down, then I gave it three coats of fresh paint. I also gave the antique doorknob and hardware a good scrubbing and we installed a new kick plate in black.

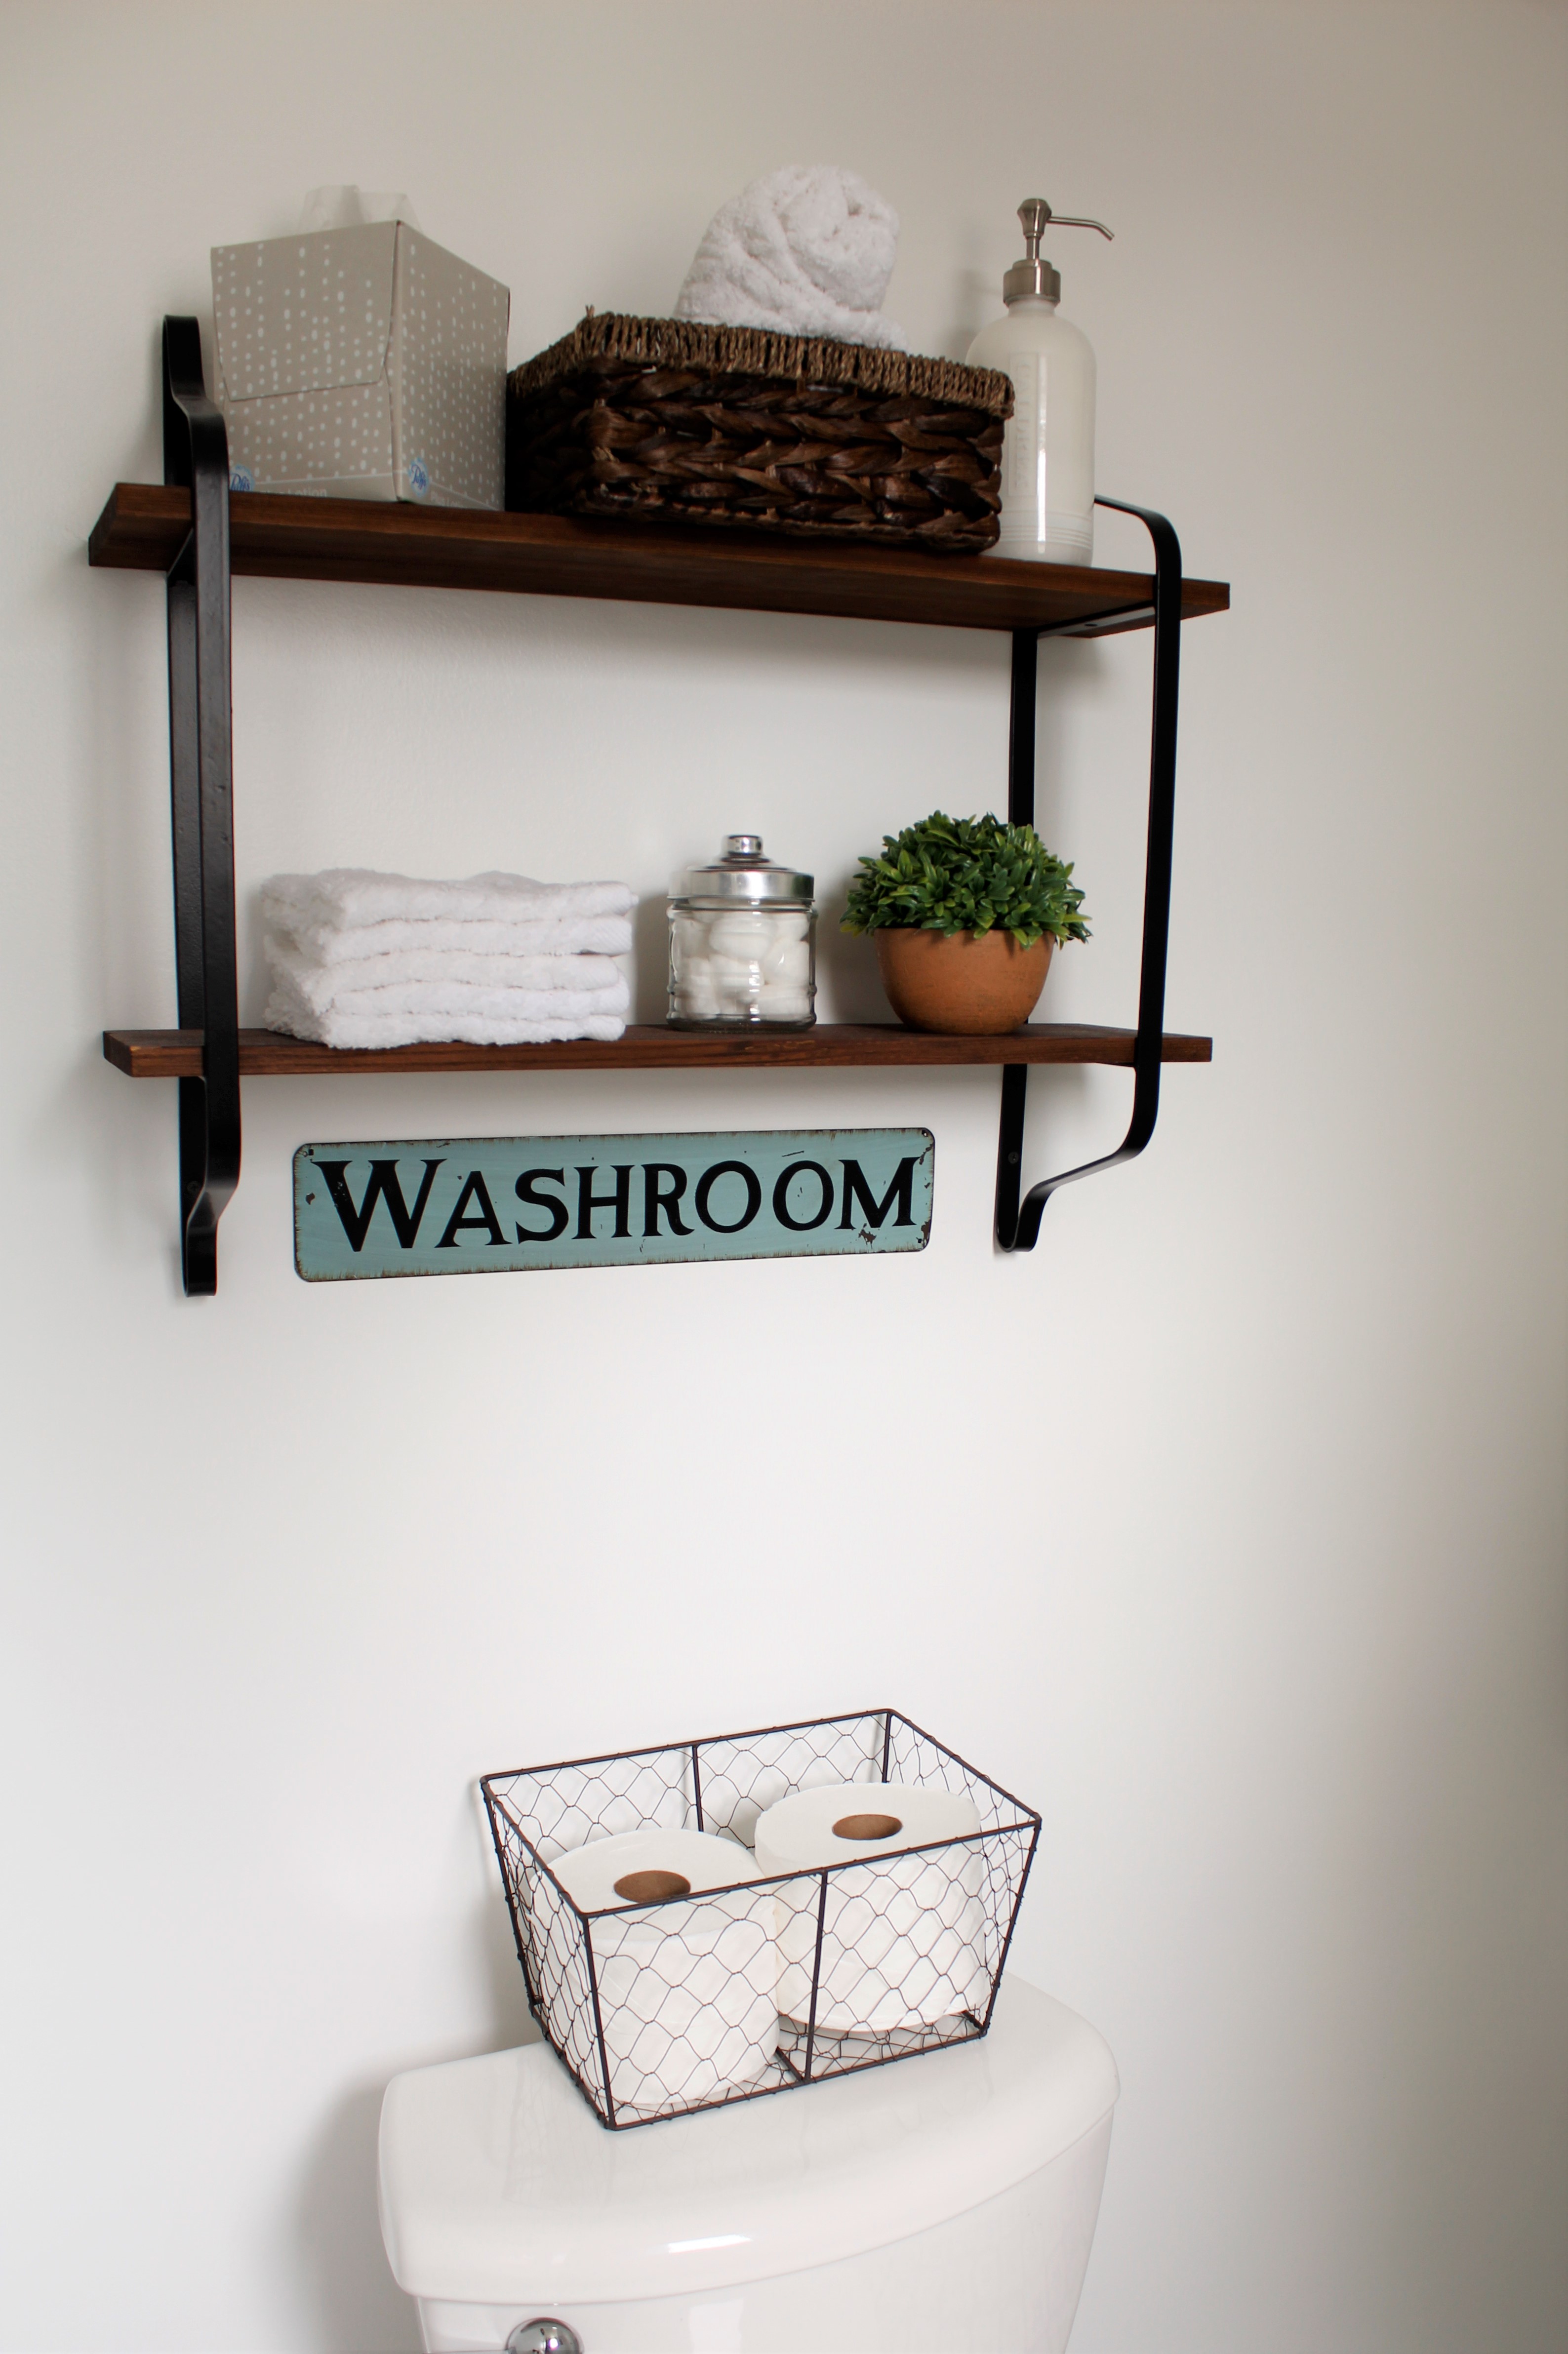
Since we removed that lovely built-in sink(LOL) we no longer had any storage space so I went in search next for a shelving unit. Again, trying to find one in my budget was not easy, but good ole’ Walmart saved the day! This shelf was the perfect size to hang over the toilet!
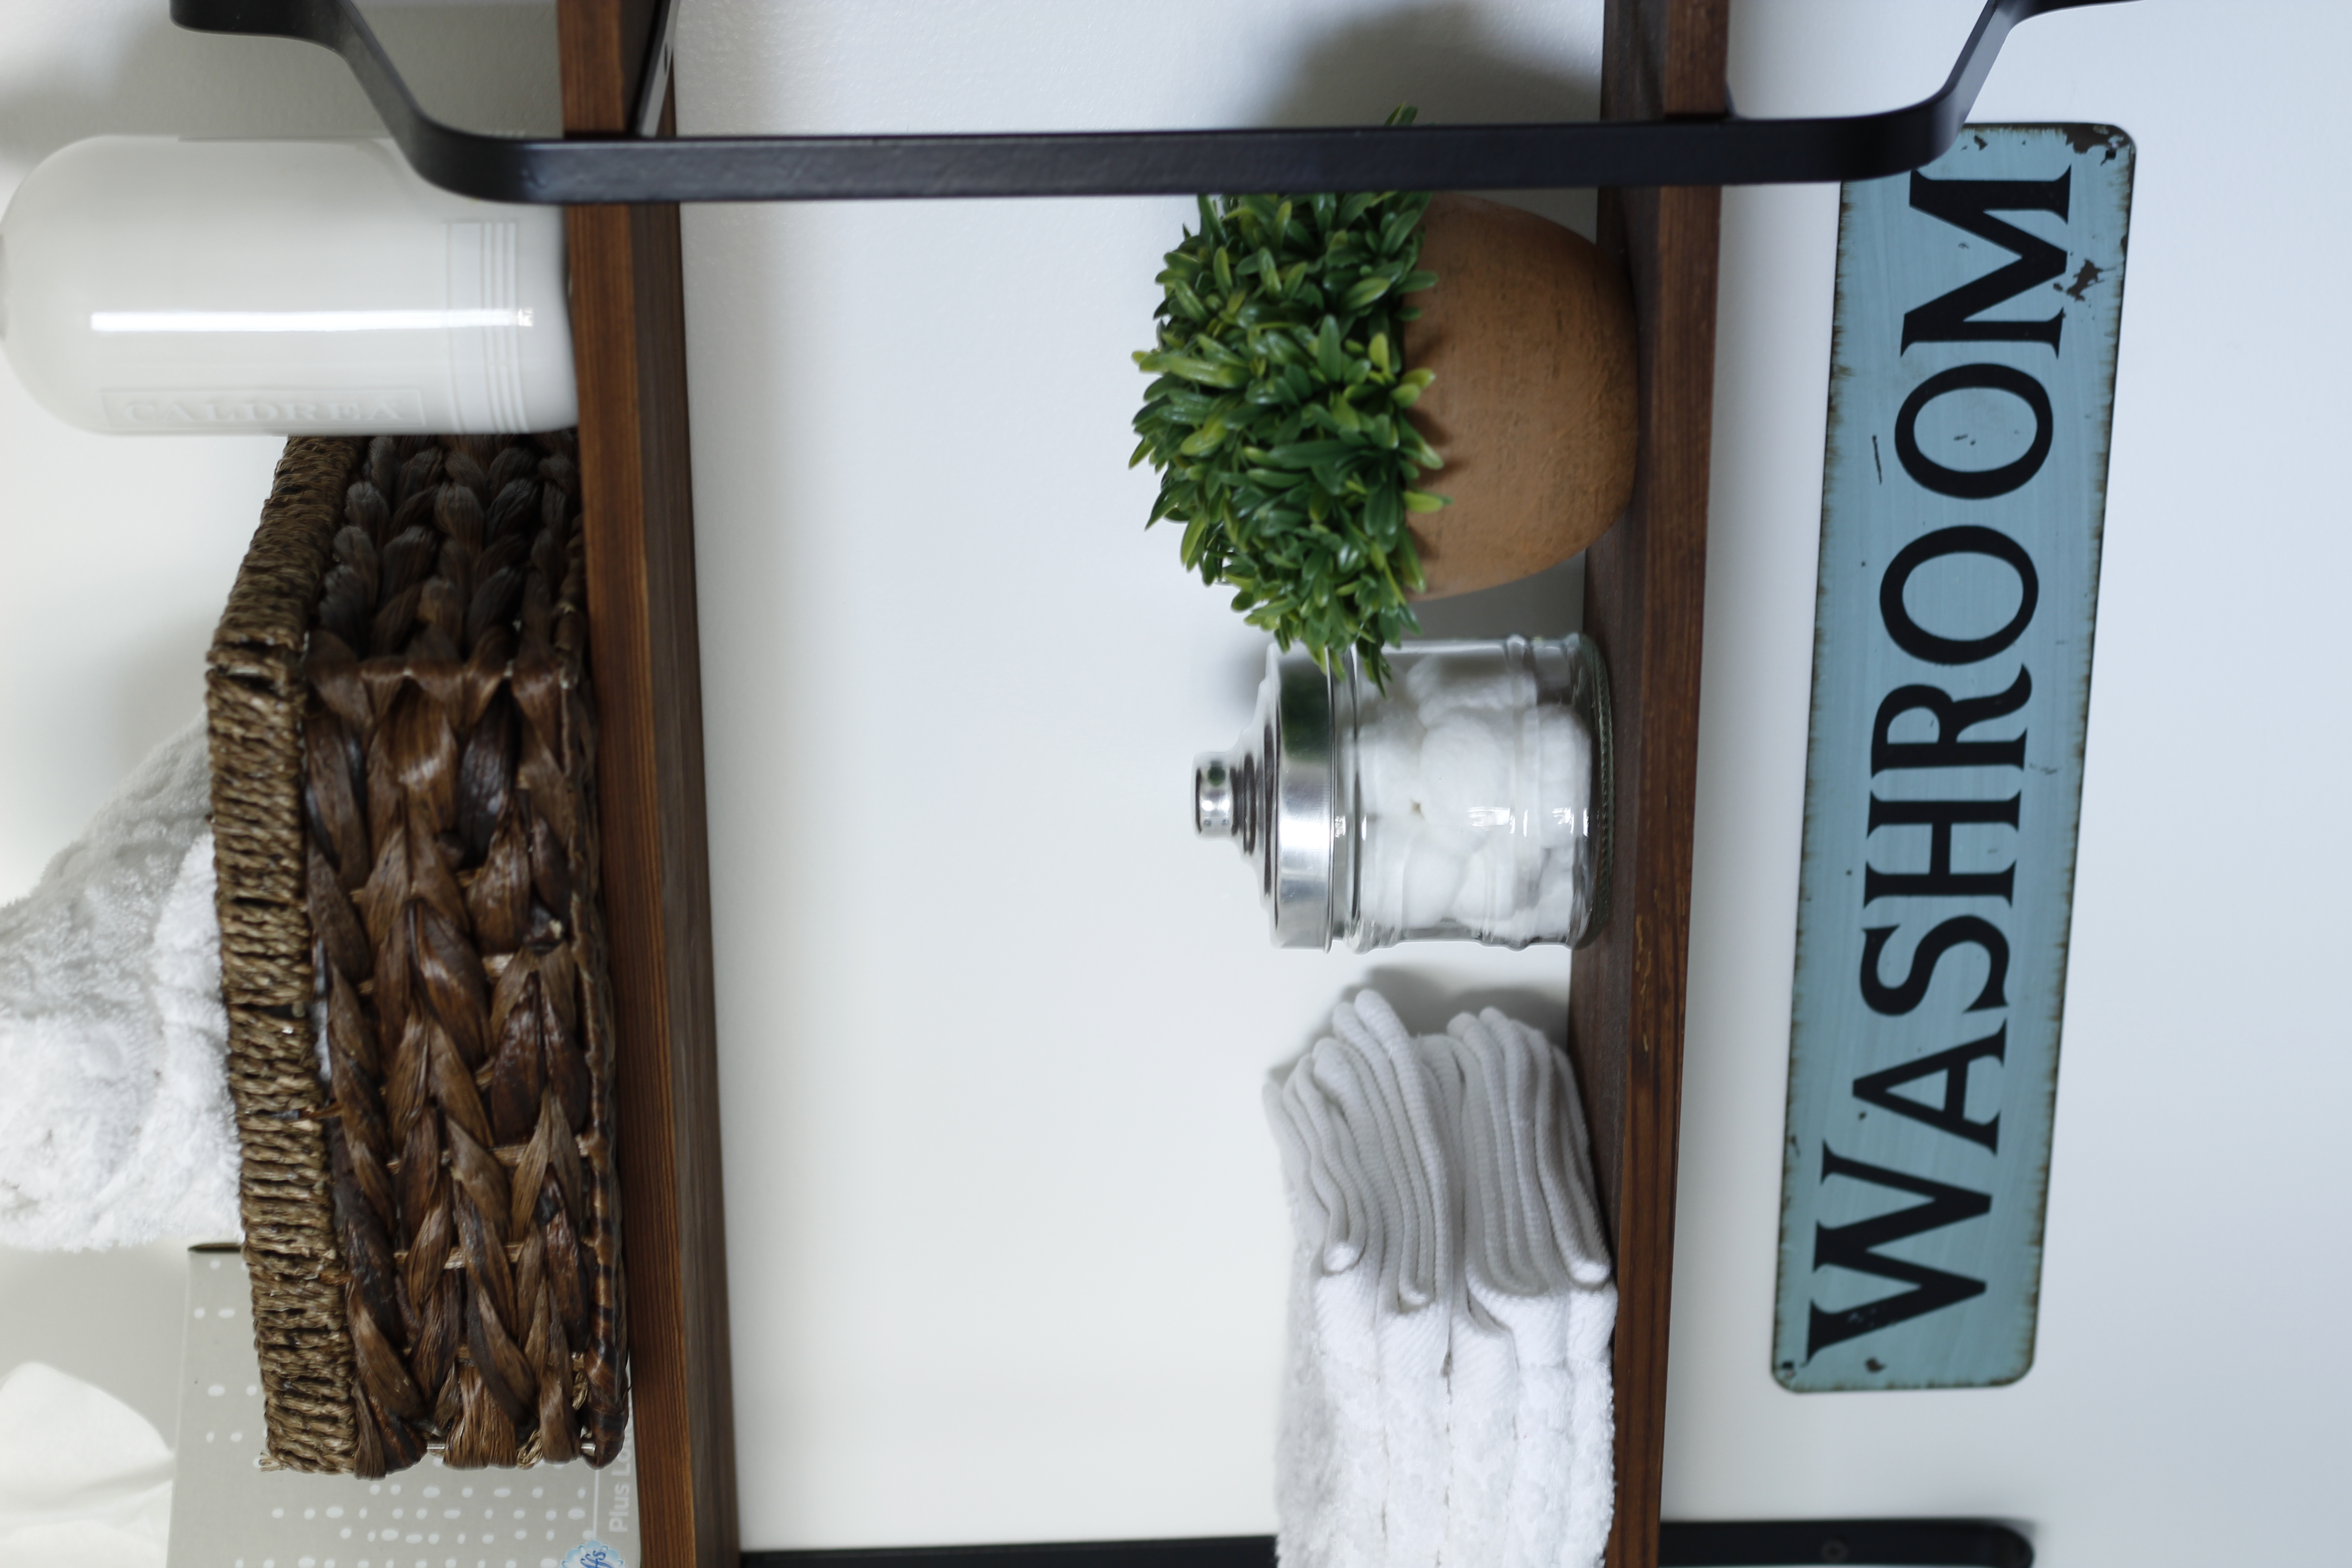
I added fresh towels, extra soup and other essential for guests. I also couldn’t resist hanging this vintage sign I picked up years ago at a yard sale. Ya’ all know how much I love a little aqua in my life!

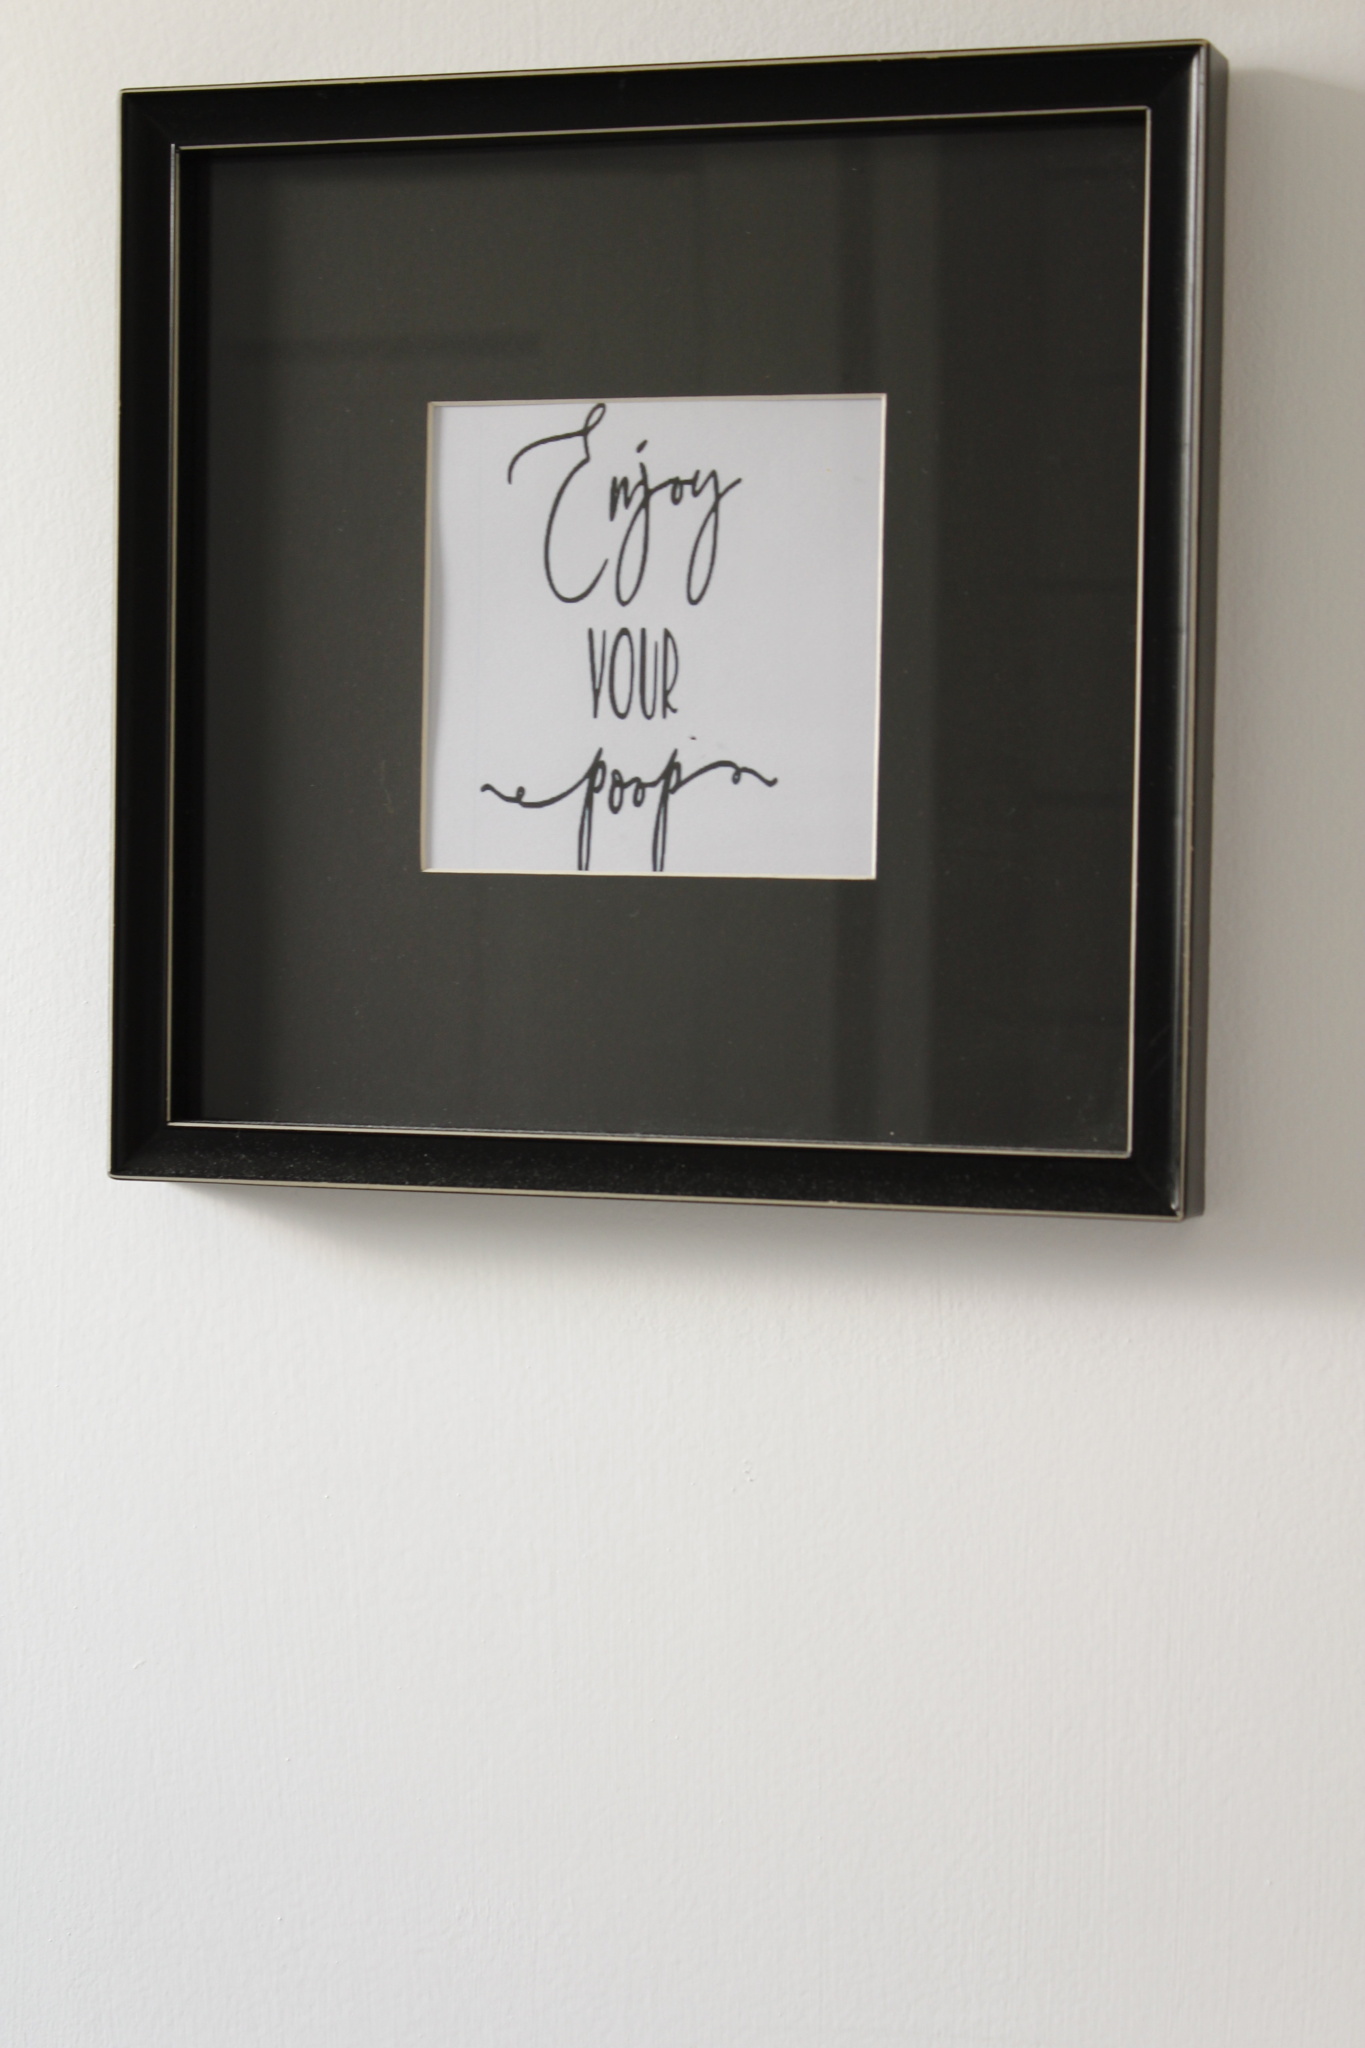
The far wall next to the entry received a little wall art too! I saw a sign similar to this one at our daughter’s the last time we visited and I just had to make one of my own.
I picked up the pretty frame at a thrift store for $1 and I printed off the saying from Word for free.
A little humor next to the toilet is always a good thing, don’t you think?
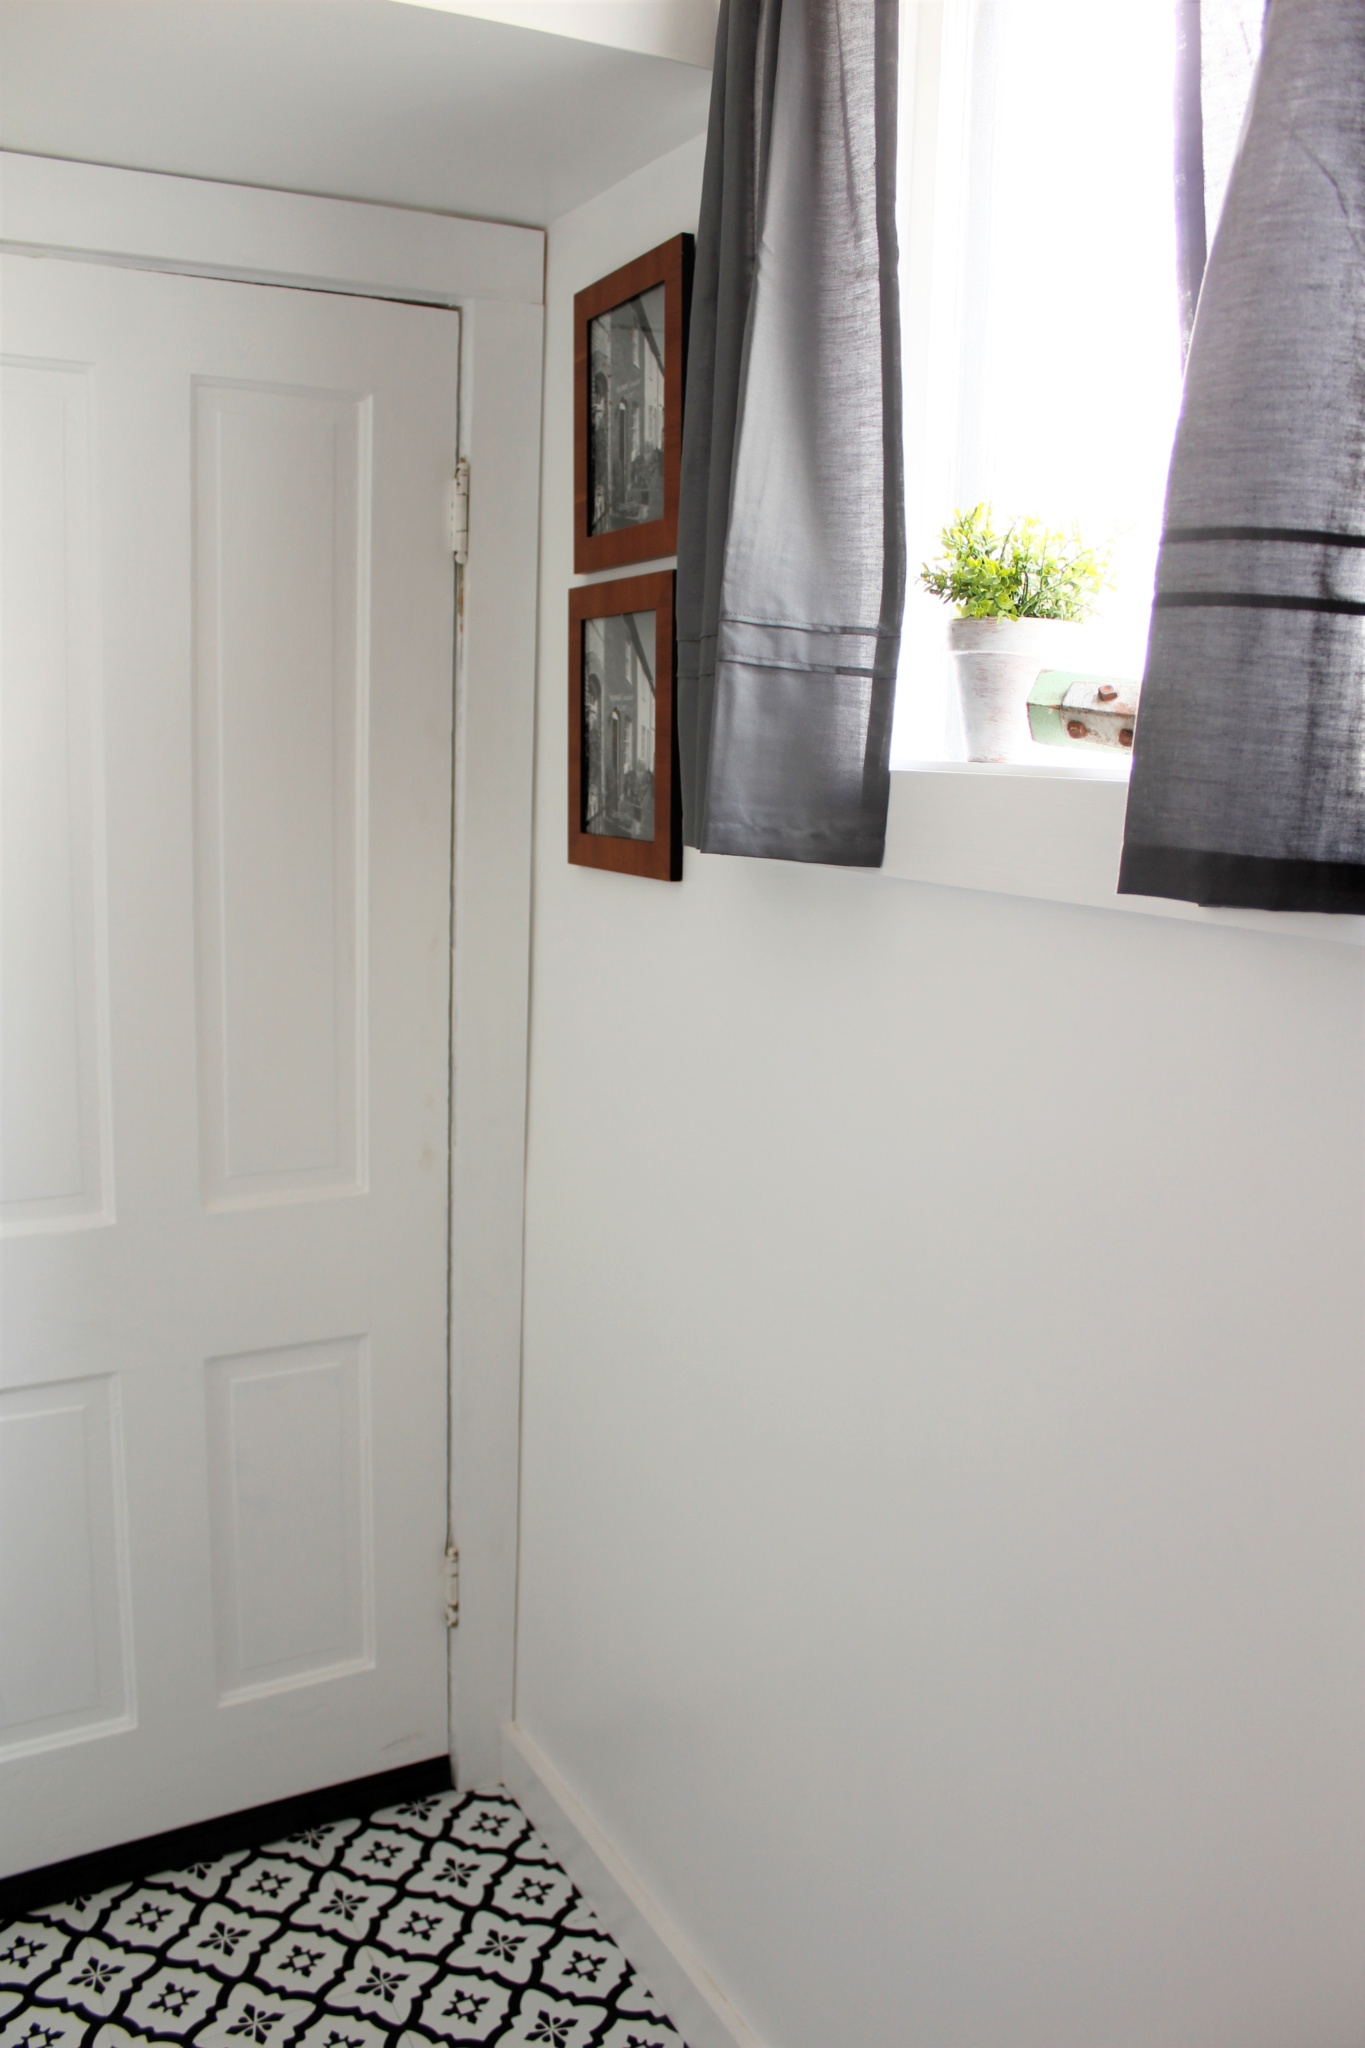
New curtains for the window came next, along with two picture frames I picked up at another thrift store for .25 each. I purchased two vintage looking patents for a toilet and toilet paper to fill each frame but sadly they are on back order.
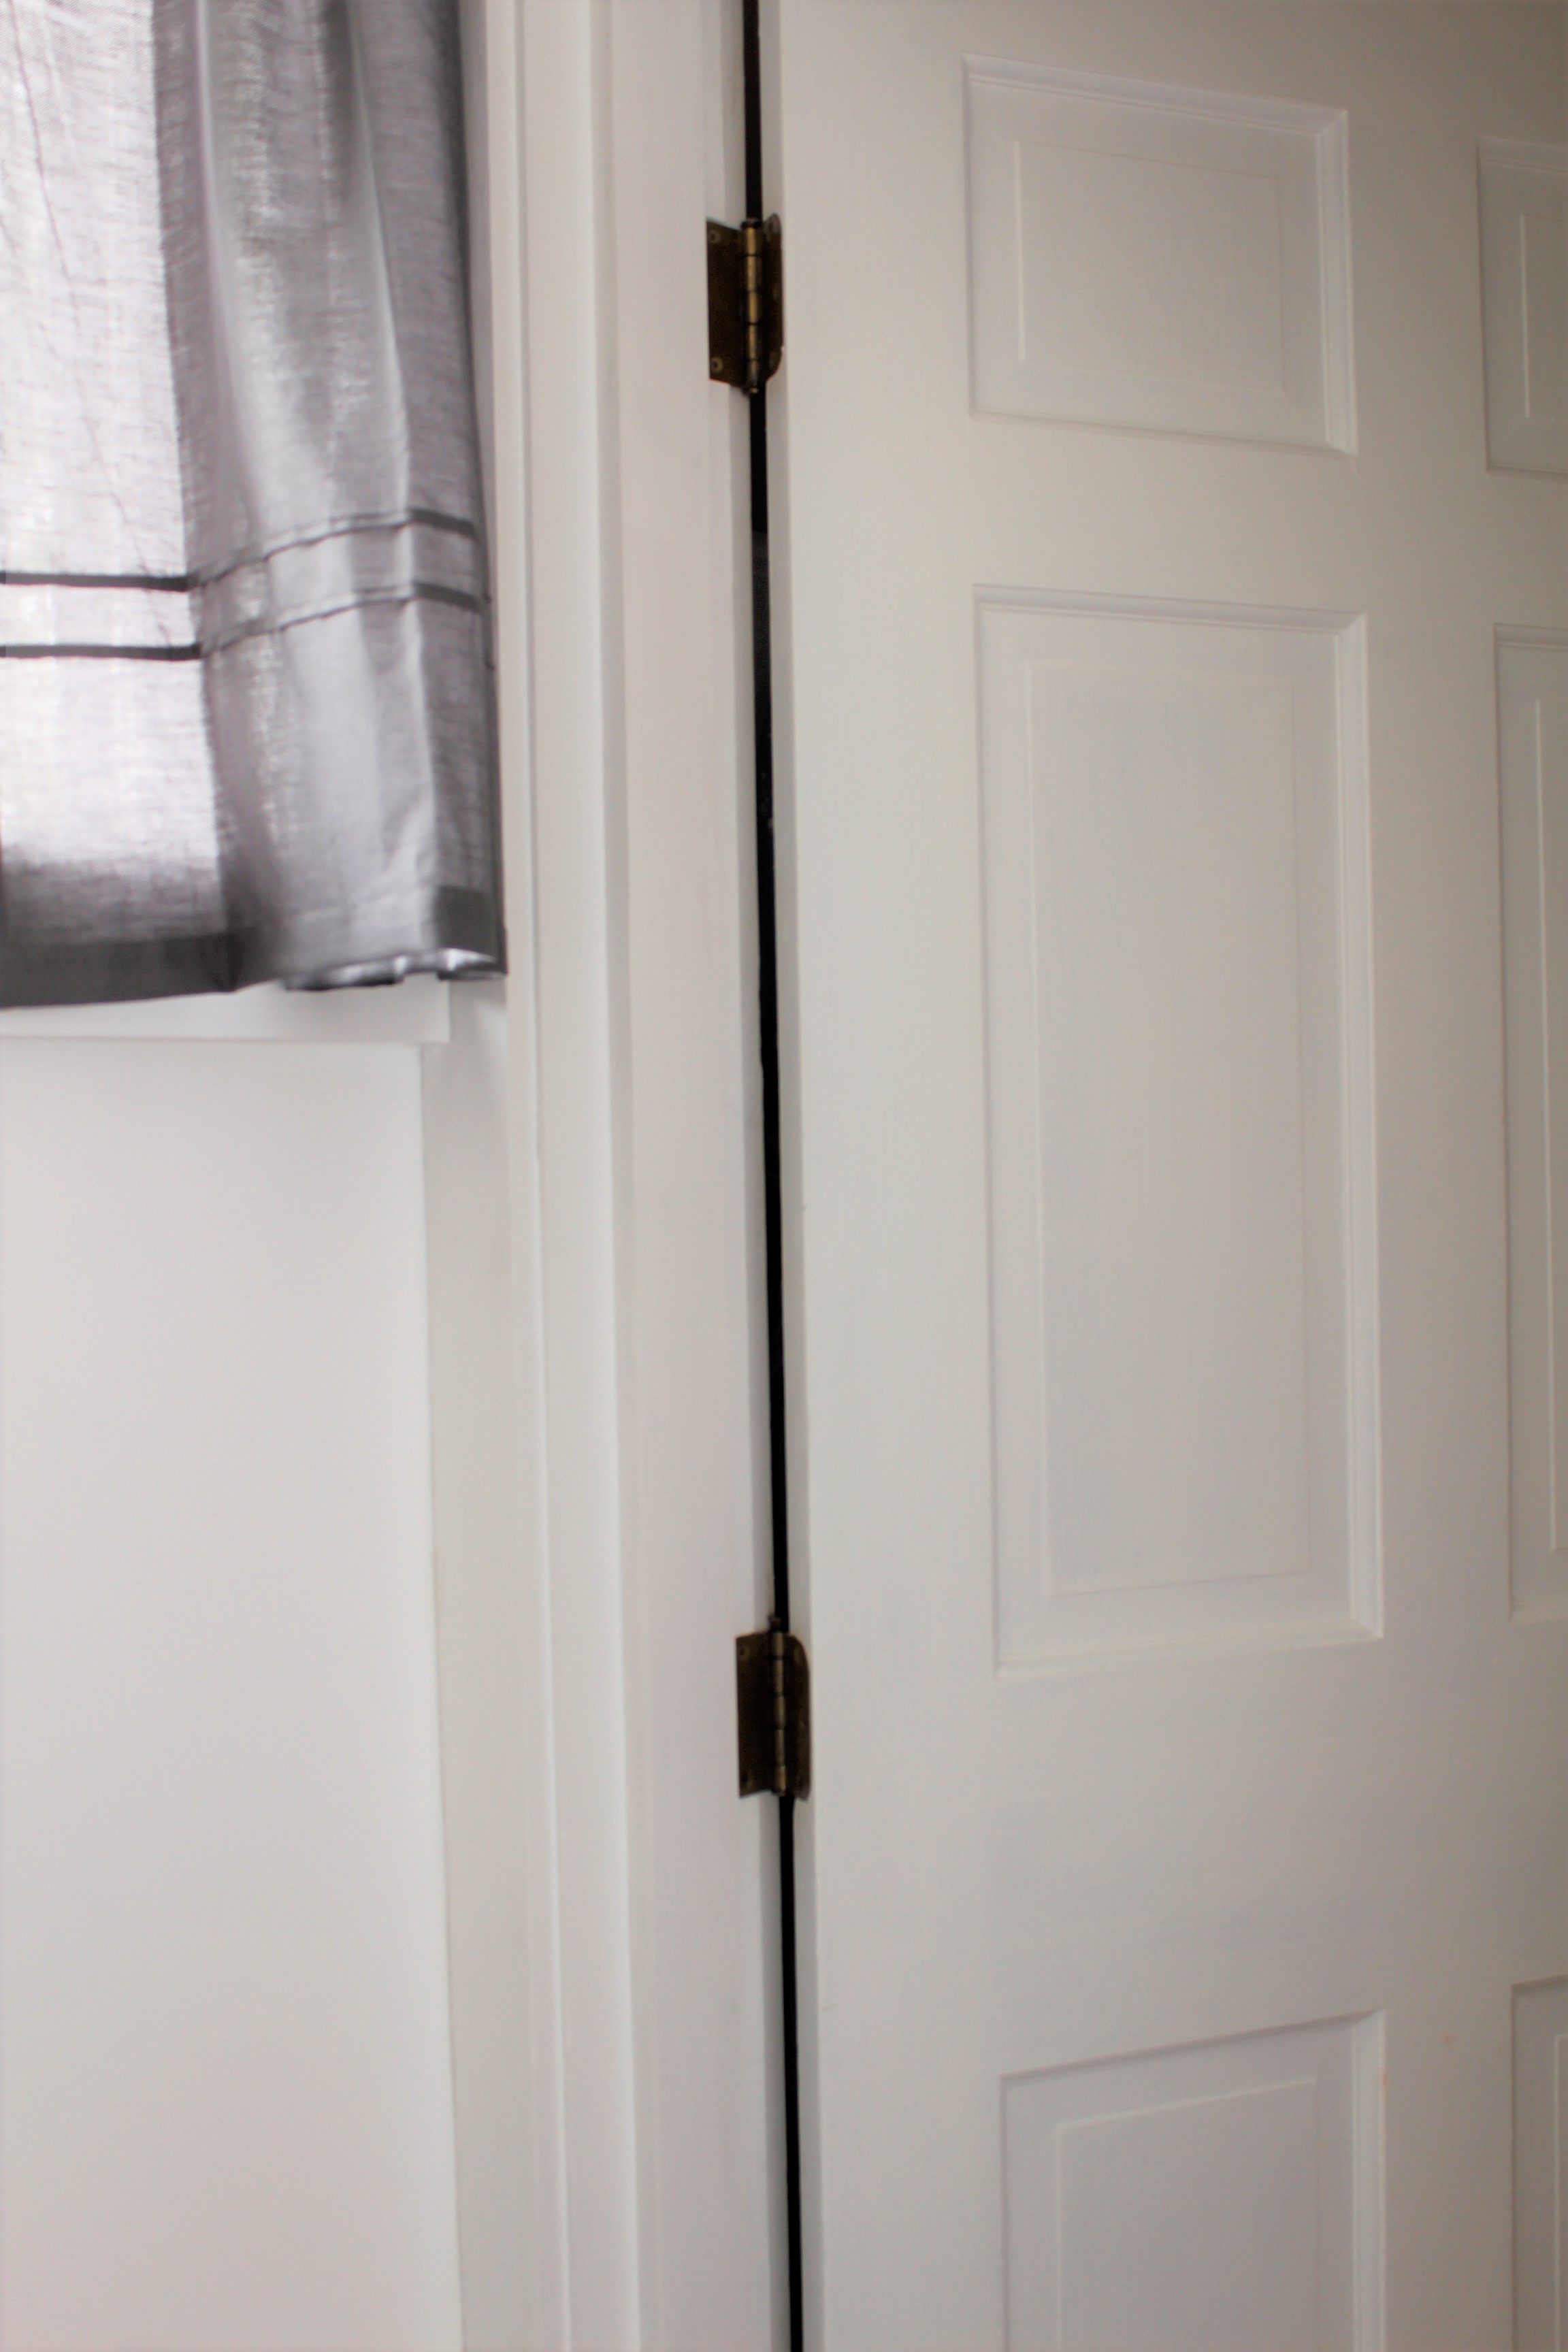
Finally, we replaced the entry door to the bathroom with one we found at a local Restore It for $25. All it needed was a few coats of paint and a new doorknob and it looks brand new!
The “before” version of this bathroom was so dark and dingy and outdated that I was truly embarrassed whenever guests needed to use it. Now I’m over the moon happy with how light and bright it is!
And I think even though it is stark white we gave the space just enough farmhouse character and charm to make it feel warm and welcoming. Well, as warm and welcoming as a bathroom can feel. Right?
For those interested here is a list of the room’s resources and cost for each.
Sink/faucet- Home Depot- gift
Mirror- Kirkland’s– $24.99
Light Fixture- Walmart – $30
Floor Tile- Floor Pops (Walmart)- $9.97 for 10 tiles we purchased 4 boxes of 10
Wall Shelf- Walmart-$ 27.00
Accessories-Hobby Lobby-$25.00
Towels/Washcloths-Target-$15.00
Picture Frames-Thrift Store $1.25
Toilet-Home Depot-$150
Curtains-Walmart-$12
Materials-(Drywall, subfloor, paint, trim, mud, tape, screws, etc)-$200/approx/
Initially, we had budgeted $500 for this half bath renovation but we ended up just under $375. I’d say that’s a total WIN especially when we had a few ‘surprises’ along the way!

What projects do you have planned for the summer? Indoors? Outdoors? Let me know in the comments or send me an email at cdscountryliving@gmail.com!
Wishing you a FABULOUS weekend!


[cn-social-icon selected_icons=”1,2,3″]
This looks so great – love how y’all are transforming this house. I know it’s a lot of work but it sure is coming together. All those little details just make it special.
Thank you so much, Carole! One more room down and a few more to go! Yippee!
Needs a ground fault on that electrical outlet
what did you do for the ceiling? you mentioned happy to tear it out…..but, then what?
Hello, Shannon! Yes, we were definitely happy to tear it out. Once we were back to the studs and the electric had been rewired we sealed it up with drywall. Easy-Peasy! Thank you for your question and for stopping by! Have a great rest of your day!
You are absolutely correct, Jerry! That has been on Michael’s to do list as well as one we need in the kitchen! He says thanks for the reminder! LOL! 🙂 And thank you so much for stopping by!
Perfect! I love it. Kudos to you both for doing it right from the floor up to the ceiling. Although I was a little excited when I saw the wood floors but like what you did with tile.
(I agree with Jerry about the ground fault outlet . Maybe when Michael gets a chance he could move the outlet further away from the sink as well, possibly up and over towards the left outside wall and add a small shelf for whatever you would need to use the outlet for. – – – Just a thought.)
Thanks for sharing your great project.
Thank you so much, Diana! I had hoped for the wood floors but I am truly happy we went with the tile! I absolutely LOVE your idea of moving the outlet and putting up a shelf! Thank you for the inspiration and for stopping by!!!
Nothing was mentioned about the ceiling?
I apologize, Amy! You are correct! I simply left it but all we had to do was cover it with drywall. Thanks for stopping by!
Hi there. Your little bath for guests is so cute. What happens if someone opens the wrong door to leave, i.e. the basement door? What was the reason for the bump out? Older homes have lots of quirks which makes it so interesting when you fix them up!
Hello, Kathleen! Thank you so much! We are definitely enjoying our new half bath and so are our guests! As for the door, no one has ever mistaken the basement door for the entry door so far, but if they do it won’t take them long to figure it out. LOL! And that bump out? Well, it was put there to cover up the underside of the staircase leading to our upstairs. You are so correct on older homes having their quirks! Ours is filled with them! Thank you so much for stopping by! Have a great rest of your week!
Christine
This is how our upstairs bathroom is looking in progress. I have white tiles in brick style with dark grey grout that looks like black almost and everything else is in complementing black and white. I have picked up some ideas and definitely a little humour frame too. Thanks
Your bathroom sounds gorgeous, Hasin! I love the idea of using the grey grout! I’m glad you enjoyed the post and a little laughter in the bathroom never hurt anyone, right?!