DIY Wall Planter
An inexpensive and functional DIY to decorate any wall in your home.
I have just a few projects left and our kitchen remodel will finally be done!
Can I get a Hallelujah!
One of those projects was finding some wall art for the main wall that could be both functional and pretty.
Functional because we don’t have a lot of wall space in this room, and pretty because..well, I guess that’s obvious.
The idea of making a wall planter came to me while working on my last Trash to Treasure project. That House Number Planter Box was super functional and it added so much farmhouse style charm to our porch too!
Unfortunately, I haven’t been shopping any thrift stores lately so I decided to go through my stash and see if I could find anything I could use or re-purpose.

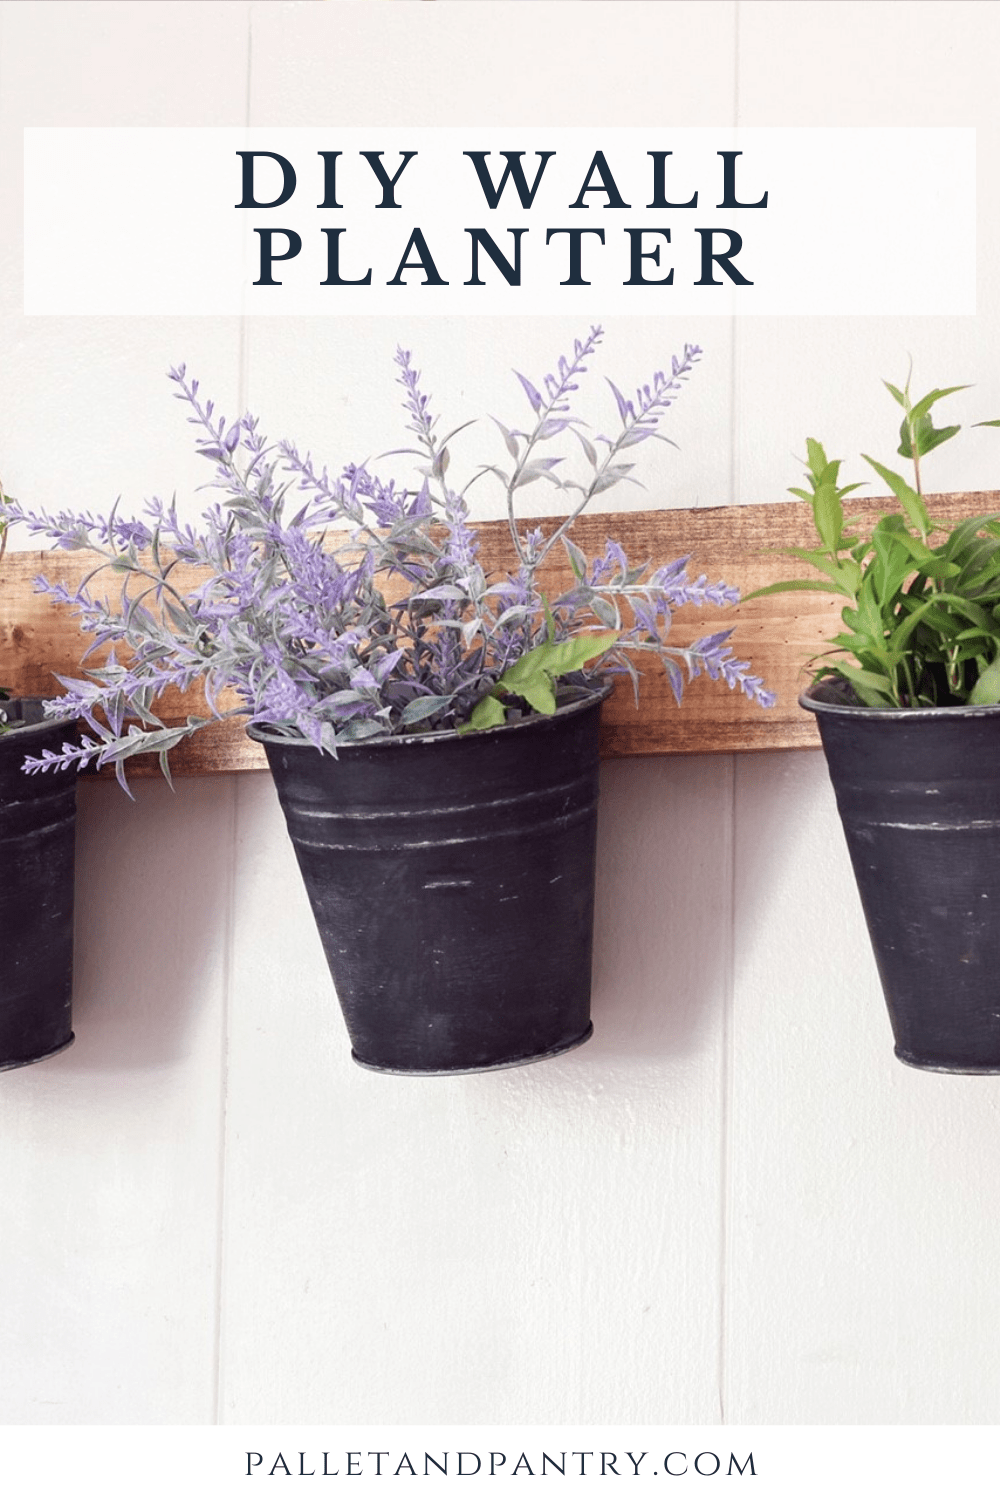
Just a few minutes into my search I found one of these galvanized buckets. I remembered I’d bought three of them last year to use on our fireplace, so I kept searching!
Can you picture what I did when I found all three? Yes, a full, crazy lady happy dance around the basement!
But I wasn’t done yet! I needed something to hang those buckets on.
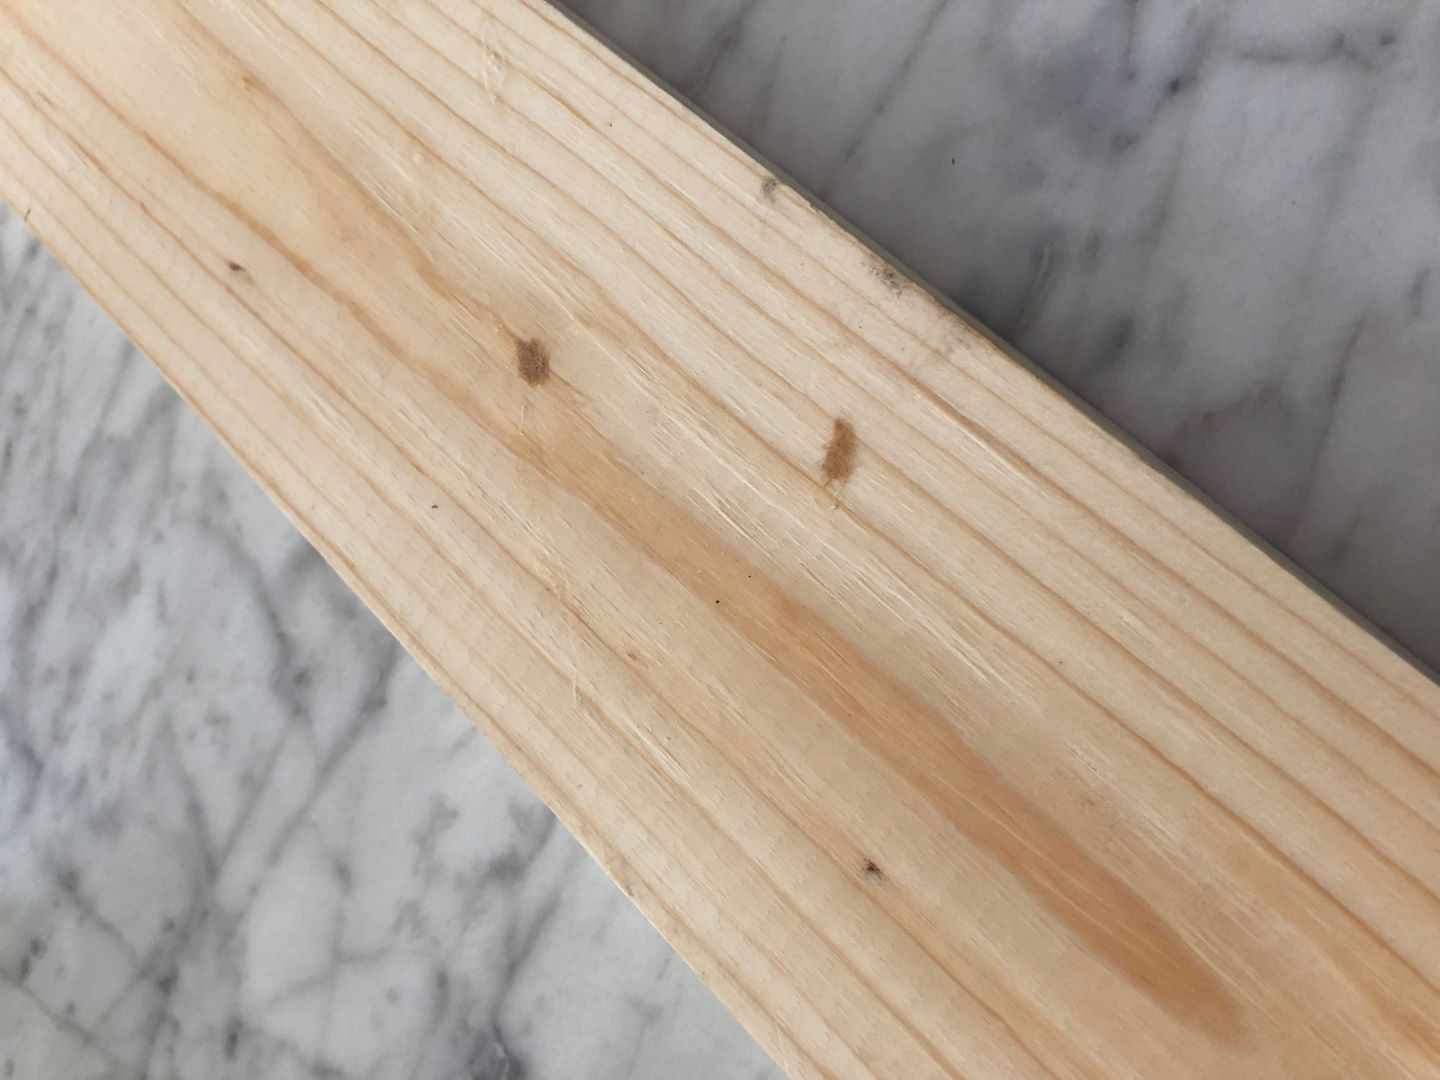
I found this piece of 1×4 pine in hubby’s wood stash in the shed and it would work perfectly!
(Affiliate Links are provided for your convenience. You can find our full disclosure here!)
All Materials/tools used:
Piece of wood (Mine measured 28″ length)
Stain-(I used MinWax Early American)
Paint (optional) I used Waverly Chalk Paint-Ink
Screws
Measuring Tape
Pencil
Vise-Grip
Sandpaper
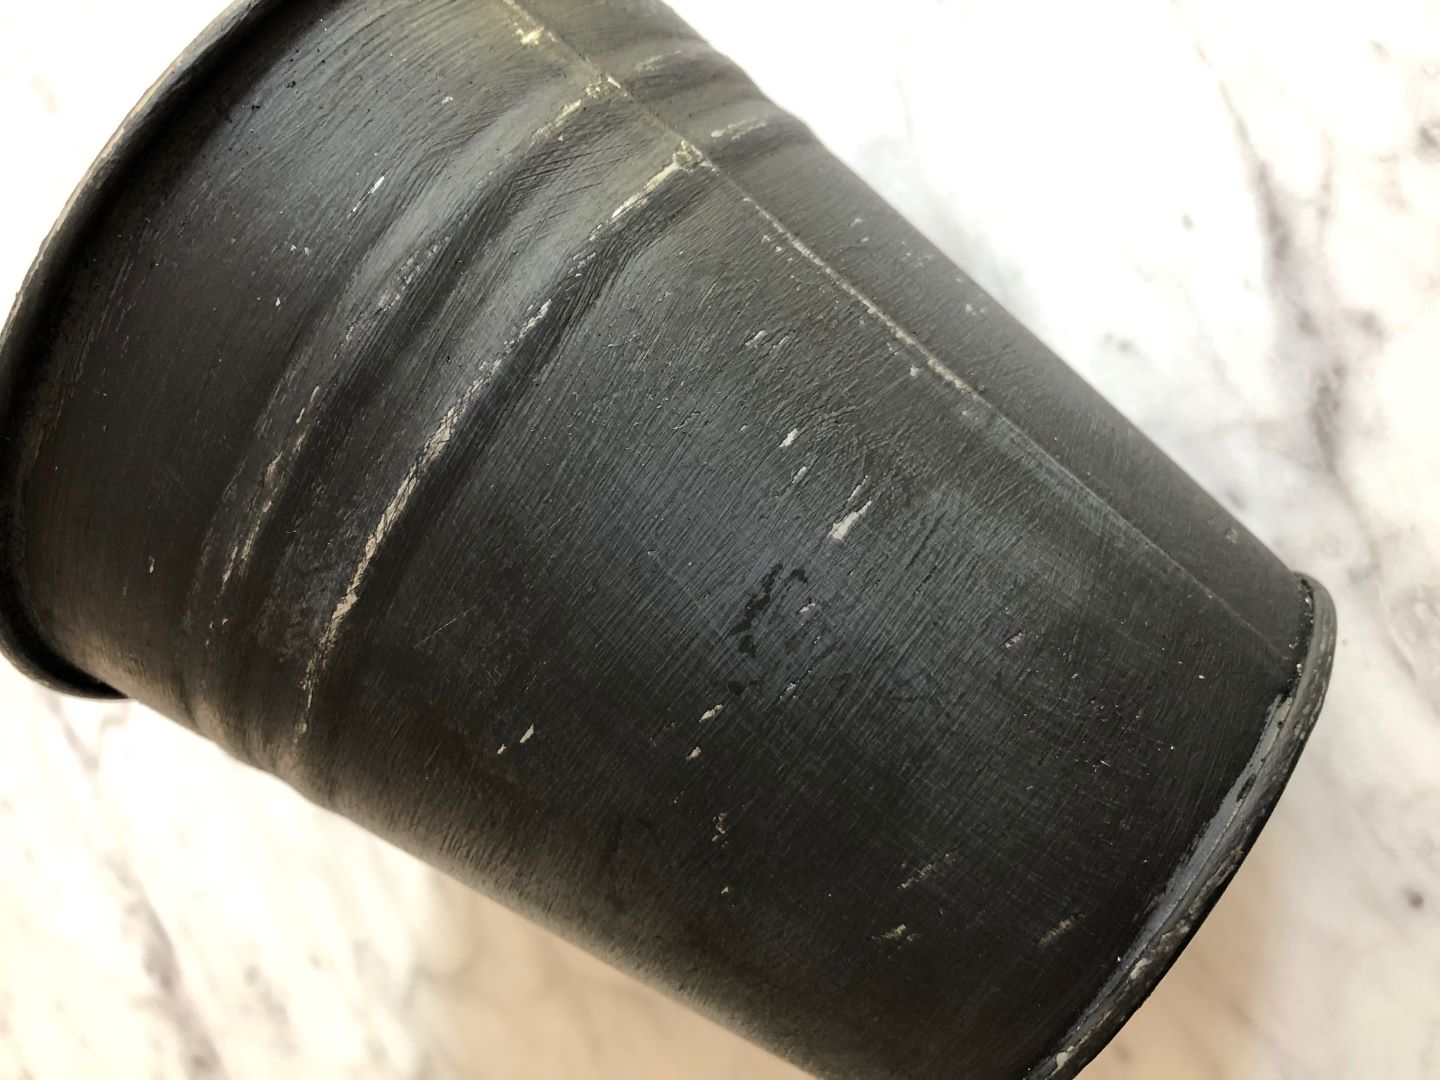
Step One: Paint the buckets (optional): I’m a huge fan of galvanized anything (I have so many big buckets from the farm) but unfortunately up close these buckets just looked cheap! So I decided to dry brush them with a coat of my favorite chalk paint. I chose Ink because I thought it worked well with the wood tone but once I put the first coat on I started to second guess myself. Thankfully, once the paint dried, I gave the bucket a good sanding, allowing some of the metal to show through and I LOVED the look!
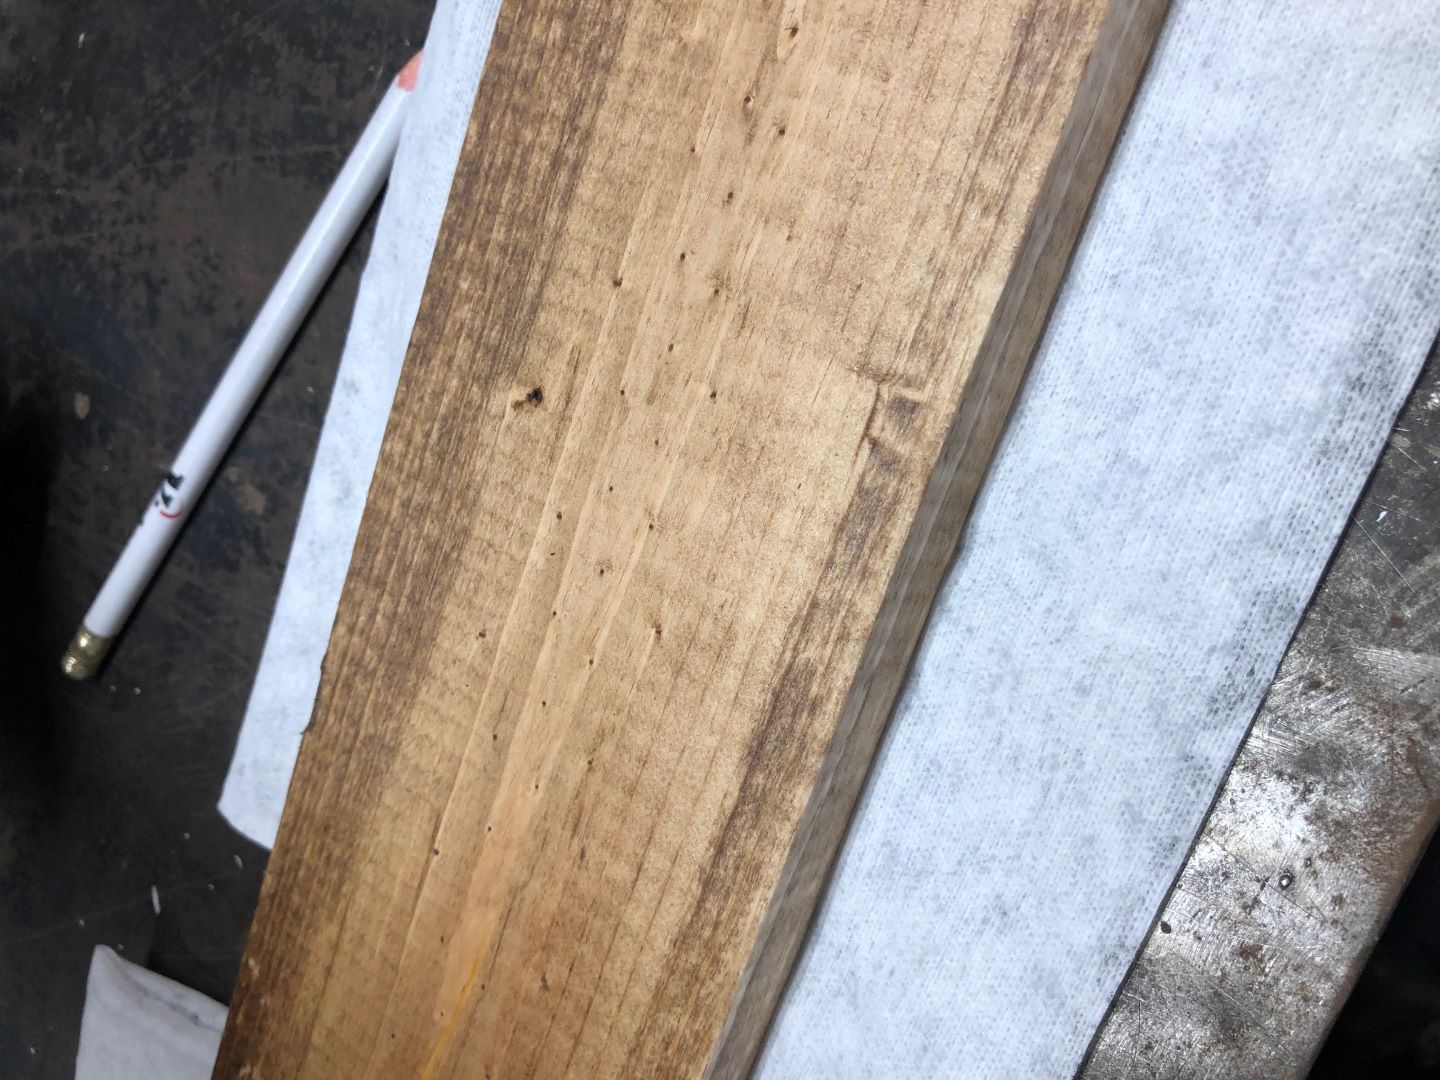
Step Two: Measure out the bucket placement-Once I’d given the pine a couple of coats of stain and allowed it to dry, it was time to measure out where I would attach the buckets. I needed Michael’s help to hold the buckets on the wood so I could mark each one’s placing. Then I pre-drilled a hole for sinking the screw easier.
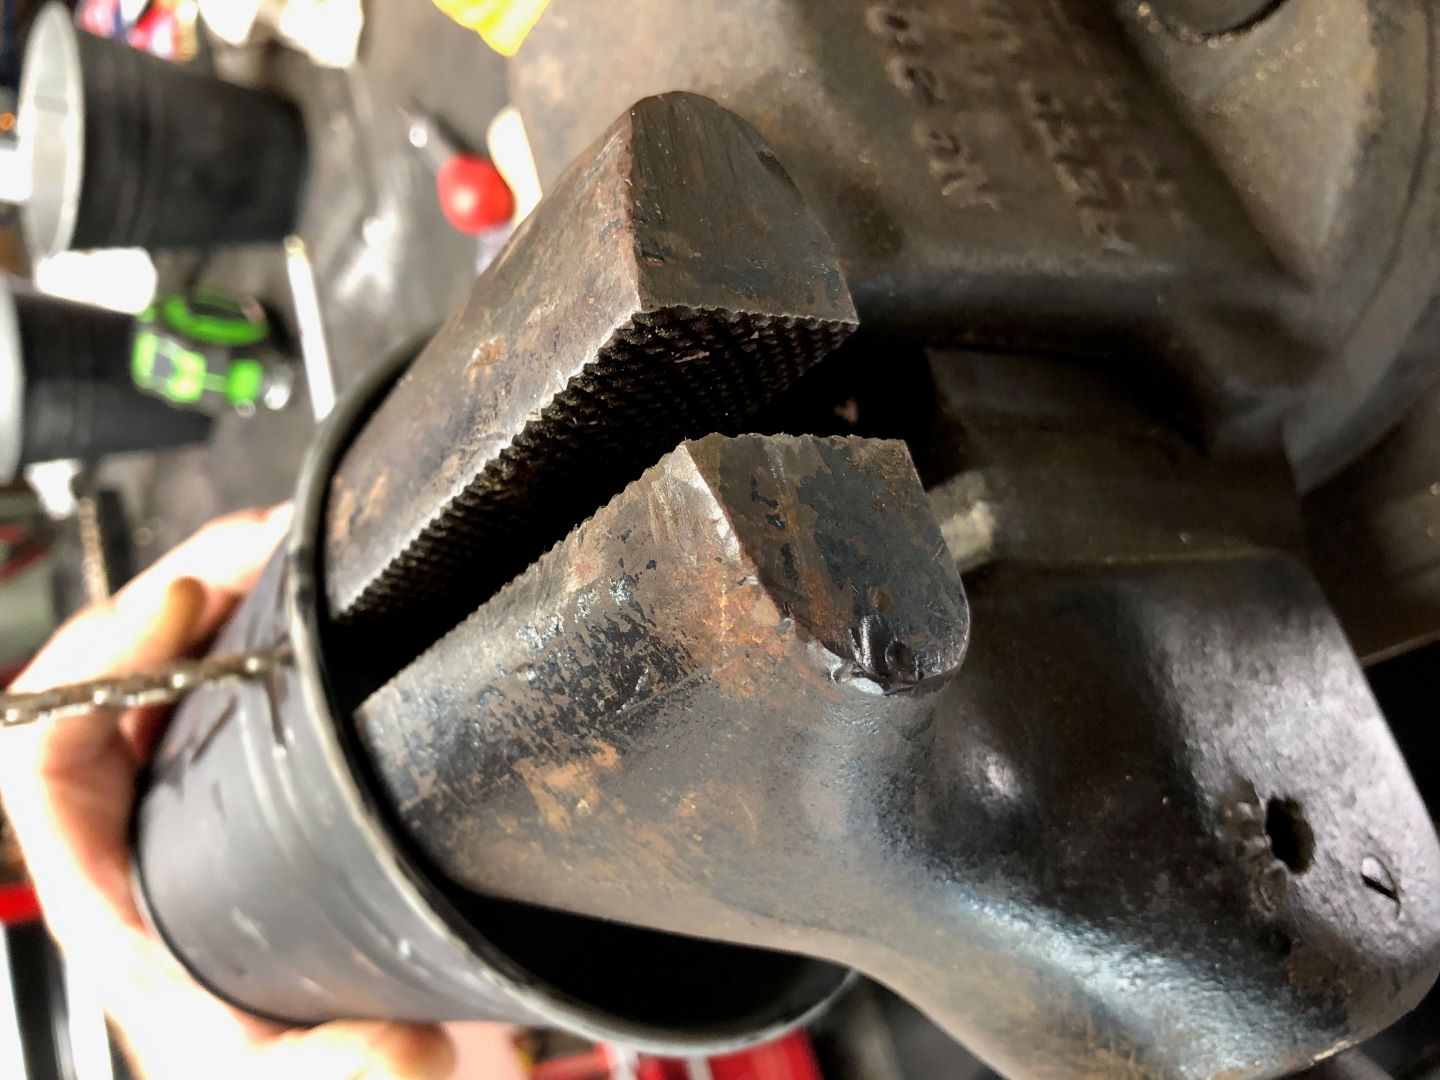
Step Three: Drill the hole in the bucket. This step turned out to be a bit more difficult than I planned on. Holding the bucket while trying to drill a hole was impossible so in the vise grip, the bucket went!
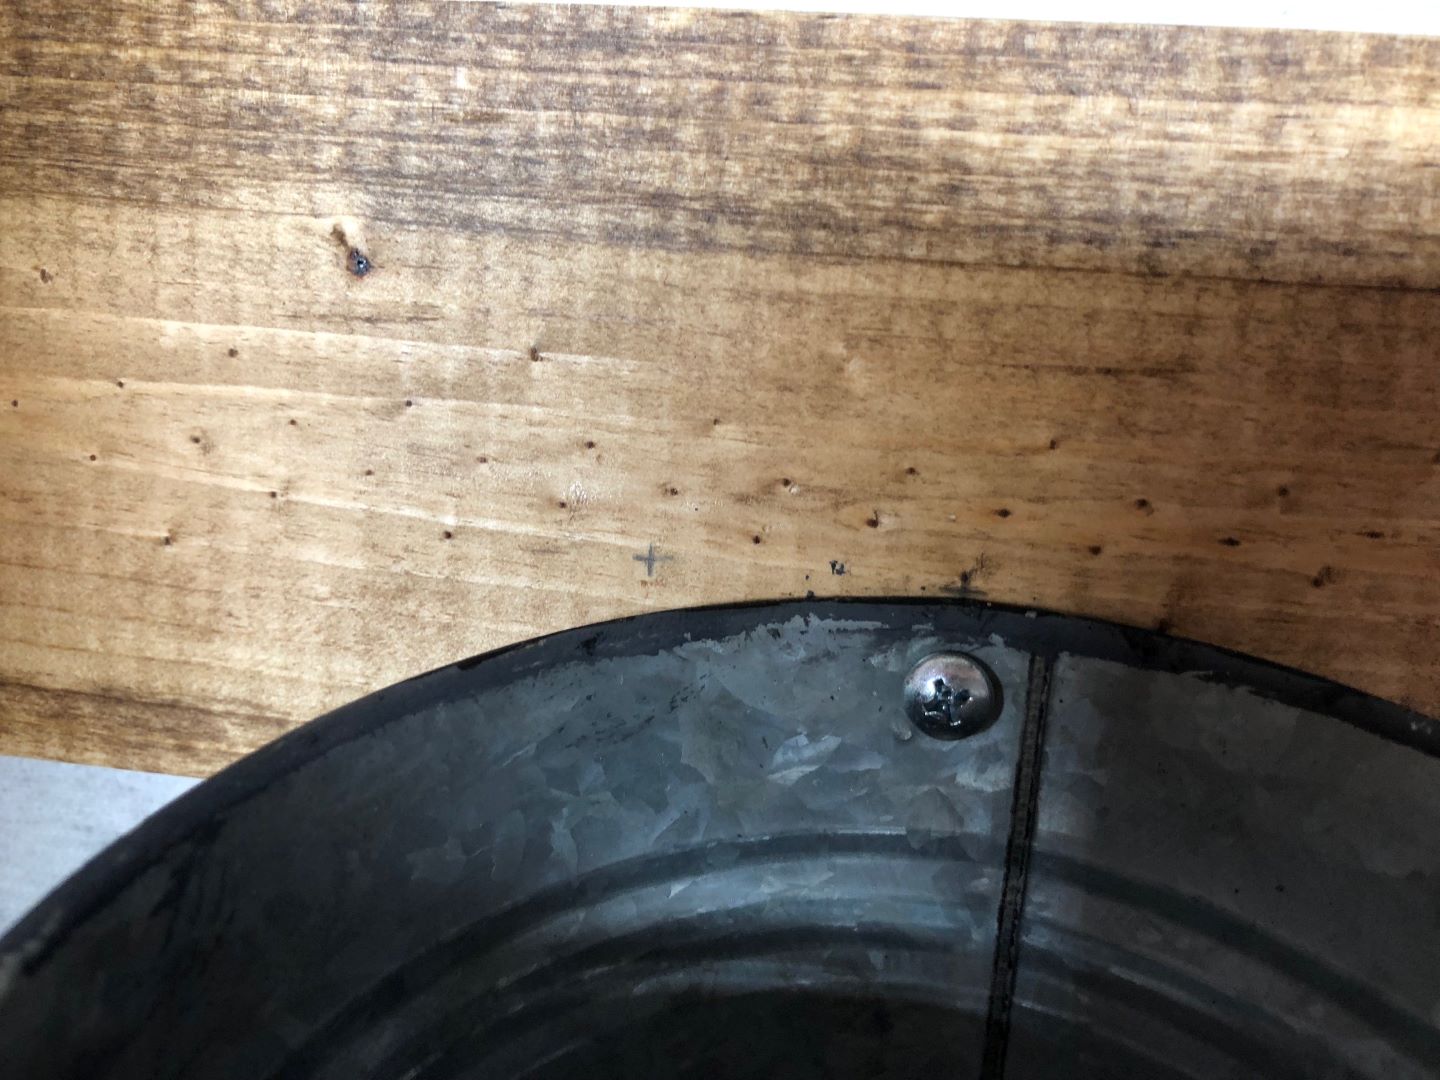
Step Four: Screw the bucket to the board. Since we pre-drilled the hole attaching the bucket to the pine was easy.
Step Five-Attach the wall hanging hardware.
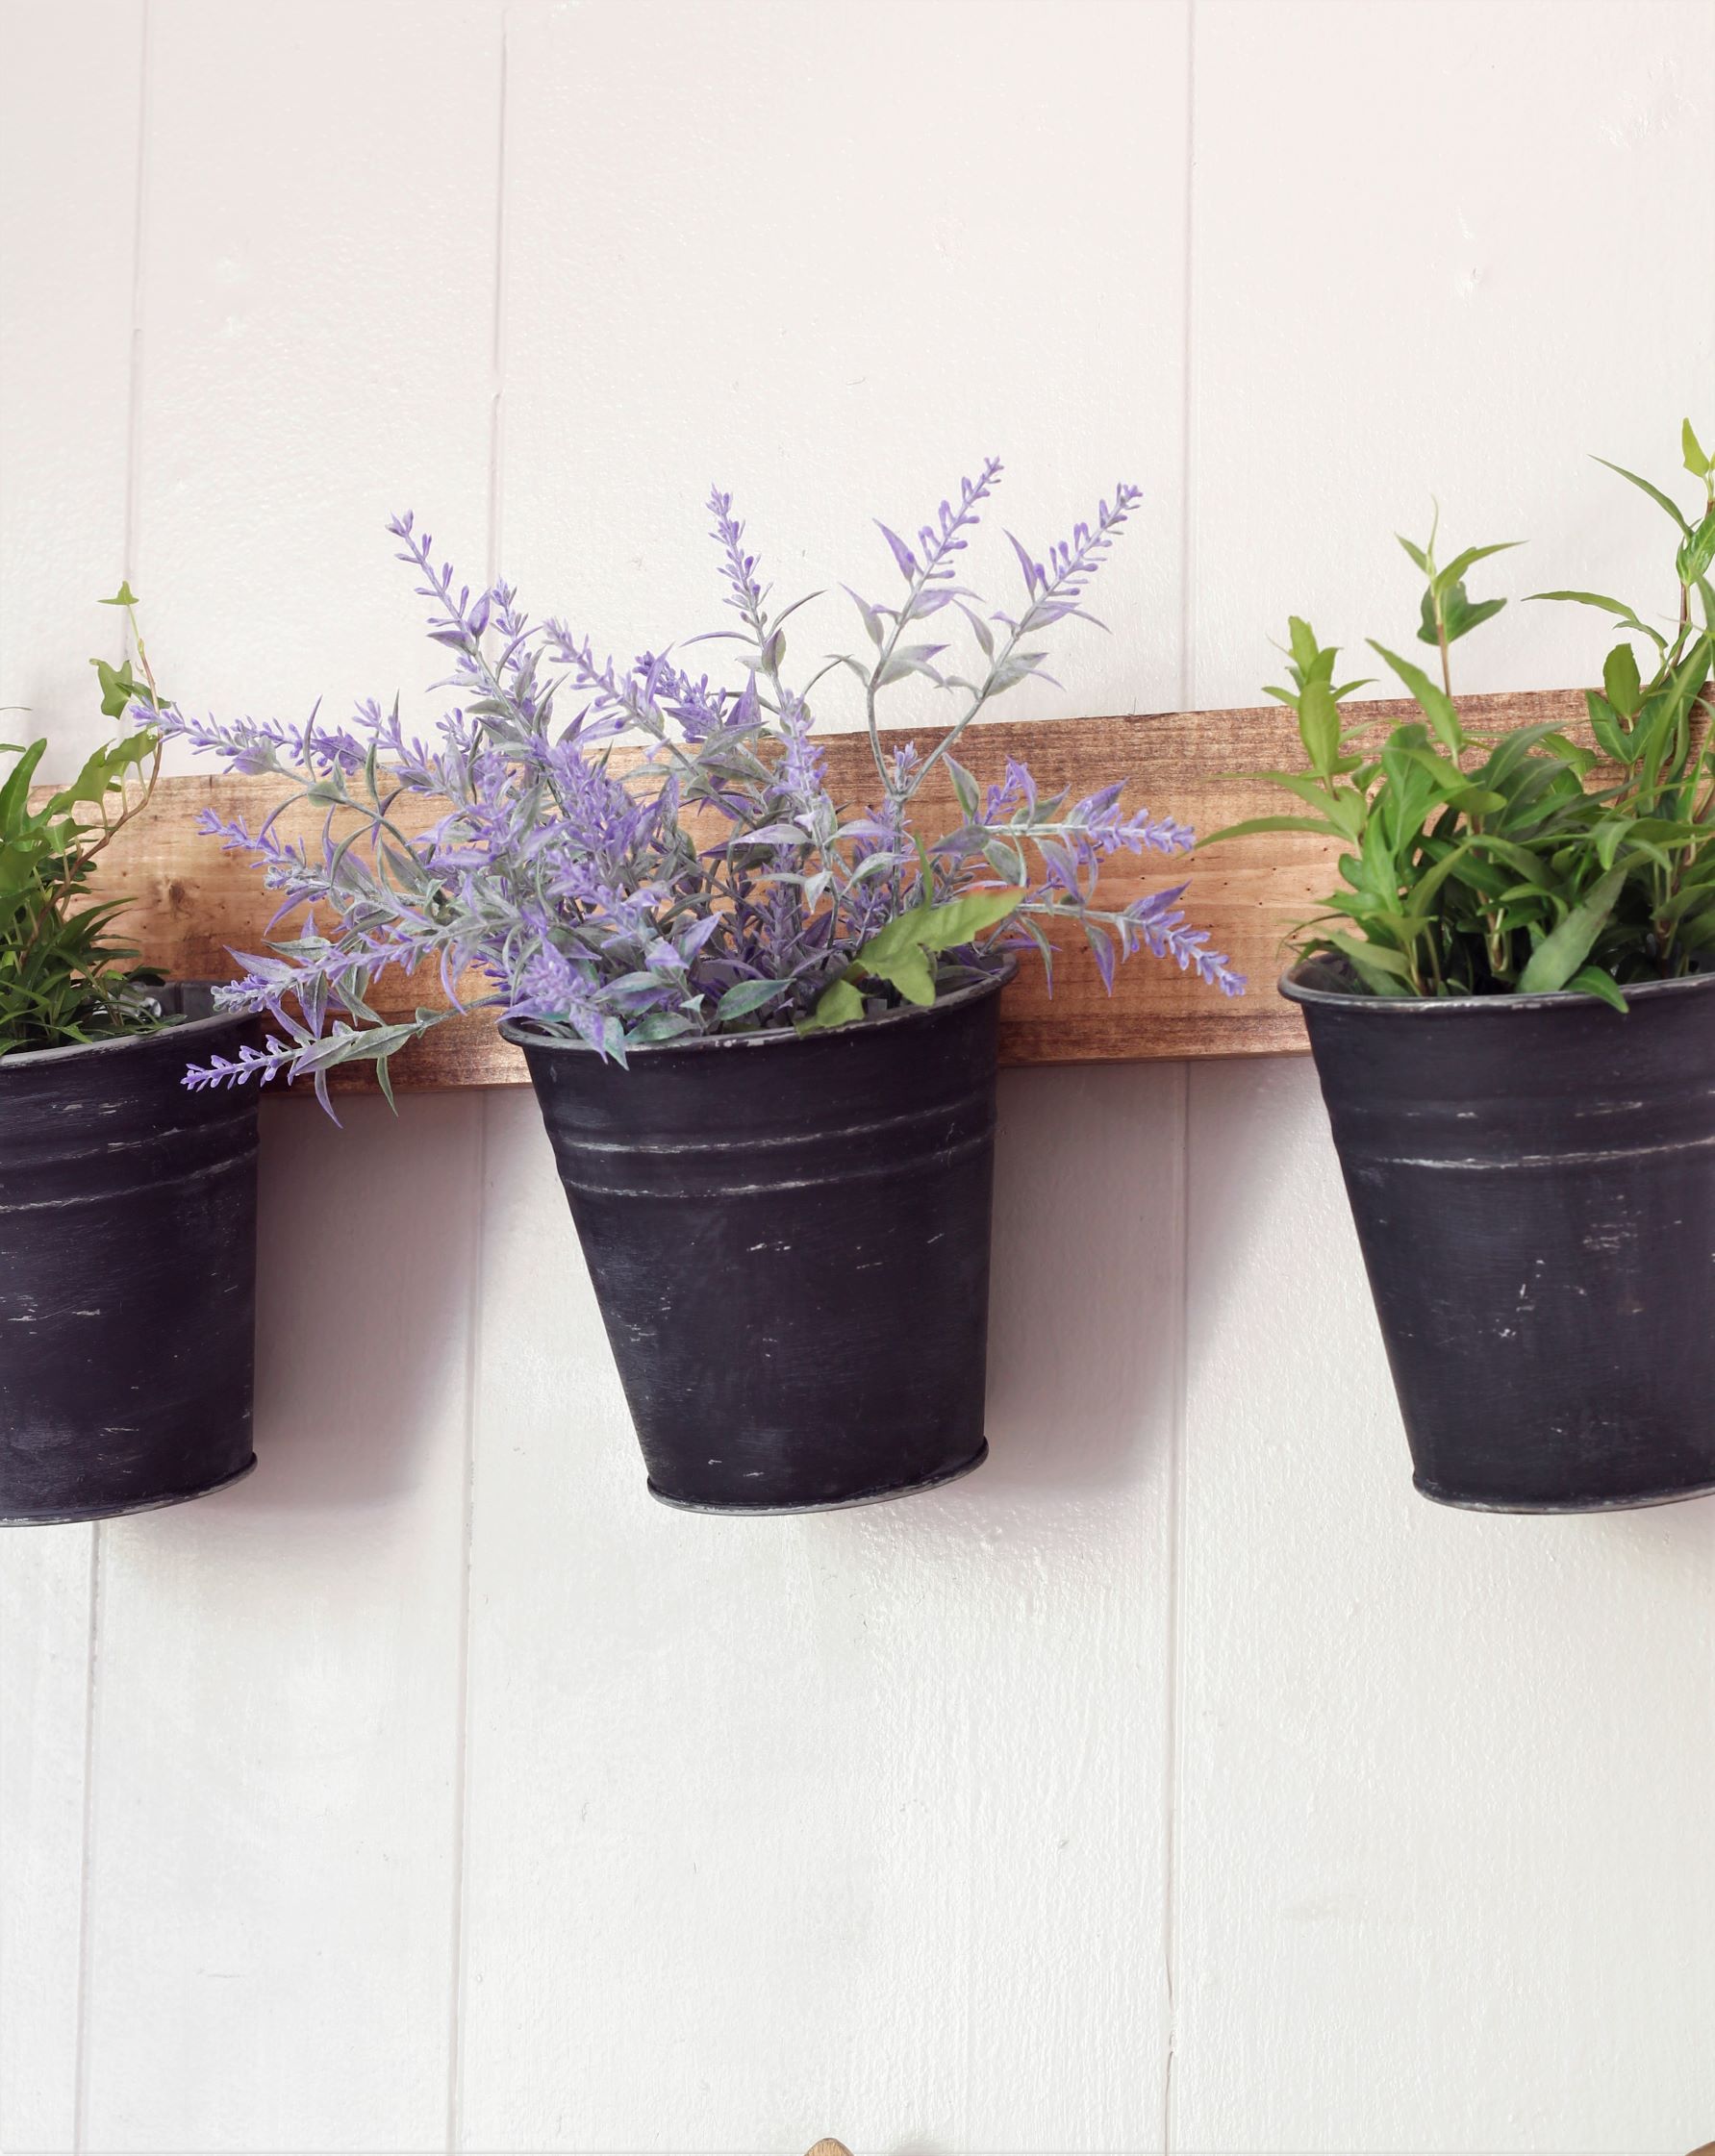
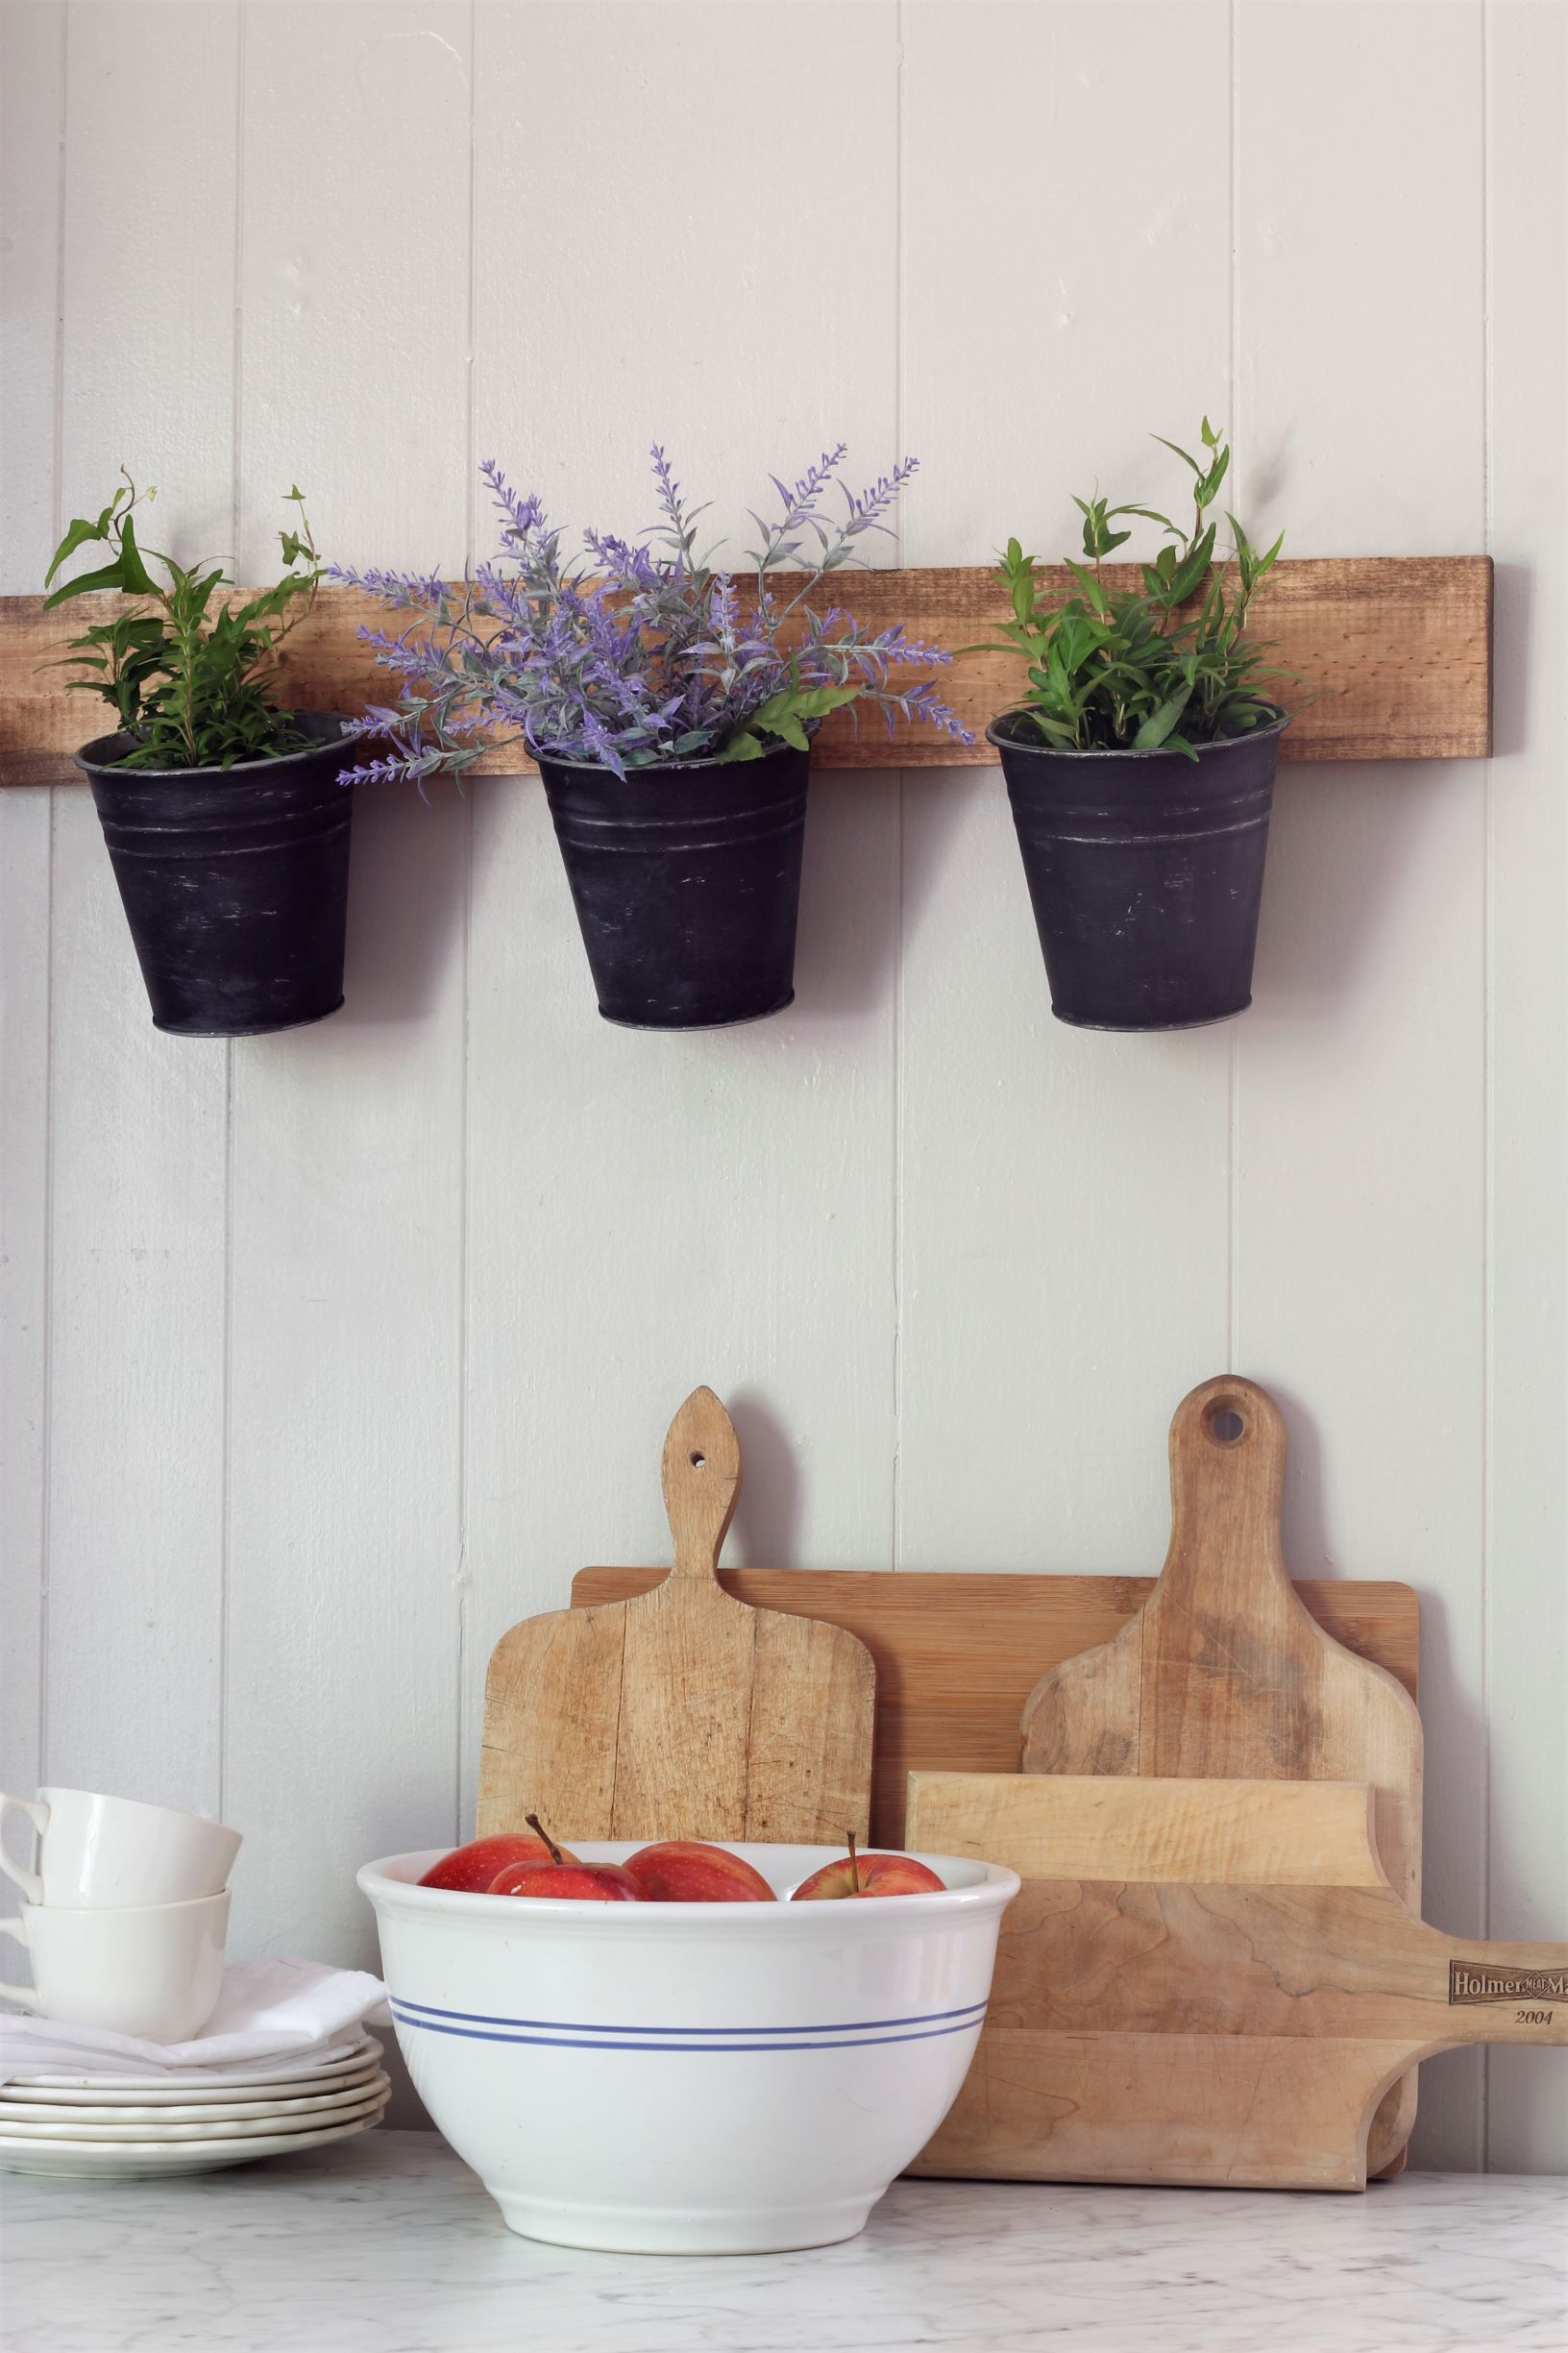
Step Six: Hang the wall planter and fill it with pretties! I plan on transplanting a few of my favorite herbs before winter in these pots, but for now, I filled them up with two sweet plants I picked up at our local nursery and one faux lavender stem that I had leftover from the house number planter.
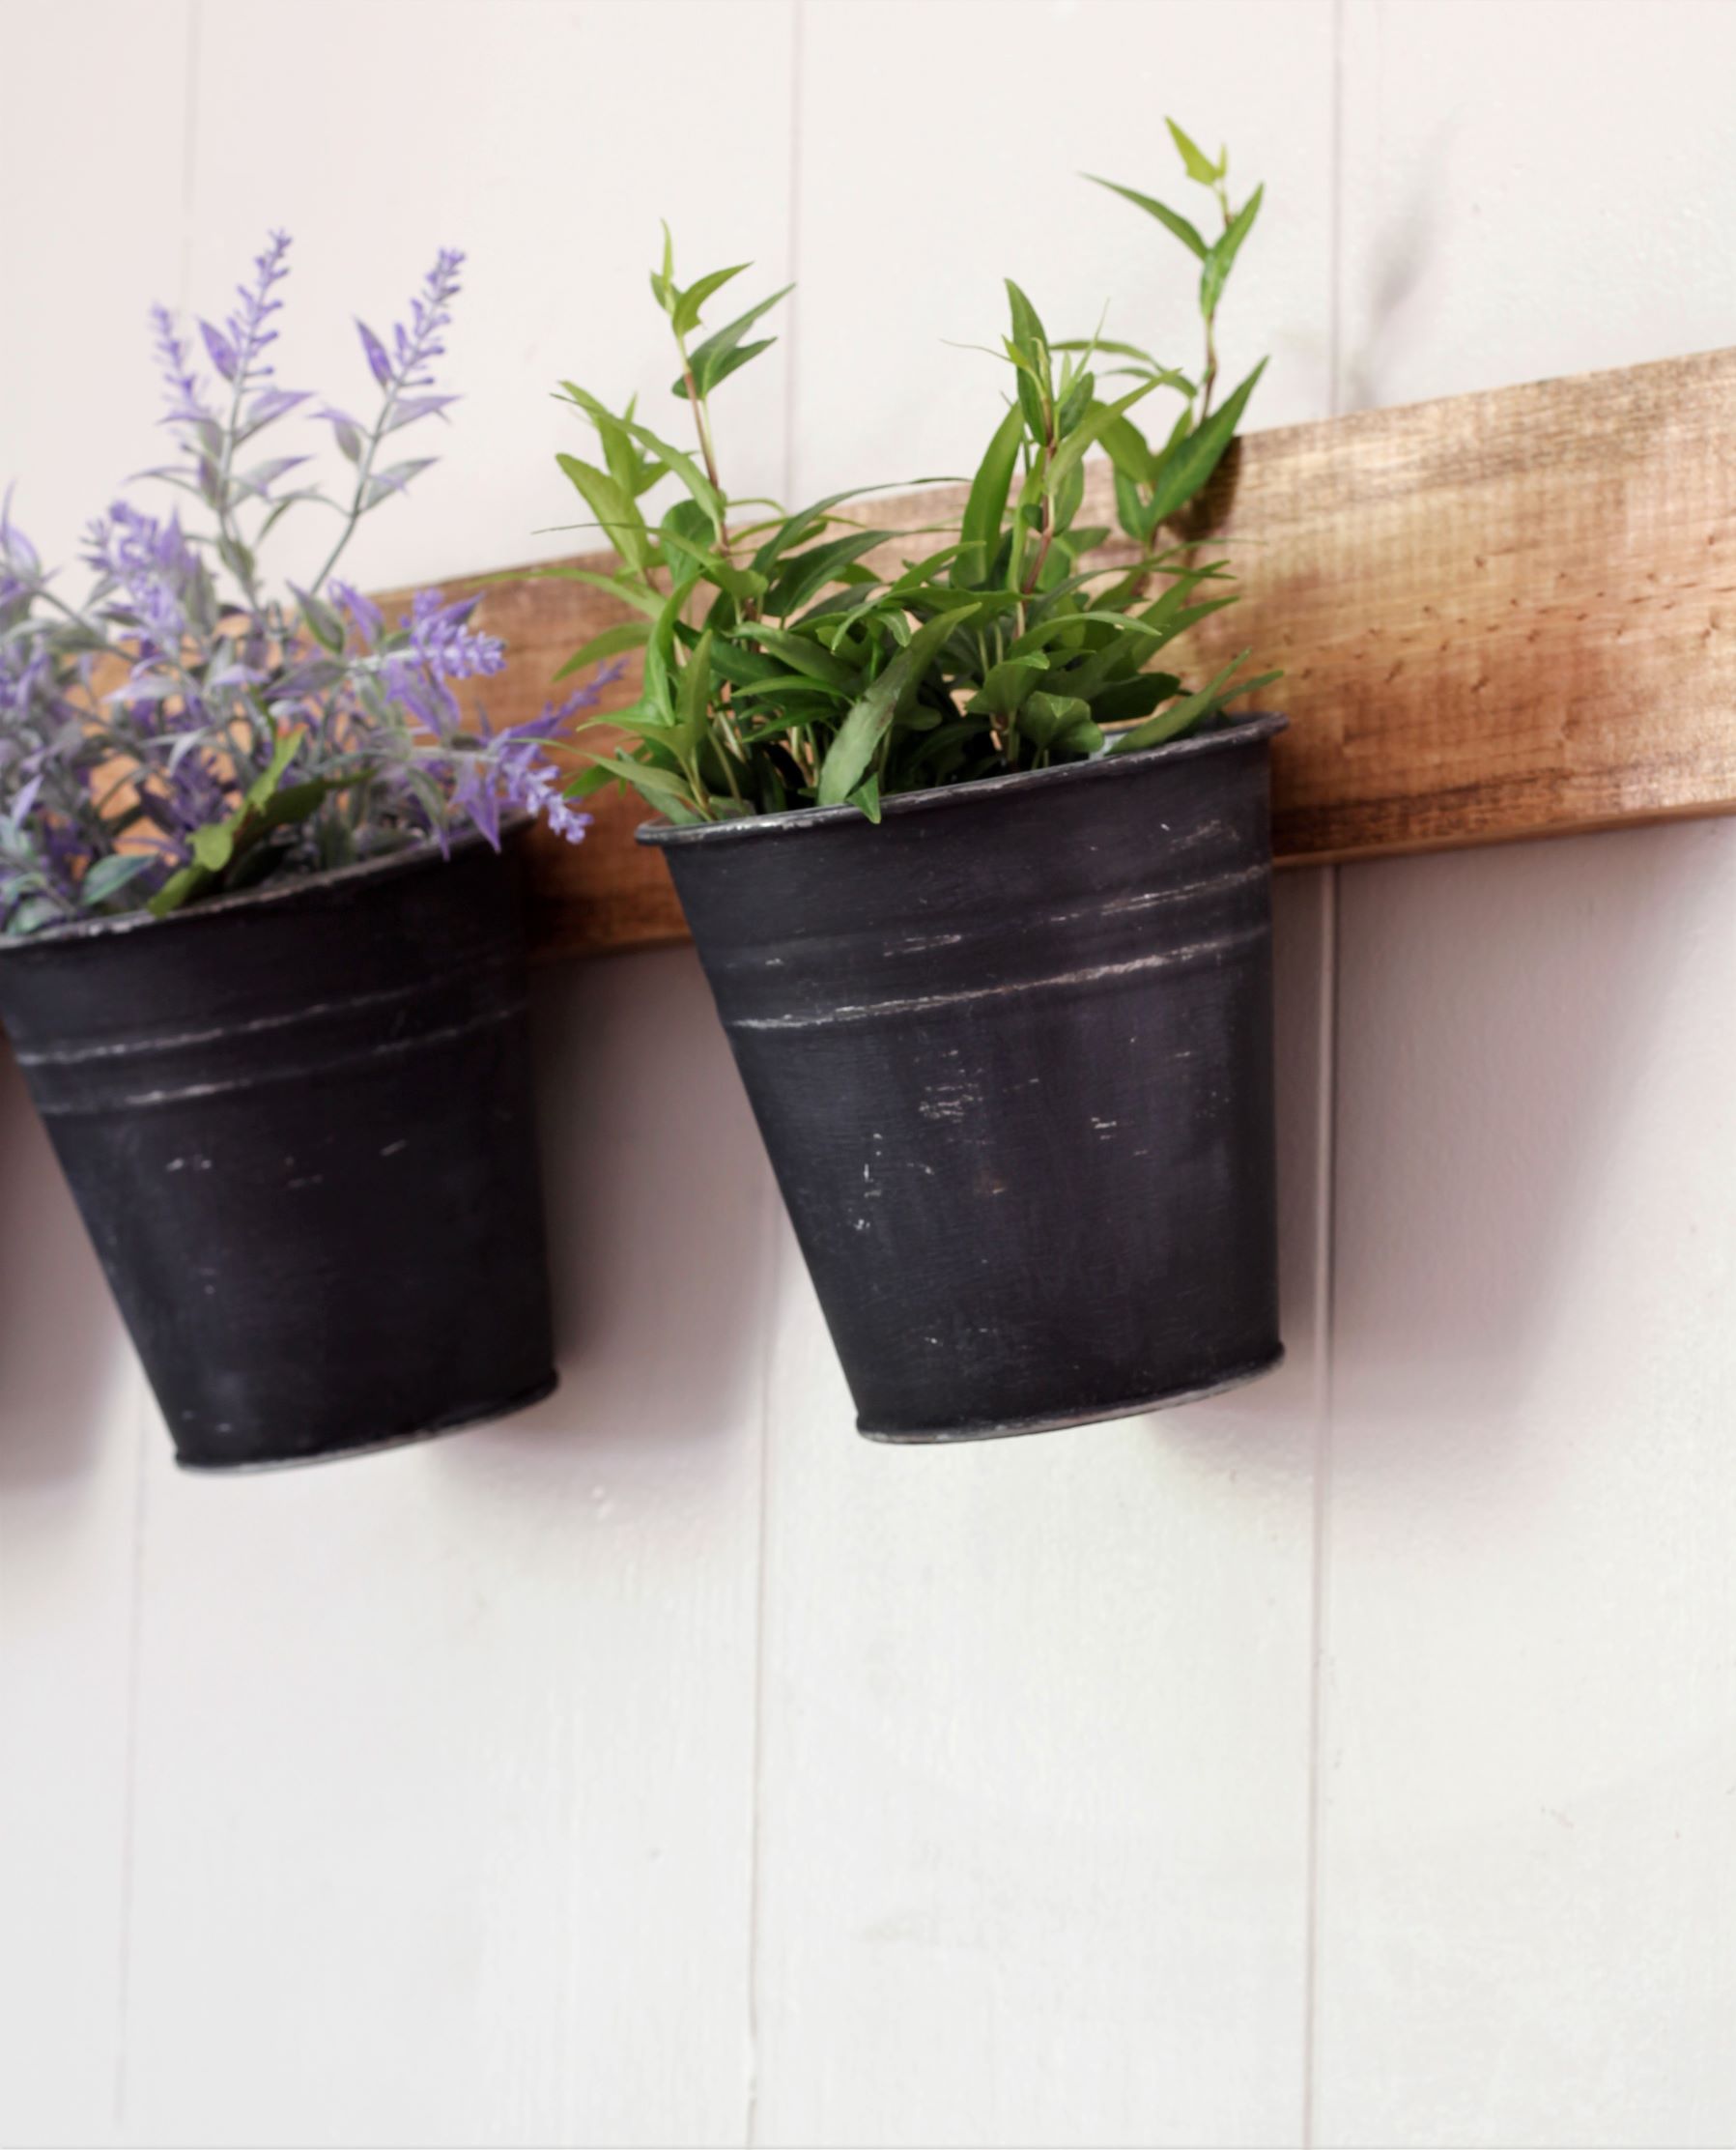
I love the rustic look of the buckets again the wood and I think it adds the perfect farmhouse charm to this side of the kitchen!
Since I already had everything on hand for the project it cost me $0!! And it took just a couple of hours to put together!
I hope my DIY Wall Planter project inspires you to look within your home for decorating ideas too! Maybe you already have a piece of art or decor in storage that you just need to dust off and give new life to. Or maybe you have the materials in your “stash” to create something functional and pretty (or maybe just pretty) for your home!
If you’d like to make your own DIY Wall Planter don’t forget to…

Looking for more DIY wall decor?
Thank you so much for stopping by!