
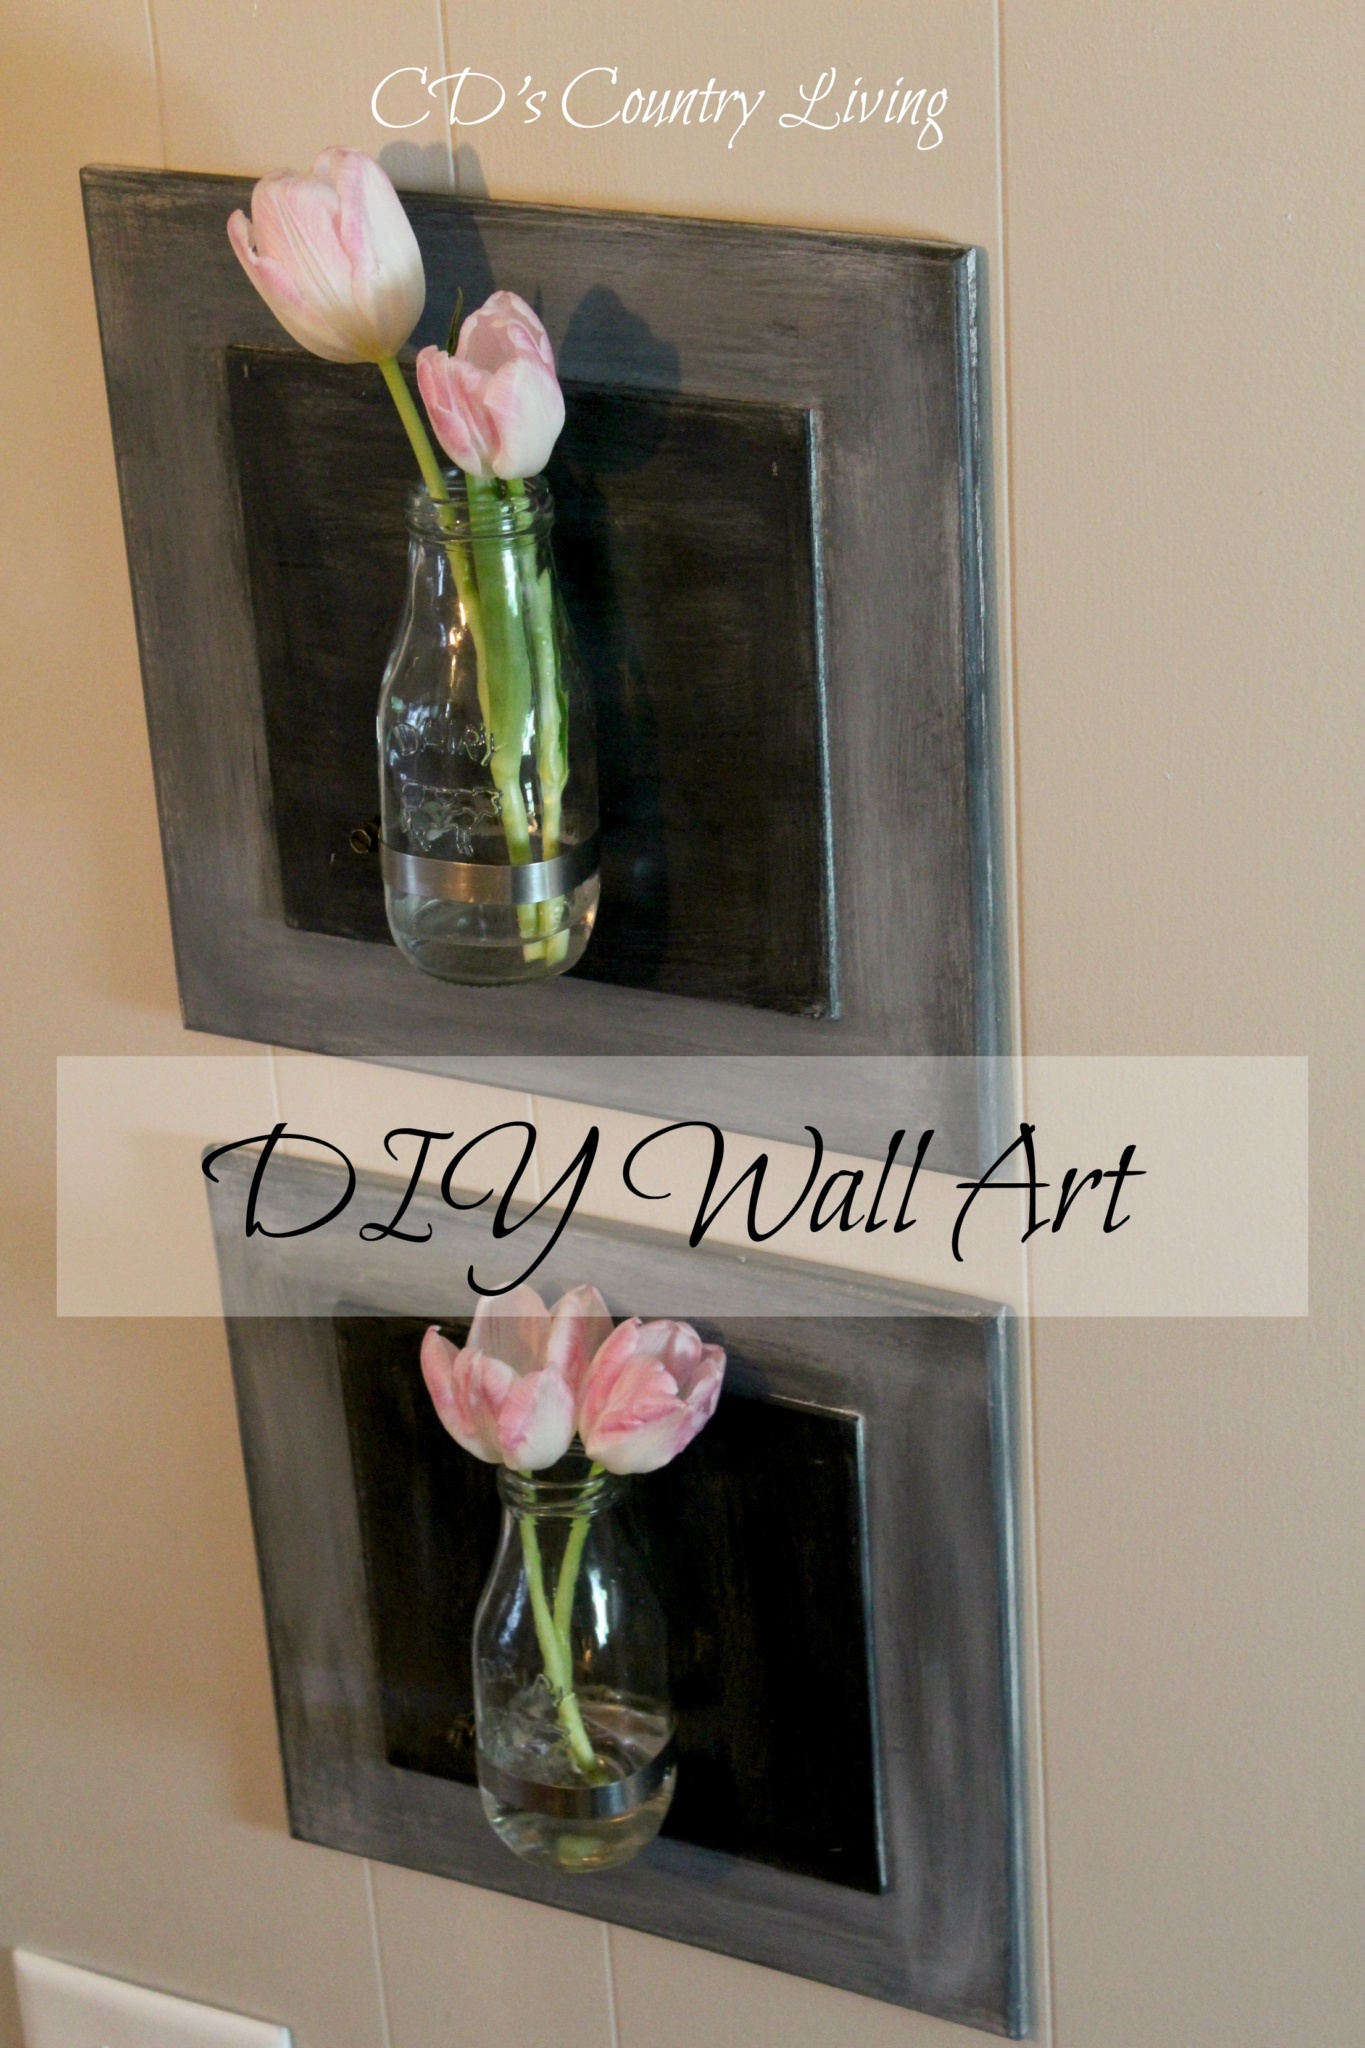
DIY Wall Art!
I love the weekends!
Saturday is hands down (or up) my favorite day of the week.
This past Saturday, hubby and I did something we both enjoy.
After a huge breakfast at our favorite local cafe, we hopped in the truck and drove to the city for a day of treasure hunting.
Now, of course, hubby and I have a difference of opinion on what exactly the word ‘treasure’ means.
For him, it’s finding a cd of Led Zepplin’s greatest hits in good condition.
Me? Well, not so much. I’m usually looking for treasures I can give a new purpose to. Like this wall art, I found it at a thrift store.
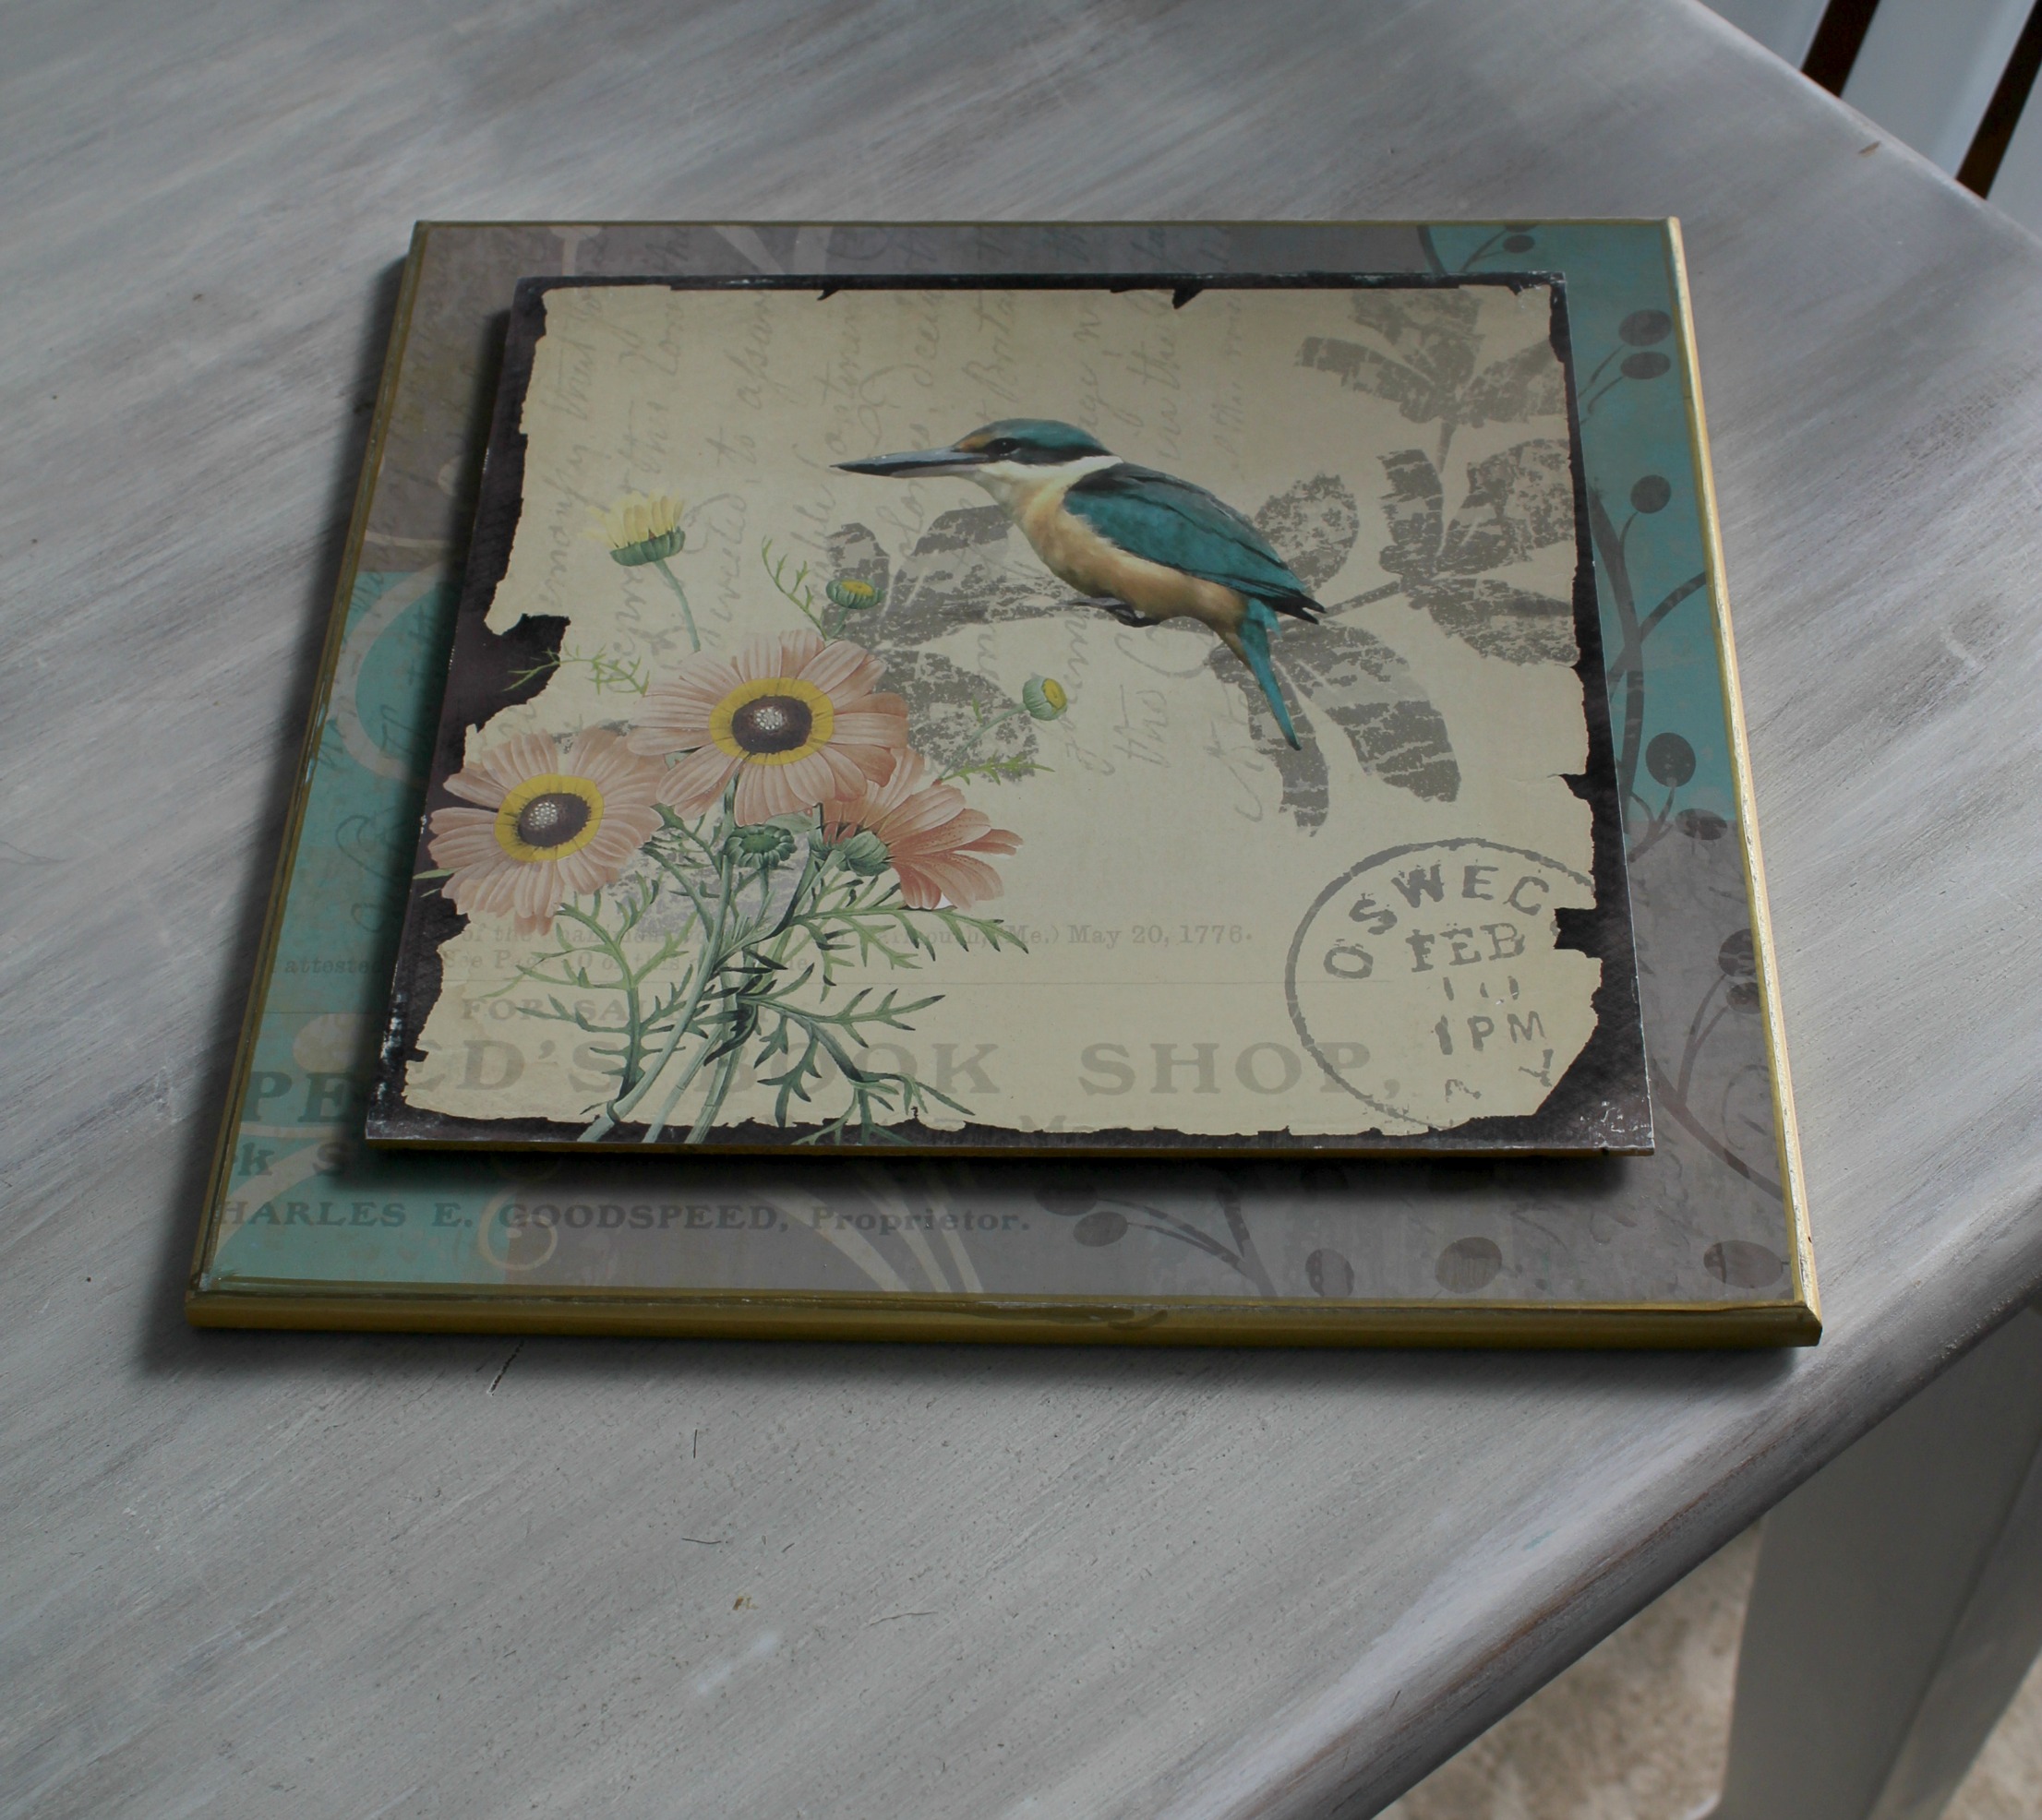
Hubby was laughing all the way to the checkout when he saw these beauties in my cart. But what he didn’t know was I had a vision for this not so pretty wall art.
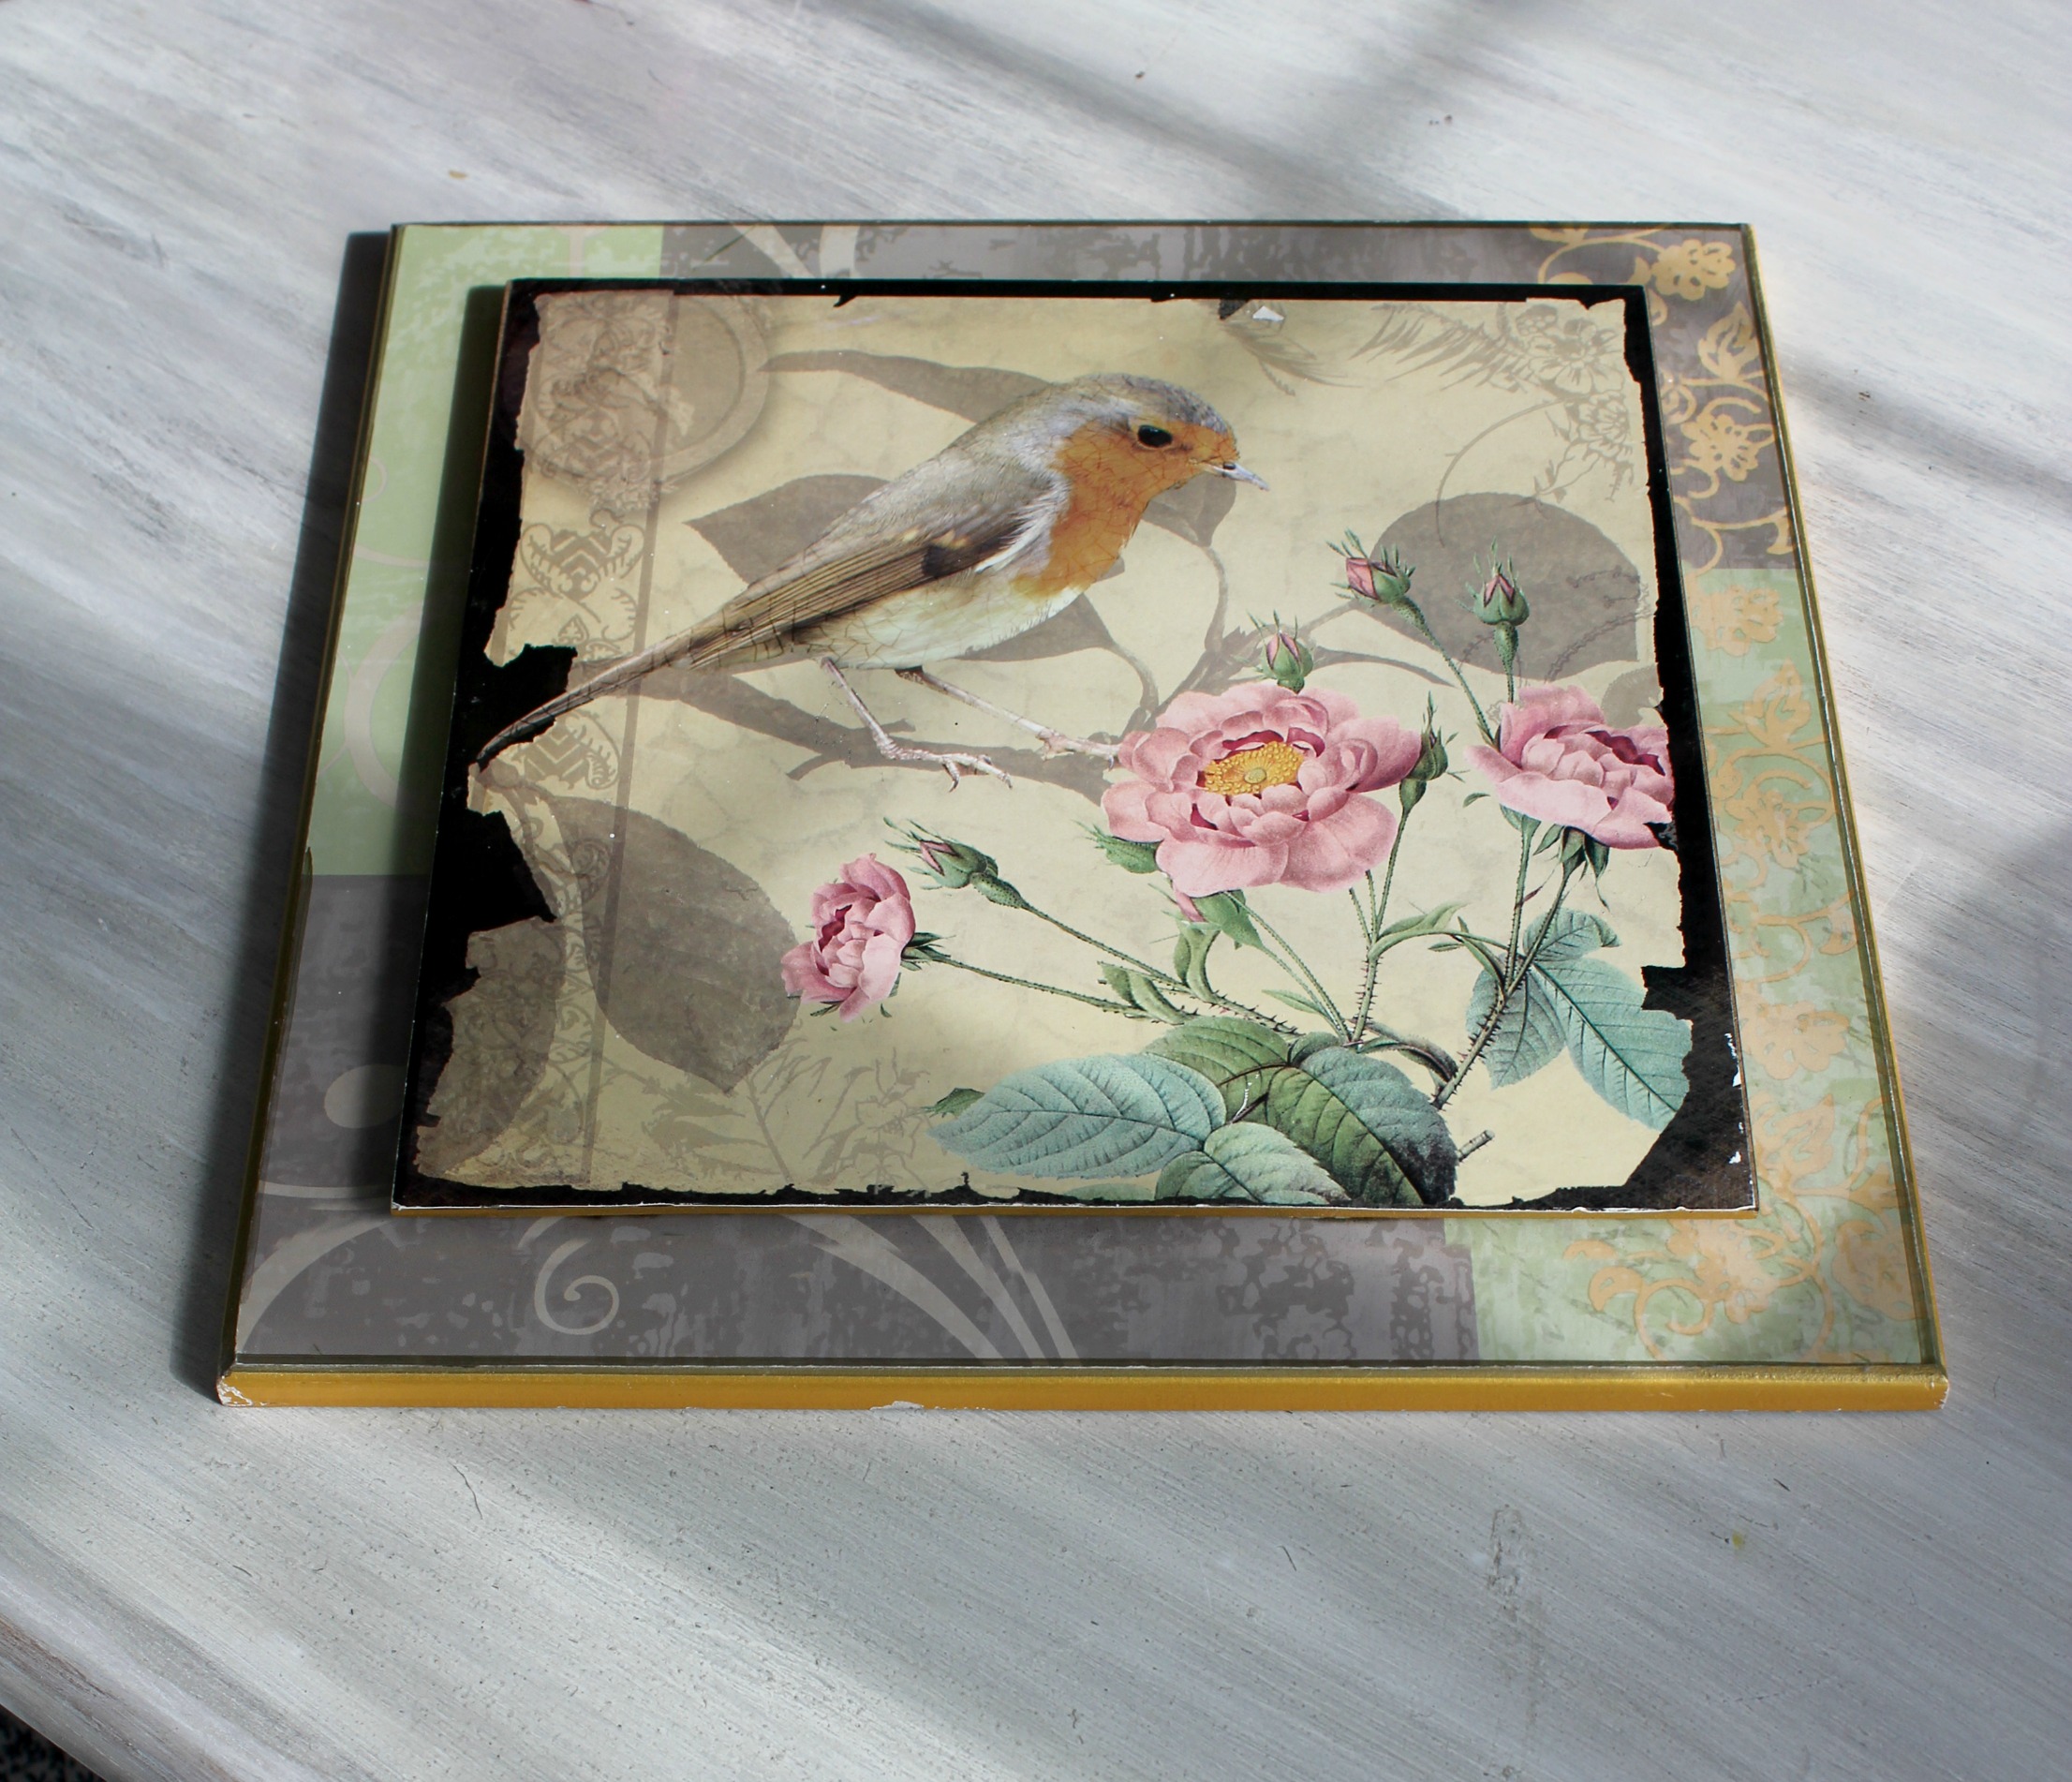
Now don’t get me wrong. I really did LOVE these pretty bird graphics-but I hated the 3-D look and even worse-the outer frame! The good news is, the graphics were barely glued onto the outside frame-so they popped off quite nicely. I plan to use them in another project-but for now, it was all about that nasty frame with the gold trim!
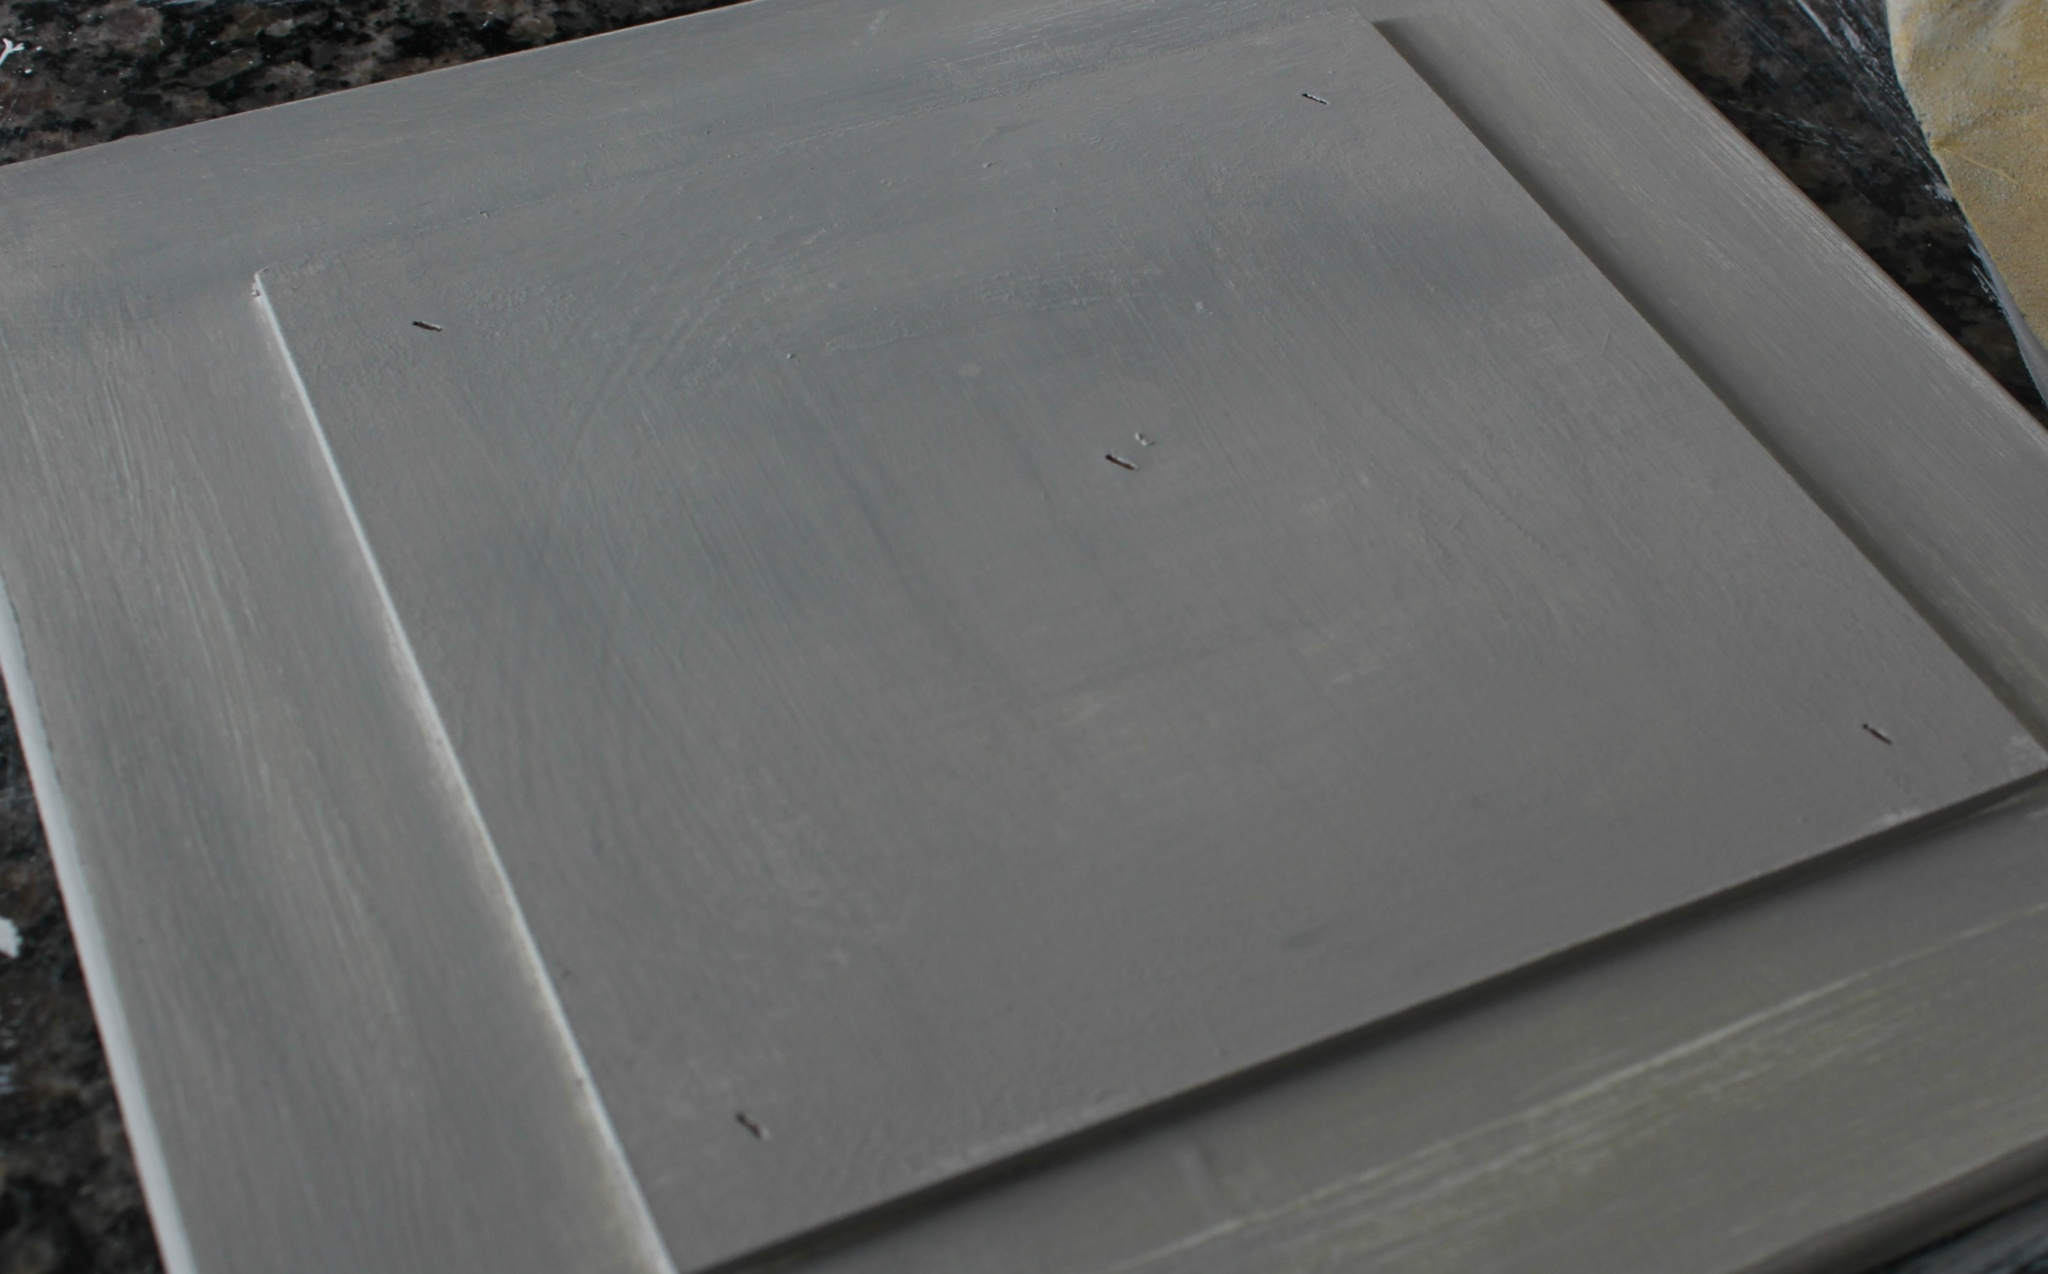
Nothing a little paint can’t take care-right? (I used two light coats of Glidden’s Pebble Grey leftover from another project.)
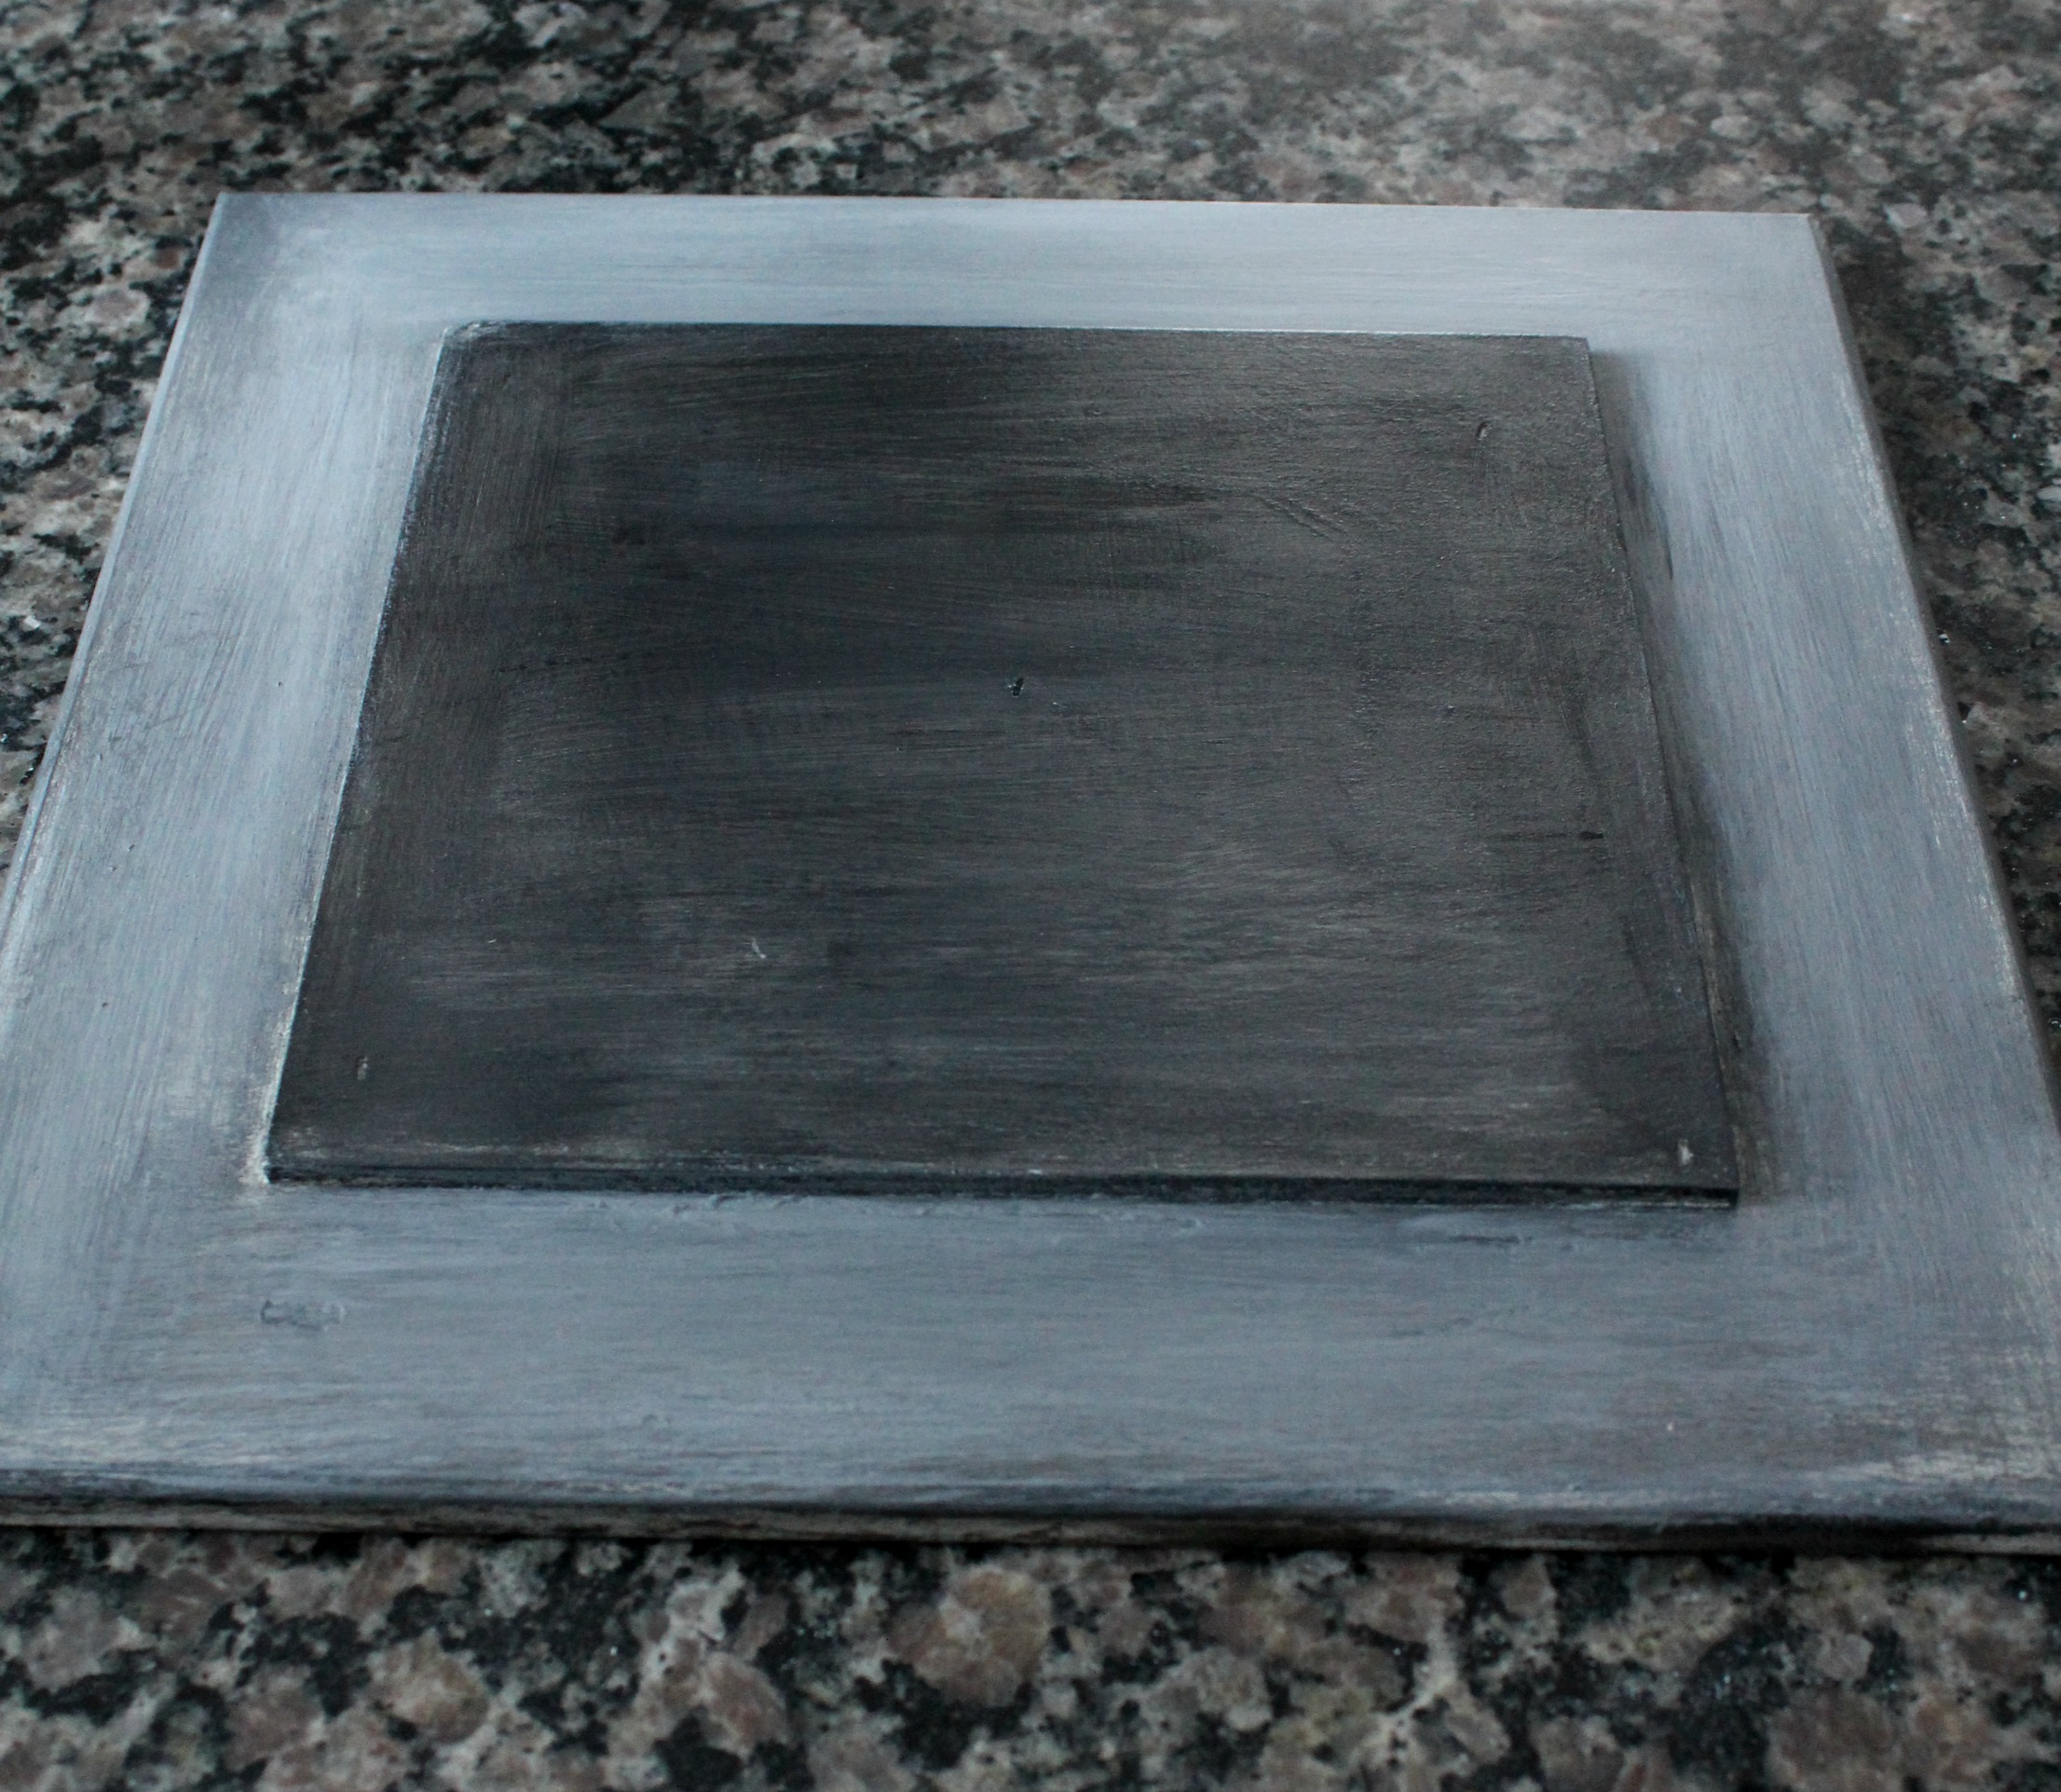
After giving the frame a good sanding, I dry brushed some white paint (Waverly chalky paint)-and filled in the center with some leftover black paint (also Waverly chalky paint.)
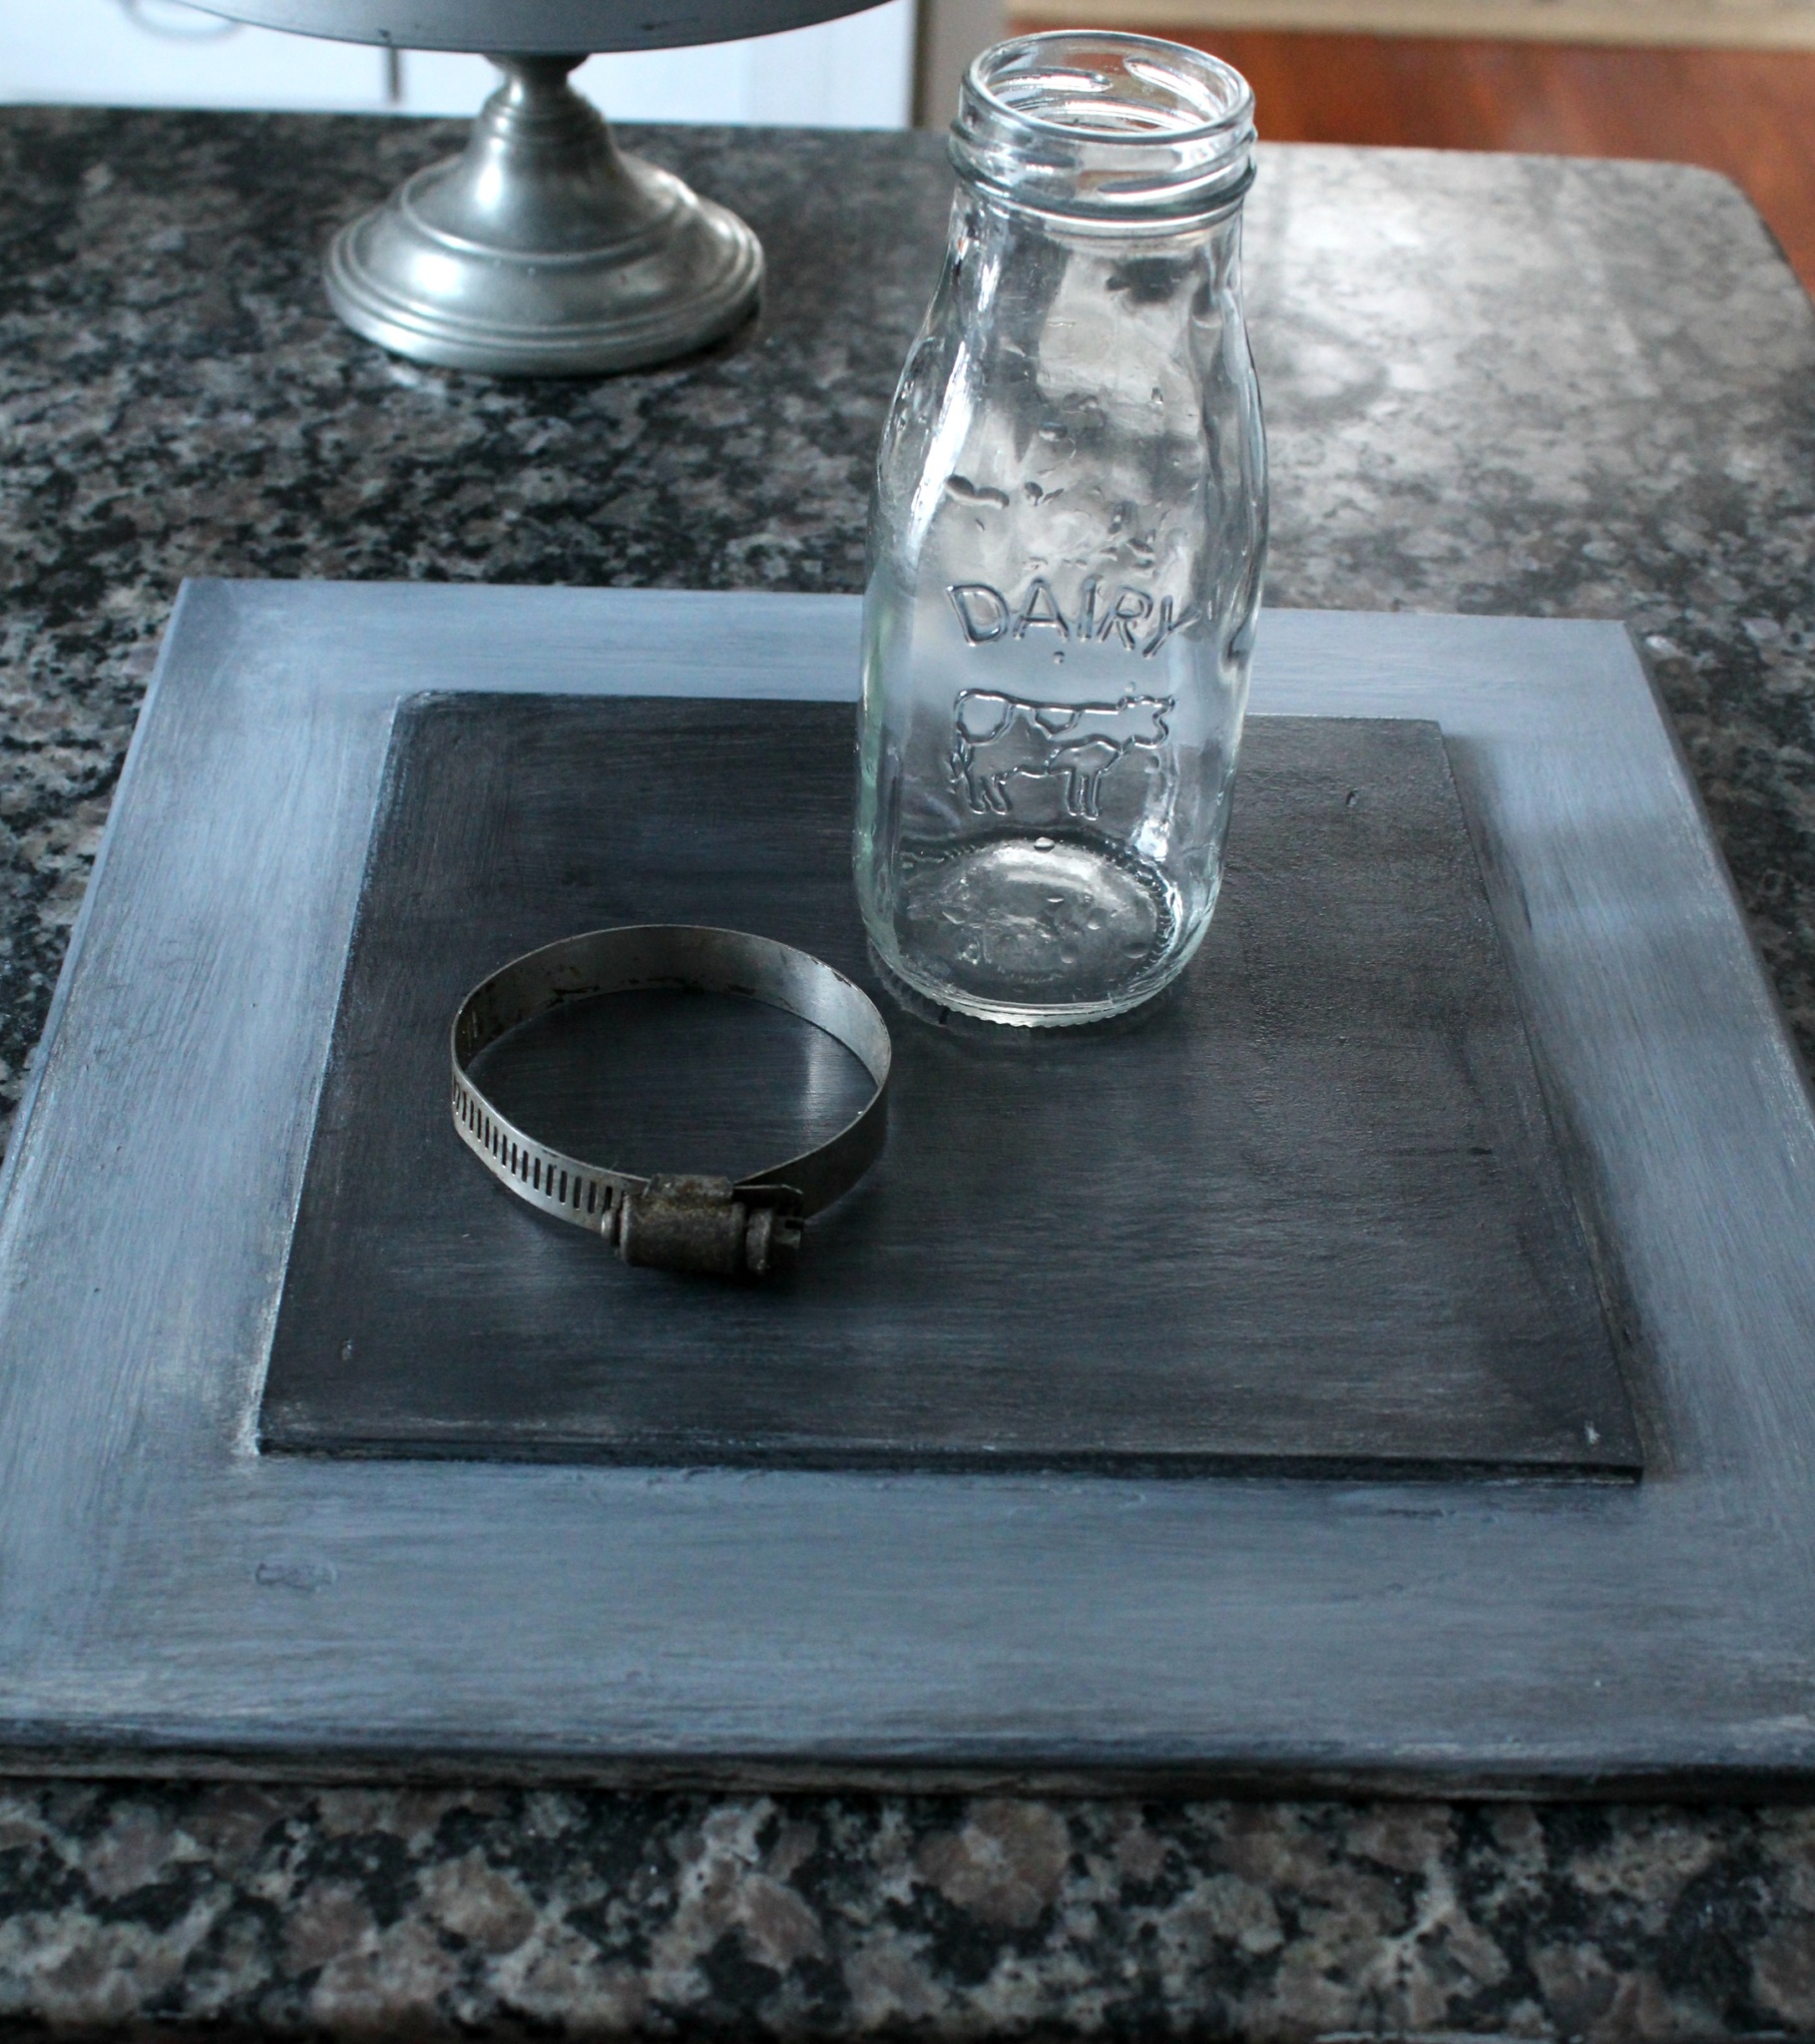
I purchased the glass jars last summer and we had a couple of clamps in the garage that were perfect-after I cleaned them up a bit.
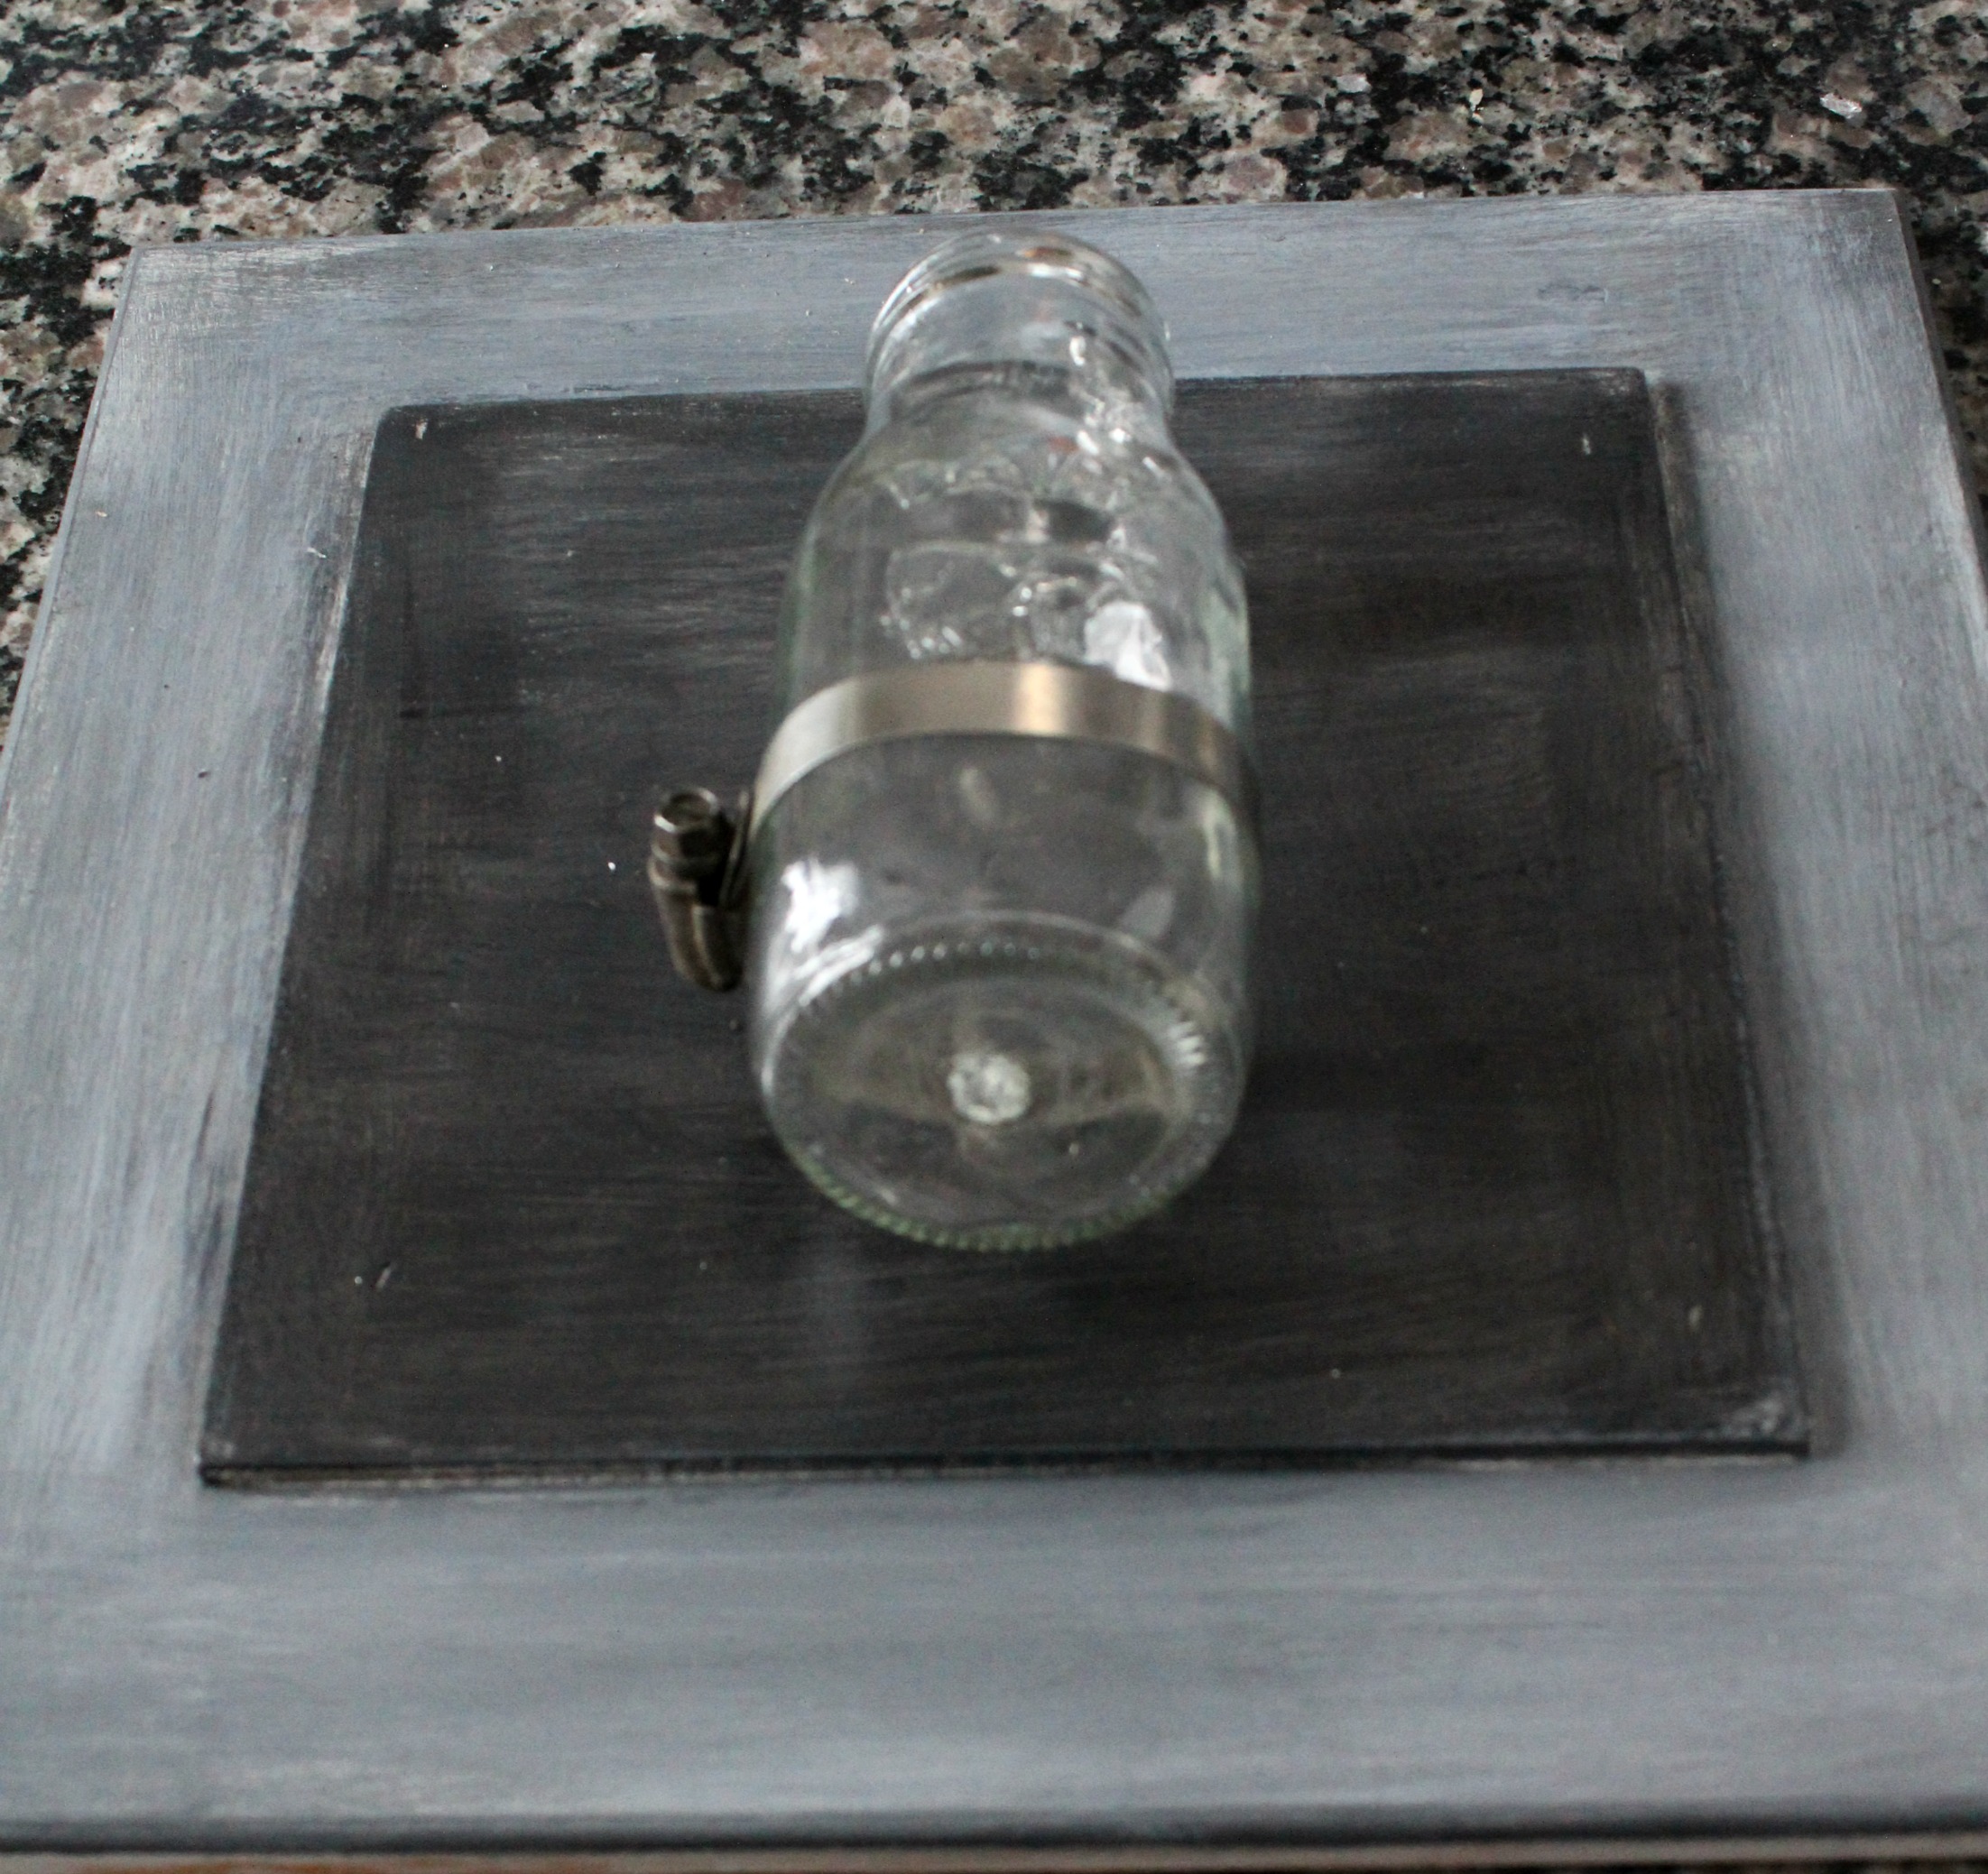
Once the paint was dry-I screwed the clampdown in the center of the board, and fitted the glass jar into the clamp-(and carefully tightened it).
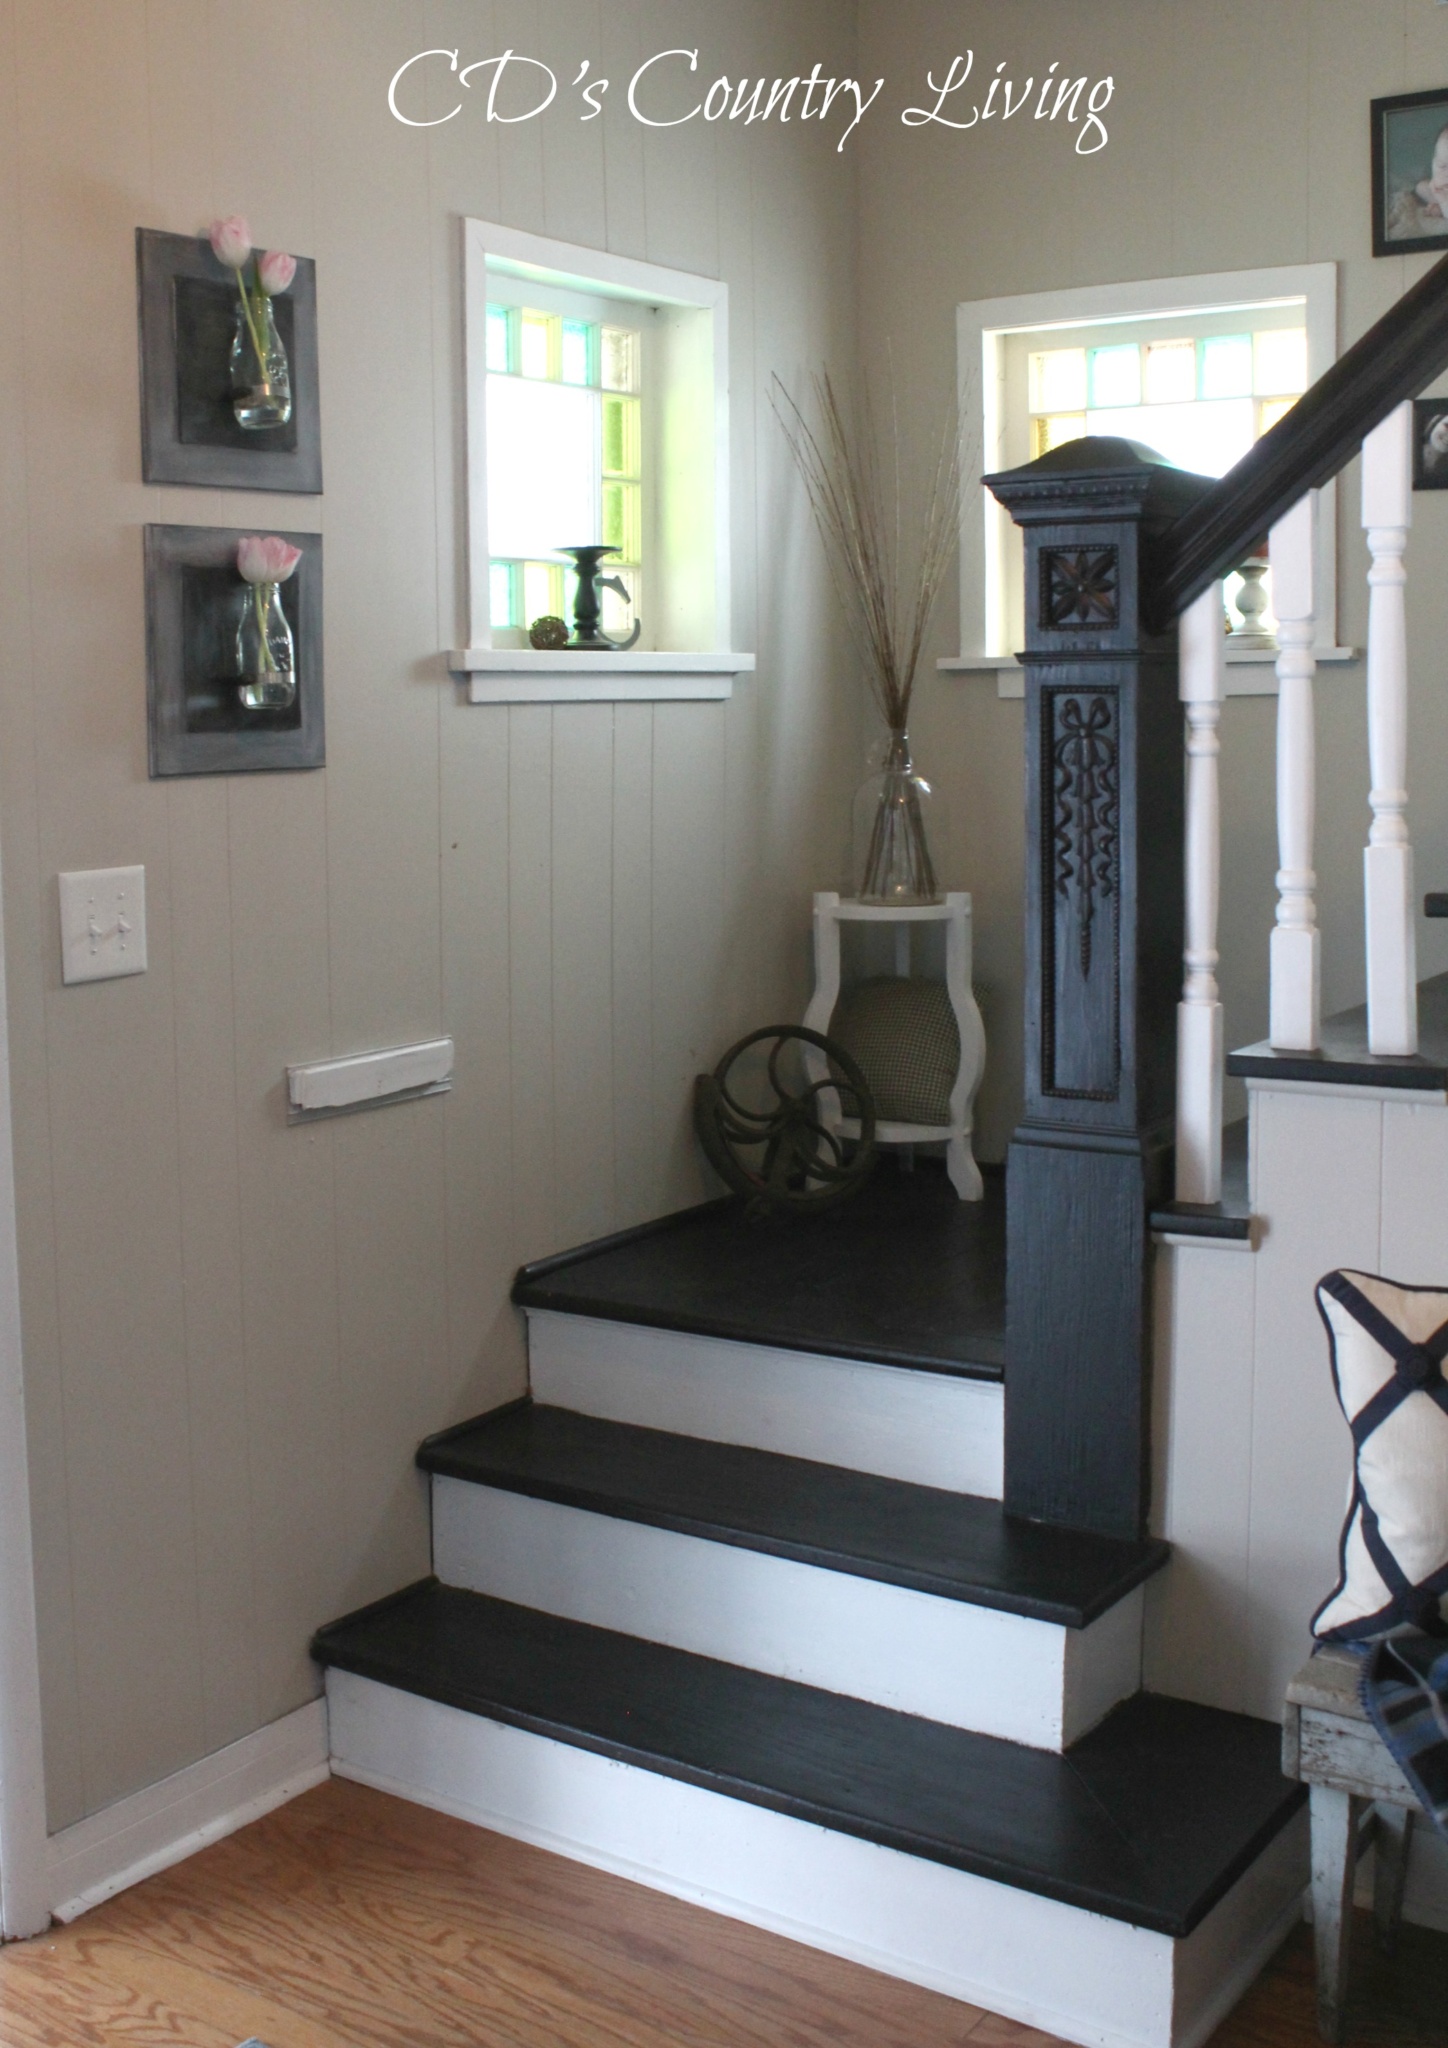
I added a few pretty tulips (I picked them out of the lovely bouquet hubby got me for Valentine’s day) and hung my up-cycled wall art in the foyer. (Now if only I could find a way to get rid of that ugly mail slot!)
Hubby may not have seen the vision in my head, but he actually liked how the wall art turned out. Which is good because I picked up a few more lemons on Saturday that I’m hoping I can turn into lemonade soon!
I hope you enjoyed today’s DIY Wall Art!
What treasures catch your eye when you’re on the hunt?
Blessings and hugs,

I love these! They look so cool and industrial, but the tulips soften them up perfectly. Those clamps are genius! And I think it’s neat that you have a mail slot. 🙂 Pinning…
Aw…thank you so much, Meredith! That was the look I was going for!! 🙂 As for the mail slot-we closed it up outside last winter, because it was letting in a draft-but we haven’t figured out what to do with the inside part. If you come up with any ideas-let me know!!
C.D. this project is awesome! I absolutely love what you created. I’m a bird nut to so I might incorporated the vintage side. Either way fantastic and I love that you filled the vases with tulips – one of my favorite flowers. I grew up in a house with a mail slot – love that…. on windy days we would place a towel in it to keep the cold from coming in.
I love those vintage bird prints too, Carole, so I felt so blessed that they came off so easily!! I promise I’m going to use them in another project very soon! I also love the idea of a mail slot-something so personal about it-but ours is a bit worn-so after several lovely emails-I’ve decided maybe we will just ‘fix’ it up a bit! Thank you dear friend for stopping by! You’re comments always make my day!
I love how you combined a soft touch with the industrial look. It’s so homey. I have a project that I’m trying to decide how to finish – your dry brushing might be just the thing. You have inspired me!
Thank you, Val! That’s the best compliment a blogger can get! You just made my day!!!