
DIY Reclaimed Wood Mirror
Hubby often likes to tease me about how LONG his ‘honey-do’ list is. I don’t know about that. But I will admit that we have plenty of projects going on right now, and since we are on a limited budget, a little of his DIY ingenuity comes in REAL handy!
This past weekend, when I decided we needed to make a mirror for our dining room.
While searching Pinterest-(my favorite place for inspiration), I found a six-pane mirror that I absolutely LOVED! Since we had all the material on hand already on hand, it wouldn’t cost us anything to make!
Material needed:
(1″x4″) 44″ in length (frame) (2)
(1″x4″) 24″ in length (frame) (2)
(1″x1″) 24″ in length (for dividers) (2)
3- (1″x1″) cut to 12″ in length (for dividers)
1- 1/4″ plywood for backing-(hubby recommends 1/2″)
1/2″ drywall nails
1″ panel nails
6- 12″x12″ mirror tiles
A tube of liquid nails
Paint
Primer
(wood putty for any nail holes)
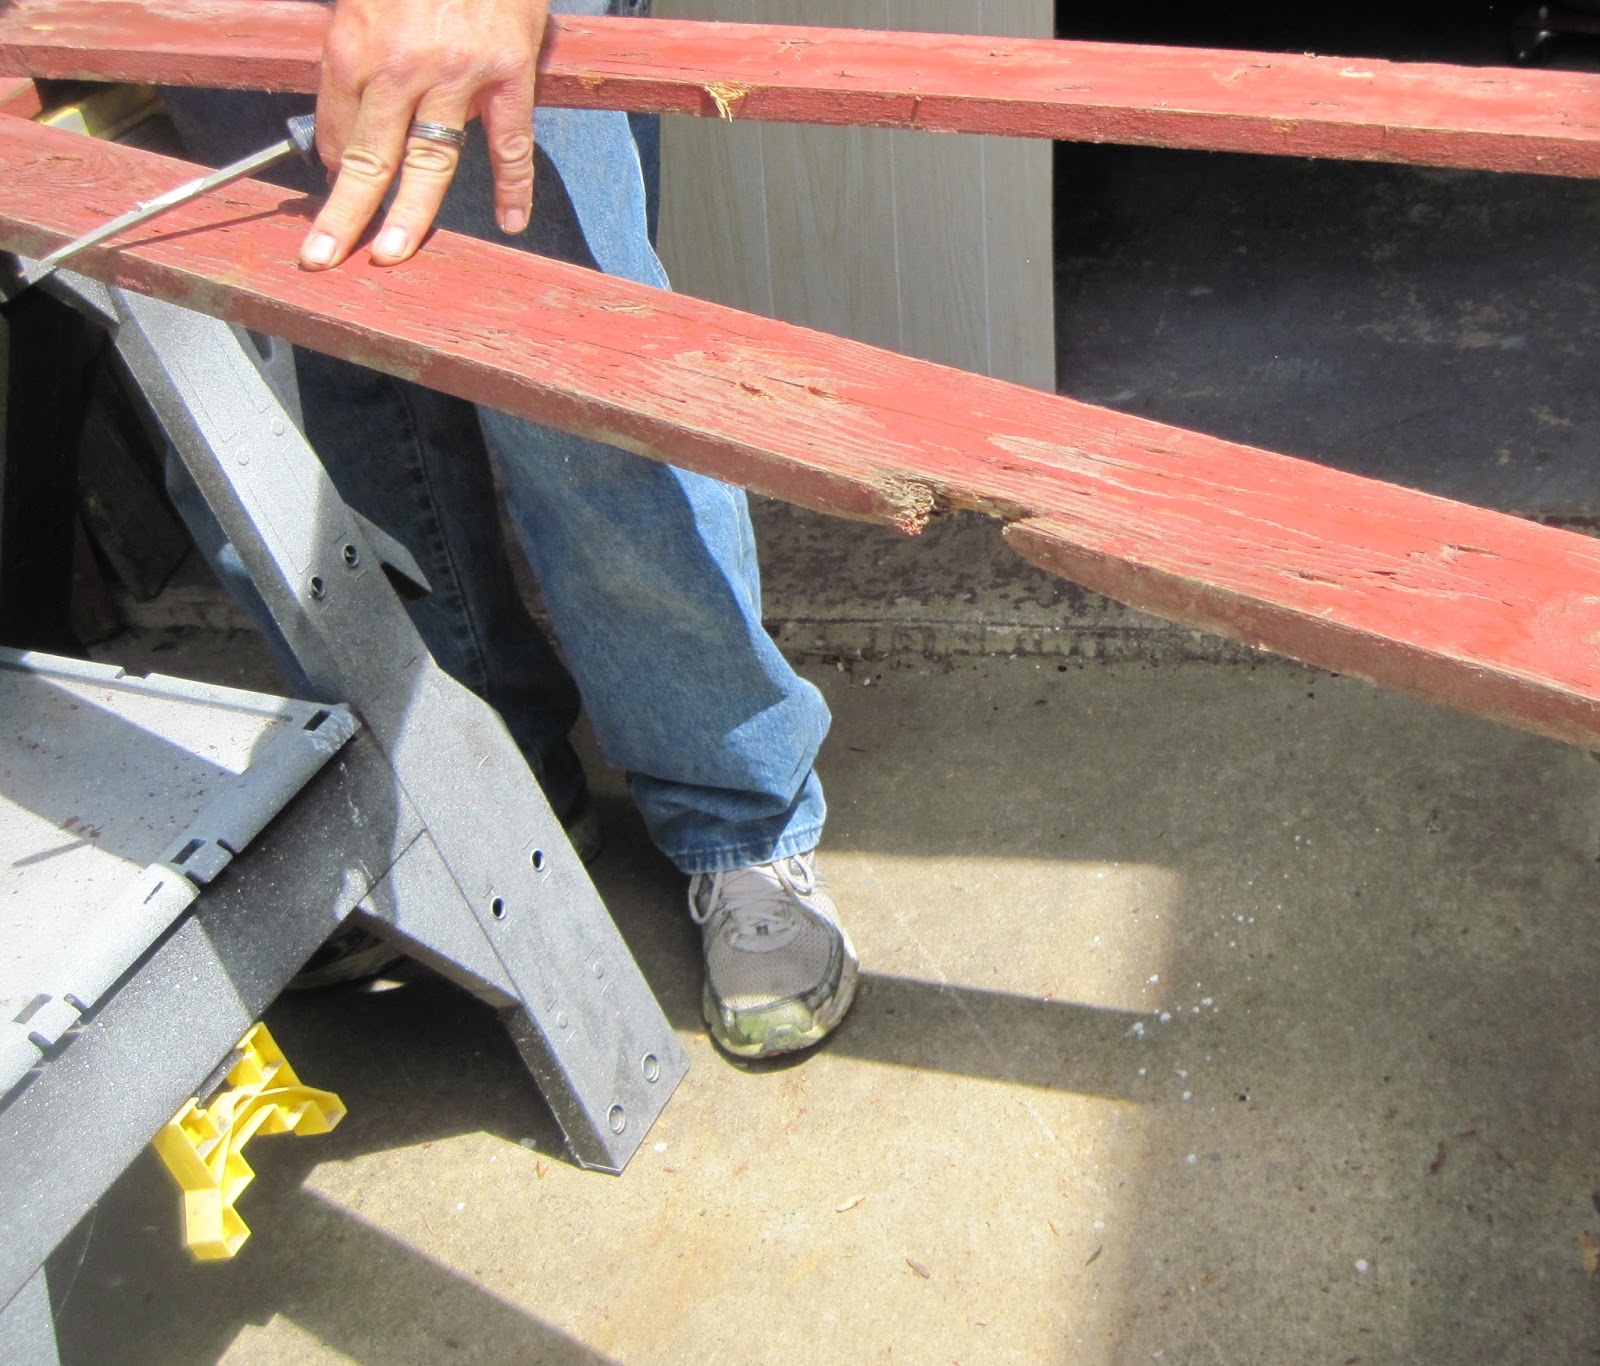
The wood we used was from an old shed we tore down at the farm, we spent most of our time removing all of the nails. Once that job was done, hubby got busy measuring and cutting the wood to size.
Once he had all the wood cut to size, he checked to make everything was square, and that the mirror fit snug. Next, hubby and I had a difference of opinion. I wanted to fill in the nail holes, and he wanted to leave them because he thought it gave the piece some character. Against my better judgment, I decided to go ahead and paint. After one coat, I was regretting my decision.


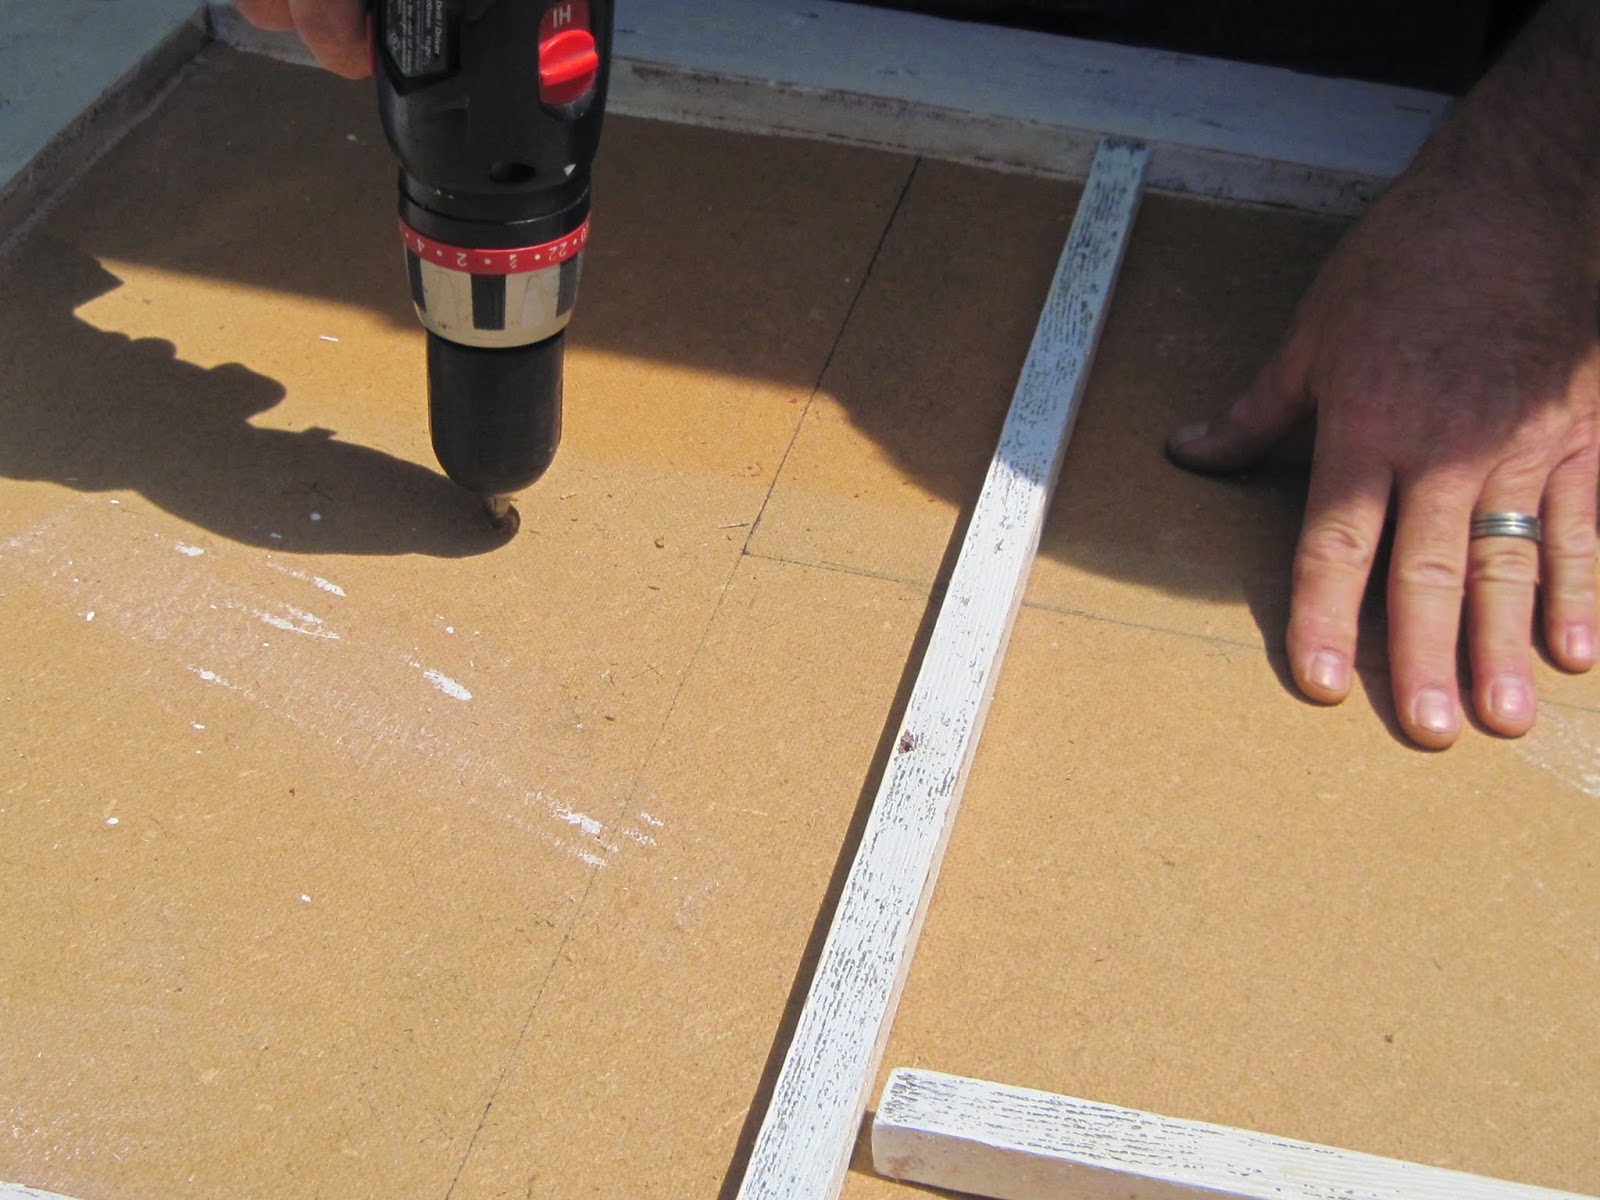
When the stain dried, it was time for hubby to pre-drill some holes in the base to attach the dividers.


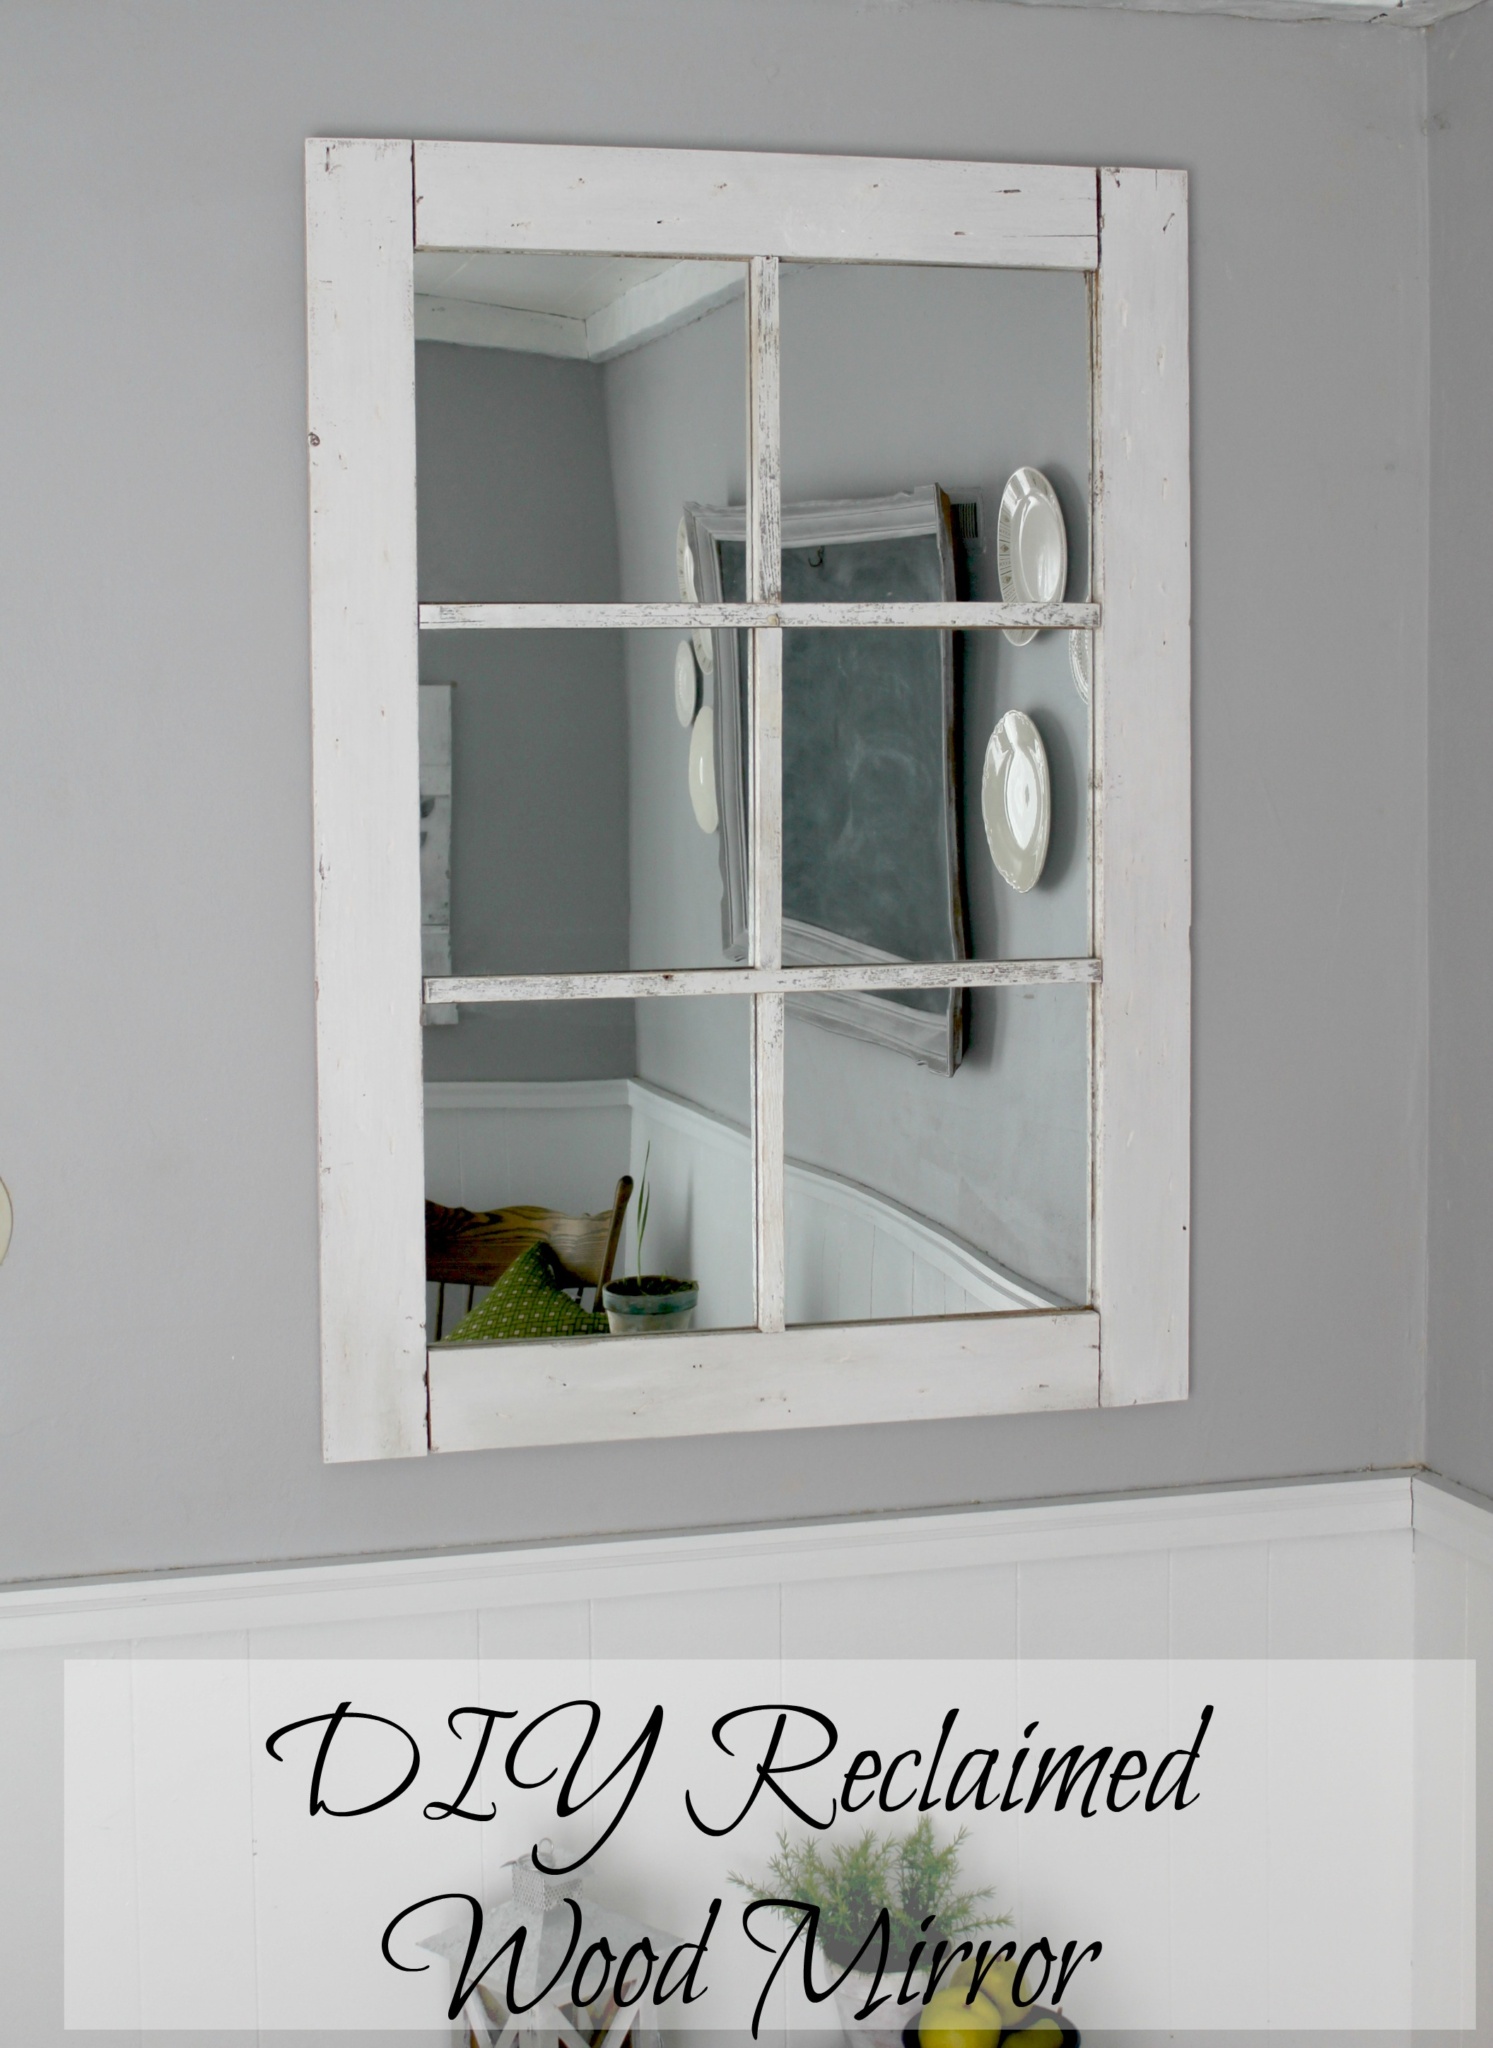
I LOVE how our six pane mirror turned out and the fact that it was free is a HUGE bonus!
What do you think? Should I have left the nail holes?
I’ll be linking up to these awesome parties today-so stop on over and be inspired!
French Country Cottage
Rooted in Thyme
Shabby Nest
Romantic Home
The Charm of Home
Jennifer Rizzo
Liz Marie Blog
Redoux Interiors
DIY Vintage Chic
The Thrifty Groove
My Repurposed Life
I hope you all have a great weekend!!!!
Blessings and hugs,

Oh I love it. I just wish we had more walls. Our home is 90% windows, no place to hang stuff.
Thank you Marty! I envy your wall to window ratio though! I would love MORE windows!!!
gorgeous!!!! uhhh and I fixed your cucumber salad on the 4th. Everyone loved it! xoxoxo Christine from Little Brags
Thanks for sharing. I love most this kind of Blog. I, too, would love reclaimed wood shelves in our study and needed to know how to make them. There are more item of wood and wood institute. I love it very much. I need to know more about wood. So I am searching this kind of blog.
reclaimed wood
Oh goodness, Christine! Thank you so much! I'm glad to hear you all enjoyed it! 🙂
You're welcome, Tahamina! I hope it helped! Thank you for stopping by!
I've been wanting to do something like this myself, but with colored scrapbook paper behind clear glass panes instead. (It's going to be a weekly chore list.) I actually have an 8 paned window already that is in dire need of restoration. Do you or the hubby have any advice on how to repaint it without ruining the glass? I know some basics of woodworking if he thinks it needs to be disassembled first. Thanks for any help y'all can give!
Hi, Christi! Thank you so much for stopping by. I love your idea using scrapbook paper! I just recently found a blog post where the author had a similar idea- you can check that out if you want- http://anextraordinaryday.net/coastal-vintage-window-photo-frame-3/ As for your question-hubby says you shouldn't need to take the window apart to paint. Taping the panes(carefully) would be one option. Or, if you do get paint on the window pane-a sharp razor blade works great to clean it up without damaging the glass. I hope this helps! I'd love to see how it turns out!