
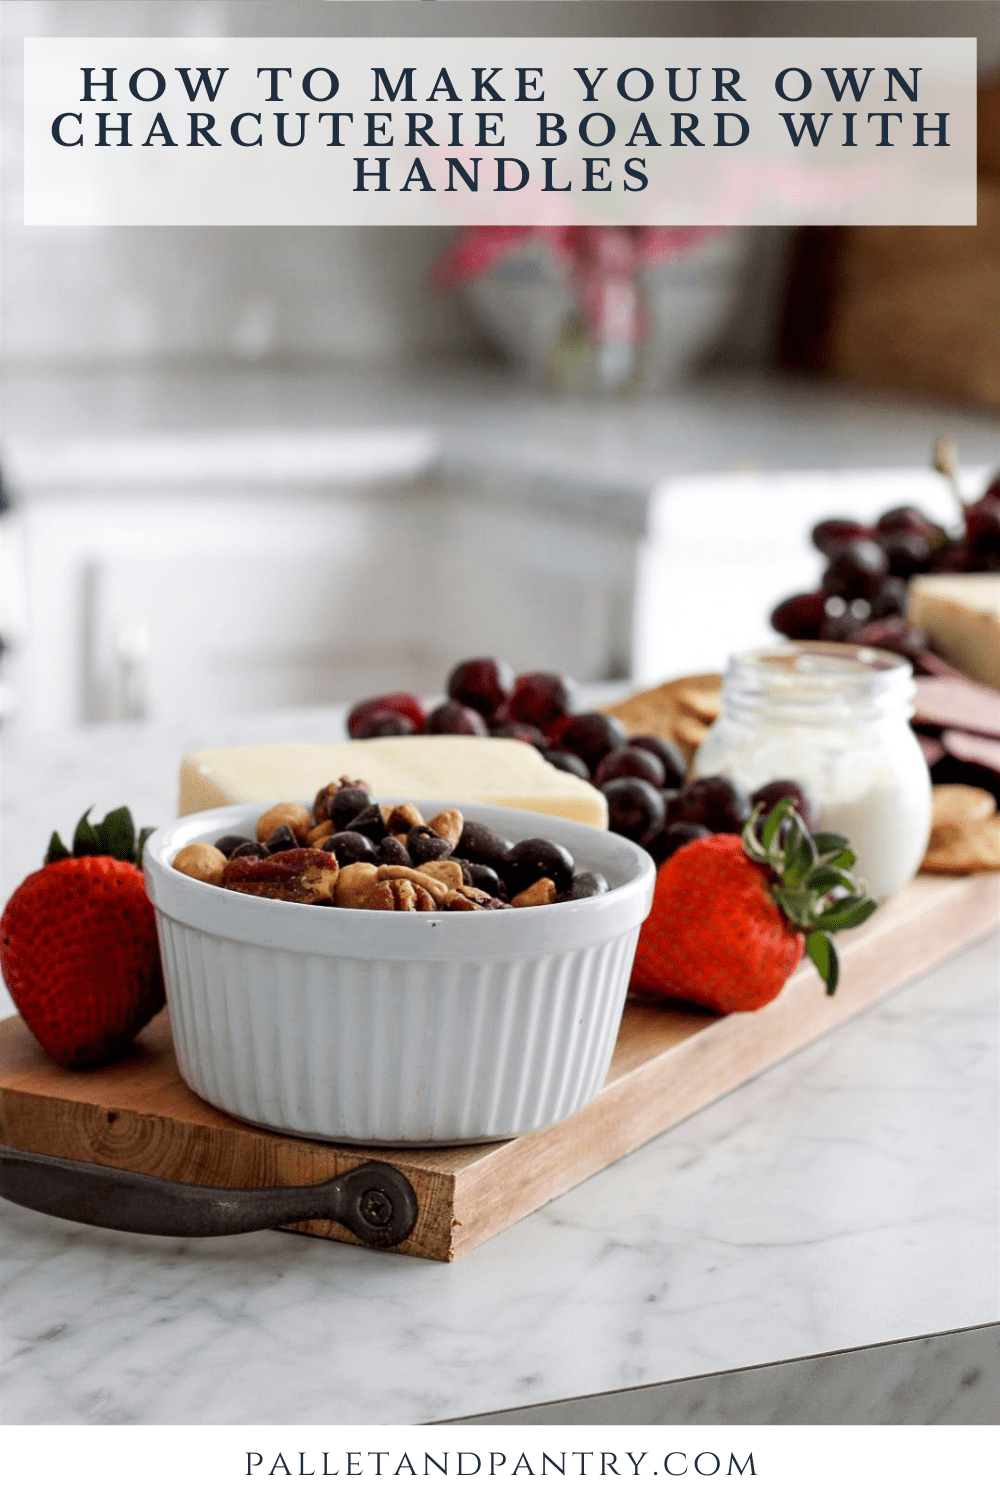
DIY Charcuterie Board
create a high end looking charcuterie board with just a few simple materials.
Hello, sweet friends!
I hope today’s post finds you all well!
We’ve been busy with a few outdoor projects until Mother Nature decided to send us some rain. LOTS of rain in fact.
But that’s okay because we have some ‘inside’ projects that need our attention too!
With that said, I’m also taking a bit of ‘creative’ time away from work and home improvement projects!
I’m finding that these little creative escapes keep my mind off of all the craziness going on right now, and help to alleviate the almost suffocating anxiety that I feel some days.
This past weekend during one of those creative escapes, I decided to build something I’ve been wanting for quite some time.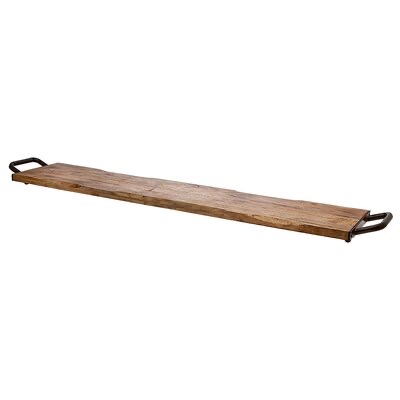
Source: Wayfair
I fell head over heels with this Charcuterie Board with handles that I found online a few months ago. I just adore the rustic combination of wood and metal. And it’s the perfect width and length for my entertaining needs. (That is whenever we can get back to entertaining of course.)
It was also on sale for $35.99! A bargain since it was regularly priced at $70! As far as I was concerned it was a done deal and I was just about to add it to my cart when Michael glanced over and said, “You could make that for little or nothing.”
Sometimes I really hate it when he’s right.
But he was. Here’s the thing though, friends. There’s more involved in making a Charcuterie board than just cutting a piece of wood and slapping on some handles.
Why?
Because you’re going to be EATING food off that board!
That means you can’t just use any old board in your stockpile! Some of that wood may be treated and you don’t want to be eating ANYTHING off of that.
You also need to think about a food-safe sealer to protect the wood. (I’ll get to that in a bit).
First let’s talk about the wood.
There are three types of domestic wood that work well for making serving trays that will hold food. This according to several forestry sites as well as woodworking experts.
Walnut- Cedar- Oak
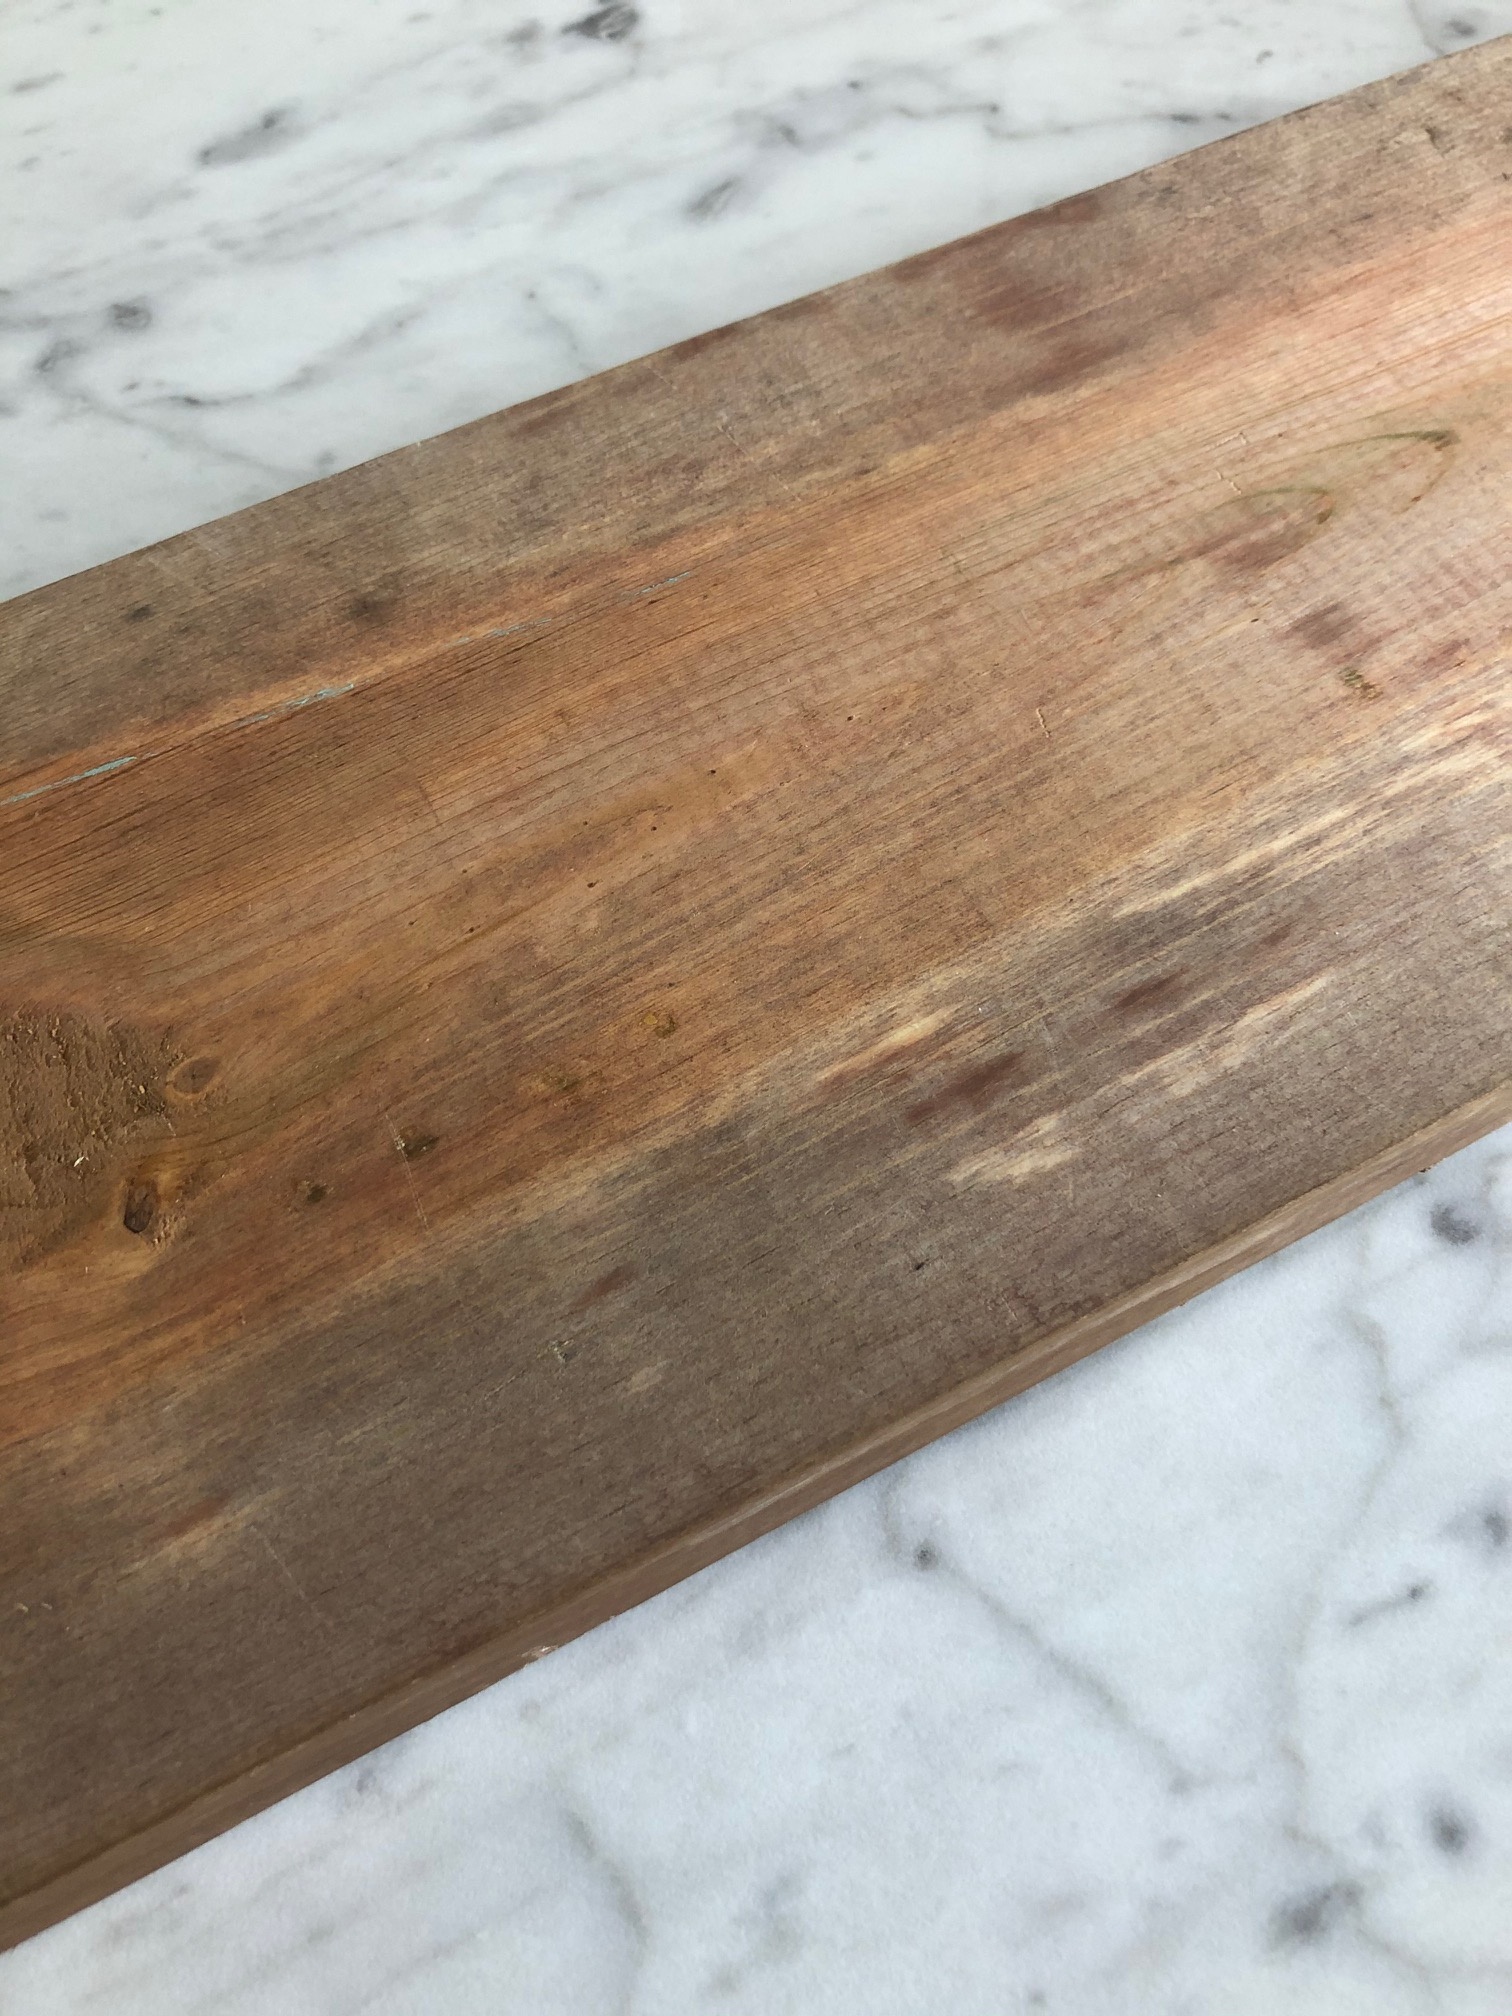
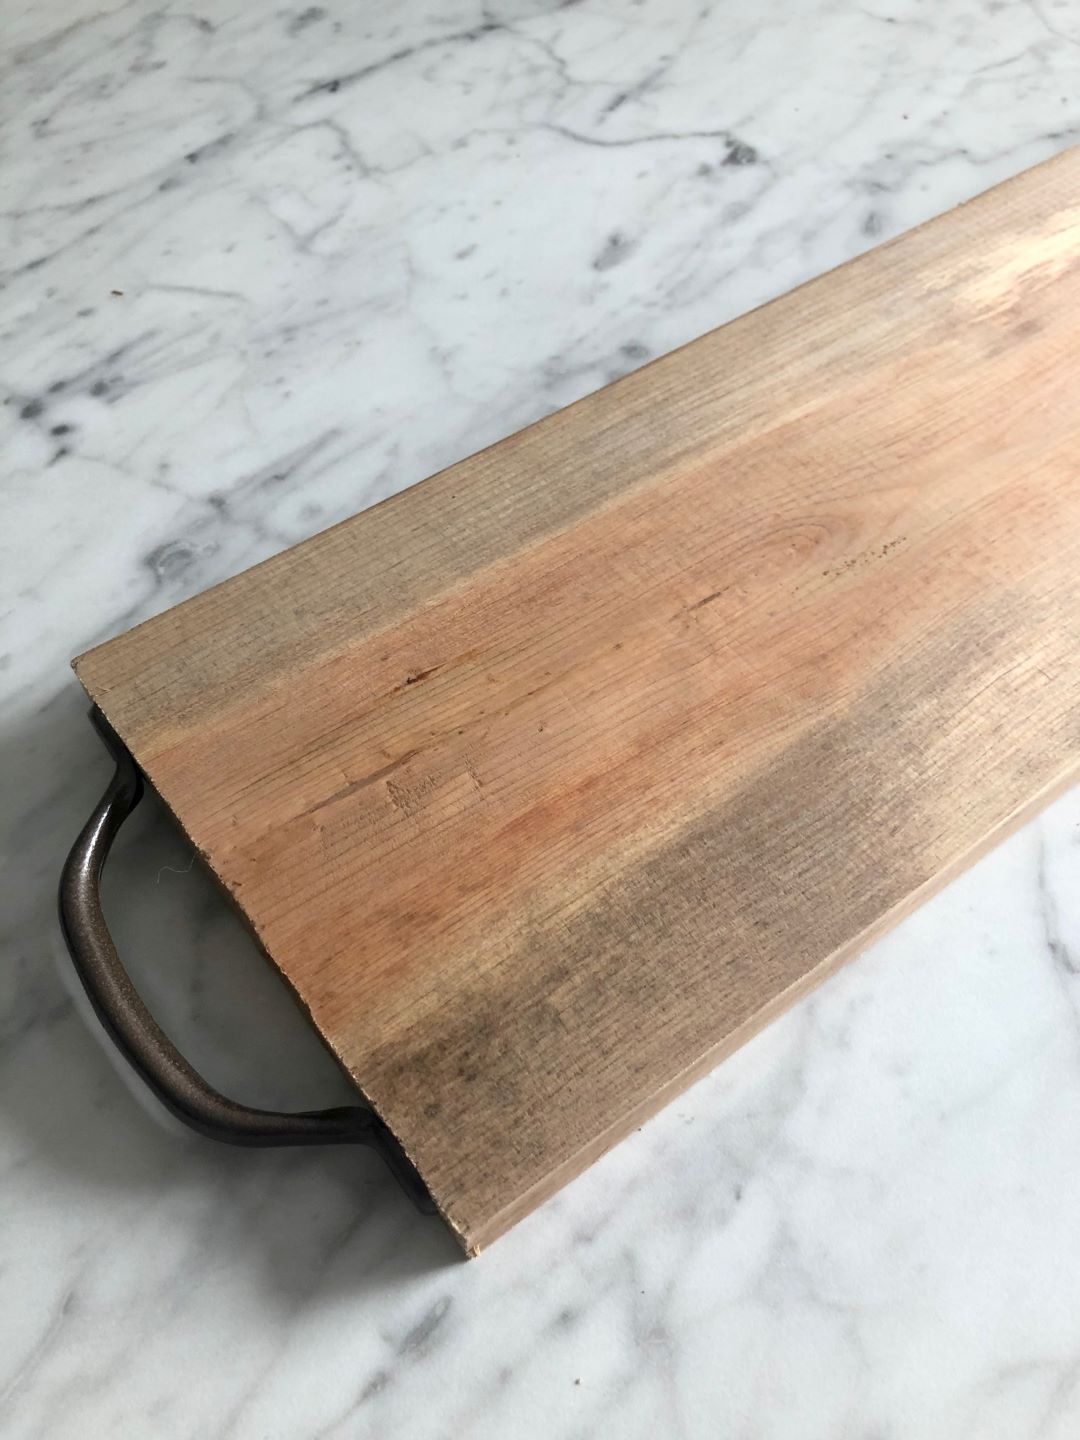
I found this GORGEOUS piece of red cedar (1×6) in our stash. It wasn’t as wide as I would have preferred but it was too nice of a piece to pass up. And did I mention it was free? With that said, you could definitely use a wider piece if that is what you prefer.
Before I could get use the board for this project, I needed to be sure the wood wasn’t treated. Thankfully, it still had a tag on it. The tag said it was Kiln Dried Red Cedar.
If you’re an expert on wood, forgive my ignorance. Even though I understood kiln-dried meant the wood was dried in a kiln (oven) I still wondered if any chemicals were used during the process. After reading several articles from forestry sites and Home Depot (where I bought the wood from), I found out that it basically means the wood is put in these large kilns (oven) which uses circulating heated air to remove the moisture out of the wood. And way down at the very bottom it stated in tiny print that no chemicals were used in the process! YAY!!
Now that I knew the piece of wood I had chosen was safe to use, it was time to put it all together!
(Affiliate Links are provided for your convenience. These are products we use and recommend. If you make a purchase through these links we will receive a small commission at no additional cost to you. You can read our full disclosure here.)
Materials/Tools
Pre-cut wood (I bought mine as is 1″x 6″x 5 1/2′) TIP: Home Depot will cut the exact measurement you want for free!
Drill
Vinegar
Creating a Charcuterie Board
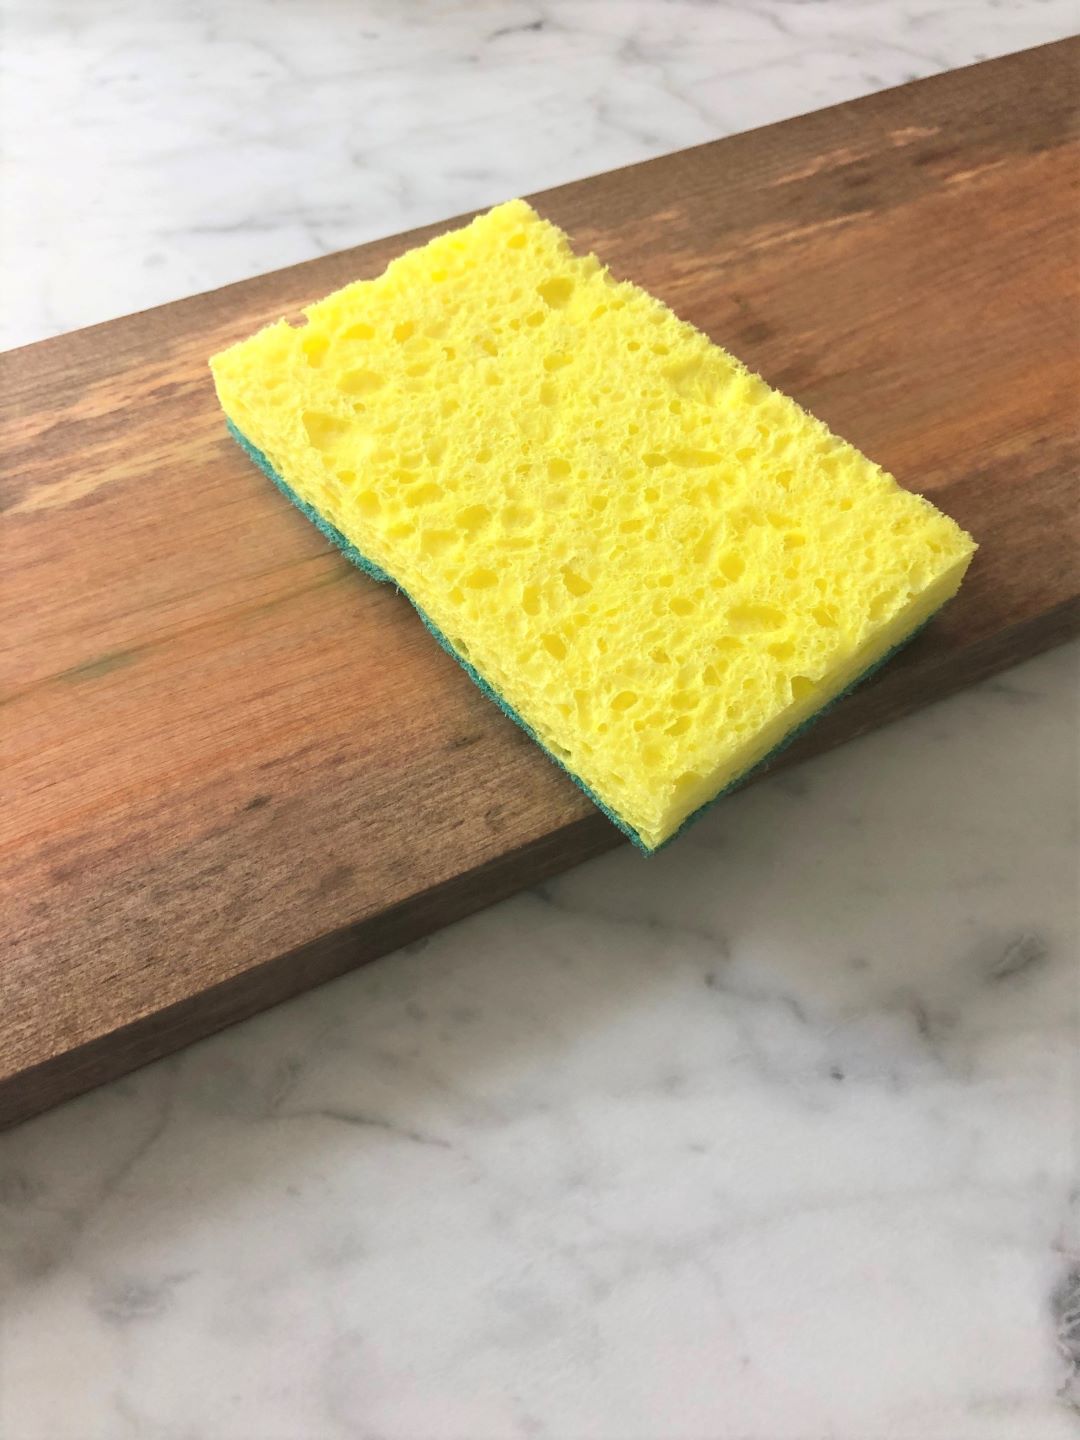
Step One: Clean and Disinfect your wood.
Now depending on your wood, the first step might be sanding. My piece was in good condition and didn’t need it. So instead I started by giving the wood a good scrubbing. The best cleaner and disinfectant for wood in my opinion is vinegar. It won’t discolor the wood like bleach or an all-purpose cleaner might. And because wood is so porous you definitely don’t want to use something toxic like that anyway. I used the scouring pad side of the scrub sponge to “clean sand’ as I like to call it.
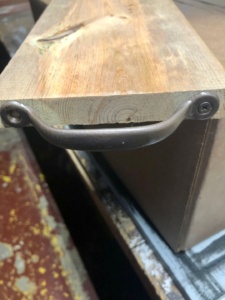
Step Two: Paint the Hardware
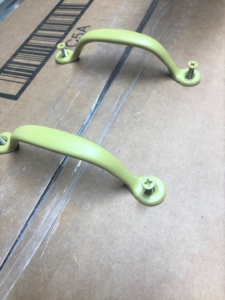

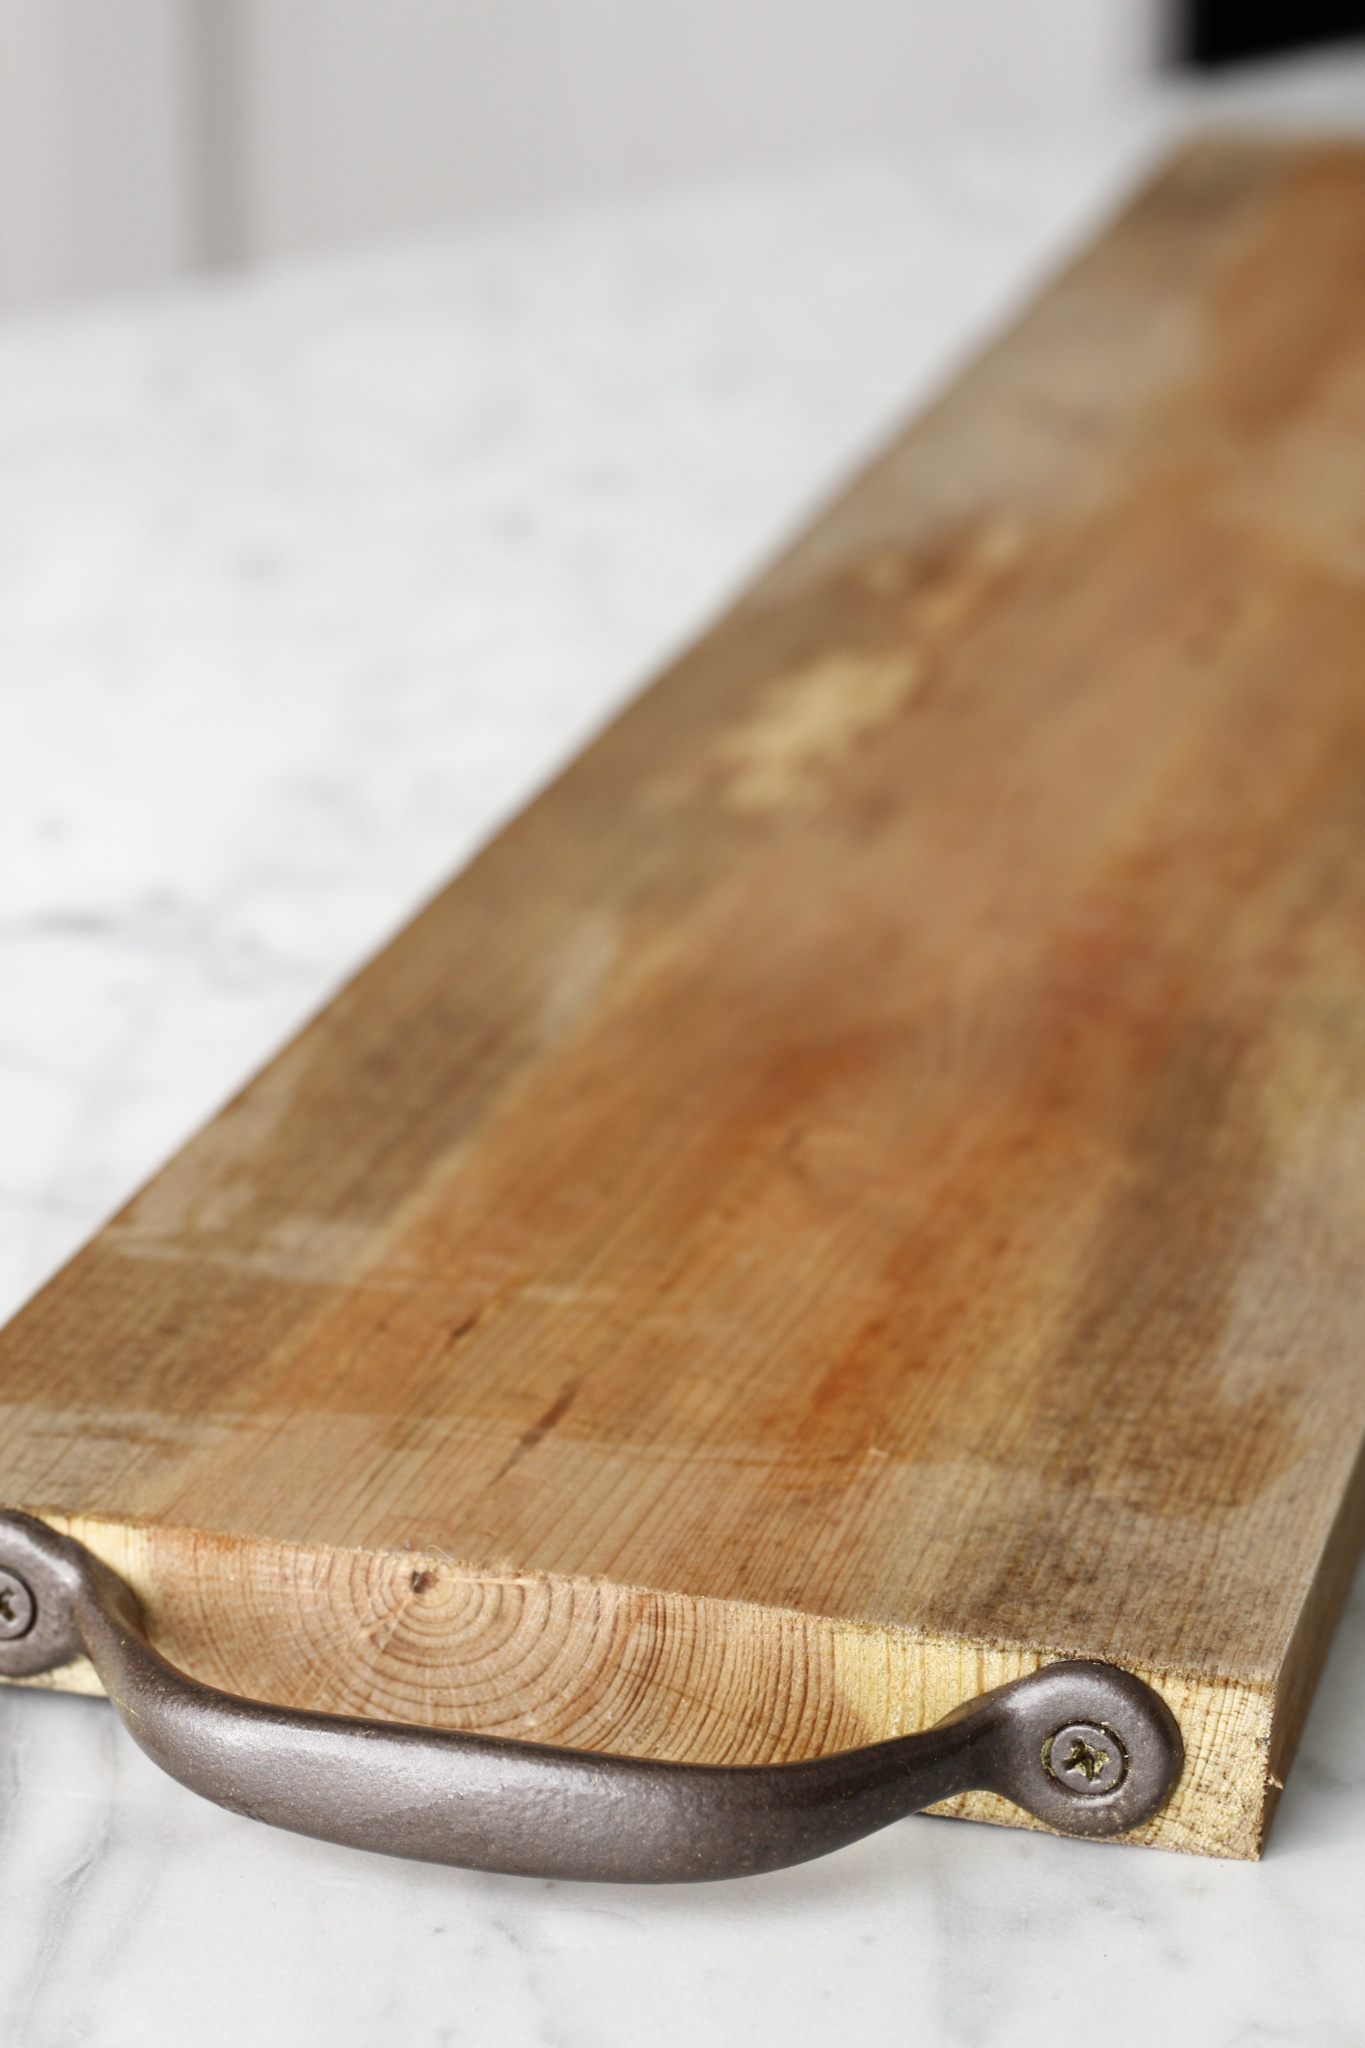
I had these drawer pulls on hand from another project we did (extras). Obviously green was not the color I was going for. LOL! You also can get them in bronze, black, silver, etc.(See above in materials.) I decided on bronze for mine because I love the look of that against the wood. TOTAL: Two coats (1 hour drying time in between)
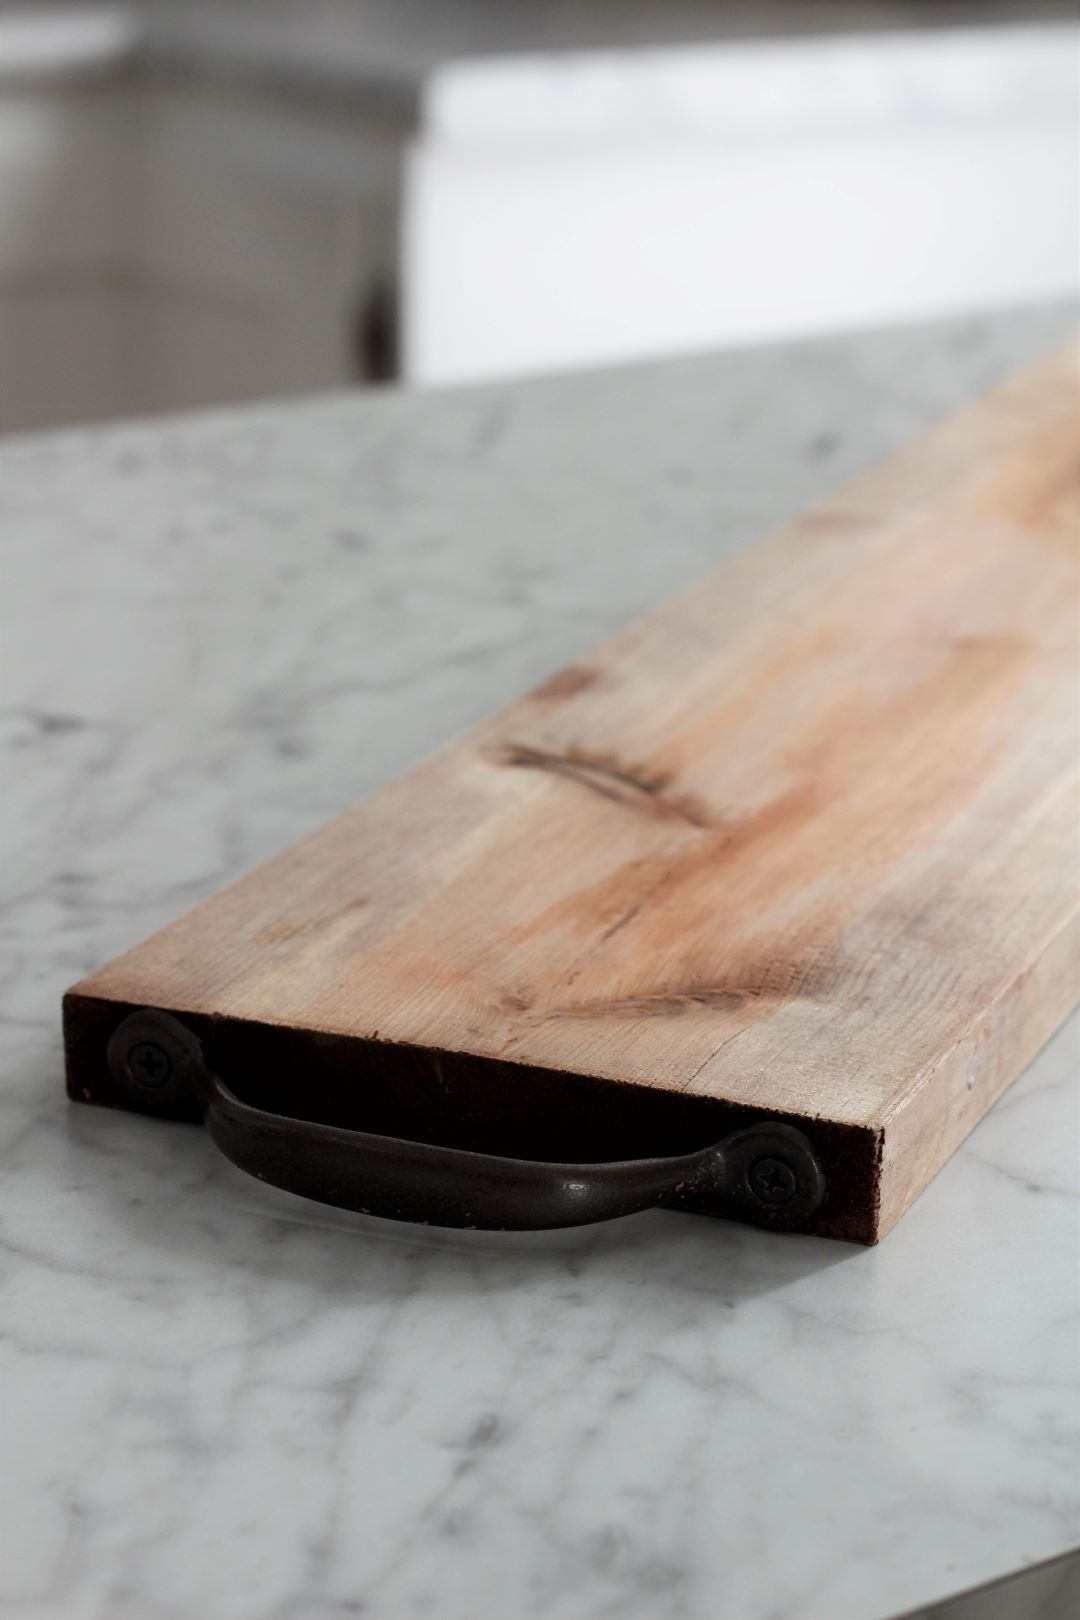
Step Three: Attach the hardware to your wood
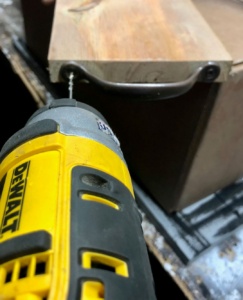
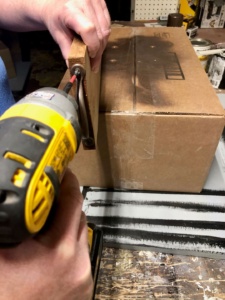
Once you have your hardware centered the most important thing to do in this step is PRE-DRILL your holes for the screws! It’s a must folks! Why? Because the last thing you want is to split your wood! By predrilling, you’ll prevent that.
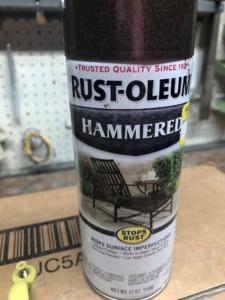
Step Four: Apply Sealer
I chose Butcher Block Oil to protect and seal my wood after doing a TON of research!!! There are several other options available that are also food safe. Shellac, Mineral Oil, Tung Oil, & Walnut Oil. Each of these is perfectly safe when dry so it’s entirely up to you which one you choose. You can see in the photo that it goes on clear so it won’t change the color of the wood.
It does require (like most of these sealers) time for curing. I let mine sit for 72 hours which was recommended.
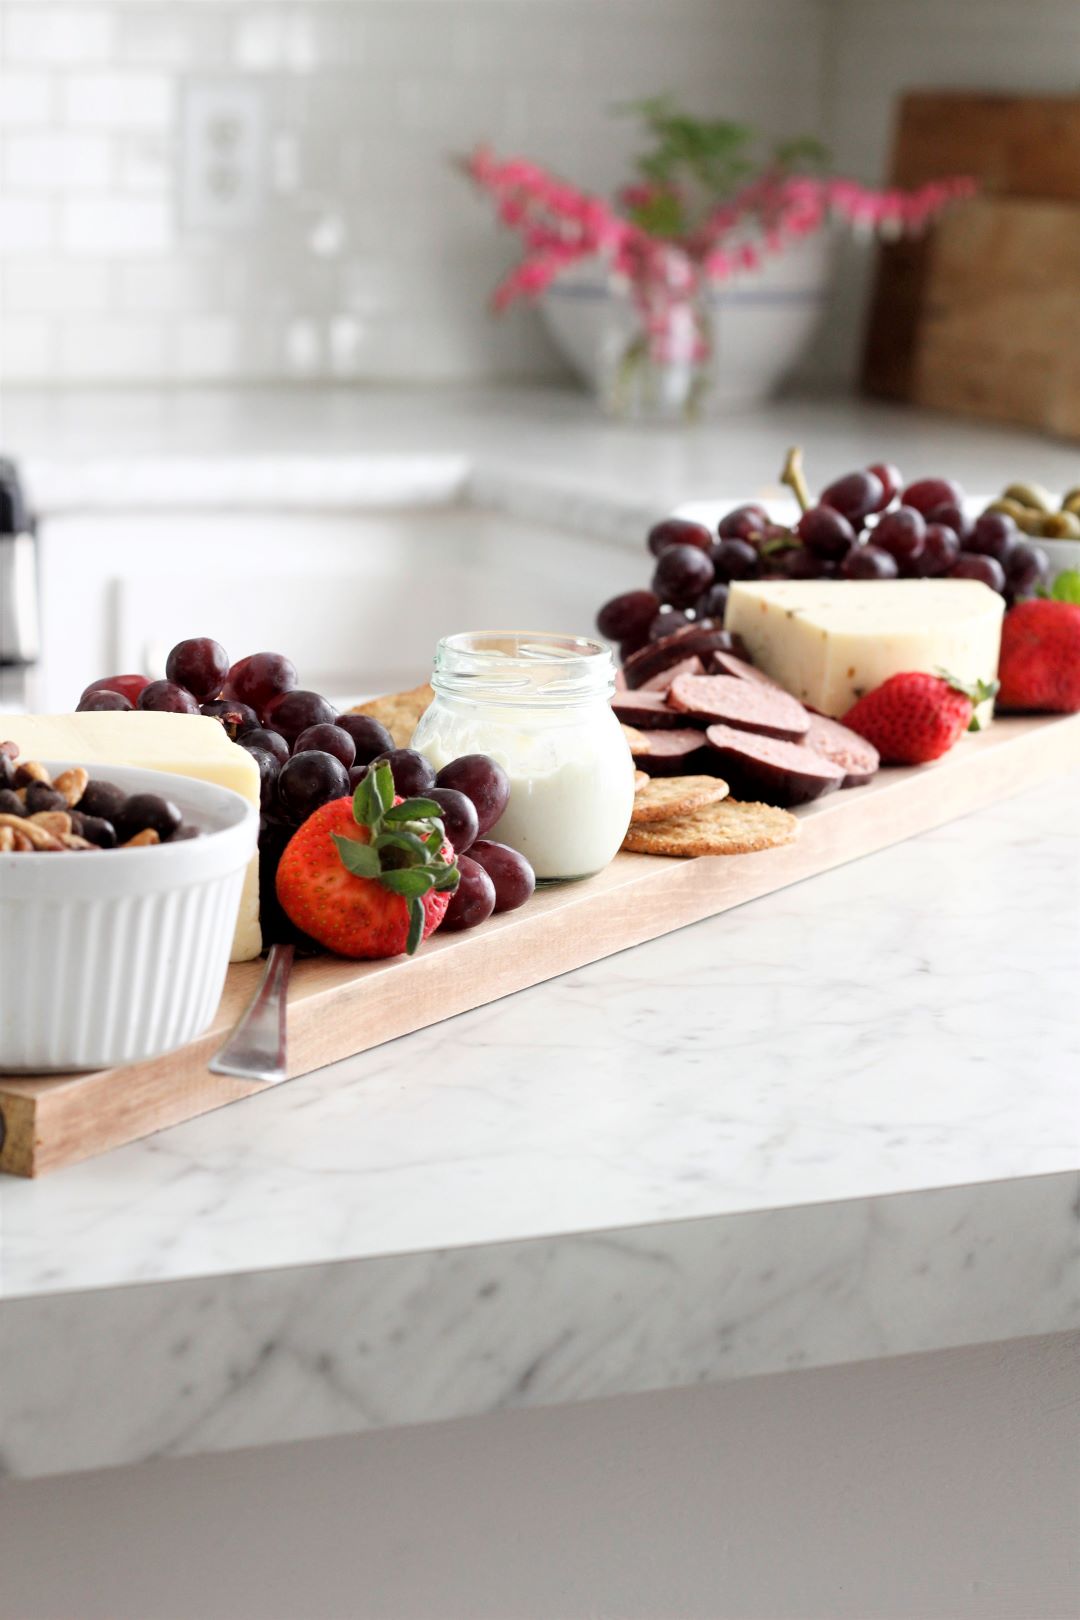
And that’s it! My Charcuterie Board is ready to use!
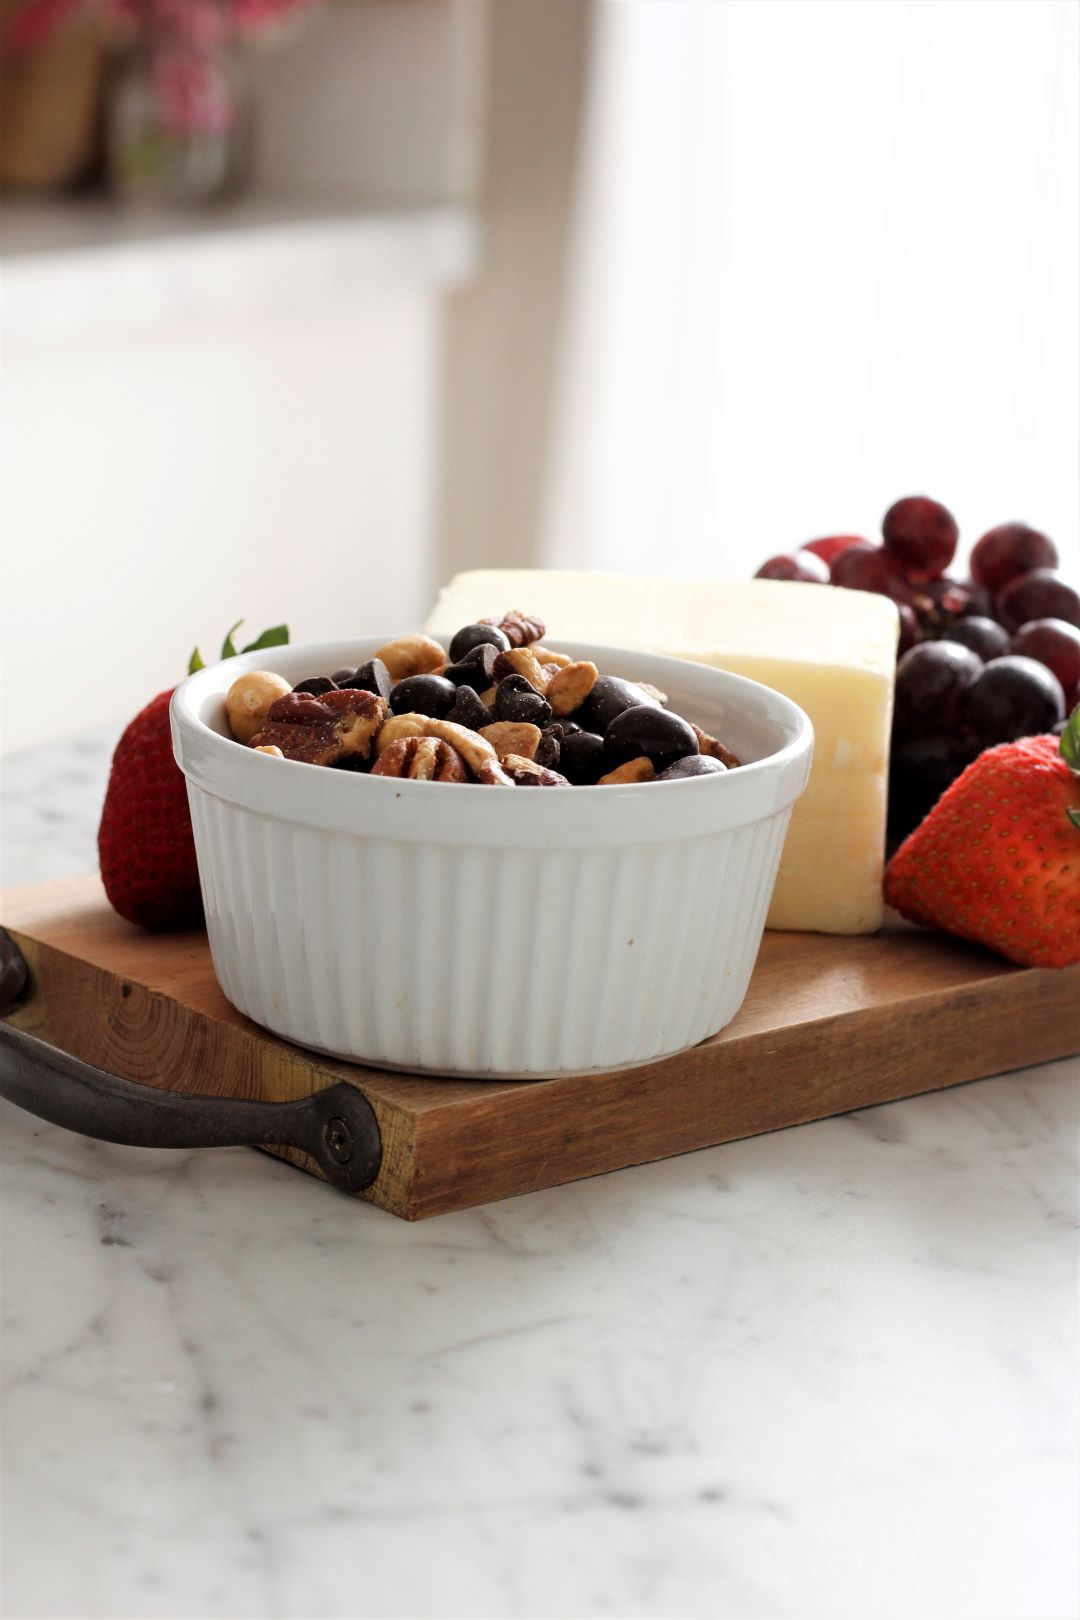
So this past weekend Micheal and I had one of our ‘appetizers for dinner’ nights and I filled it up with some of our favorites!
It was the PERFECT size for goodies in bowls and out. Things like our favorite cheeses, smoked meat, nuts, grapes, berries, and crackers too!
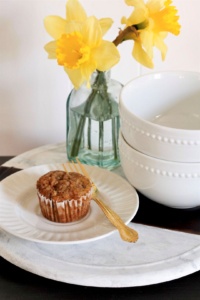
This weekend I think I’ll load up our Charcuterie Board with breakfast stuff!
Since I already had everything but the Butcher Block Oil, my total cost for this project was $12.98! That’s a savings of around $22 from the inspiration piece!
Woot! Woot!
I hope today’s post inspires you to create your own Charcuterie Board!

Check out these other Knock Off DIY’s for even MORE inspiration!
Thank you so much for stopping by!
Stay Well!


I think your rain is coming our way for the weekend ad I’m dreading it because we’re headed to the property for the weekend.
Loving this project – this could work in my limited space perfectly. Having the handles at the very end is also a neat twist.
You’ve got me thinking about making something that’s dual purpose… Hymn, need to keep thinking on this idea…
Have a great weekend and it’s always fun to see what you’re making also – looking forward to how you plan to sell the house.
Hugs,
Carole
Thank you so much, Carole! Yes, we have more rain this weekend too! UGH! This project was a fun one for sure and now I’ve got people asking me to make them for gifts! Woot Woot! Have a great weekend! Hopefully the sun will shine some of the time while you’re at the property!
This came together so beautifully, Christine! I love the hardware you chose and the wood is gorgeous too. We use ours all the time and in every season too so I know you’re going to get lots of use out of this beauty! Well done! Hugs, CoCo
Thank you so much for the kind words and encouragement, CoCo! I really lucked out on that wood! I’m planning a breakfast board for Sunday and I can’t wait! Have a blessed rest of your day!
This is so neat! I never realized there were only 3 types of wood you could use for serving trays. That’s very helpful! Also sealing the wood with something safe for food. I love this!! And your hubby thinks like me. If I see something I love but it’s expensive, I think, “I can make that for cheaper!” haha!
Oh I’m sure there are other woods you could use besides those three, Michelle, but they were the top ones that came up in my research for sure! Usually it’s me that always thinks I can make it for cheaper, LOL! This time he beat me to it! Thanks so much for stopping by, sweet lady! I hope you have a fabulous holiday weekend!
Your charcuterie board is beautiful, Christine! I have long wanted to make some boards like this…thanks for sharing your tutorial!
Thank you so much, Linda! I’m so glad you enjoyed the post! It was a fun project and you’ll love the end result!
I always wanted to make one of theses but didn’t know what to oil it with. Thanks for the steps to create one. Looks amazing!
Thank you, Terrie! I’m so glad you like it! This was definitely a fun project!
Was the finished board really 5 1/2 feet long? Or did you cut it shorter.. looks beautiful!
Hello, Tina! LOL! My aplogies I should have been a bit more clear. That was the board I started out with- cut it to size. It’s been awhile since I did that project but I think I made mine around 30 inches or so. I hope that helps! Thanks for the question! Happy DIY’ing!