
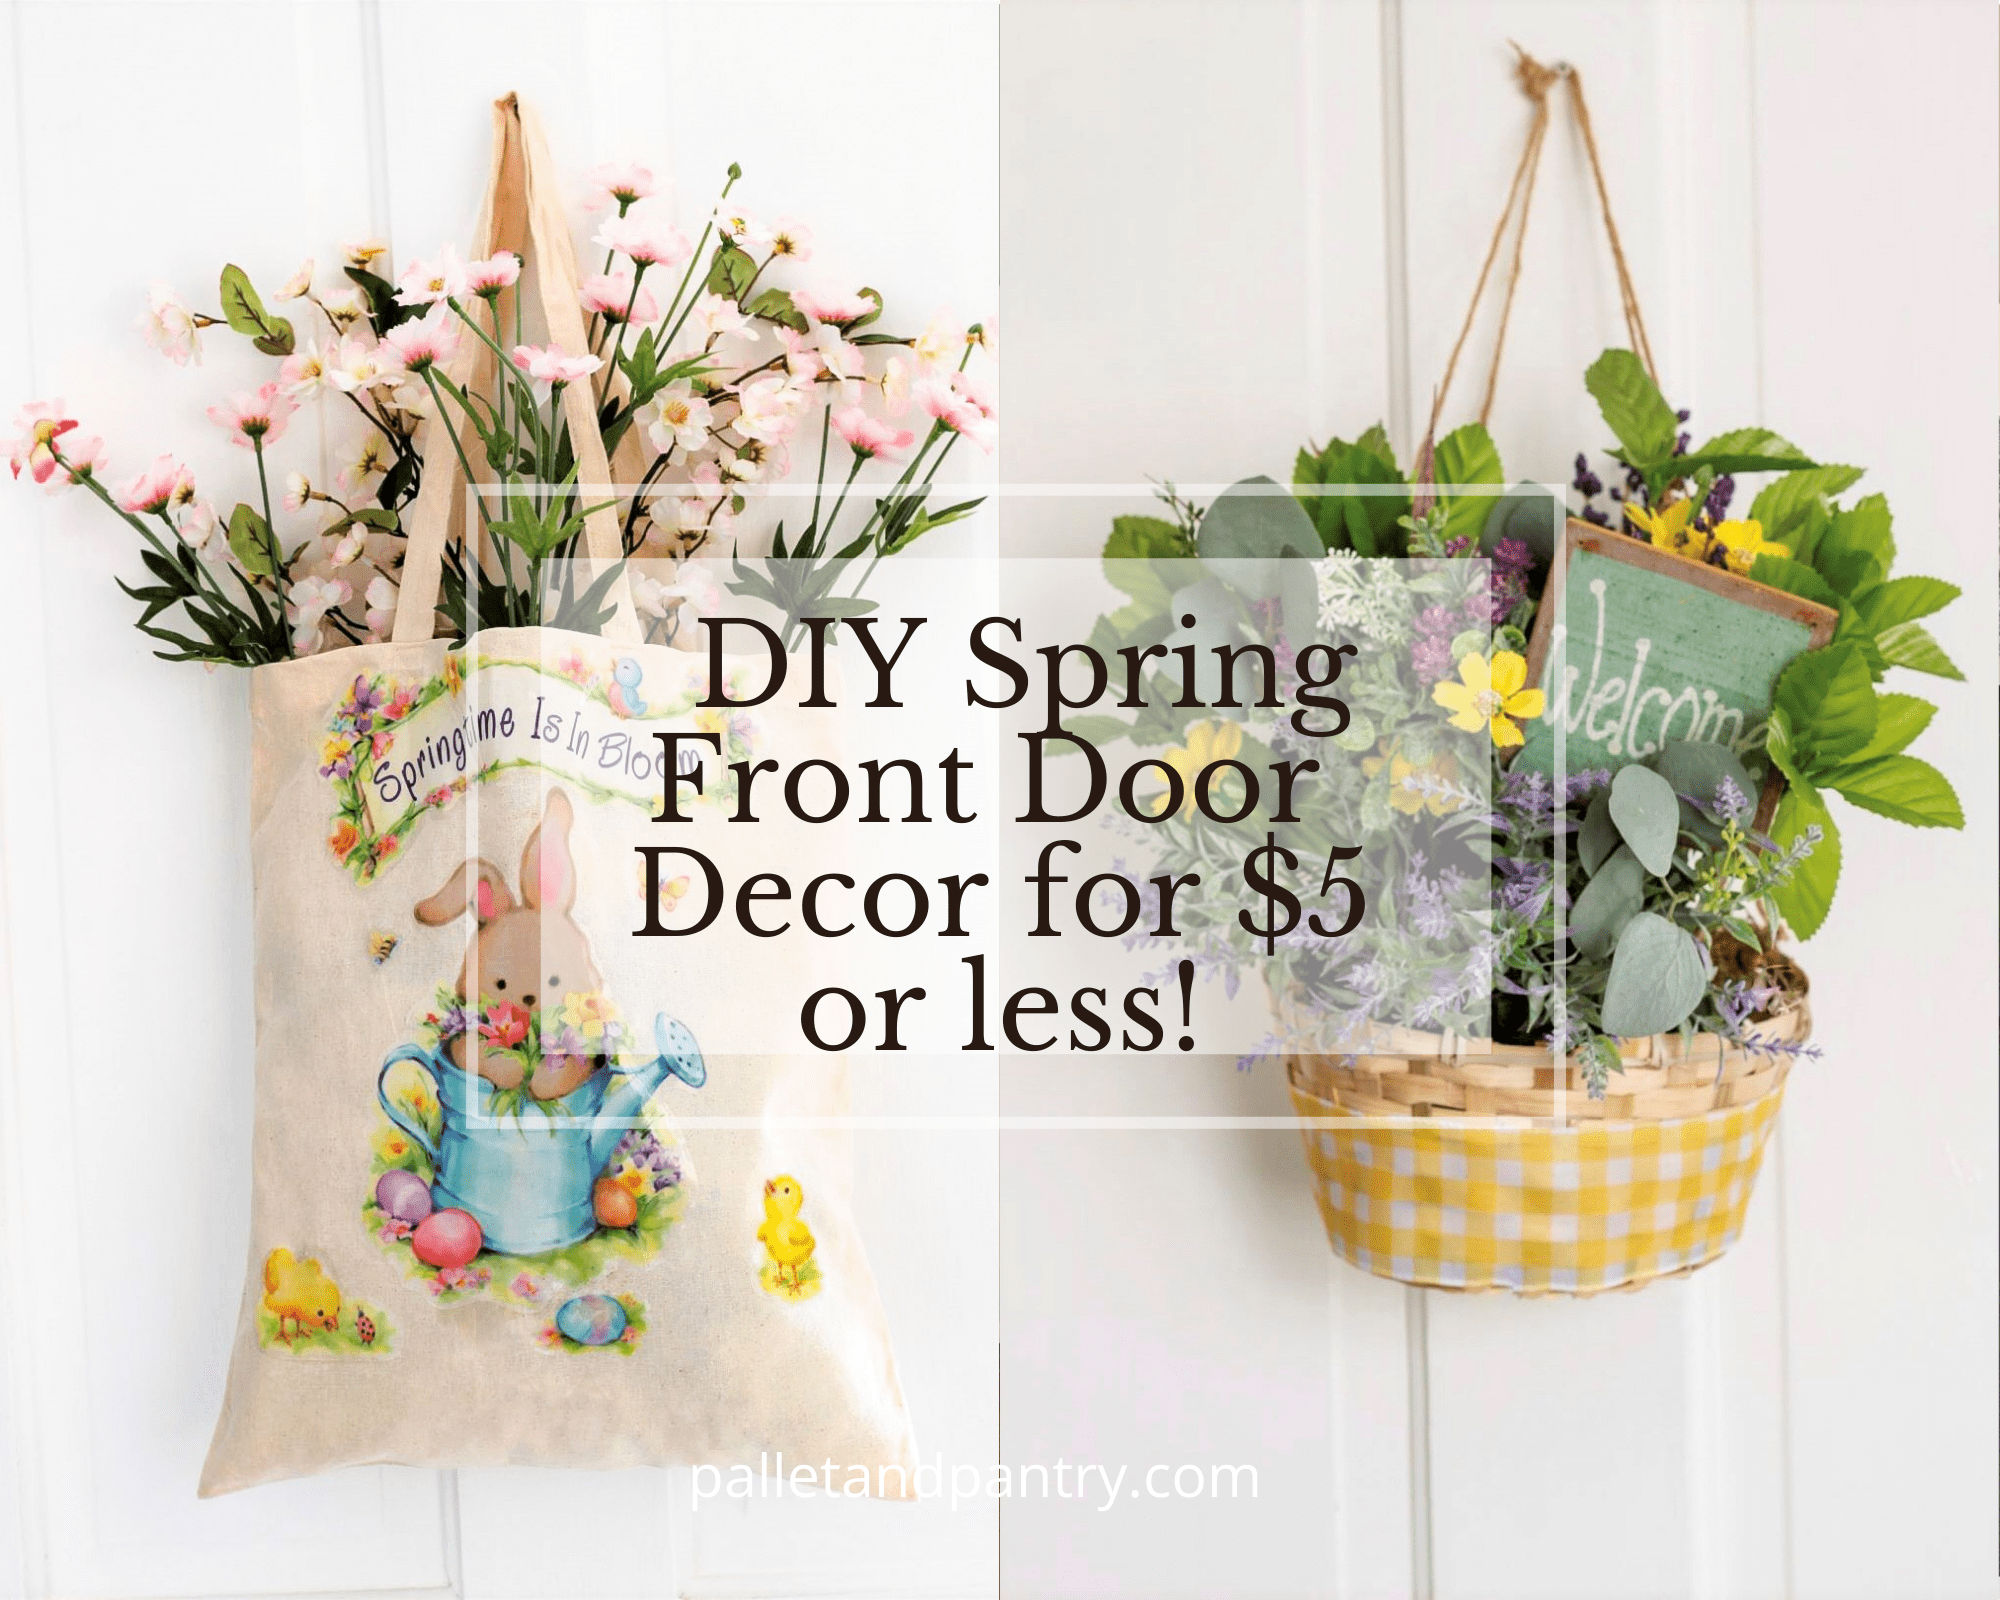
DIY Budget-Friendly Spring Decor for Your Front Door & More!
create DIY spring decor on a budget that is so versatile you can use it in at least three different ways in your home!
Hello, sweet friends and welcome to a DIY Friday!
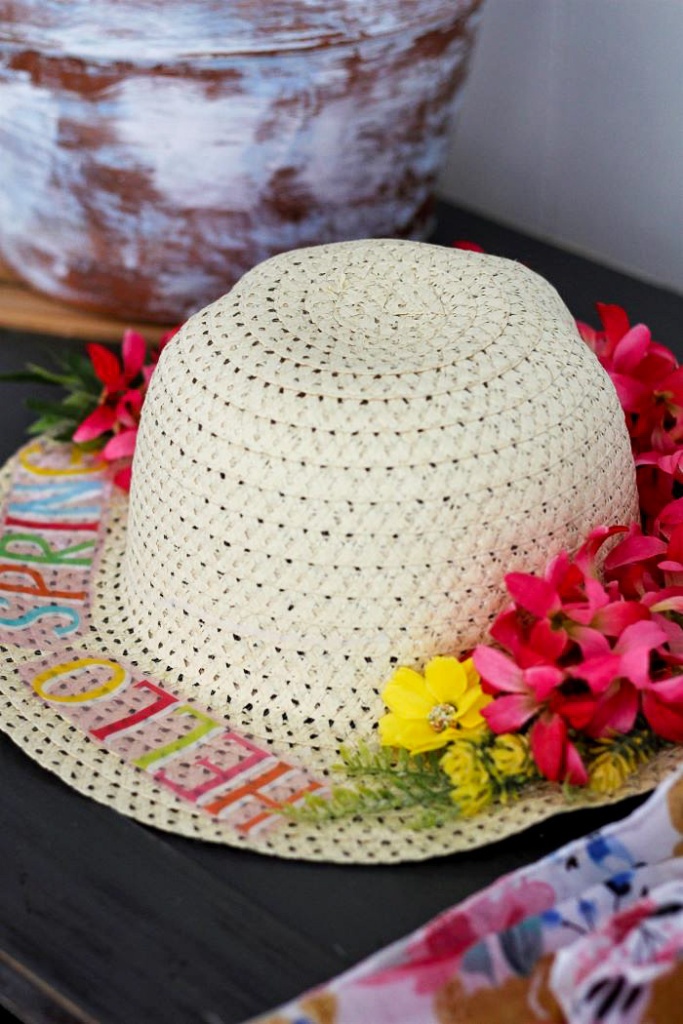
If you follow along you’ll remember last week I shared a DIY Spring Straw Hat! The hat could be used to brighten up your front door or really any room in your home!
I just LOVE decor that has that kind of versatility. It allows me the flexibility to move and change out my decor whenever the mood hits me.
And trust me when I say, it hits me a LOT! So whenever I get bored I just move my decor around (instead of always buying new)!
VIOLA-I FEEL better and my home LOOKS better.
That’s a win-win! Am I right?
Speaking of a win-win…Today I have not just one, but TWO DIY’s that I just know you’re going to love!
Why? Because they involve that B word we all love (budget-friendly)! They are also so versatile that I’m going to share three ways you can use them once we’re done creating!
So let’s get started!
The first DIY project started out with this adorable Easter basket that I picked up at our local Dollar Tree!
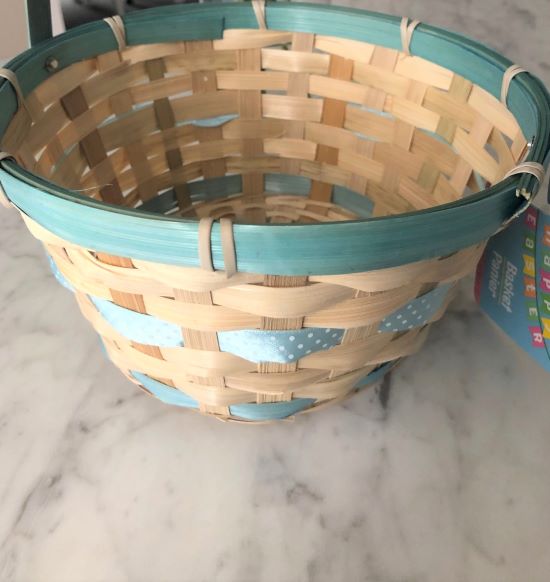
I don’t know if you’ve noticed but baskets aren’t cheap nowadays! Even some thrift stores are charging higher prices because they are so popular right now! Now, this cute little basket might not be exactly what I was looking for, but it was a $1 folks and with a few adjustments it CAN be changed quite easily.
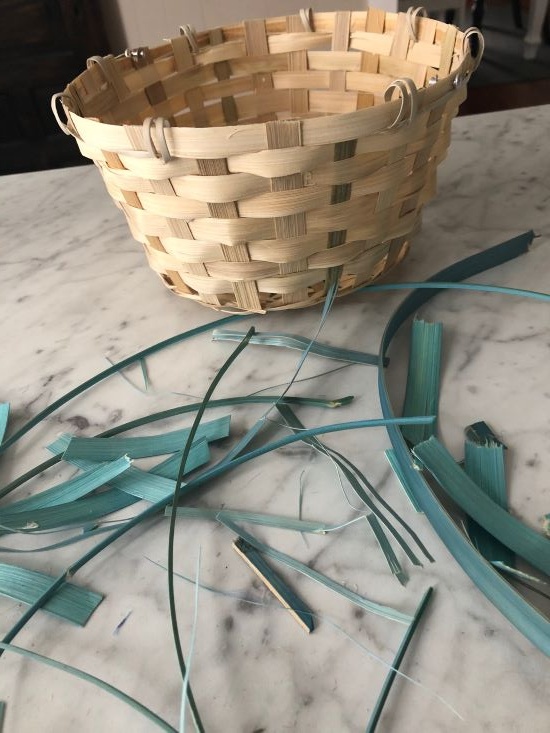
First, I removed that pretty blue ribbon which I plan to keep for another project. Then I removed all of the robin’s egg blue pieces! When I was done all that was left was a plain neutral basket, which is exactly what I was looking for. It was still quite sturdy (even after removing those pieces) and ready for what I had planned!
OTHER MATERIALS NEEDED:
(Affiliate links are provided for your convenience. You can read our full disclosure policy here.)
- Basket (Here are similar baskets)
- Faux Flowers
- Jute
- Scissors
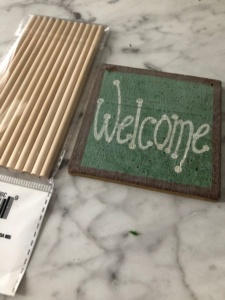
- Welcome sign (Optional)
- Wood dowel
- Wirecutter
- Ribbon
- Fabric Adhesive
- Glue Gun/Glue Sticks
HOW TO CREATE SPRING BASKET!
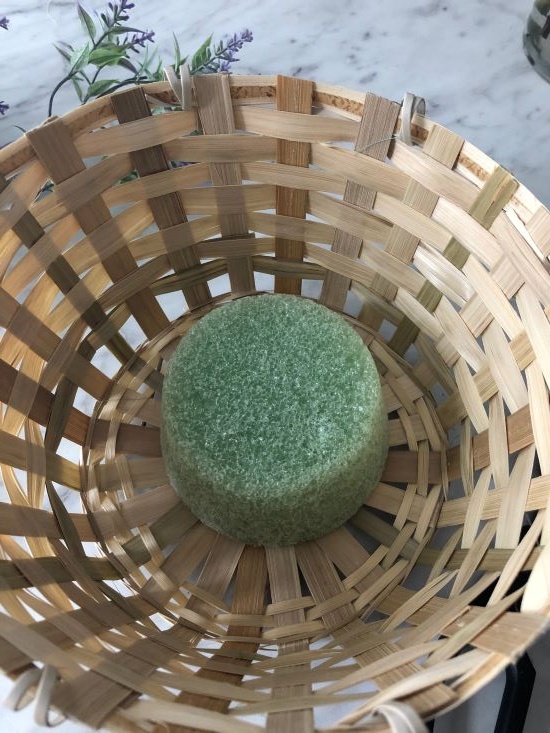
As you can see my foam piece was a bit small for this basket. But I already had it on hand so I used it anyway. TIP: Buy a large piece of foam and cut it to size!
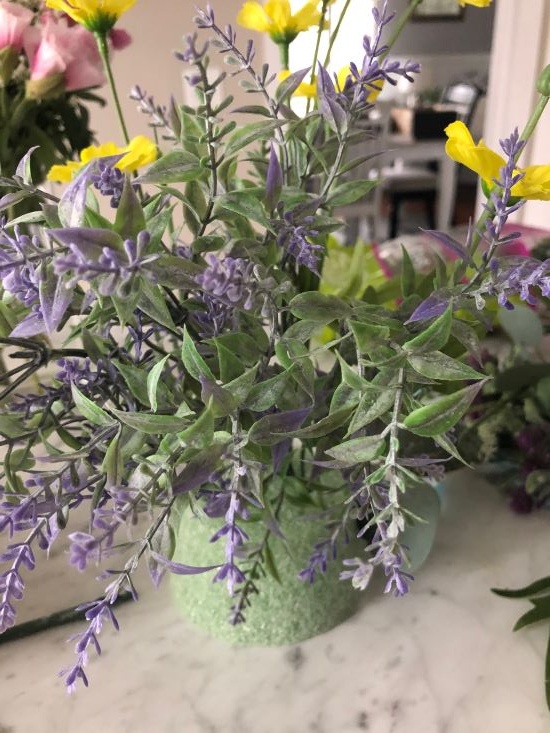
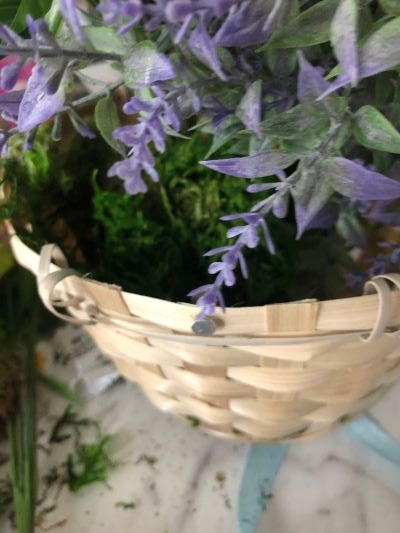
My stems were all different lengths so I used a wire cutter and cut them all down to the same size. Then I just arranged them as I wanted and stuck them into the foam. I used a mixture of two colors of lavender (dark and light) some yellow flowers (no clue what they are) and some recycled leaves from my straw hat project.
Once you have your foam filled with flowers just set it inside the basket and fill it in with moss to cover up both the foam and the faux stems.
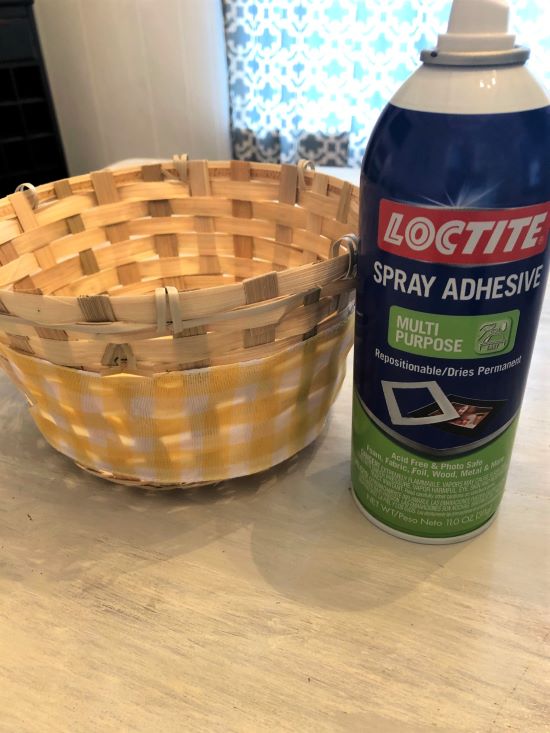
As an afterthought, I decided my basket was too bare so I attached this pretty yellow gingham ribbon using fabric adhesive. This required having to remove the moss (messy) and foam with the flowers, but oh well! (Please tell me I’m not the only one who creates more work for herself doing these projects!)
TIP: This adhesive dries quickly so work fast. Also, it smells so use caution and in a well-ventilated area!
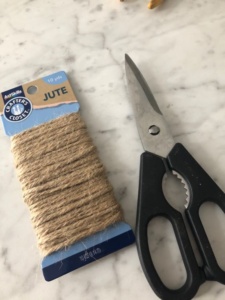
Once I had the basket re-filled it was time to add jute string for hanging. (Sorry I forgot to take a photo of this step but it’s pretty simple.)
Run the loop through the top loop (front) Tie off. Do the same in the back and both sides. Bring each together and tie to create a hanger.
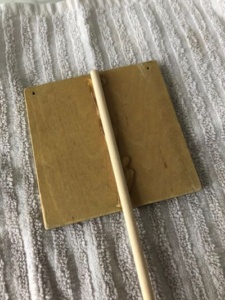
Create your welcome sign! I had this one but you could easily make one with a piece of scrap wood and some paint. I simply attached it to a dowel with glue and stuck it in my basket.
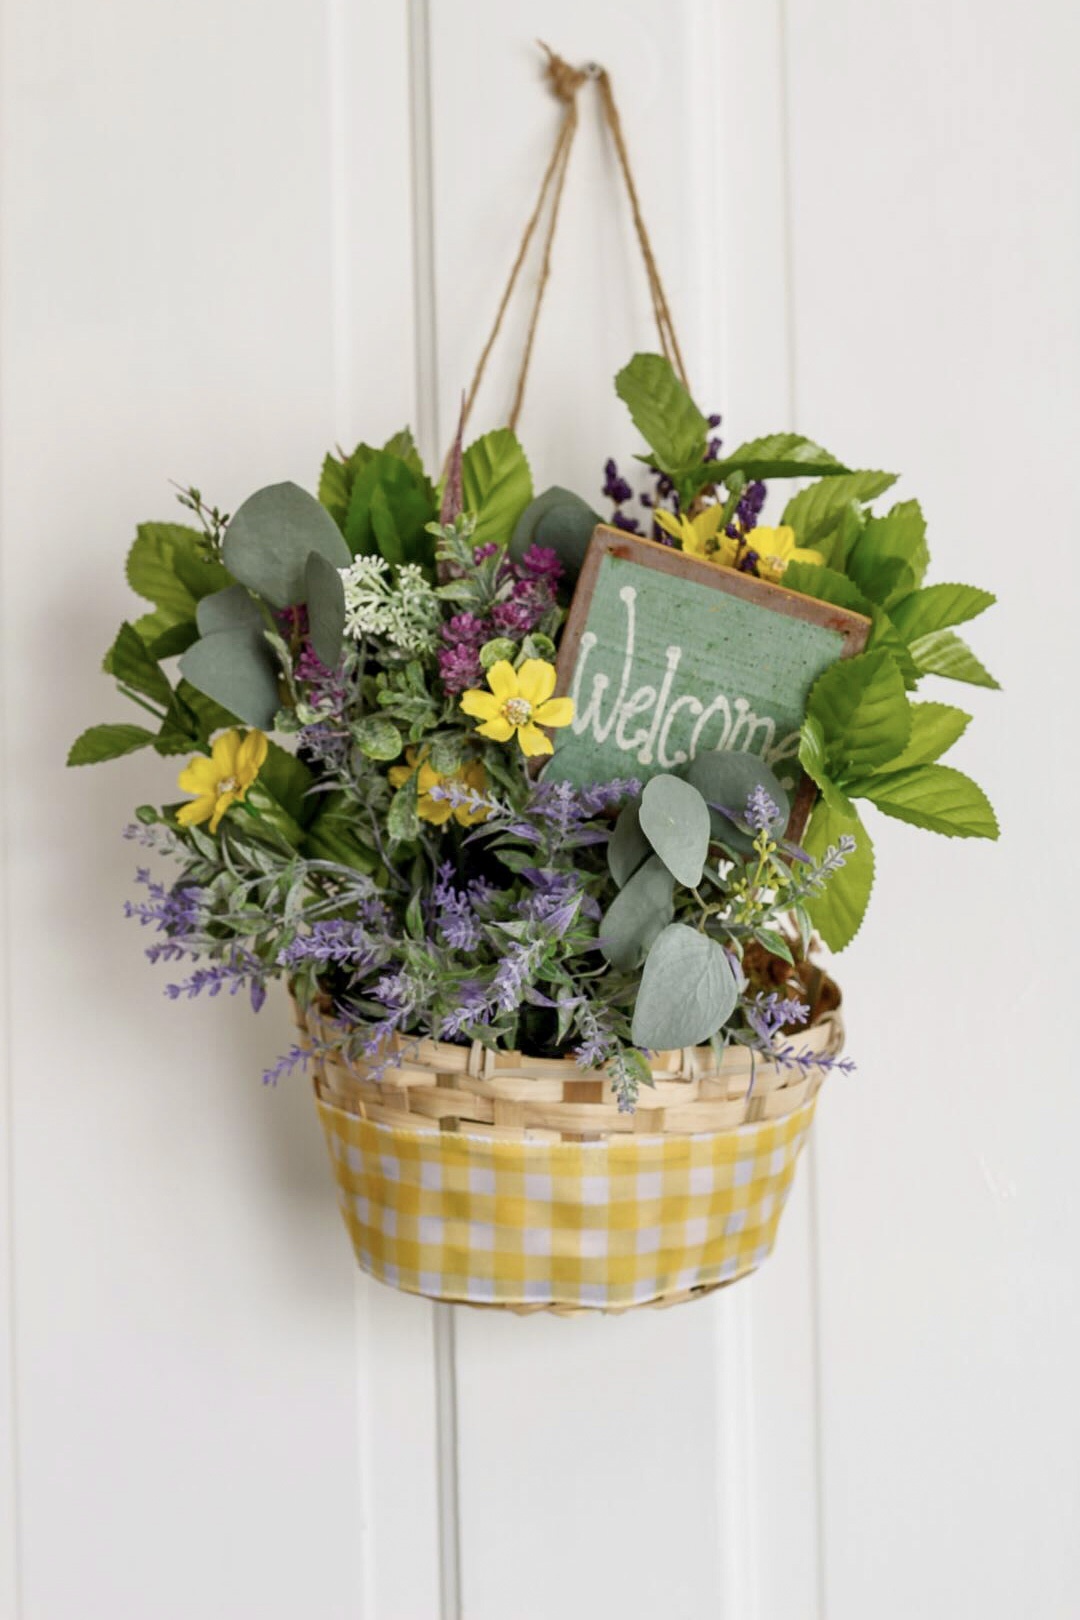
Now I promised I’d show you three ways to display each project so here is the first! The basket will hang perfectly on your front door as a pretty welcome to your family and friends!
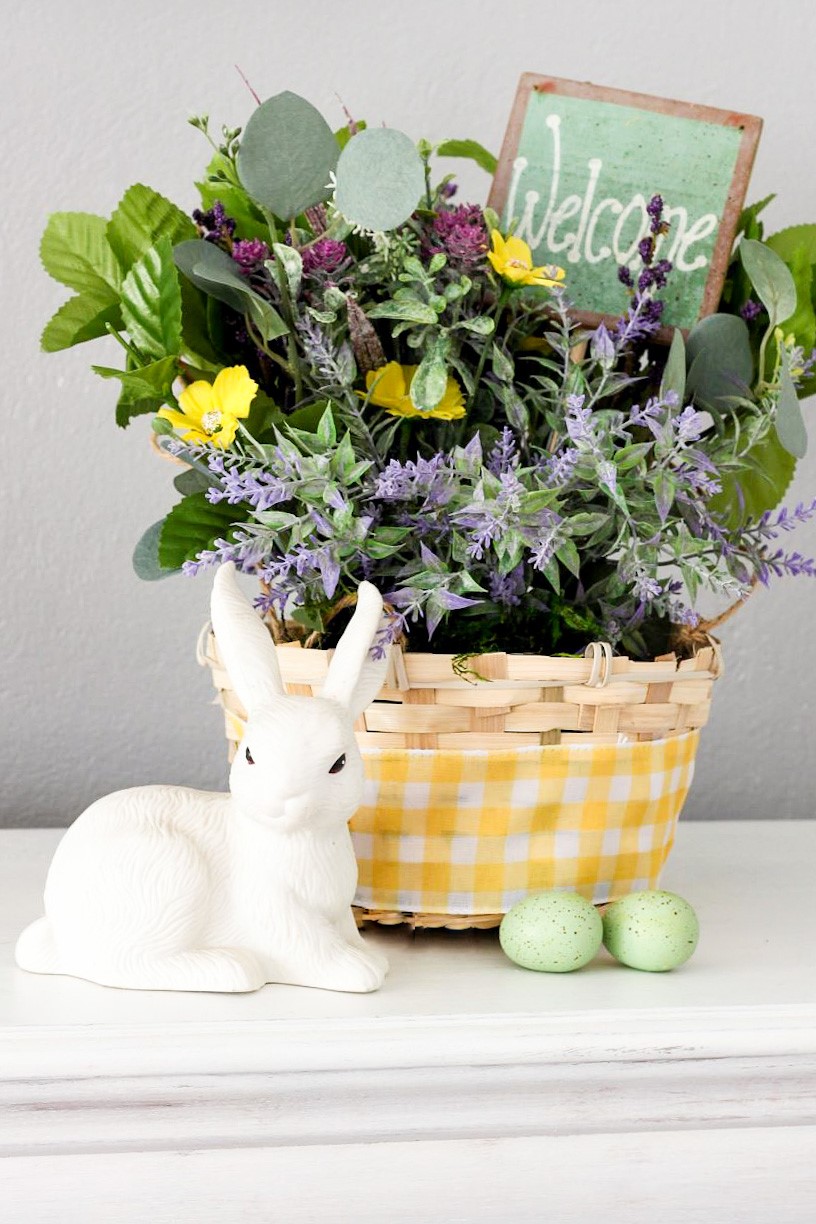
Display it on your fireplace mantel, front entry, or coffee table! Add a few Easter pieces and you’ve got a cute spring vignette for any room in your home!
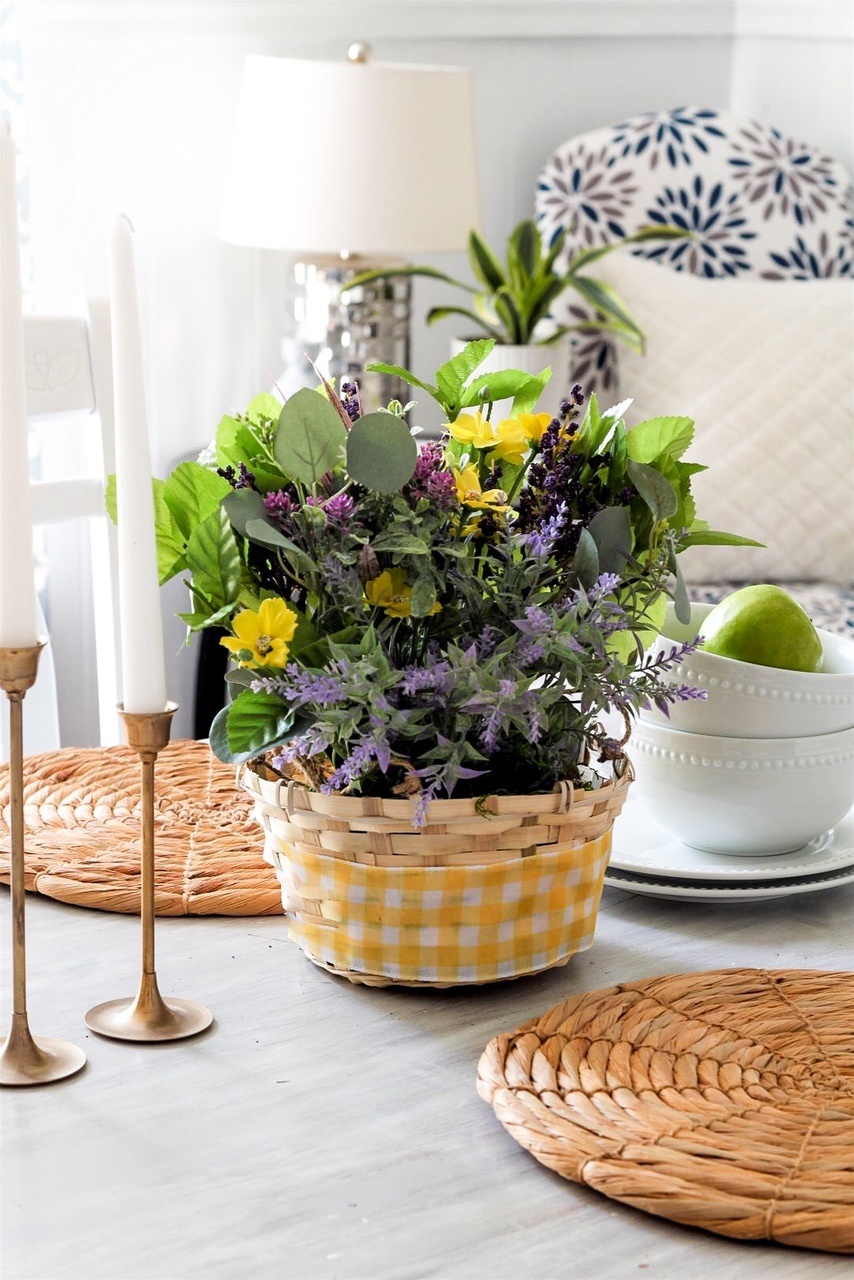
Your new spring basket will make the PERFECT centerpiece for Easter or all season long!
You could even switch out the flowers and ribbon and repurpose it for summer!
Okay, now onto DIY #2!
Which started out with this canvas tote I picked up for $2 at our local Dollar General. (These are similar)

OTHER MATERIALS NEEDED:
- Window Clings
- Iron
- Spray Fabric Adhesive
- Filler (You can also use empty plastic store bags)
- Faux Flowers
So remember those signs I made last fall using window clings? Well, they turned out so wonderfully that I decided to try it on another material. This inexpensive bag was perfect! The best part was if it didn’t turn out I always had this side with my favorite wording so I could still use the bag!
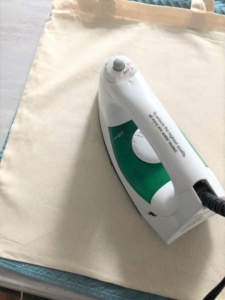
My bag was REALLY wrinkled so I ironed the side I wanted to use. This is totally optional but I just thought it would make adhering to my window clings a bit easier.
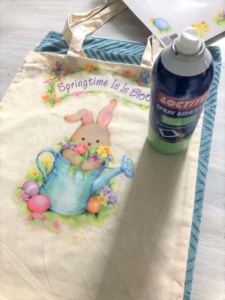
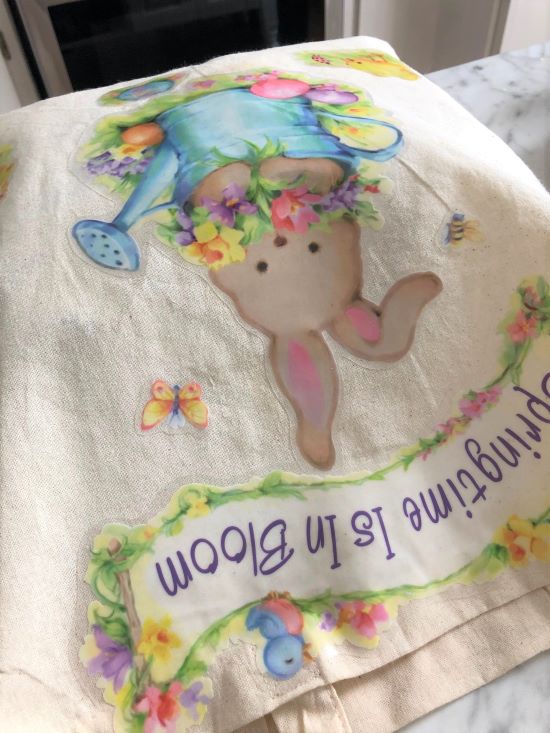
Once I had the surface pretty flat I laid out my window clings. This sheet had 16 which was WAY more than what I needed so I’ll save the others for another project. Sidenote: Isn’t that bunny just the cutest!!! Now I don’t normally decorate for Easter but I couldn’t resist this adorable scene, but you could totally change it up with other fun clings!
Adhere your window clings with spray fabric adhesive.
Just turn your window cling over and spray a light coat of the adhesive on. Lay it down where you want on your canvas and press firmly. After about a second or two, take a clean cloth and run it across the cling to smooth it out. Repeat this step until you have all of your clings glued down.
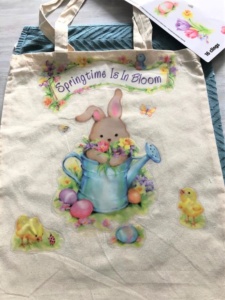
Allow the window clings to dry completely. (About 30 minutes)
To make the bag look fuller I stuffed it with a bunch of plastic bags (the ones you get at the grocery store). Then it was time to fill the bag with pretty flowers!
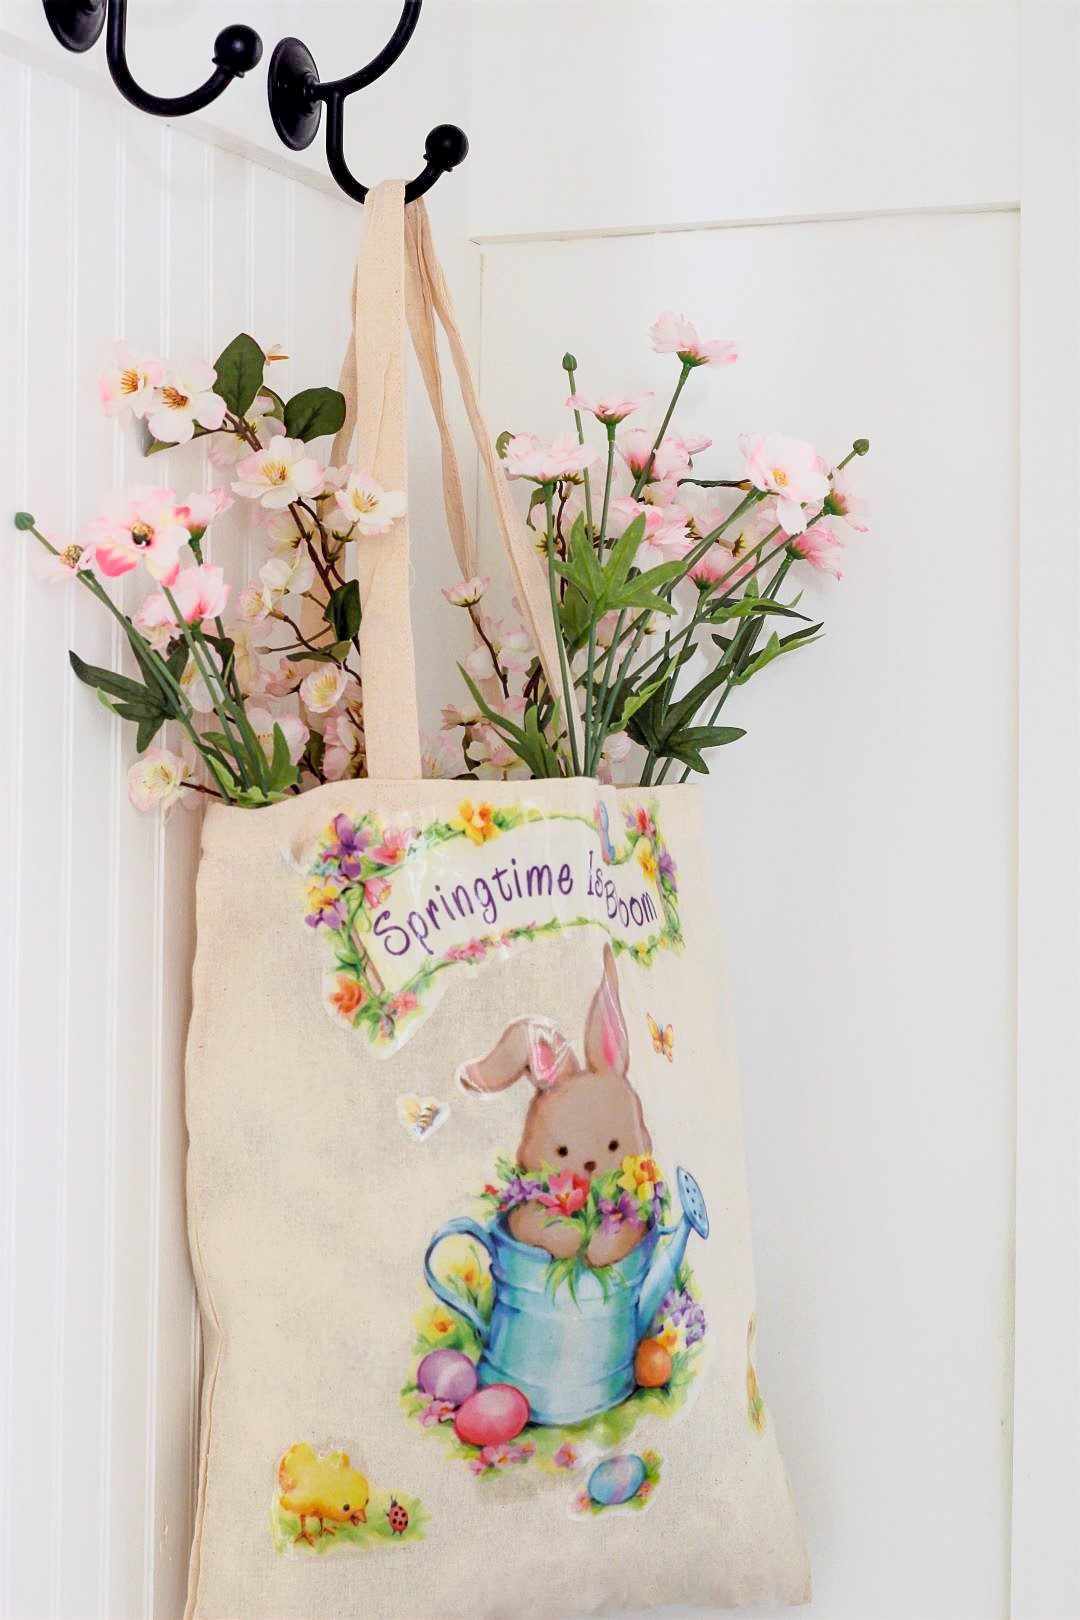
Then it’s just a matter of where to hang this SWEET bag! Entryway or mudroom?
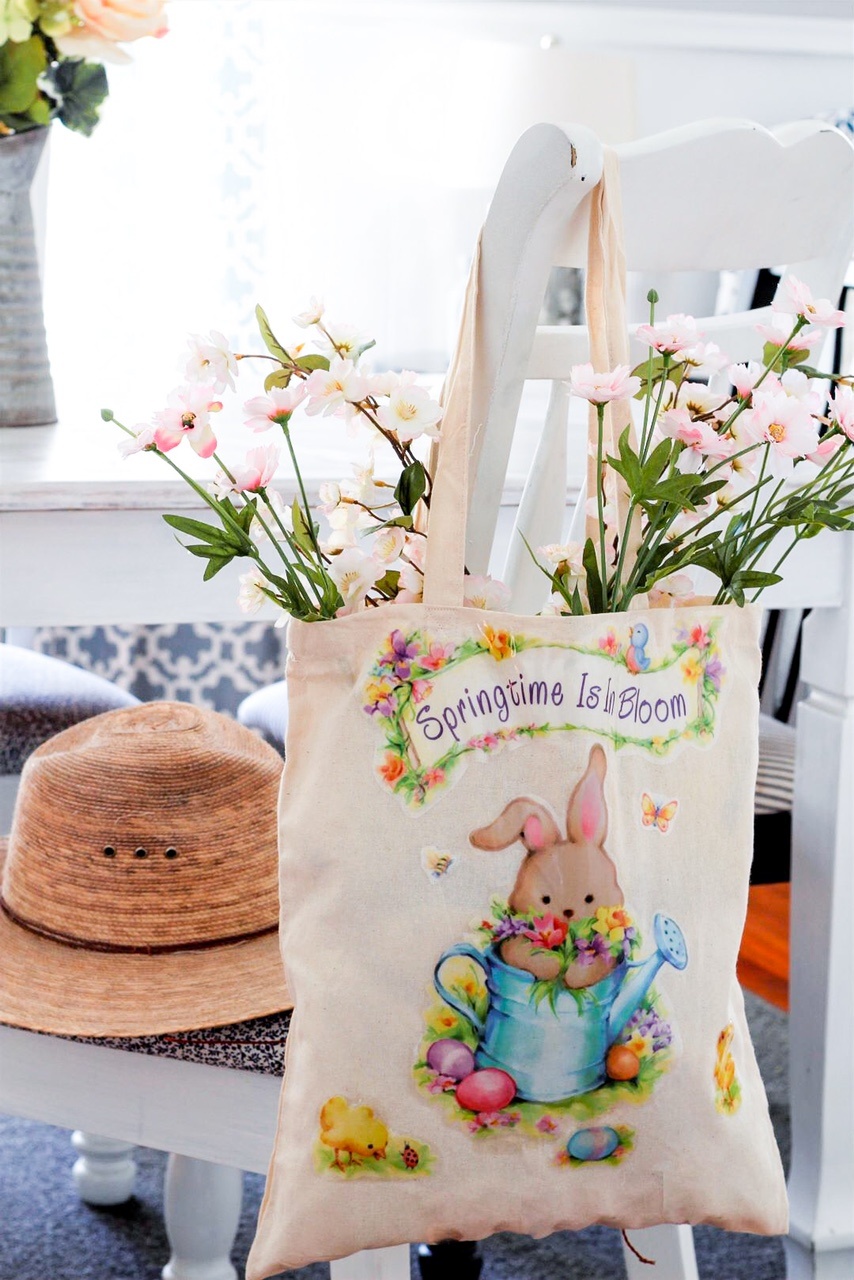
How about casually over a chair or doorknob?
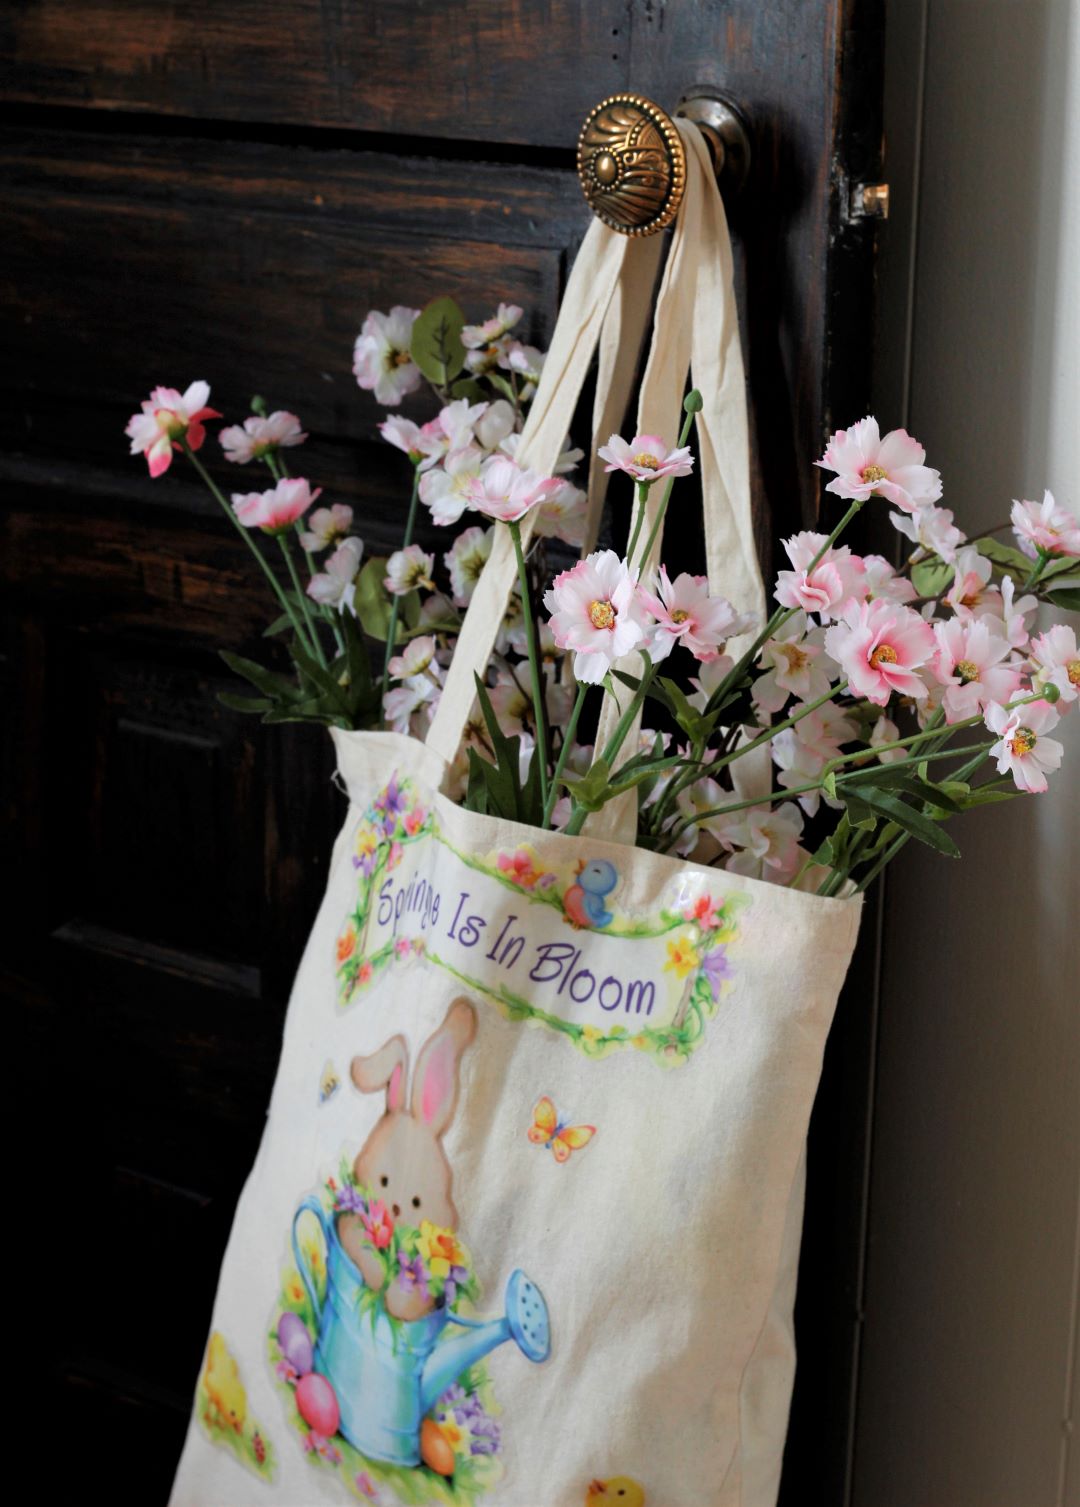
Or my favorite…
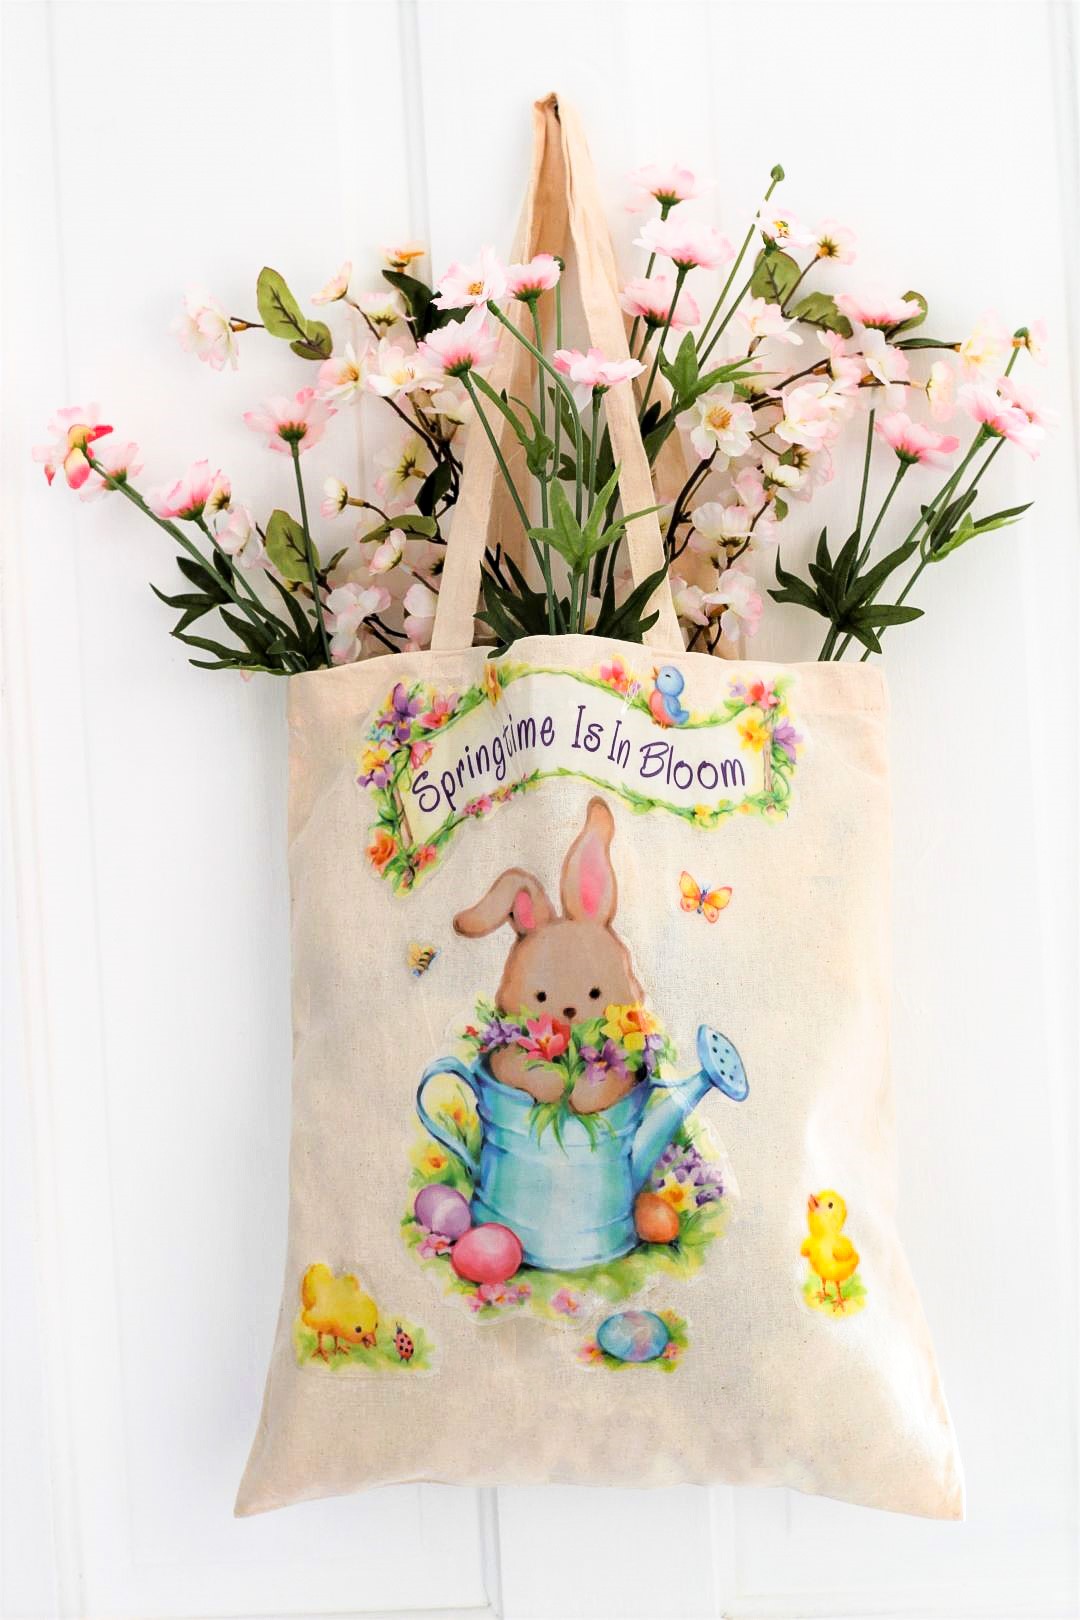
On your front door, or any door for that matter!
So there you have it! Two VERY versatile, VERY budget-friendly spring decor ideas!
Did these projects inspire you to add a little spring to your home?
Have you started decorating for spring yet?
Let us know in the comments or send us an email at cdscountryliving@ gmail.com! We’d love to hear from you!
If you liked this post-DIY Budget-Friendly Spring Decor for Your Front door & More…

Looking for more spring inspiration?
Thank you so much for stopping by!


DIY Budget-Friendly Spring Decor for your Front Door & More!
Both are super cute. Really love the bag for decor such a bright way to add a little spring to any room. I’m working on planter ideas for later in the spring and also thinking baskets may be fun in the garden. Thanks for the inspiration – it’s raining here and this was my sunshine for the day.
Oh my goodness! That bag is the cutest!! I had no idea you could use window clings on fabric. That is just amazing! You are so creative!! I was just at Dollar Tree yesterday, but it looks like I’ll be running back there today after seeing this!! 😀
Both are cute, but I LOVE the basket! 🙂
Thank you so much, Steph!
I love them both! I just bought two of those baskets at Dollar Tree. Pink and a blue. They are pretty nice for $1. I love the bag as well. It would look super cute on a door!
Aw, Thank you so much, Terrie! The baskets are well put together that is for sure, and cute! I think the bag is my favorite though! Thanks so much for stopping by!