
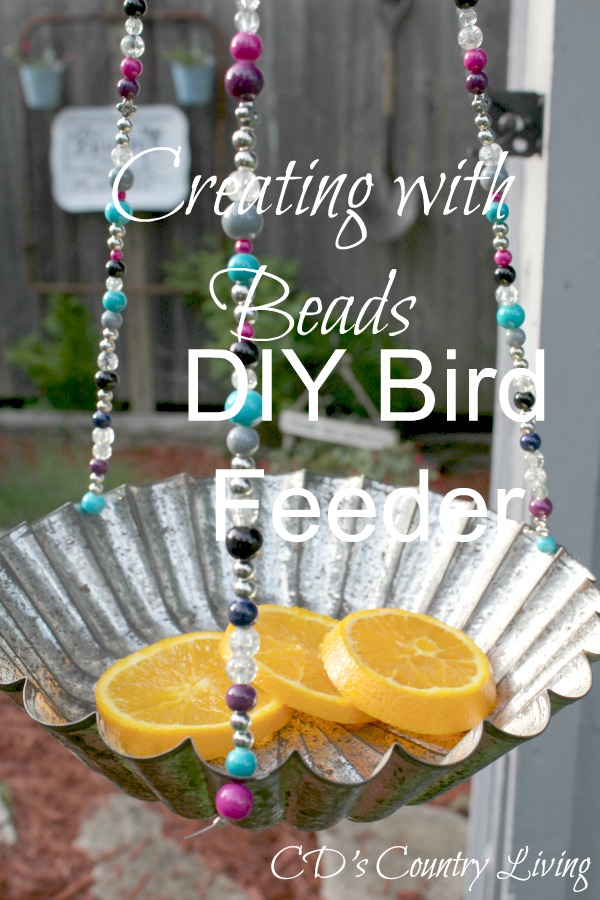
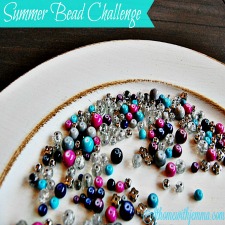
Creating with Beads-Summer DIY Challenge!
Happy first day of SUMMER ya’ all!
Today I am SUPER thrilled to be teaming up with seven AMAZINGLY talented bloggers for another DIY challenge!

This challenge is all beads!
Yes! I said beads!
Okay. So I won’t deny I was a bit intimidated (terrified)when Karen from To Work with My Hands first announced that the challenge was creating with beads!
I’m not exactly a ‘crafty’ kind of gal.
But, I decided to put my ‘not so’ crafty head to work and come up with something functional and pretty that I could use in my garden!
Unfortunately, after about a week, I still hadn’t come up with anything!
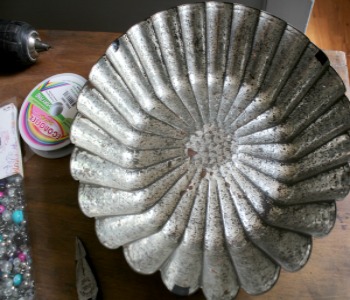
Then one day, I found this vintage fluted cake pan that I had purchased months ago. And I had one of those ‘light bulb’ moments. The cake pan would make an awesome birdfeeder!
But first I needed to make sure the feeder was sturdy, since I would be hanging it.
To calculate I took into consideration the weight of my tin. the amount of birdfeed I would use, and the weight of the average bird who feeds. (I got the last one from Google)
I was pretty certain my vintage tin would hold up-so it was time to gather all of my supplies and create it!

Fluted Cake Tin
Drill
Pliers/Wirecutter
Hook (for hanging)
Tape ( I used electrical tape because it was all I had on hand)
Crimp Tabs
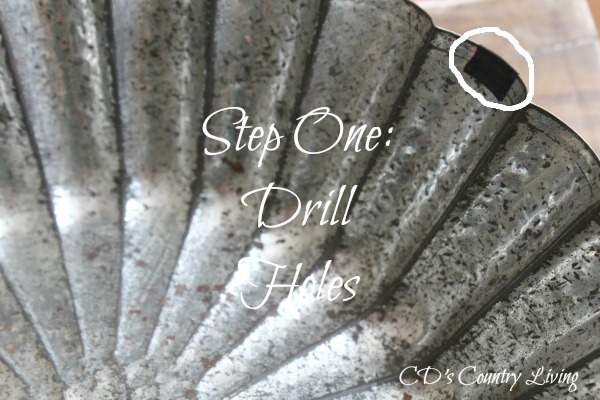
Step One in putting my bird feeder together was drilling the holes for hanging. To ensure the tin hung evenly, I counted each flute and divided by 3-(which ended up being every 8 flutes), and marked the spot with a piece of tape. Then I drilled the holes-making sure not to apply too much pressure.
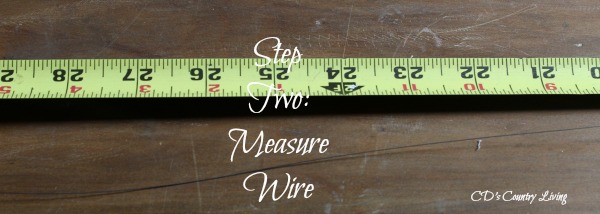
After I had checked out the location of where I would hang the bird feeder-and how low I wanted it to hang, it was time to measure the wire. I needed (3) 3′ pieces.
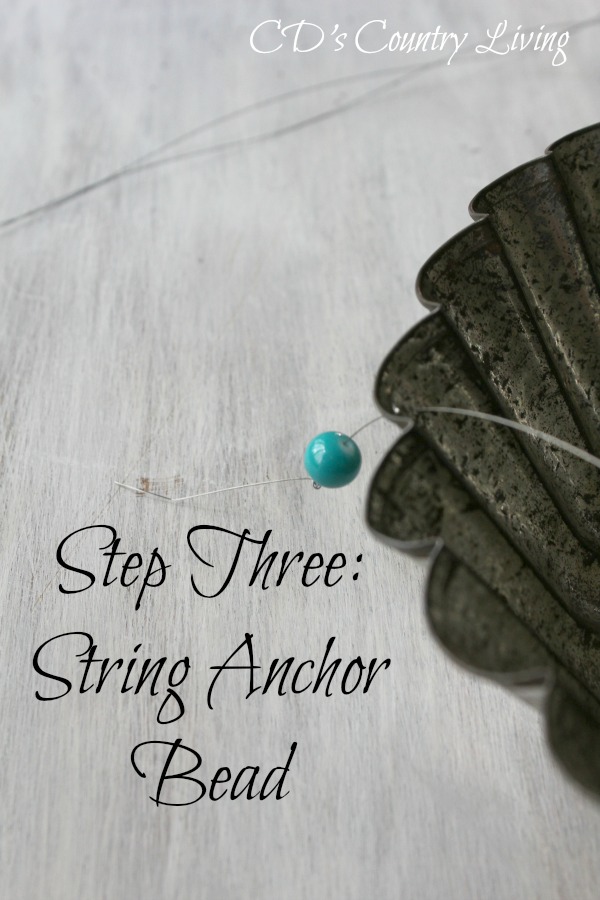
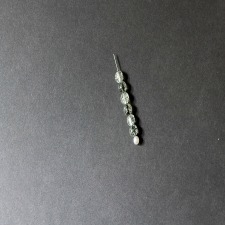
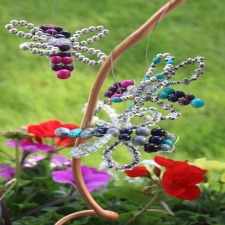
Once I had my three strands of wire cut-it was time to string my anchor bead. I did this by stringing the wire through each hole, leaving about two inches on the outside. I chose one of the larger beads as an anchor, and after placing that on the string, I crimped it to keep it in place.
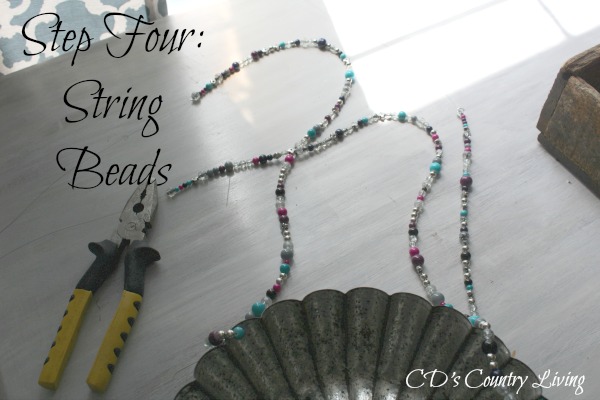
The next step was probably the most challenging for me! Anyone who knows me knows I can’t sit in one place for very long. Unfortunately, stringing beads DOES require sitting(and for this old gal-glasses)-so I ended up doing this step over a three-night period-while watching Fixer Upper re-runs. *** Note I made all three strands exactly alike-but you can switch it up however you wish.

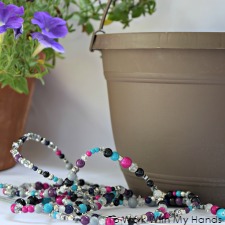
Once I had strung all of the beads-I crimped each end-tied the three strands together, and crimped it once more for good measure!
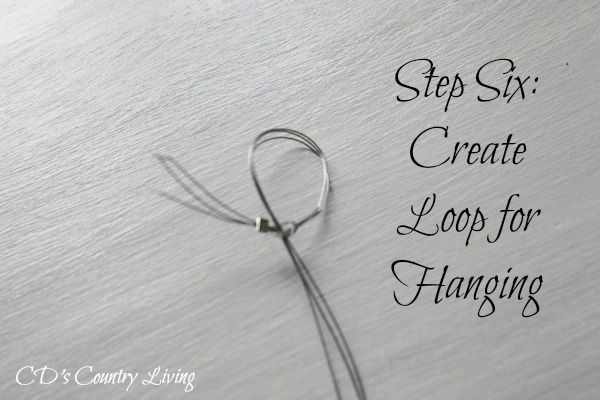
The last step was simply creating a secured loop for hanging!

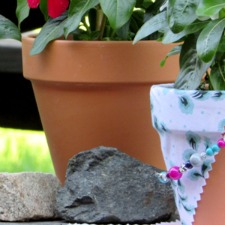
I found the perfect place to hang my bejeweled feeder in our back yard! Now hubby and I can watch the birds feed from our kitchen window-or while we sit on the deck!
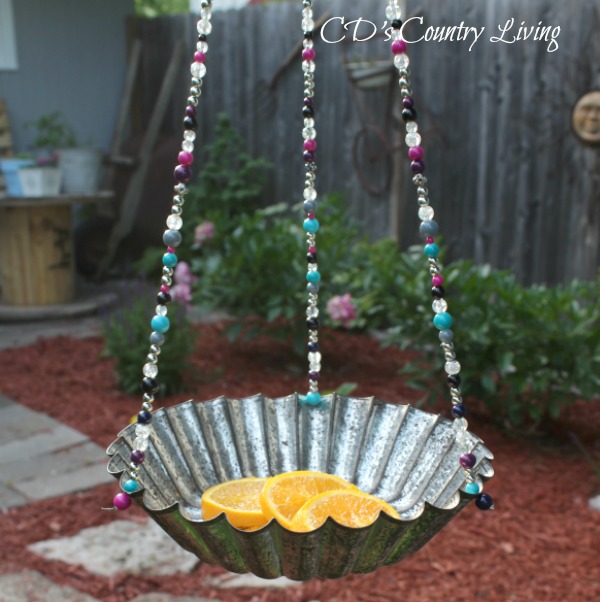
Later this summer I will probably put bird feed in as I had originally planned-but for right now-the orioles are just loving the sweet treats I set out for them! (As of writing this post I’ve seen six-but before I can grab my camera they are gone!)
Now I’m passing the challenge on to YOU! What would you create with beads?
For more inspiration-don’t forget to click on the links below and see what AMAZING creations the other gals did with their beads!
Happy SUMMER!
Blessings and hugs,


Hi CD,
This is so clever and I think the brightly colored bees with attract the birds too.
This is to cute! You know I love the birds just yesterday I had a hummingbird come to visit. It was so wonderful! Your project is awesome and I’d love to see more of that junk garden. What a little space of paradise and now you have a reason for the birds to pop in.
You can no longer say you aren’t crafty! 🙂
This is awesome,CD! I love, love, love it hanging there on the side of your shed and it really highlights the colors of your hanging basket of flowers too. I can imagine just sitting there watching the birds each morning…lucky birds!
Thank you so much for sharing your talents. It’s an absolute pleasure working with you.
CD, this is just brilliant. I bet the birds love it, and I do too! I can’t believe how much math was involved, but that’s really smart to plan ahead like that for the weight of the birdseed and the birds. This is such a pretty addition to your yard. I think you have to admit now that you ARE crafty! 🙂
Thank you so much, Meredith! Yes it did involve some calculation (I was never good at math)-but it was worth it now that I see how much the birds are enjoying the feeder! As for being crafty-I think I’m getting there with each new challenge! YIPPEE!!!
Lol, Karen! I’m getting better with each challenge!! Thank you so much for the love and for all your hard work in putting the challenge together! Everyone’s projects turned out AMAZING!!
Thank you so much, Carole! I LOVE hummingbirds too! I have several that pay a visit to another feeder in our back yard! They are super fun to watch! I’ll be sharing more of my junk garden soon! I enjoy sitting out there among all my rusty treasures!
This is such a pretty idea. It would really add to anyone’s garden. Love it. Thanks for shari
Thank you, Patti! I think you are right! The birds seemed fascinated by the beads! Maybe it’s the color or how they sparkle in the sunlight! Not sure-but it sure is fun to watch them!
Thank you so much, Bon Bon!
This is just as cute as can be, the entire project is perfectly delightful and Summer infused!
Such creative and I just know that you have had some happy birds too:)
Wonderful to meet you and have a happy week!
Jemma
*creativity*
Thank you so much Jemma! The birds are indeed thrilled to have a ‘special’ feeder-and I am too-because now I actually get to see them in my garden! It was a joy to meet you too! Have a blessed rest of your week!
What an adorable bird feeder. It looks great hanging next to your flowers.
Bev
Aw…thank you so much, Beverly! I LOVE that the beads compliment the flowers I had already chosen for the garden!
Love the bird feeder! I especially love it when vintage items are creatively repurposed. I’ll have to keep my eyes open for something similar next time I go to an antique store or flea market. Thank you for the inspiration!
Thank you, Susan! I’m right there with you! I’m over the moon happy when I can repurpose a vintage piece and give it new life! I was truly lucky to find the cake tin at a thrift store, but I bet you will have no problem finding one at a flea market or antique store!
Love this! We are all about the birds at our house and this is much prettier than anything store bought. Great job!!
Happy Thoughts of Home and be sure to join us Monday for the garden party. 🙂
Thank you so much, Stacey! I LOVE giving new purpose to old pieces-and it would seem the birds in our back yard love it too! I will definitely stop by your party!!!
Thank you for joining us at Thoughts of Home.
I love bird feeders and you have inspired me to create one of my own.
I love your re-purposed one with the beads.
I LOVE bird feeders too, Laura! This project was so much fun-and the birds really love it too! I’m thrilled that you were inspired by my feeder!
What a great idea! I make jewelry and don’t have any, or at least many plastic beads, but this is a great idea for using them. And I love that fluted cake tin!
Thank you, Leah! I’m so glad you like it! I found another cake tin at a local thrift store this weekend, so I just might make another water feeder with the leftover beads I have!