
It happened again! I just couldn’t help myself. There it was….
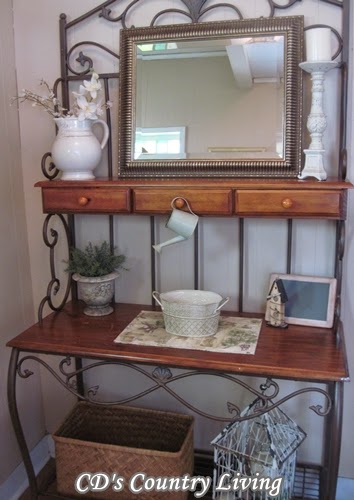
My perfectly ‘good’ baker’s rack. If you’ve been following along, you know I made the choice to move this VERY functional, yet unused piece, into our entryway.
Well, it HAS been useful. A place to set our keys. A basket to keep shoes, etc organized. But….
It just wasn’t working for me. Besides, during a recent ‘treasure hunting’ expedition, I found the PERFECT piece for our entryway. (I’ll be sharing this with you in a later post.)
So, even though hubby moaned and groaned, mumbling something about always being unsure if he’s in the right house, because everything is always different when he gets home…..I went with my plan anyway!

Have you ever had an idea in your head, of how you wanted a project to look when it was completed, but were less than confident you could make it a reality? That was exactly how I felt when I started this project. Of course it only made matters worse when I told hubby my idea for the bakers rack, and his eyes rolled back in his head!!!
Okay, so this project would involve some tools (I don’t do well with tools) and paint (I usually get more paint on myself than the project!), ‘so what,’ I told him. I can do this!
Obviously, hubby didn’t want to watch me prove him wrong, because he suddenly made himself scarce!!! (IE-he not only left the house-he left the property!!!)
It was probably a good thing-because there were a few ‘choice’ words spoken during the process of creating my masterpiece.
Here’s how I did it.

First, I spray painted the metal parts with Rust-Oleum American Accents-Aluminum. Note-the mound of sheets beneath the baker’s rack! They moved around A LOT during this process, as I have a propensity to OVER spray! Thankfully, my hand was pretty steady, and the paint went where it was supposed to!
The next step was sanding down all the wood. (BTW-This is where I got to use an actual power tool!) Okay-so it’s battery operated, but I still had to plug it in twice to charge it!!!
You got love a hand sander!! Boy did it make this chore so much easier!!!

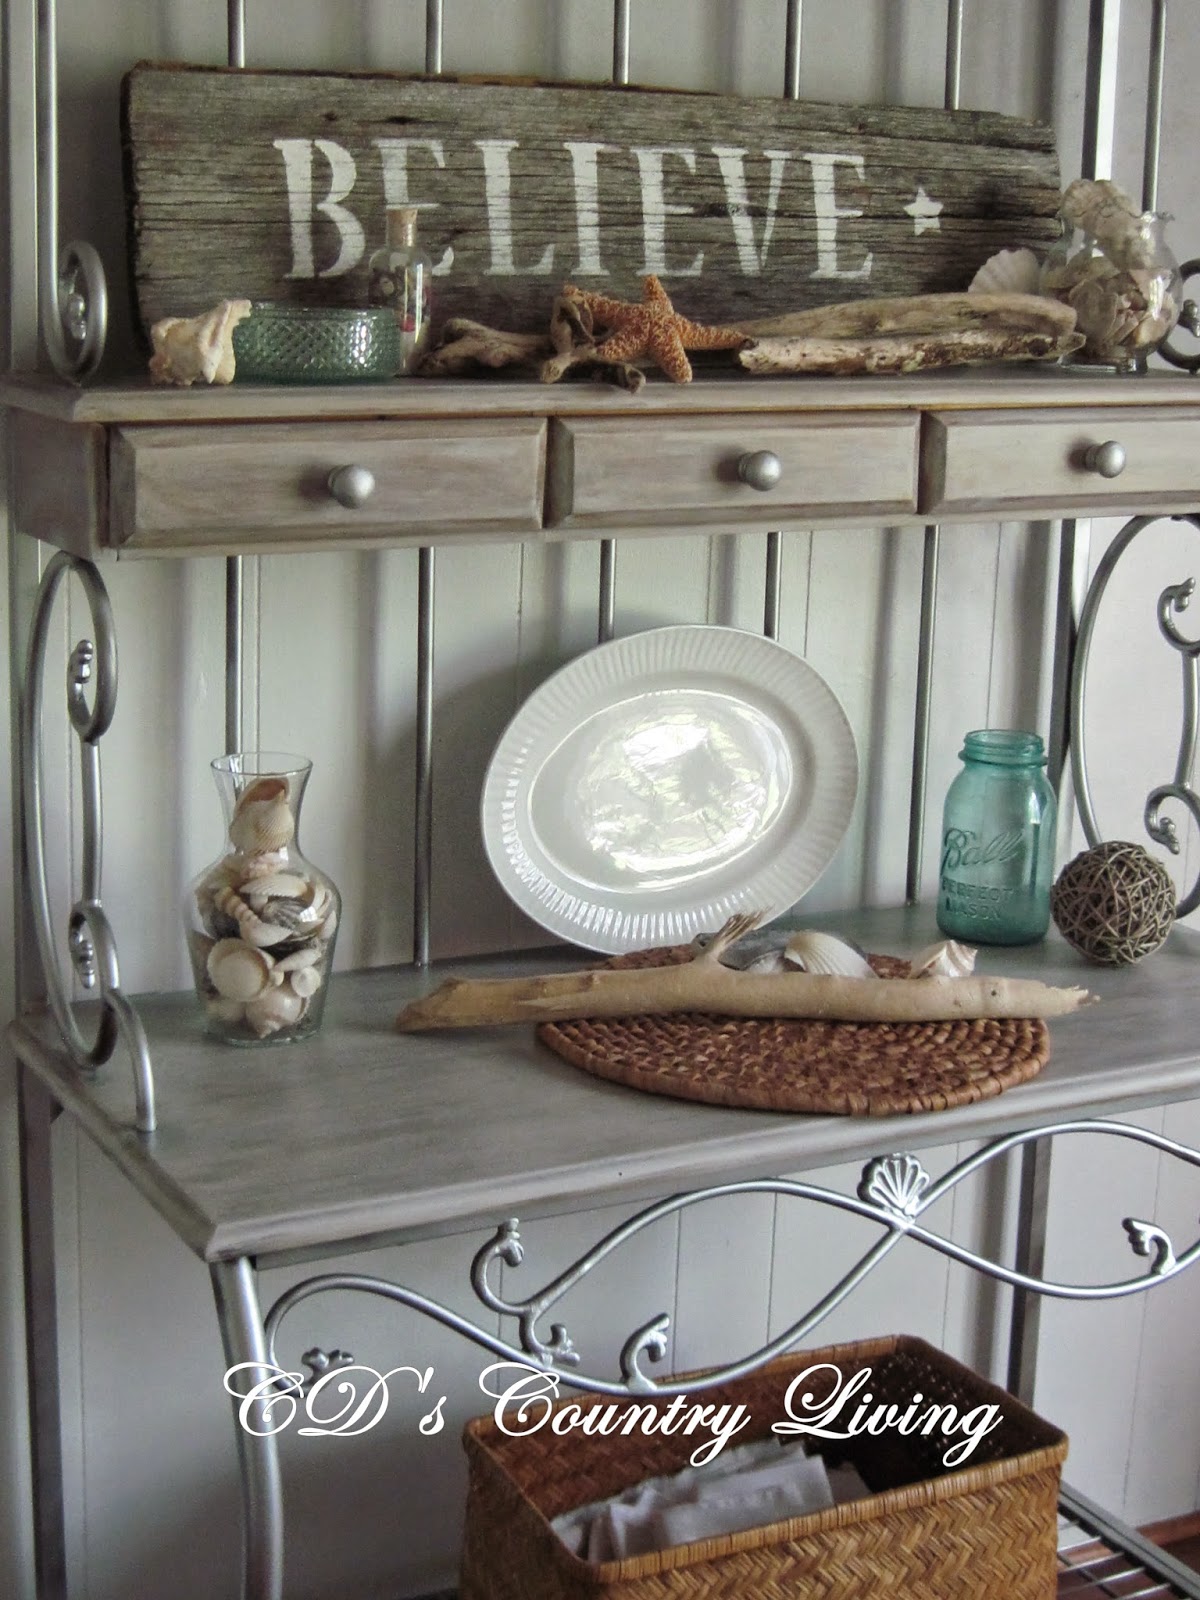
I’ve always loved the look of coastal design, and after our recent trip to Oregon, my heart was set on making this baker’s rack look like many of the weathered pieces I fell in love with there.
Since I had some leftover gray paint from the dining room makeover, I decided to use that, but it required a bit of ‘watering’ down first. After I had the right consistency, I began to lightly brush it on with a sponge brush.
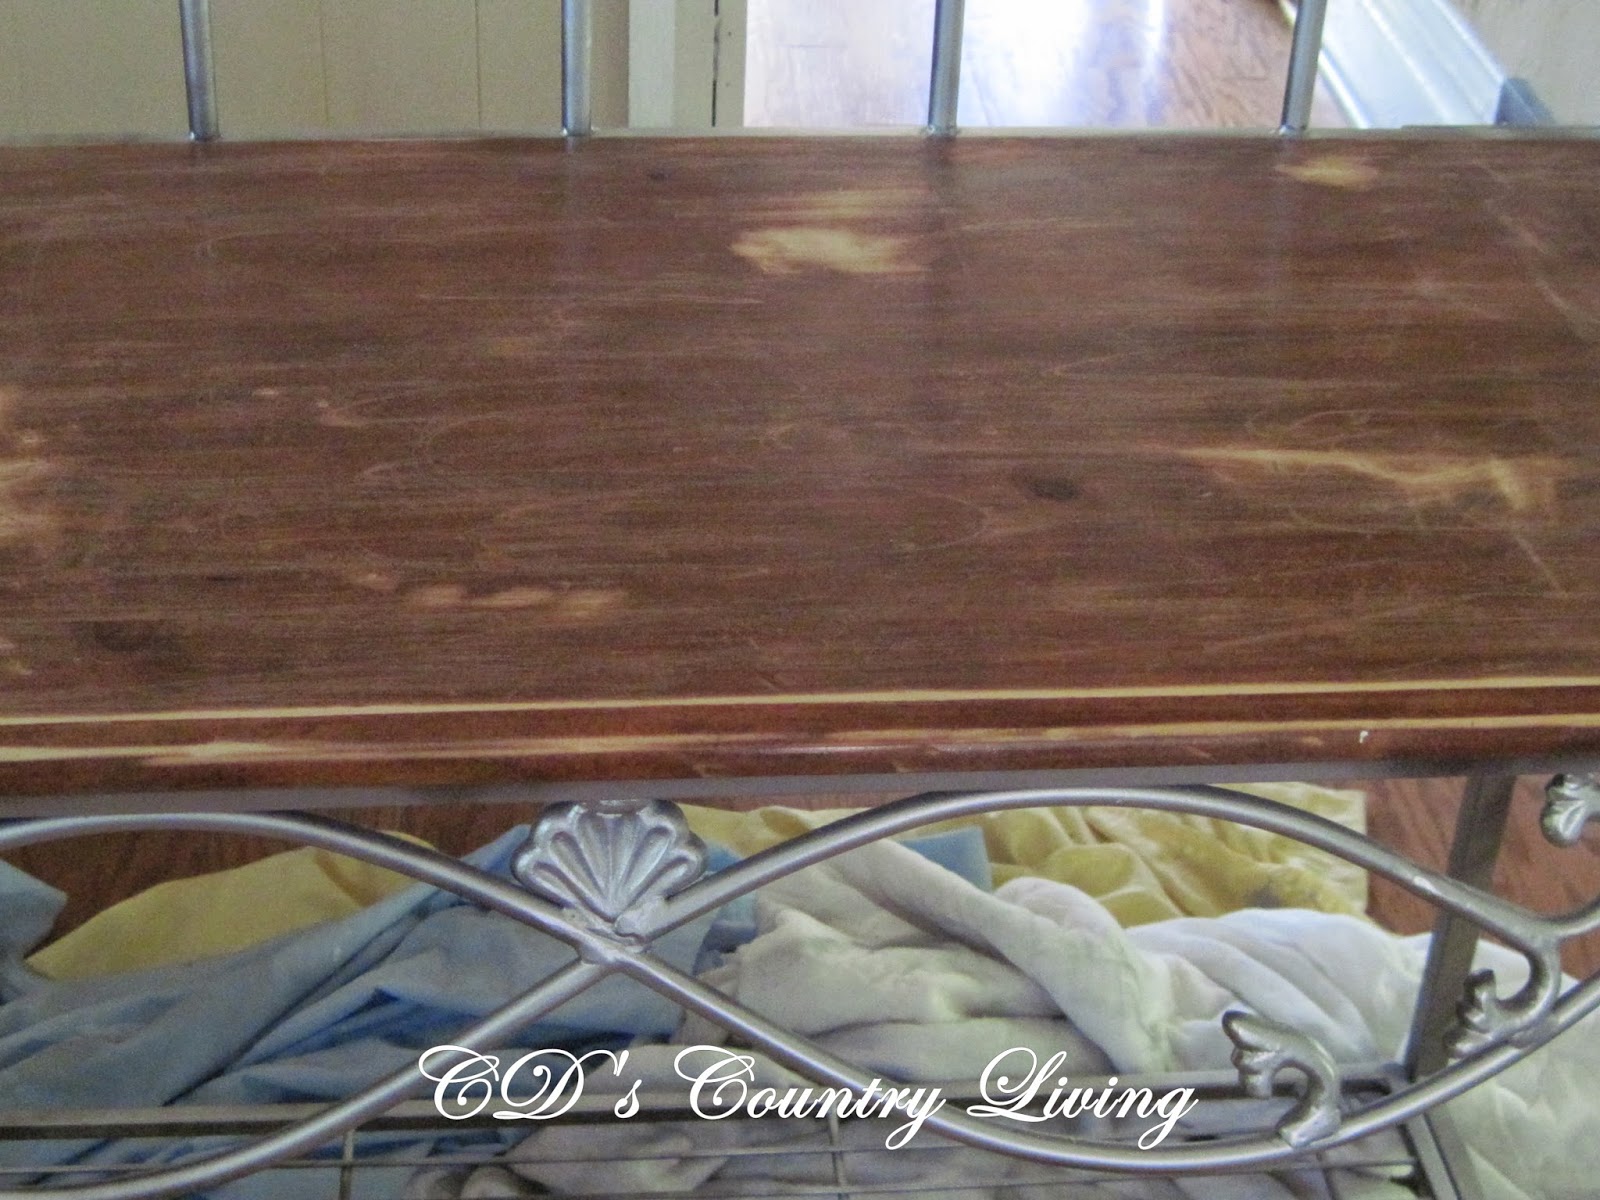
Once the paint dried, I grabbed some golden mahogany stain from the basement, and applied a thin coat of it with an old sock. (Yes, you heard right-a sock! Hubby don’t worry, I used one of mine!) Sorry, I guess I was so involved in this step, that I forgot to take photo’s. 🙁

If you look REAL close-you can kind of see the reddish tones of the stain. It was a ‘bit’ too red for my taste, so it was back to painting for me.

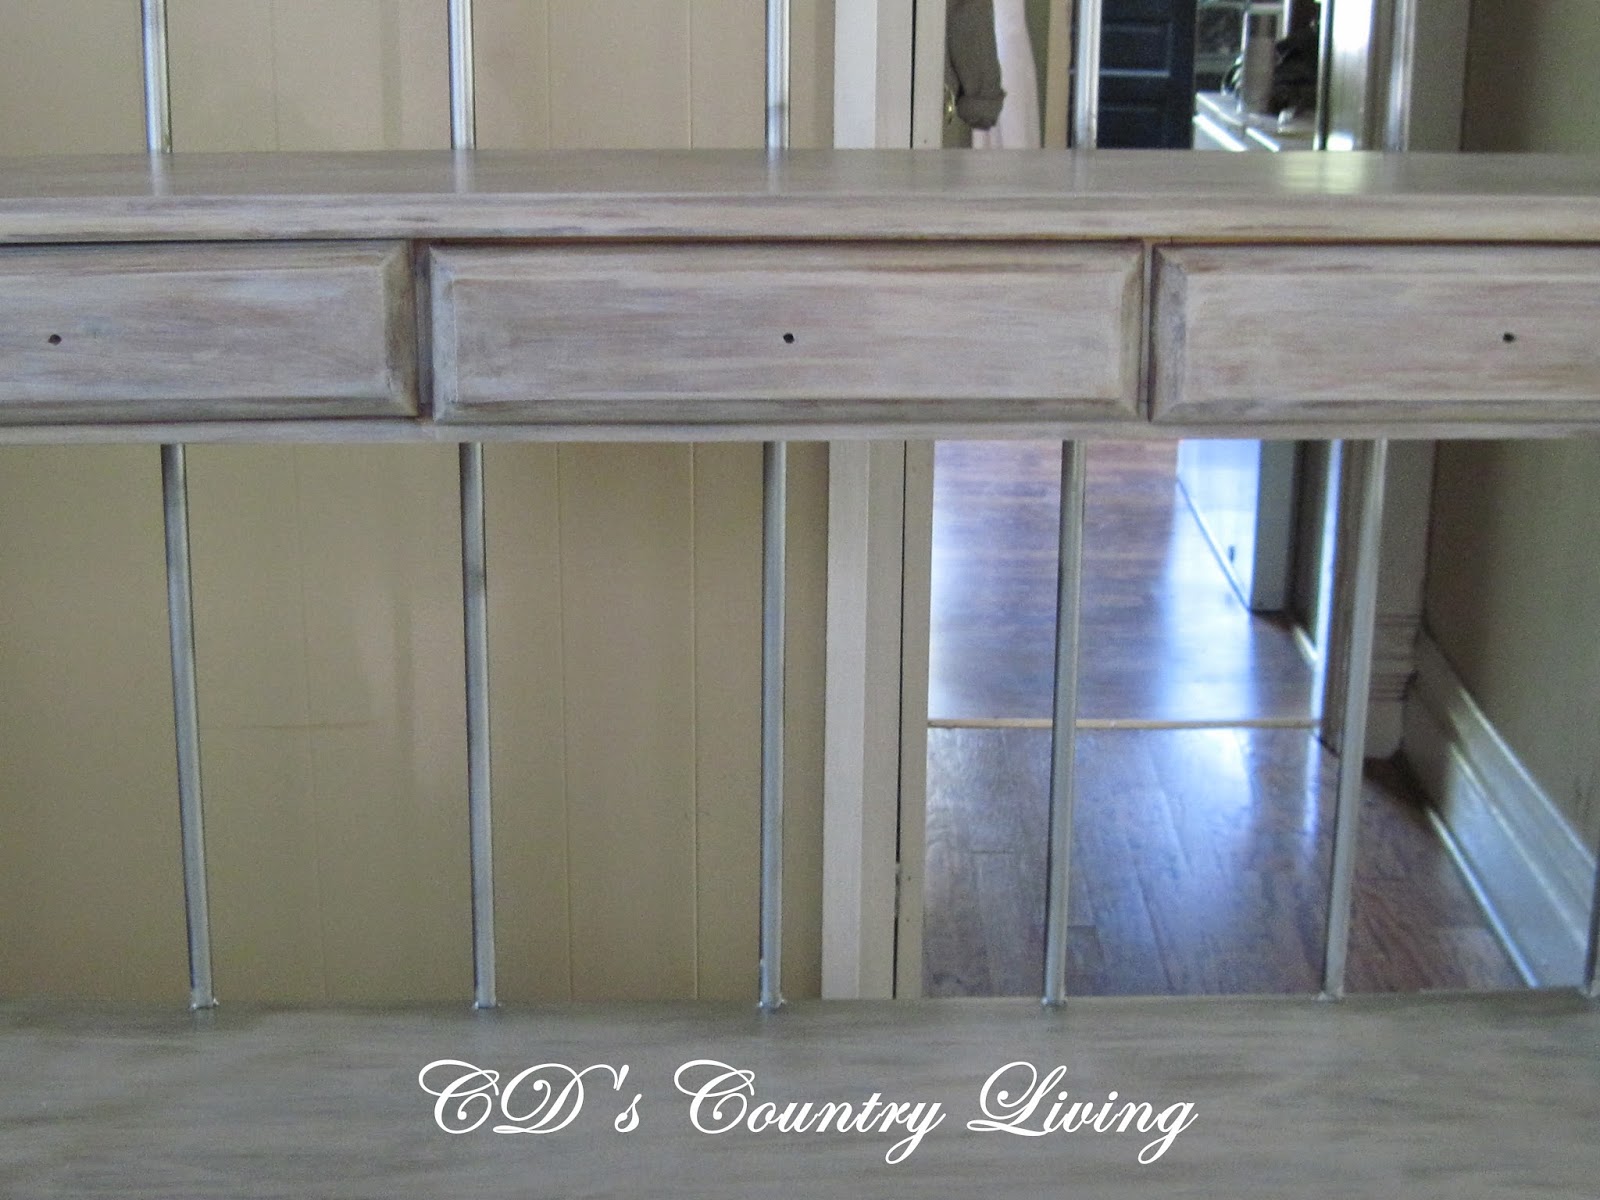
This process of getting ‘just’ the right look, took a little longer than I’d planned, but it was so worth it! I was able to get the EXACT look I was going for. The aged look reminded me of one of the pieces of drift wood I’d picked up on the beach while in Oregon!

The last step was to spray paint the knobs.
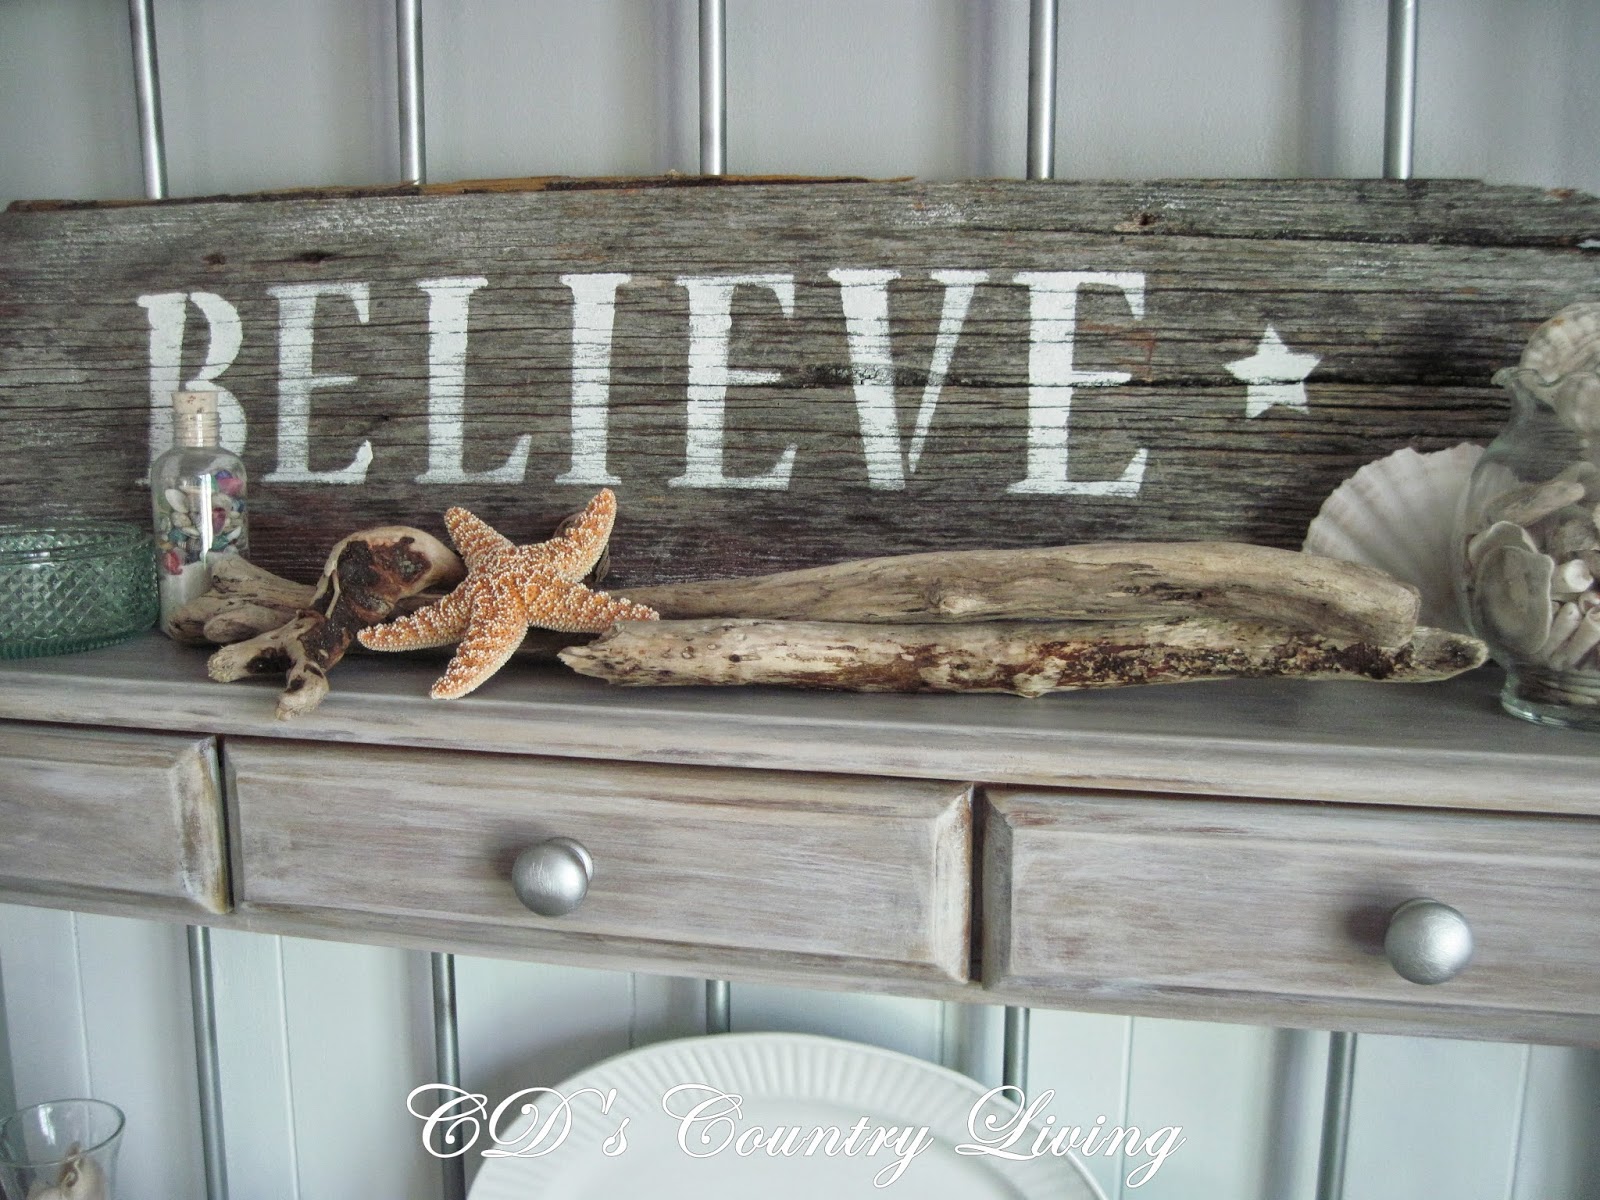
And then it was all about the decorating!!! Since I was going for the ‘coastal’ theme-I added a few treasures I picked up in Oregon.


This morning I couldn’t help but smile when I noticed my mason jar had mysteriously been filled with flowers!
I guess hubby approves of my creation, after all!!!
Happy Friday everyone! I hope you all have a great weekend!
I’m linking up today with:
French Country Cottage
Rooted in Thyme
Shabby Nest
Coastal Charm
The Happy House
So click on over and get inspired by all the creative folks that are sharing their projects!
I have this exact same baker's rack (along with a matching pub table and chairs) and I've been trying to decide how to paint it.
Indecision fixed 🙂
Love your Bakers Rack Makeover!! Sweet surprise from your hubby. Thanks for sharing at Simple & Sweet Fridays.
Hugs,
Jody
This looks amazing! How creative!
I'm so glad I could help, Pamela! I hope you enjoy your 'new' baker's rack as much as I do mine! Thanks so much for stopping by!
Thank you, Jody! And thank you for hosting the party! I spent a very LONG stay at your blog last night, and I was so inspired that I just had to start following you!
Wonderful make over!!!
Thank you, Cleo! I am really happy with the way it turned out! 🙂
My sister has this same bakers rack…I need to show her how wonderful the makeover on yours turned out. Thanks for sharing at my Show and Share Party.
Blessings,
Linda
Thank you, Linda! I am finding a lot of inspiration over at your blog too! Thanks for hosting such a great party!